
Earthenware – Objects made out of clay, typically red/orange in colour
(Pronounced ur-thuhn-wair)
Note: With the help of the mnemonic below we are going to learn what the normal colour of earthenware is. More familiarity will come with its use.
We know the meaning of ware as:
Ware - Objects made out of clay.
But to remember that earthenware is red clay, use the following mnemonic.
Earth had turned (earthen) red, just like Mars.

Earthenware is usually red/orange in colour, tends to be more coarse than stoneware or porcelain and is also more porous (absorbs water). Earthenware is commonly used for garden and outdoor pottery such as plant pots, it is less suited to dinnerware when left unglazed due to being more porous. Earthenware clay is also a low-firing clay and cannot withstand as high a temperature as other types of clay.
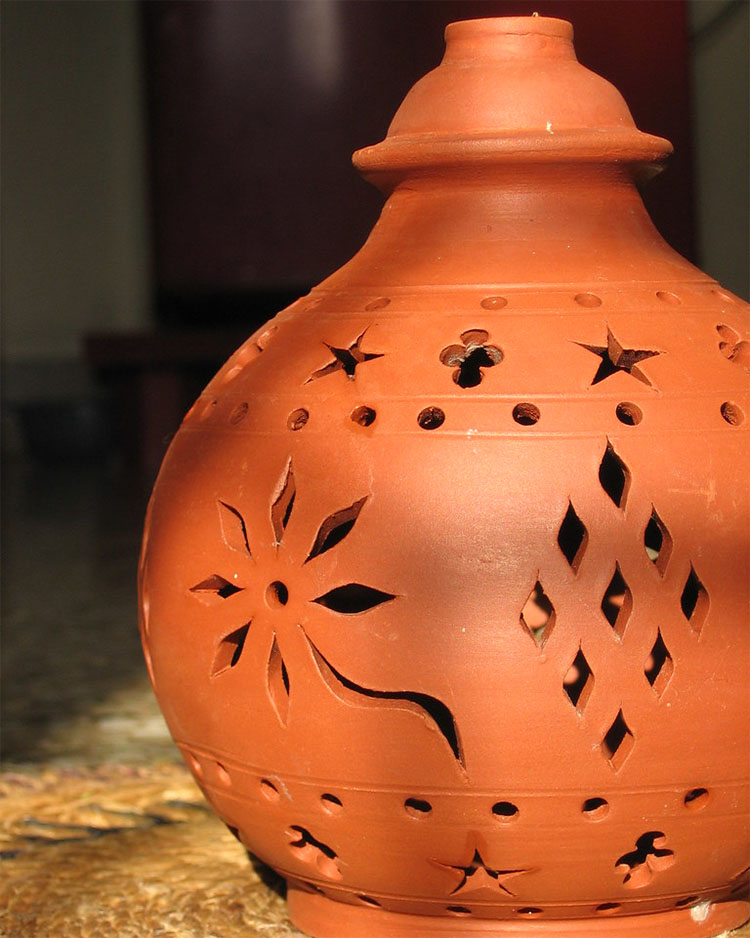
"terracota love!!" by brinda05 is licensed under CC BY 2.0.
The image above is a tea light holder made using terracotta clay, which is a type of earthenware clay.
Earthenware Project
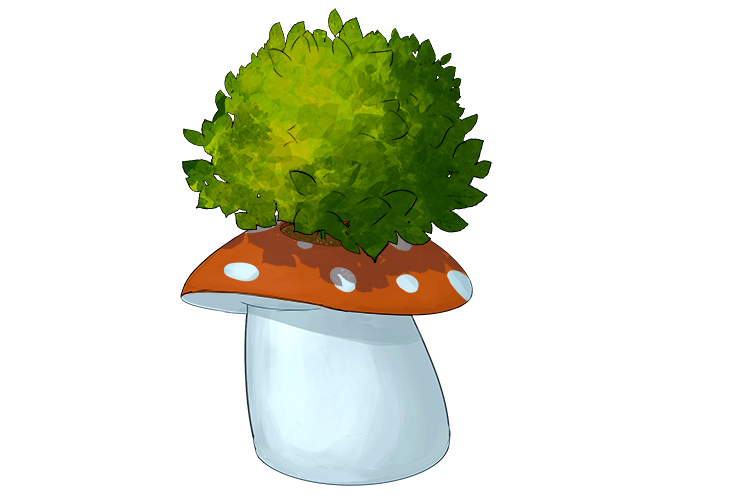
For this project we will be creating a small mushroom-shaped plant pot using earthenware clay.
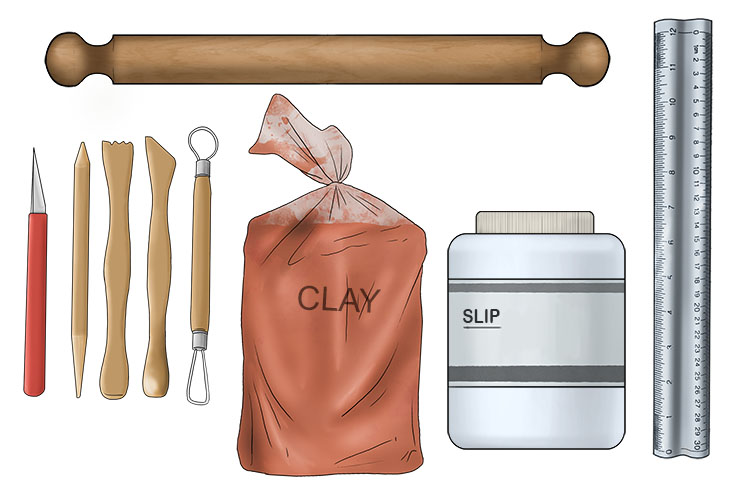
You will need some earthenware clay, a rolling pin, a ruler, clay carving tools and white slip.
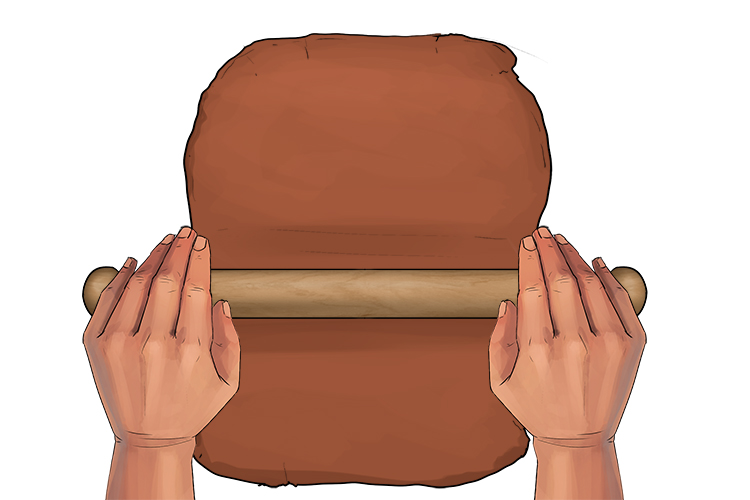
Start by rolling out a 1/2 inch thick sheet of clay.
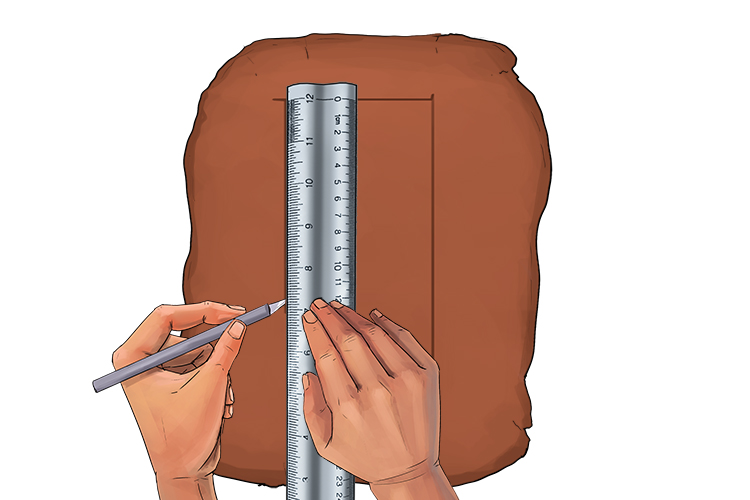
Cut out a rectangle from your rolled out clay. The width of the rectangle will be the height of your stem and the length will determine the circumference of your stem.
Join two shorter edges of the rectangle together to form a cylinder. Score and apply slip to the joint.
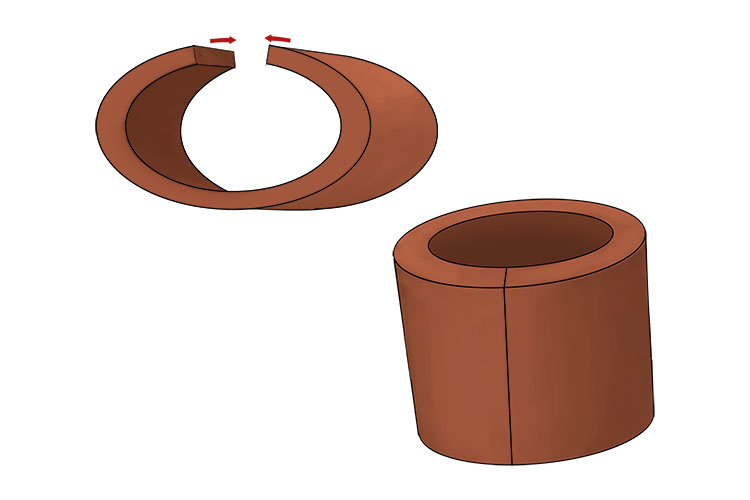
Smooth out the seam.
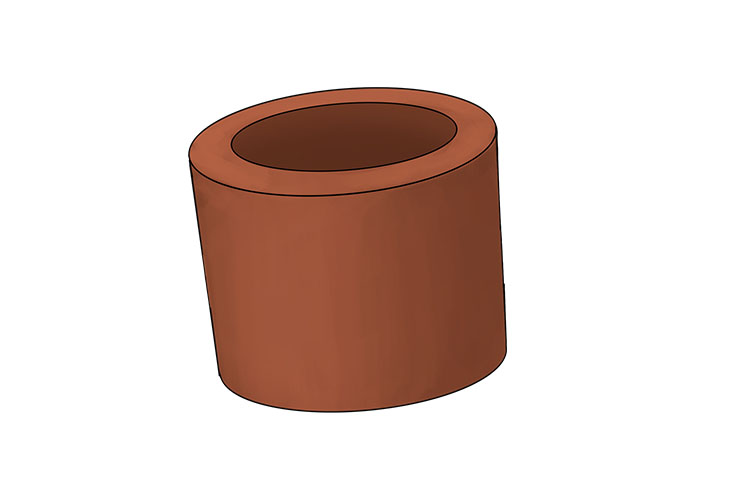
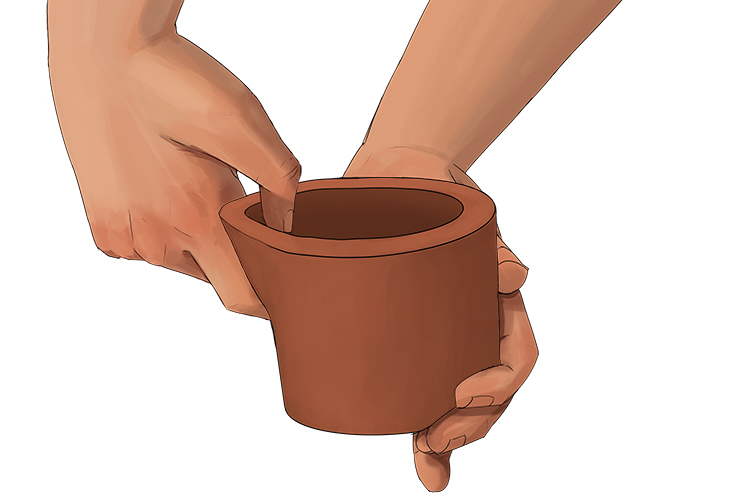
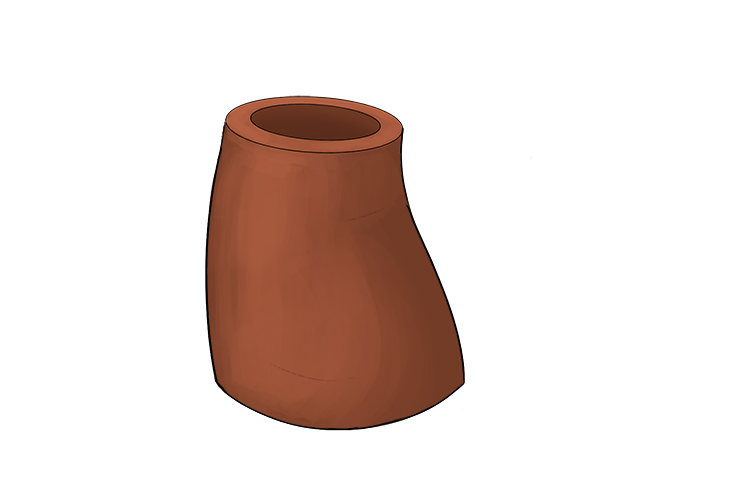
Adjust the shape of your cylinder to look more like a mushroom stem.
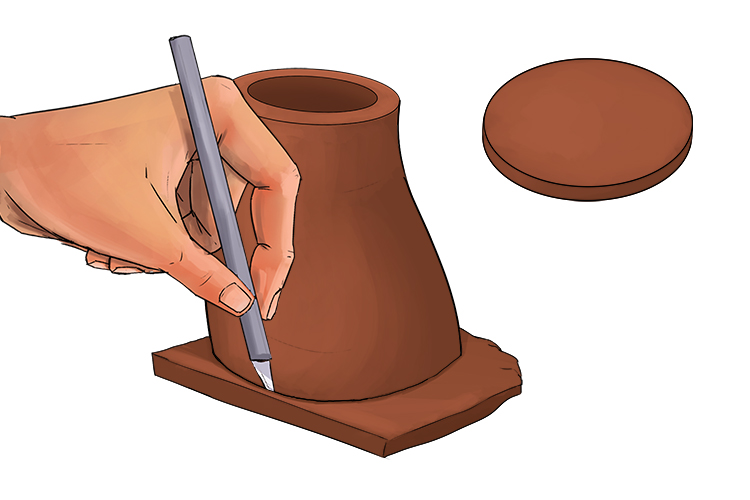
Place your stem on some of your previously rolled out clay and cut around the base of your stem to create a bottom for your plant pot.
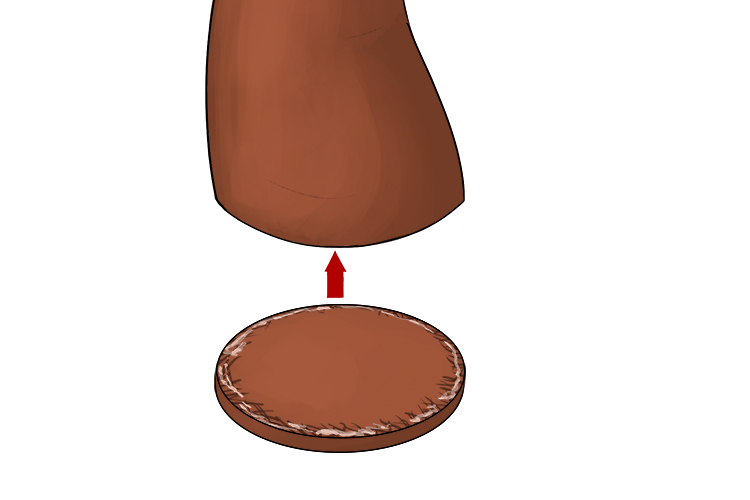
Score and apply slip to the bottom piece then attach it to the bottom of the stem.
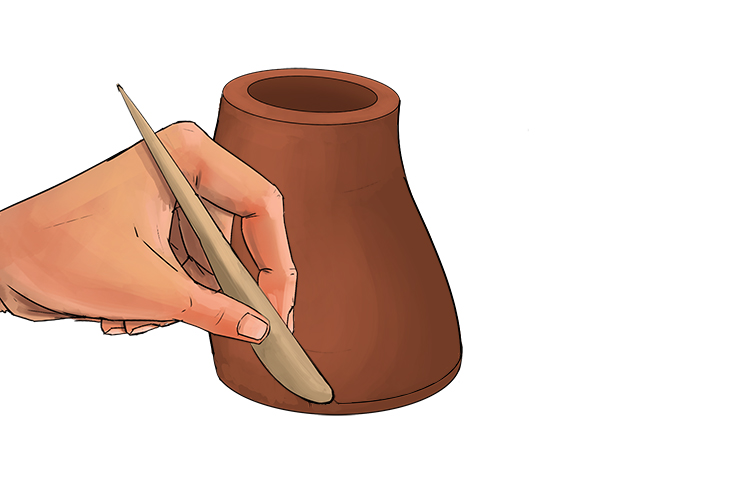
Smooth the seam.
Build up clay around the top of the stem to create the head of the mushroom, making sure not to cover up the top hole.
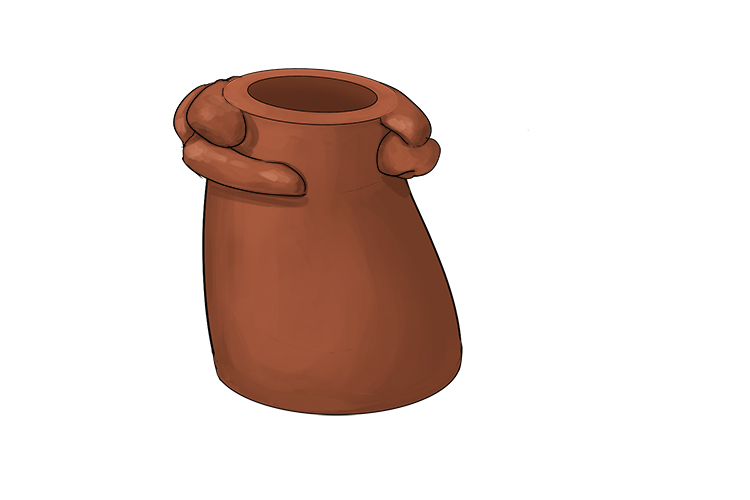
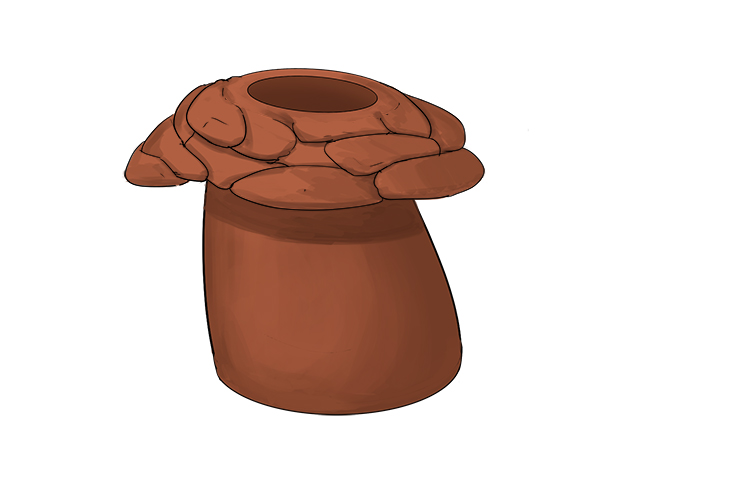
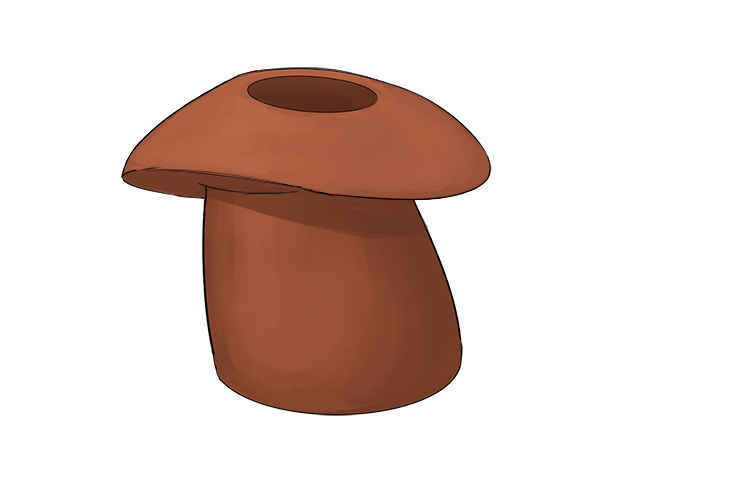
Smooth the clay to create the head of the mushroom.
When the clay is leather hard, paint the stem, and some spots on the head with your white slip.
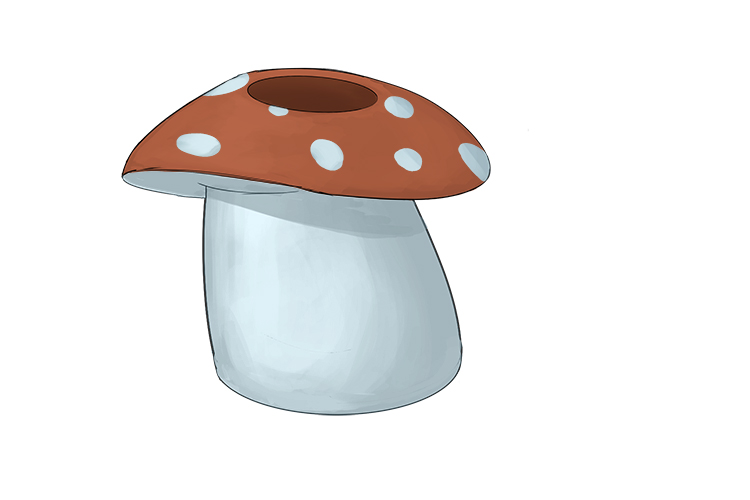
Once the slip has dried you can fire your clay leaving you with your finished plant pot.
Earthenware.


