
Creating your own tessellation
Want to create your own tessellation like this:

You too can draw a tessellation like this.
1st get a square of paper perhaps the size of a post it note.
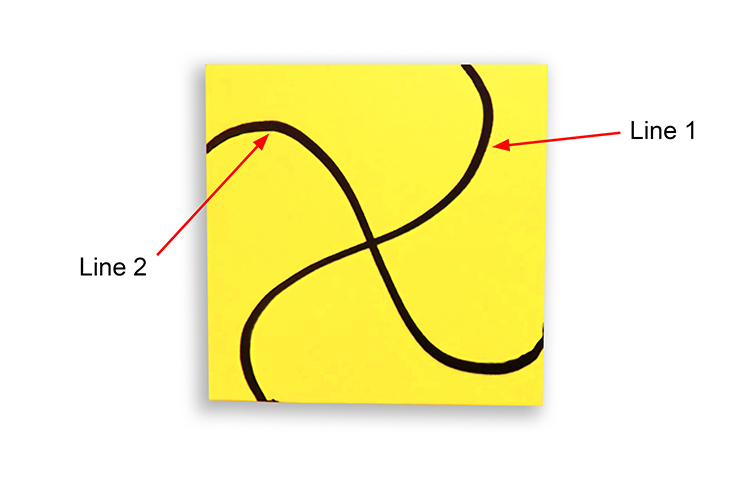
Draw a line from the top of the square to the bottom of the square (Line 1). Anything you like, as wobbly as you want. Then draw a line from the left to the right (Line 2). Again as wobbly as you want.
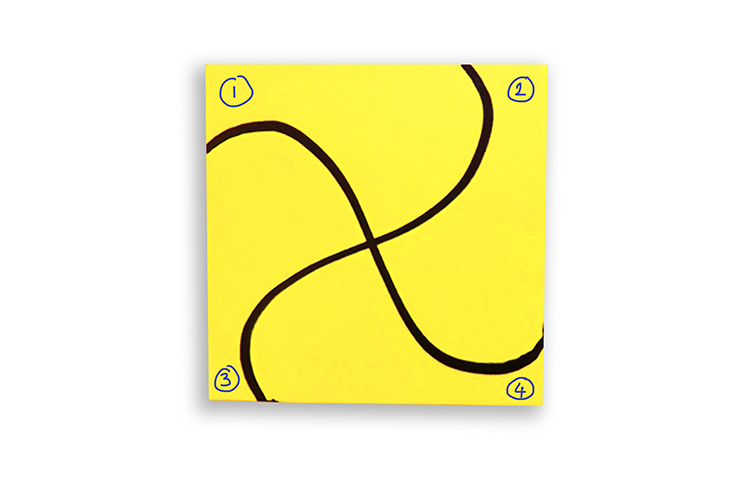
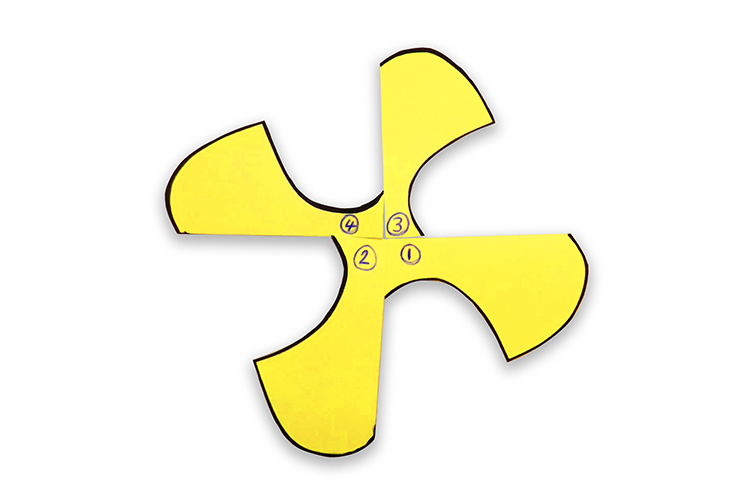
Label the corners 1, 2, 3 and 4 as shown.
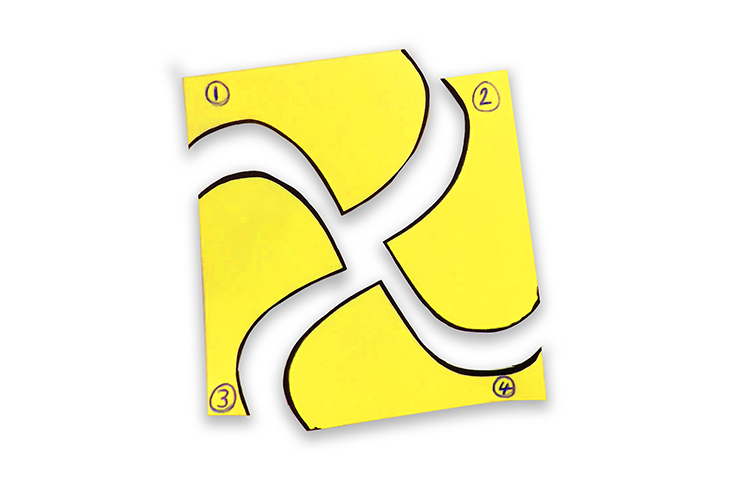
Cut out the four sections.
Rearrange the four corners so they are in the reverse order.

Sticky tape this shape together.
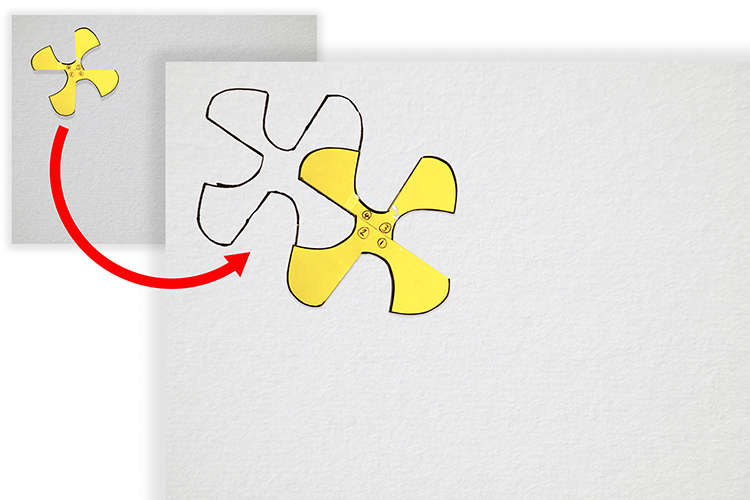
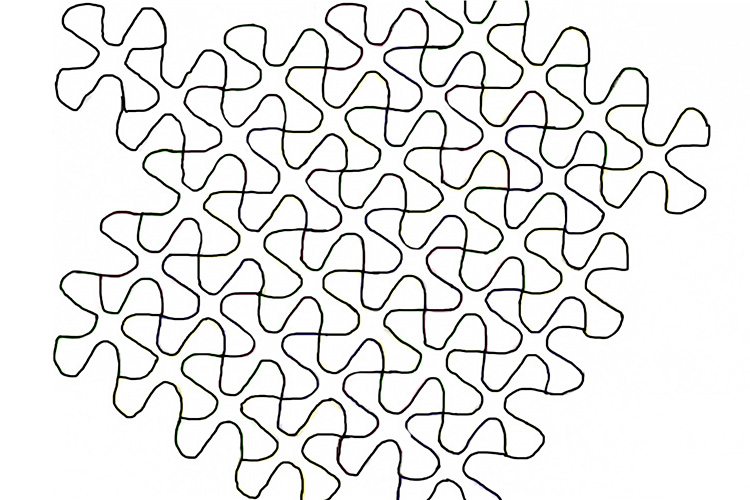
Draw around the shape on an A3 sheet of paper and then keep going. Repeatedly.
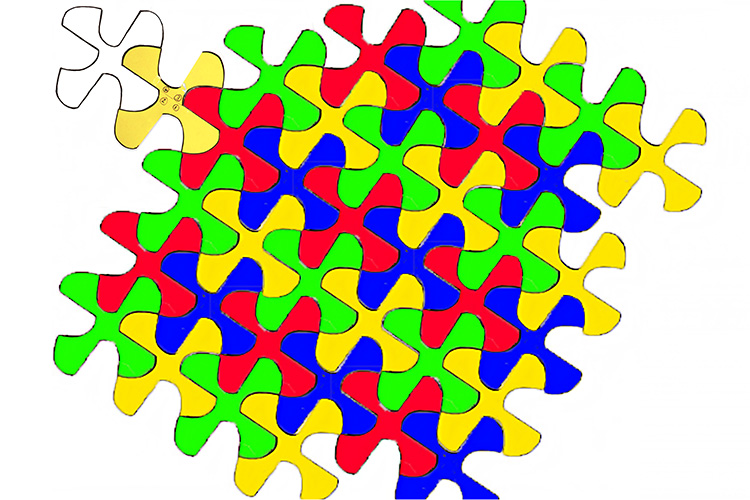
Then colour it in.
NOTE:
If you send your designs in we will post them under here on our website.


