
Clay – Sticky, stiff and fine-grained earth
Note: This earth can be moulded when wet and can be dried and baked to make bricks, pottery and ceramics.
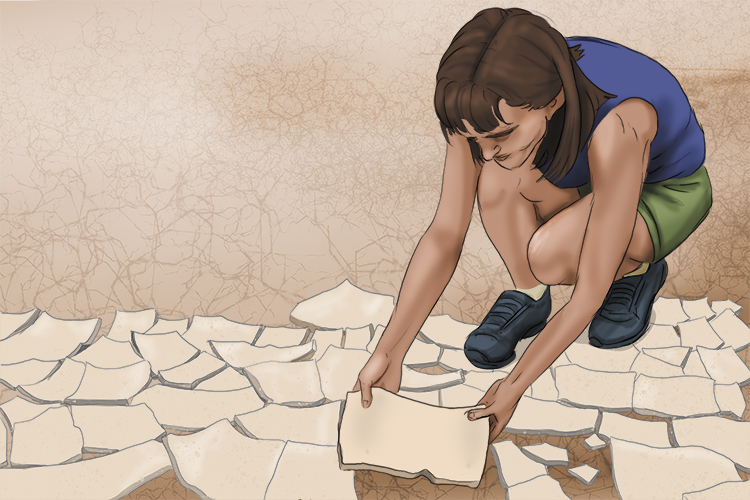
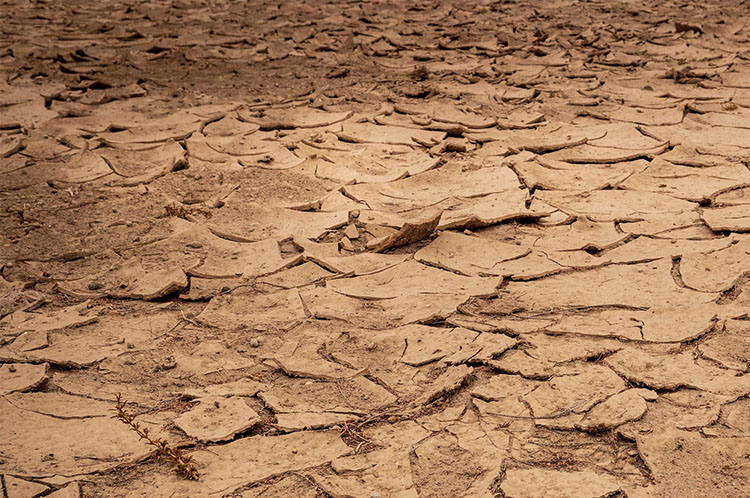
It's worth noting that clay can be picked up where it sometimes lies when a river dries up. It's that sticky, stiff and fine grained earth found often at the bottom of rivers.
Clay can be found almost anywhere as most soil will contain some clay, which can be separated from the rest of the sediment making up the soil to create a workable material. To find soil with a higher clay content, you need to find an area where water regularly sits on the soil. To separate the clay from the rest of the soil you need to start by filling half a container with your earth, then fill the rest with water.
Mix the earth and water so it is all suspended in the container and then leave it for a couple of hours to settle. As it settles, all of the sediment will sink to the bottom, leaving only the clay particles suspended in the water.
Now pour the clay-water mix into a cloth such as a bed sheet or old t-shirt (leaving all the sediment in the bucket). Allow the water to drain through the cloth.
Once the water has finished draining you can hang the clay in the cloth to drain further. The clay can then be kneaded together, leaving you with a smooth lump of clay that can be used for sculpting.
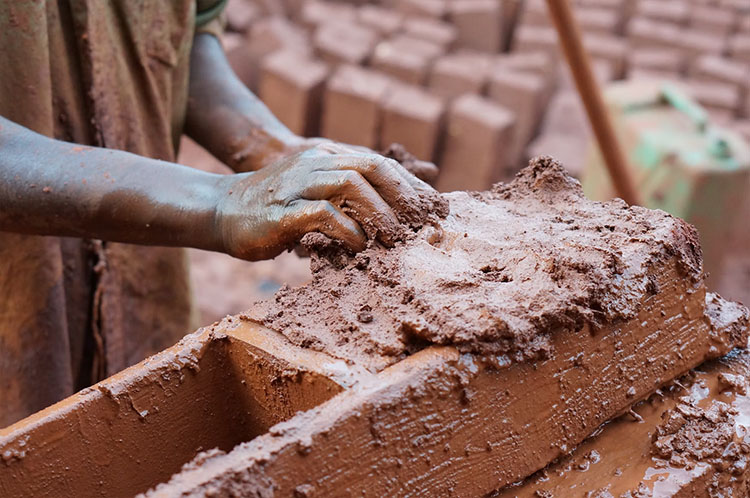
As well as being used for sculpting and pottery, clay has also been used as a building material through out history and is one of the oldest construction materials on Earth. One of the most common ways clay is used in construction is by being made into bricks. Bricks are usually made by packing clay into a mould to shape the clay, then firing the clay brick to harden it. This simple manufacturing process along with brick durability makes clay an ideal material for creating long lasting structures.
Clay Project
For this project we will be creating miniature clay bricks and building a model watch tower with them.
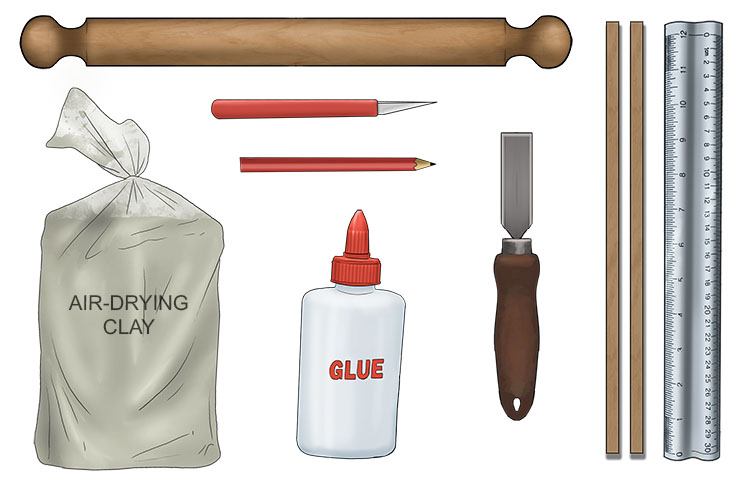
You will need some air-drying clay, rolling pin, 2x 8mm square dowels, clay knife, scraper, ruler, a pencil and super glue.
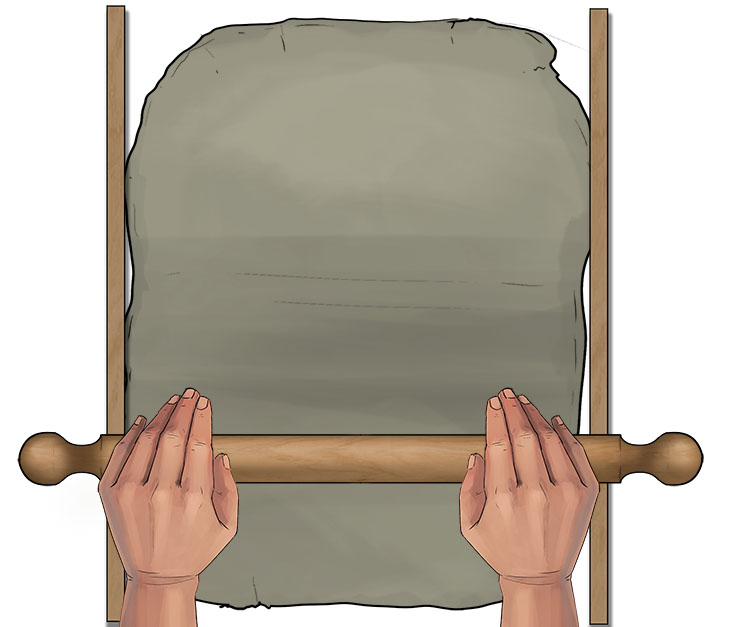
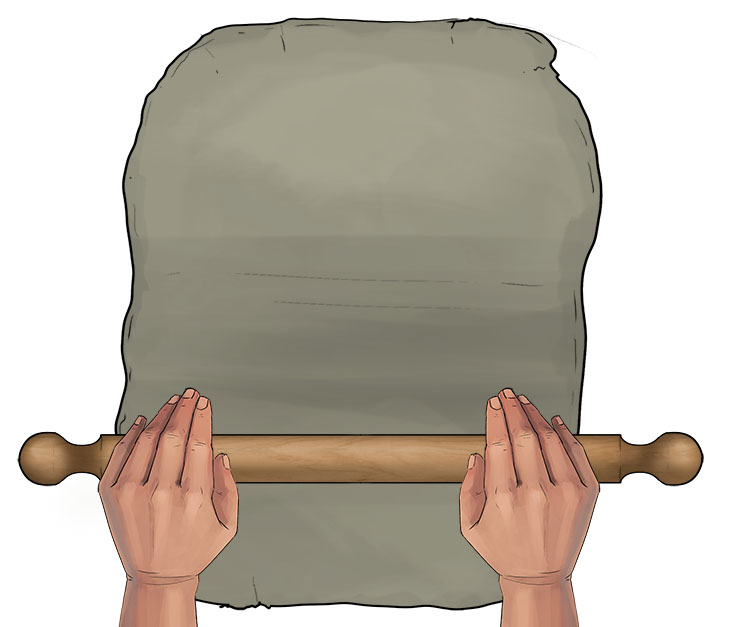
Start by rolling out your clay until it is 8mm thick. To make sure it is a uniform thickness, use two 8mm thick square wooden dowels placed either side of your clay as guides for your rolling pin.
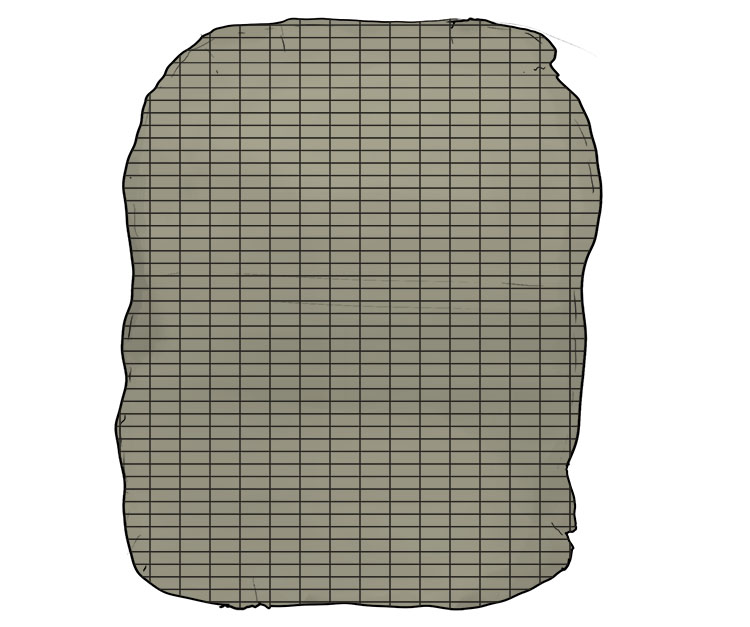
Using a ruler and clay knife, divide your clay into 10x20mm rectangles, then leave the clay to dry until it is leather hard.
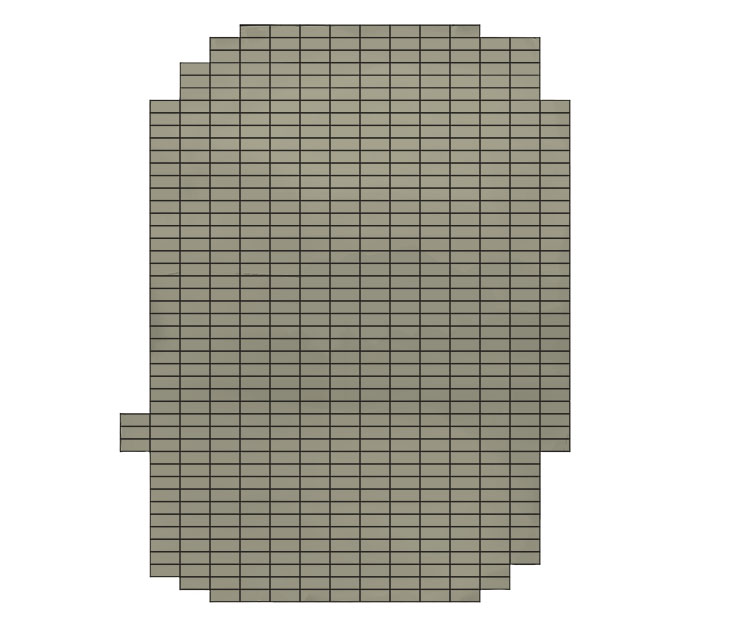
Once the clay is leather hard, remove any areas that aren't uniform in shape.
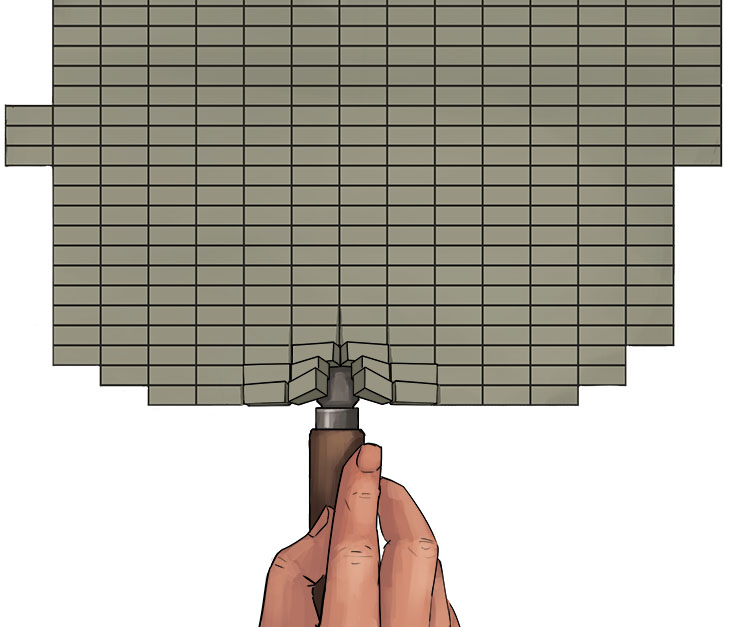
Using a scraper or flat carving tool, scrape up all the bricks to separate them. Once they are all separated, leave them to dry fully.
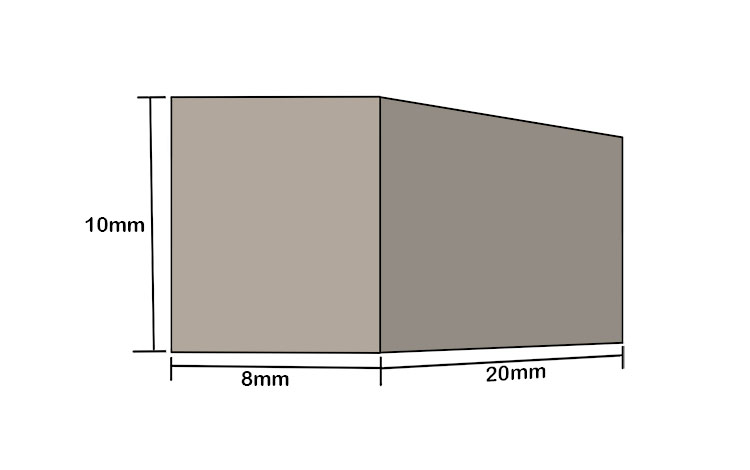
Once fully dried, you should now have some 8x10x20mm clay bricks.
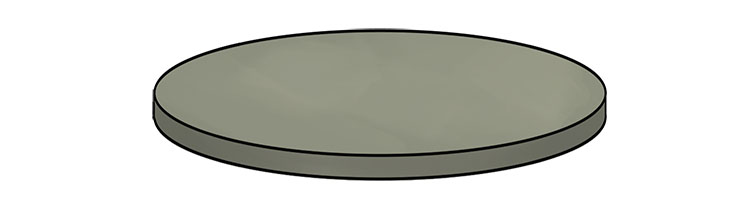
Now roll out some more clay that is around 1/2 an inch thick.
Cut a circle out from your rolled out clay to use as a base for your tower then leave it to fully dry.
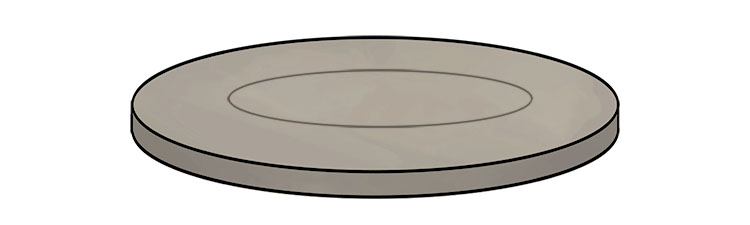
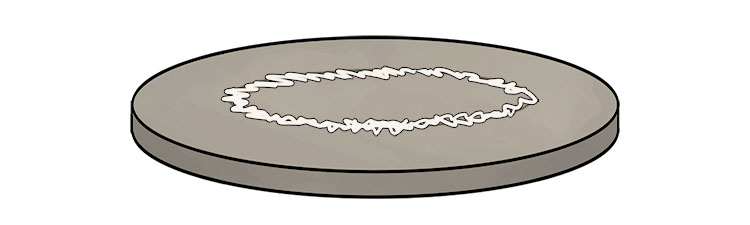
Once your base is dry, draw a circle in pencil to mark out the size of your tower. We're aiming to make our tower roughly 95mm in diameter.
Add glue to the circle.
You can now start placing your clay bricks.
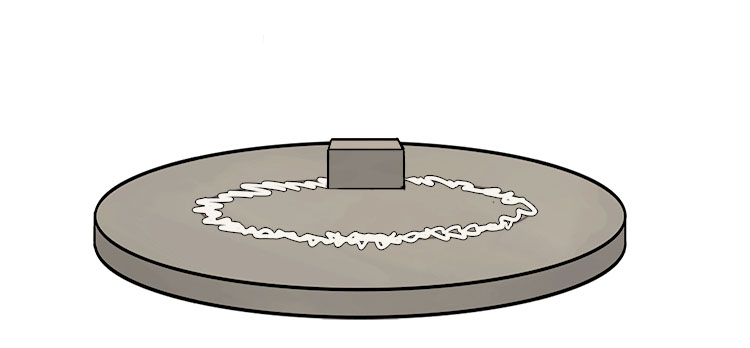
Continue to place your bricks until you have a complete circle.
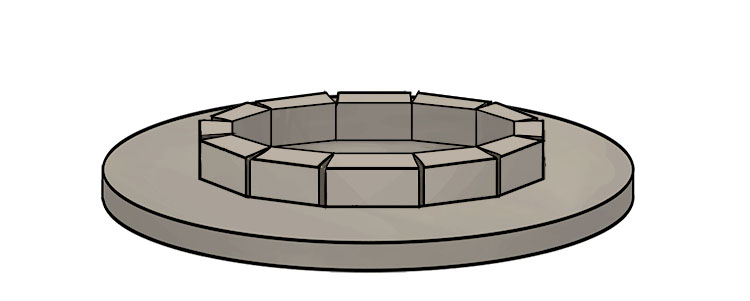
Once the glue on your first layer of bricks has dried, repeat this process to build a second circle of bricks on top of the first. Make sure each brick is off set from the position of the brick below it as shown below.
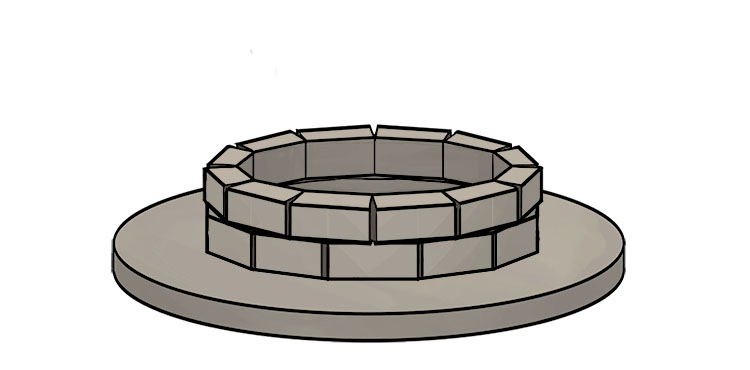
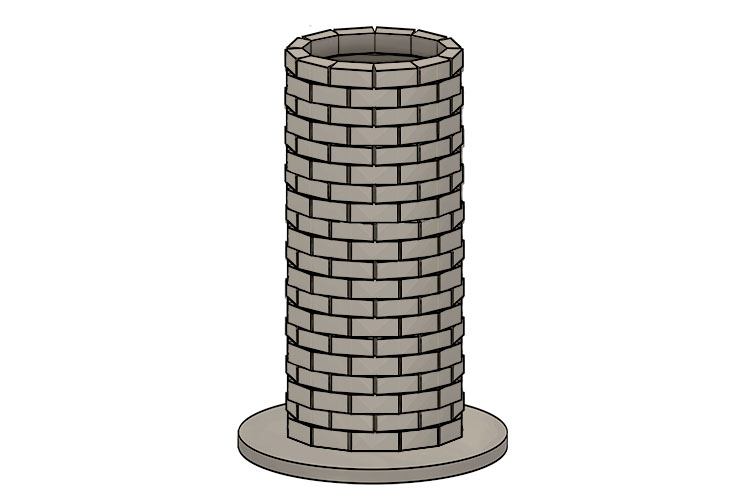
Continue to build up layers of brick until you have a tower slightly shorter than you would like the final model to be, making sure to leave the glue to dry completely before adding the next layer.
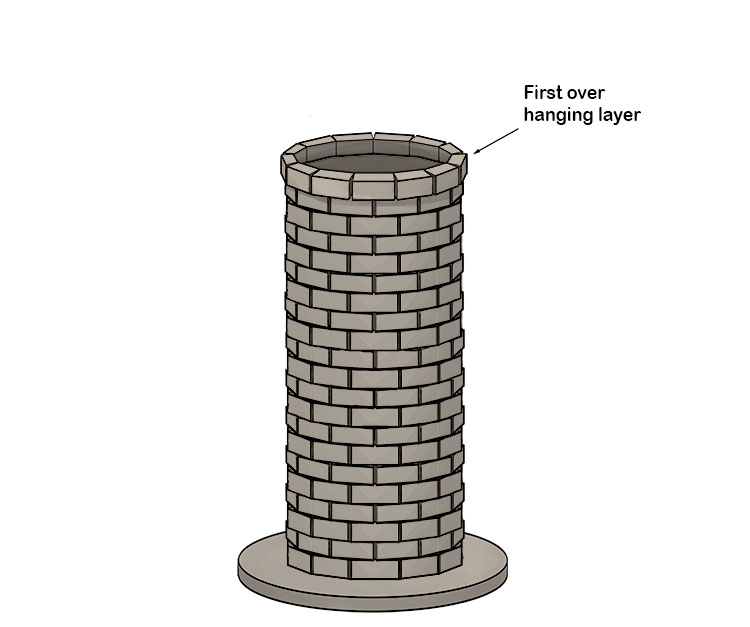
Add another layer of bricks but have each brick slightly overhanging the layer below.
Don't offset the next layer, but do overhang this second layer again. You will therefore have two layers where the joints align.
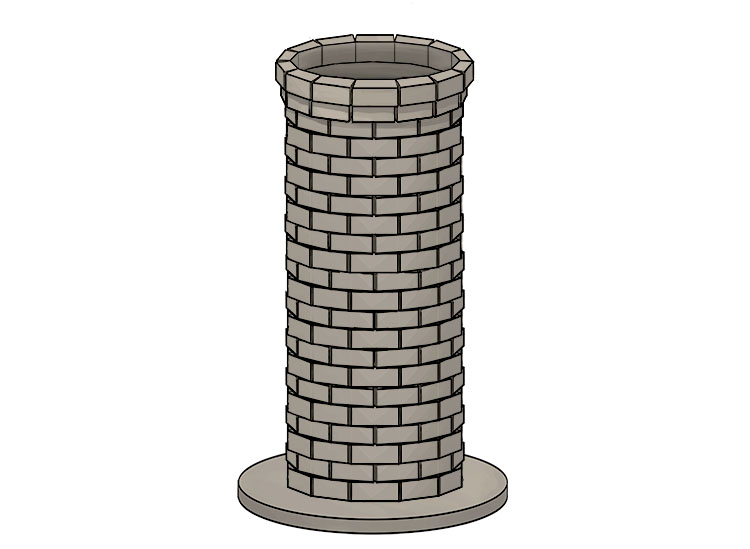
Build up a few more layers of bricks, off setting again but not overhanging anymore.
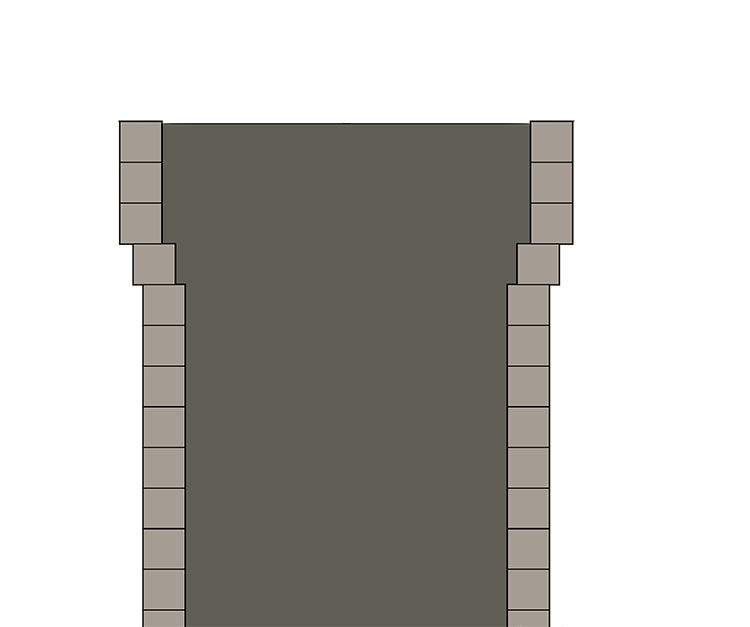
The cross-section of the top of your tower should look similar to the image below.
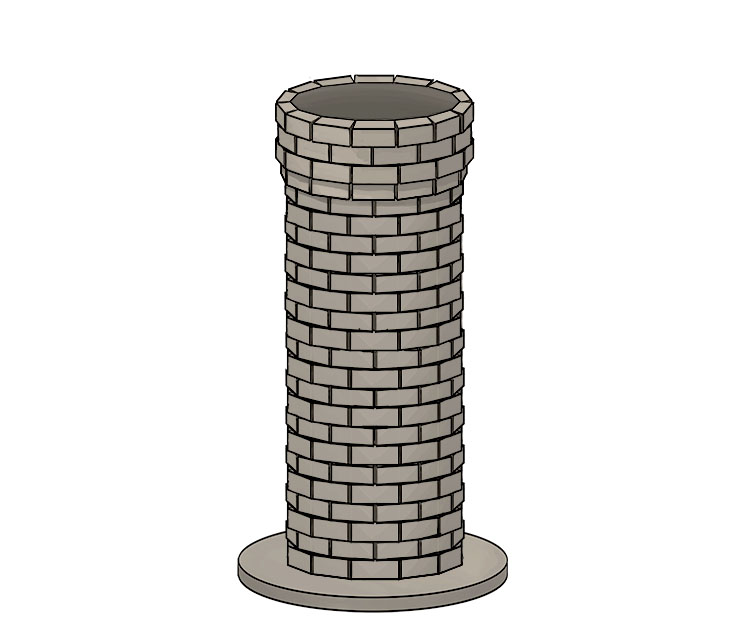
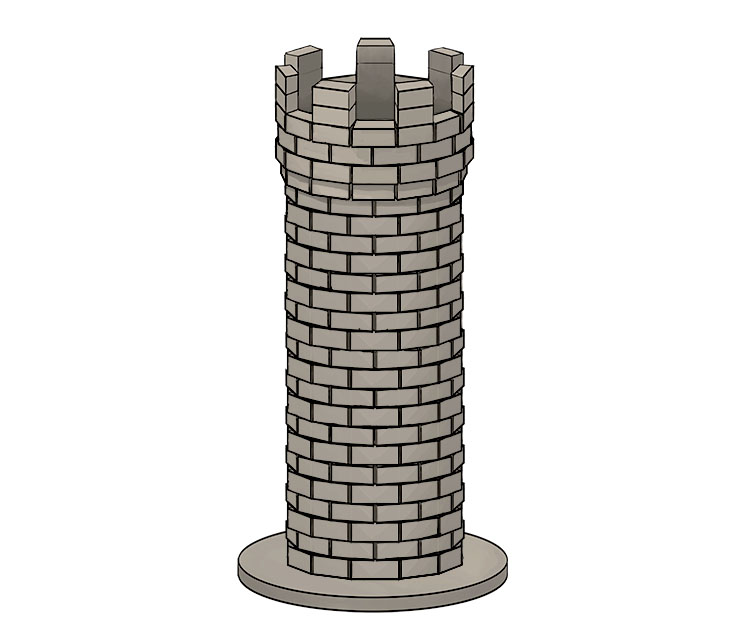
Now add a stack of two bricks onto every other brick on top of your tower to create your battlements.
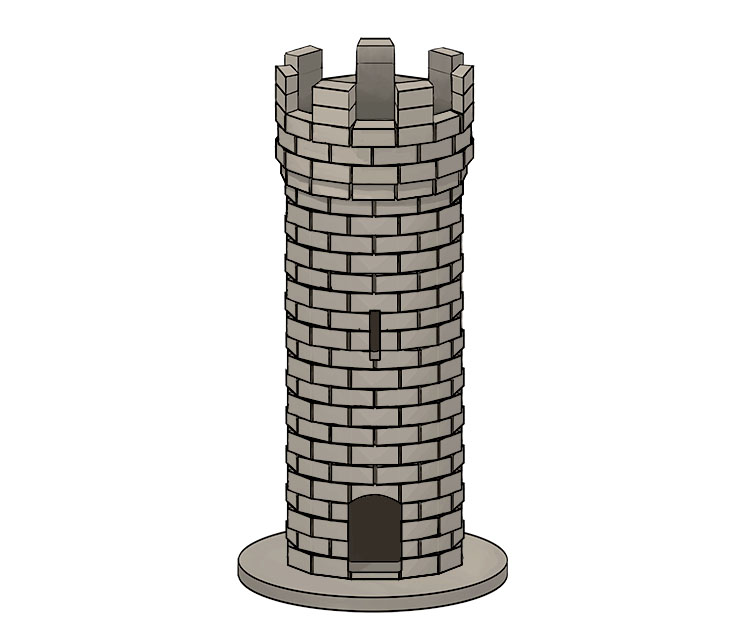
To add in the door and window, use your knife to score the outline of the door and window which are shown in red on the image below.

Using your knife, repeatedly go over the scored lines of the doorway and window until you have cut all the way through the wall of the tower. You will now be left with your finished model tower.
Clay.


