
Firing – Heating pottery or sculptures in a kiln or open fire to bring clay to maturity
To remember what firing is, recall the following mnemonic.
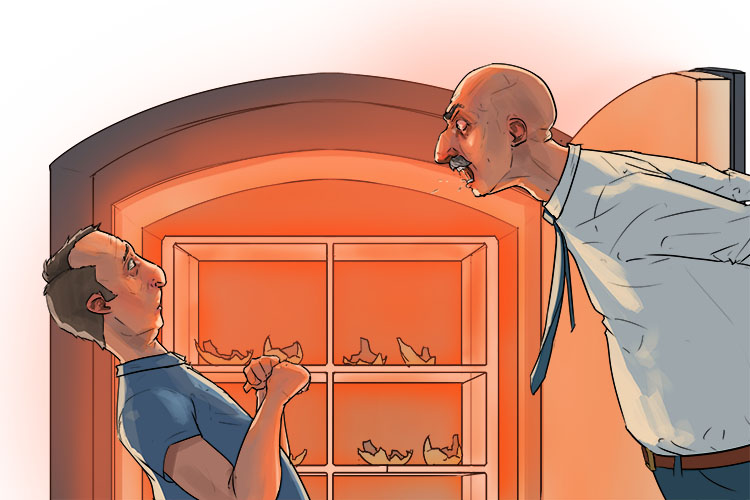
The factory boss said he was firing (firing) the kiln operator because the temperature was too high and all the pots were coming out cracked. He wanted the heating of the pots to be done properly, not too high and no pots cracked.
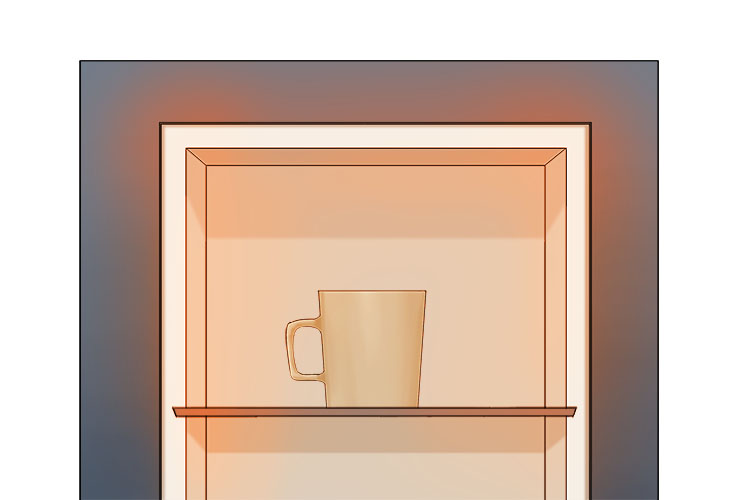
Most modern pottery is fired using a kiln. A kiln is a thermally insulated chamber capable of reaching high enough temperatures to permanently alter the physical structure of the clay, making it more durable and less porous. Modern kilns are often heated electrically as it offers greater temperature control, but older kiln's (like the one in the image below) were often heated using wood or coal. Another technique for firing pottery is pit firing. This is one of the oldest known methods of firing clay and involves placing unfired pots in a pit with combustible material, covering the pit, then setting it on fire and tending it until most of the fuel has been burnt. The pots are then removed from the pit and cleaned off. There are numerous parts of Africa and South America that continue to pit fire pottery to this day.
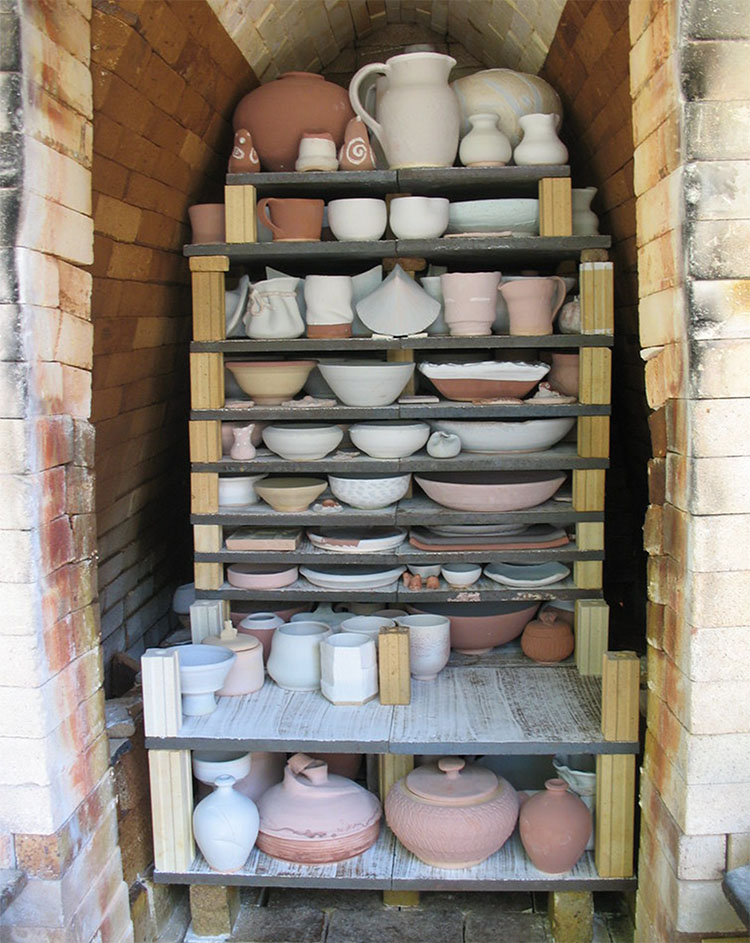
"old kiln partially loaded" by bptakoma is licensed under CC BY 2.0.
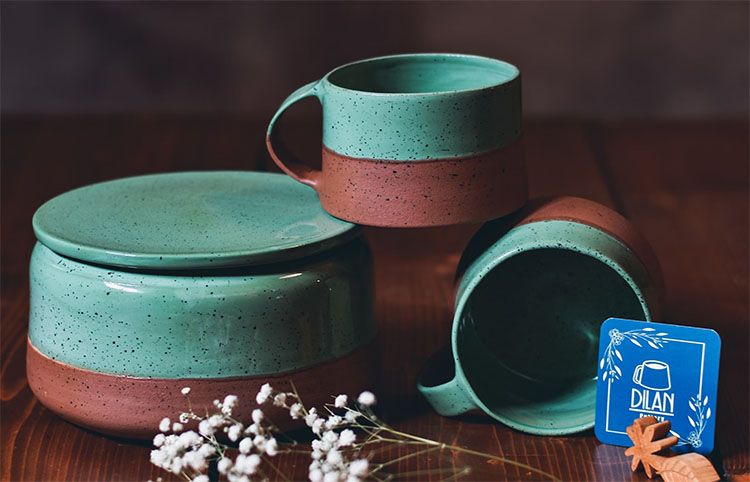
There are two main types of firing used in pottery, biscuit (bisque) firing and glaze firing. Biscuit firing is the first firing and changes the pot from greenware to biscuit ware, which makes the pot more durable, less porous and more suitable for decorating or glazing. Glaze firing, sets any glazes applied to the pot, creating a glassy coating that gives the pot a smooth and protective coating. Glazing can also make earthenware water tight, making it usable for dinnerware and liquid storage. The image below is an example of pottery that has been decorated using two different coloured glazes and was likely done by dipping half the pot in each colour.
Firing Project
For this project we’re going to cover a series of glazing techniques you can use to decorate your biscuit fired pottery, we’re going to be using our slip cast mugs from the mammoth memory slip projects. Keep in mind during this project that most glazes will substantially change in colour and be brighter and more saturated when fired so you may wish to find examples of the glaze after firing, or do some test firing yourself.
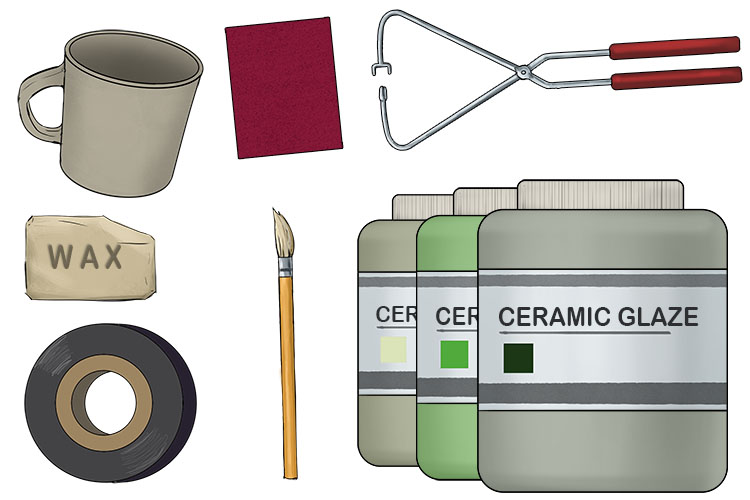
You will need a fully dried clay pot, sandpaper, wax, tape, different coloured glazes, tongs and a brush.
First you will need to biscuit (bisque) fire your pot. This involves slowly heating the pot in a kiln to increase its durability and makes it more porous, which makes it more suitable for decorating and glazing. The temperature the clay needs to be fired at will vary depending on the type of clay being used.
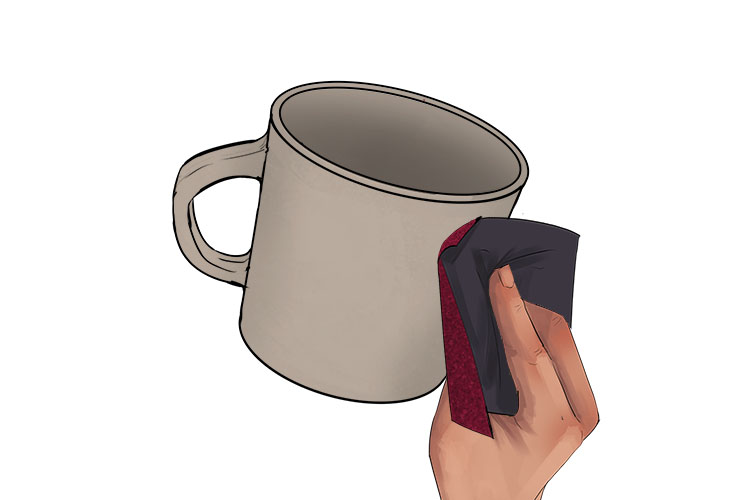
Before applying any glazes you need to prepare your biscuit ware pot. First you need to sand down any sharp edges as these will be even sharper once the pot has been glazed has been fired again.
Next you need to rinse your pot to remove any dust or dirt that could get trapped under the glazes. Then leave the pot to dry off.
Now you need to brush hot wax onto the bottom of your pot, the wax should also go about half a centimetre up the side of your pot too. This wax will ensure no glaze gets on the bottom of your pot, this is very important as any glaze on the bottom of your pot will cause it to stick to the kiln shelf and ruin both the pot and the shelf.
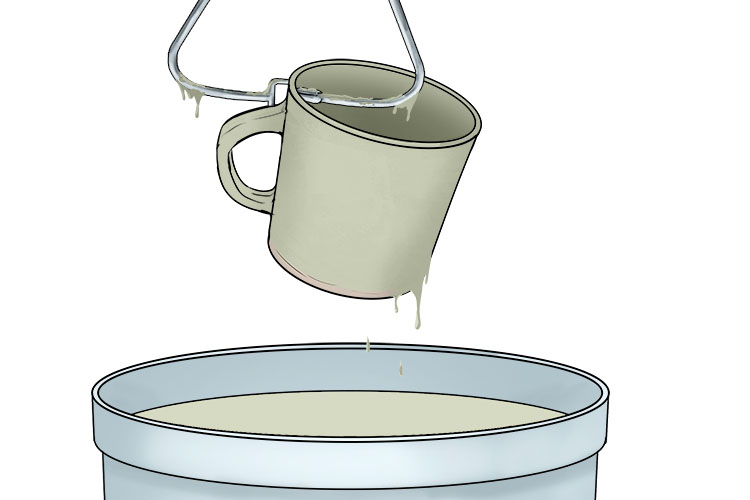
The first and simplest method for glazing a pot is to pick the pot up with a pair of tongs and dip it in your glaze to give you an even coat of a single colour.
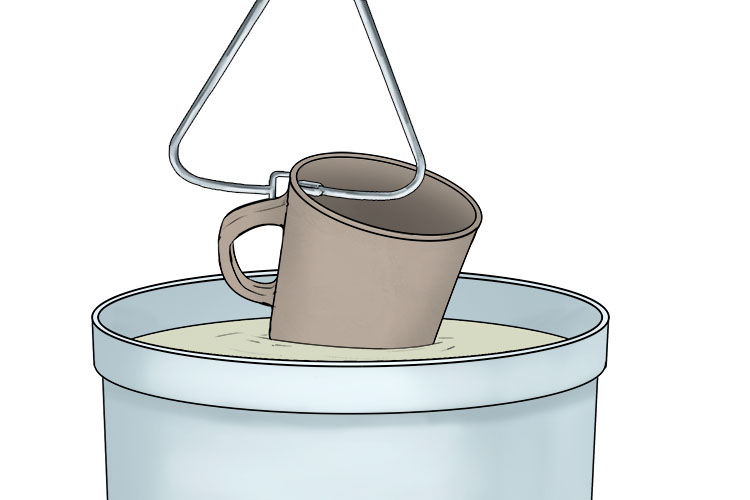
After a few seconds remove your pot, and gently shake off excess glaze before leaving it to dry. This method is great for applying a base colour before adding more decorative glazes over the top.
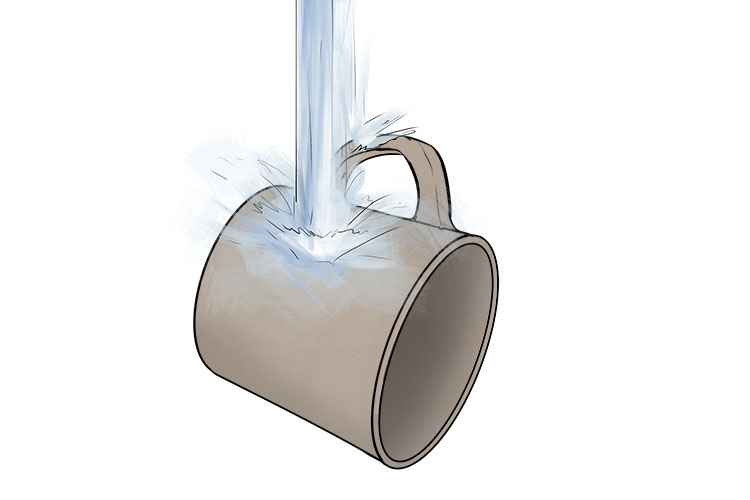
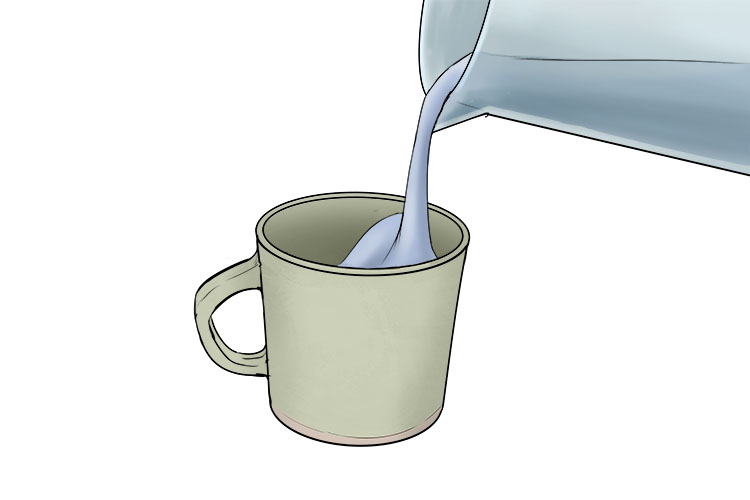
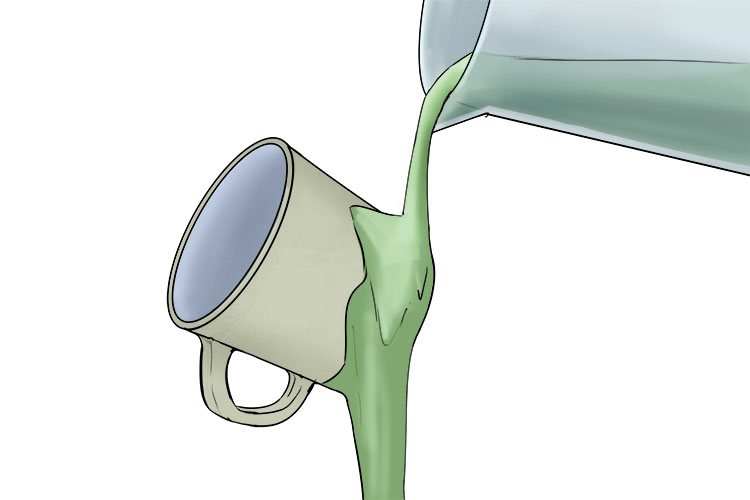
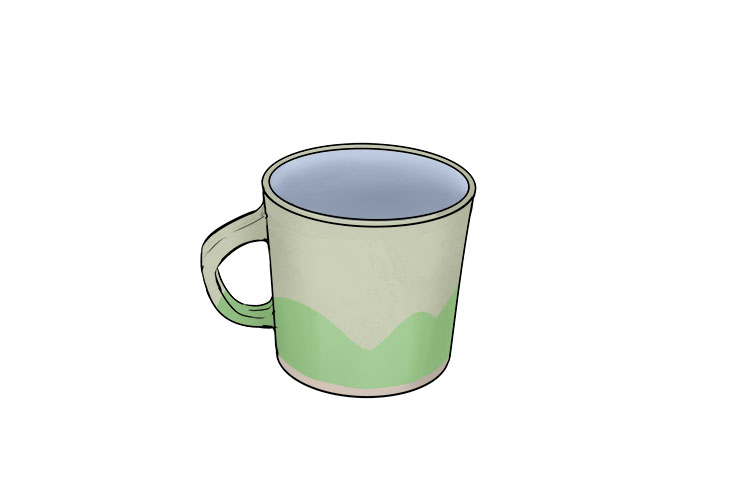
The next technique is to pour the glaze which will allow us to apply a separate colour to the inside and outside of the pot. First fill your pot with glaze, then wait a few seconds before tipping it out.
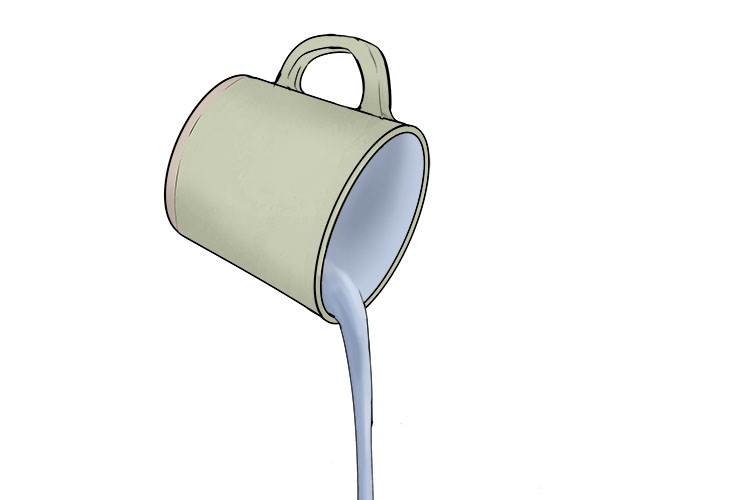
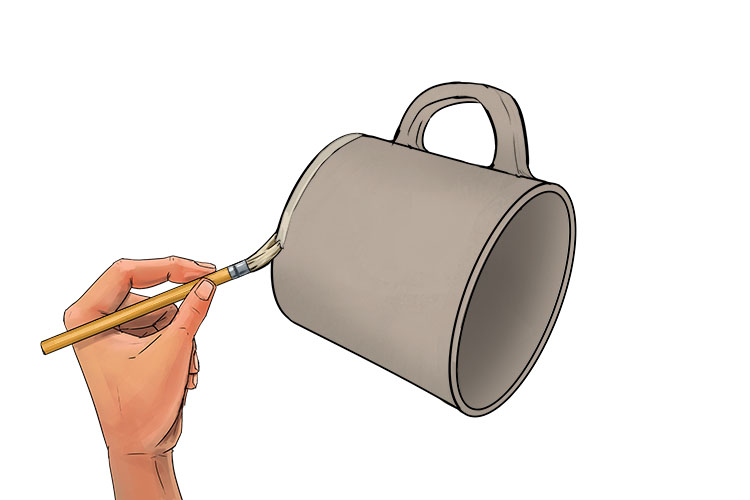
Once the glaze inside the pot has dried, you can then pour your second colour of glaze over the outside.
You can either cover the whole of the outside by pouring one colour, or create an abstract design by pouring multiple colours.
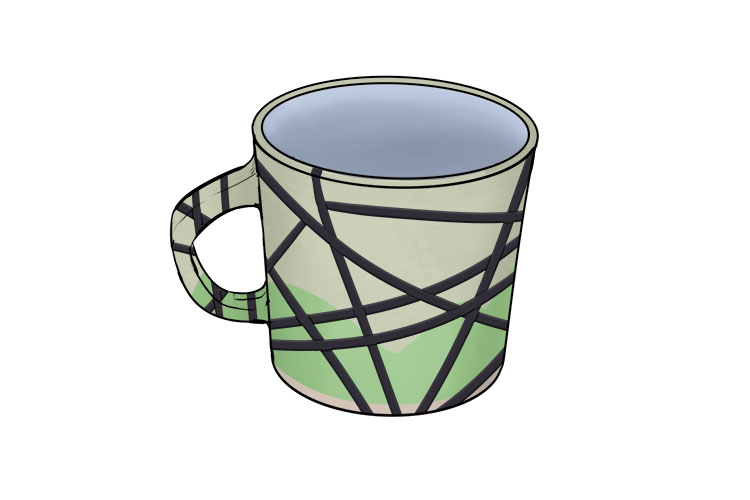
Another technique you can use to decorate your pot is to use a resist which is a resistant substance applied as a coating to protect certain areas. There are a variety of materials you can use like wax or tape. Tape off any areas you don’t want glazed then you can either brush, dip or pour the glaze.
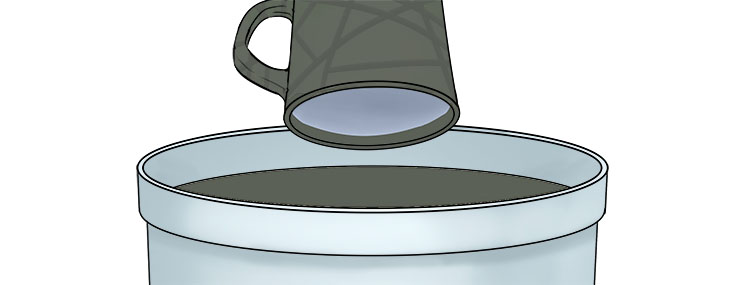
We've decided to dip our mug, however this time we stopped just below the rim as we don't want to glaze the inside of the mug.

We then dipped just the rim so the outside was fully covered.
Once the glaze has dried you can remove your resist if necessary (things like tape or paper need to be removed before firing, wax will melt away in the kiln).
Once all of these glazes have air dried you can glaze fire them, this will harden all of the glazes and give your pot a glassy coating.

Firing.


