
Pottery – containers or vessels made of clay
Into the cooking pot went various (pottery) bits of clay.
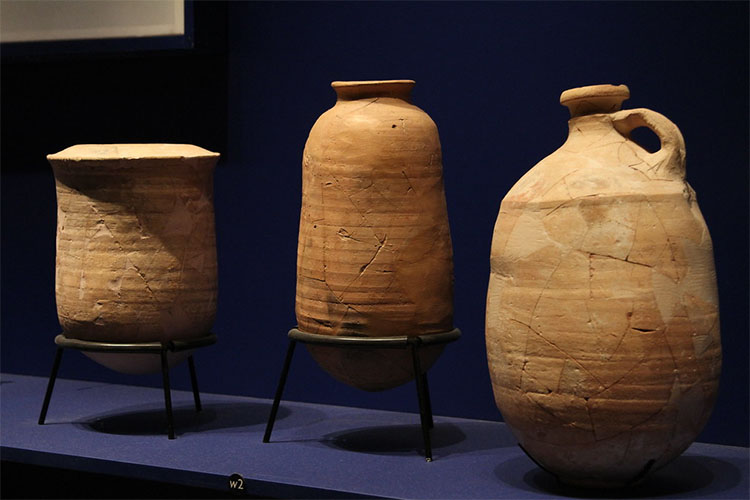
"Ancient Pottery from the Holy Land" by Jim, the Photographer is licensed under CC BY 2.0.
Pottery and ceramic work is one of the oldest known human crafts and can be dated back as far as 29,000 BCE. Throughout history pottery has been used by numerous ancient cultures with a variety of different purposes, from everyday household use to ceremonial and burial uses. In many cases pottery can be separated into two main categories; coarse or village ware which was often less meticulously made and had little to no decoration making it cheap and more suited to everyday tasks, and fine ware which was often much more expensive, elaborately decorated and functioned more as a status symbol.
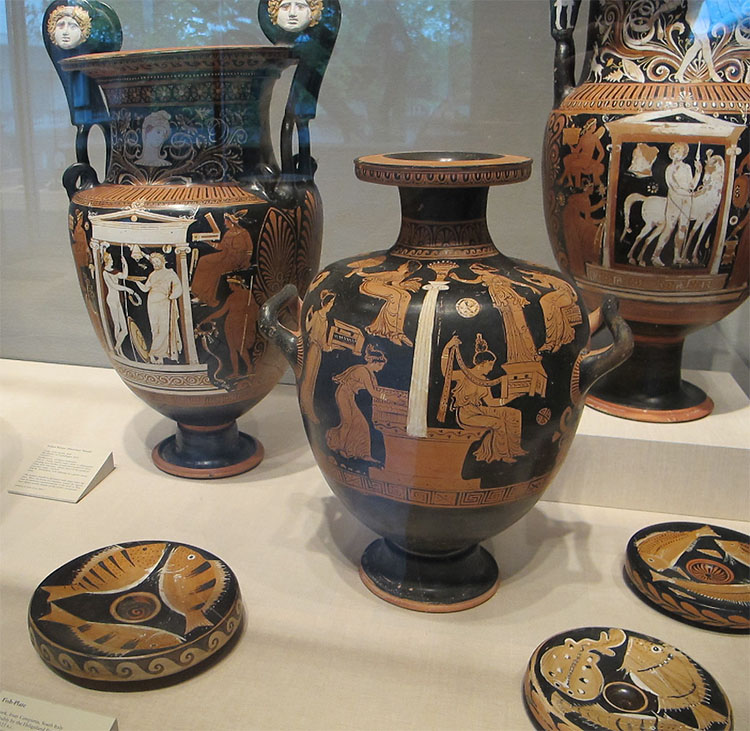
"Greek Pottery" by Ed Bierman is licensed under CC BY 2.0.
Ancient Greek pottery is some of the most distinct and recognisable ancient pottery. Clay was widely available in ancient Greece and was largely red/orange in colour due to it's high iron content, this red/orange base colour predominantly decorated with black and white slip. Many of these vessels and containers were decorated with figures from Greek mythology and would depict various scenes and narratives. Ancient Greek pottery was largely created on a potters wheel and were often made in separate horizontal segments which were joined using slip, i.e. the foot, body and neck of the pot would all be thrown separately and 'glued' together using slip when they were all leather hard.
Pottery Project
For this project we're going to be making a pinch pot vase (making a pinch pot is pressing the thumb into a ball of clay and drawing the clay out into a pot by repeatedly squeezing the clay between the thumb and fingers).
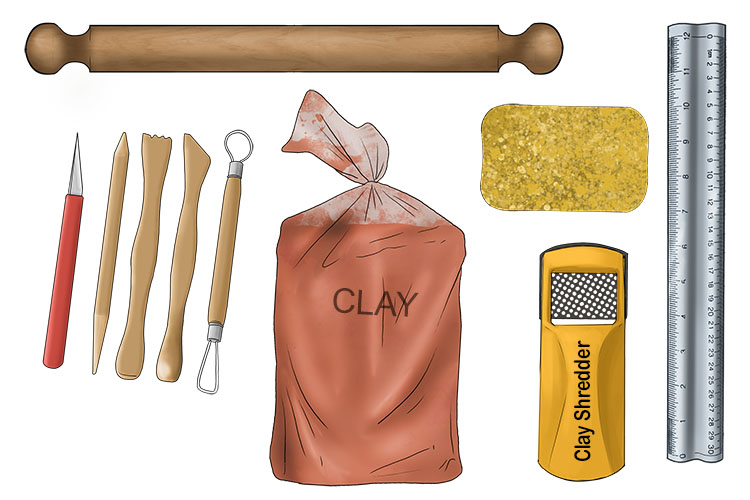
You will need clay, clay carving tools, a ruler, a sponge, a clay shredder and a rolling pin.
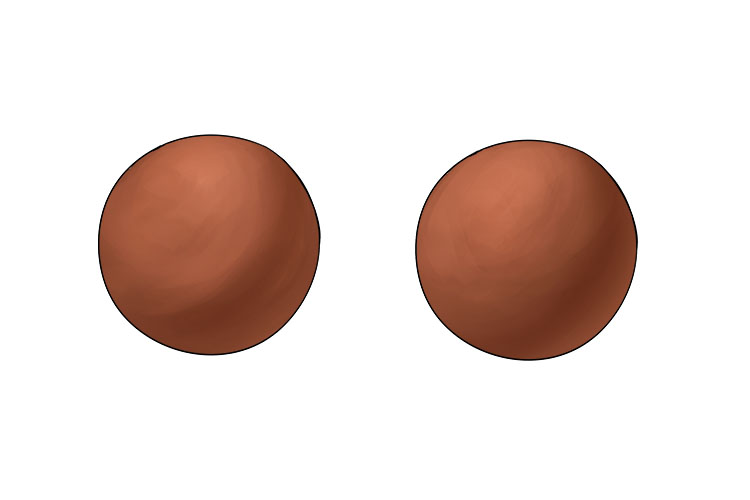
To start you will need to roll two equally sized balls of clay. The size of ball you use will depend on how large you would like your vase, however the more clay you use, the harder it will be to work with so we wouldn't recommend using a ball of clay larger than a tennis ball. We are going to make two separate pinch pots that we will join together to create the body of our vase.
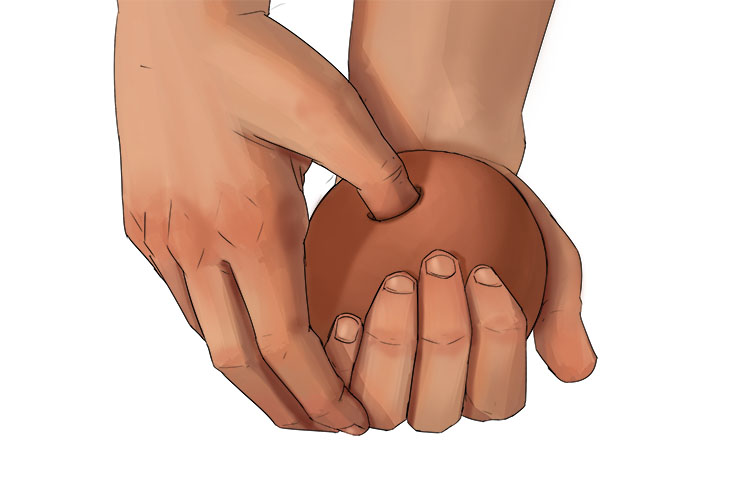
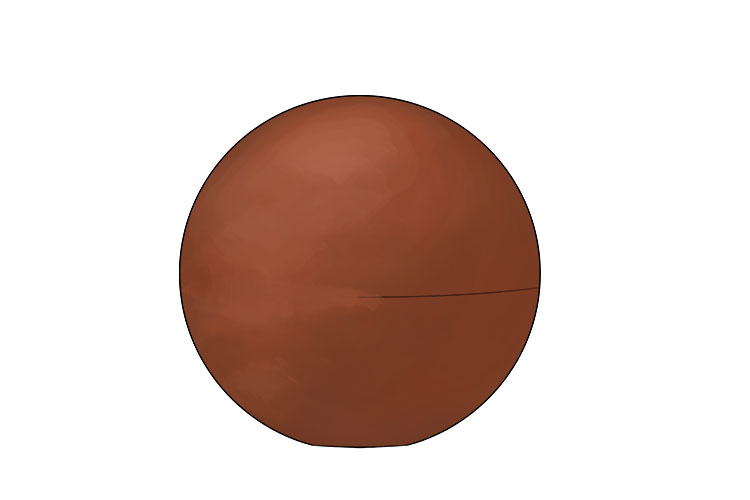
Take one of your balls of clay and push your thumb into the centre of it. You should stop pushing when your thumb is roughly 1/2 an inch away from pushing right through the clay.
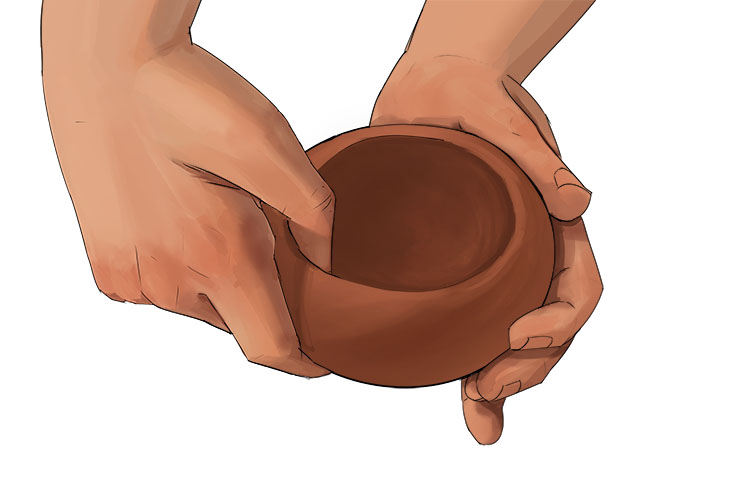
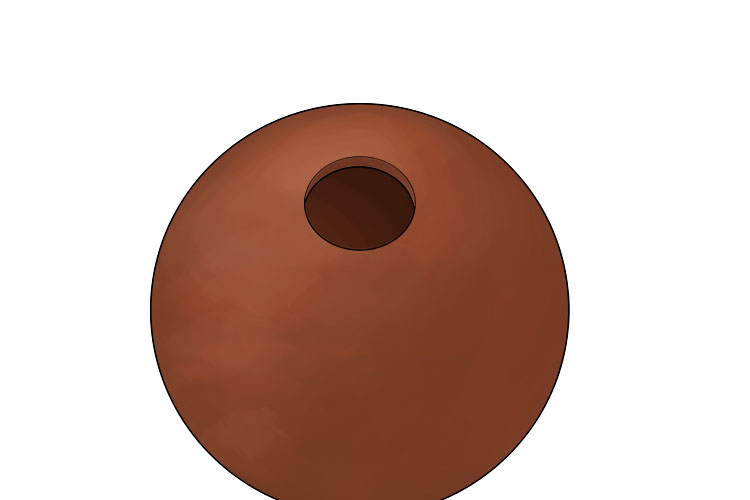
Repeatedly pinch the clay between your thumb and fingers, rotating the clay as you do so. This will start to open up the hole you made with your thumb.
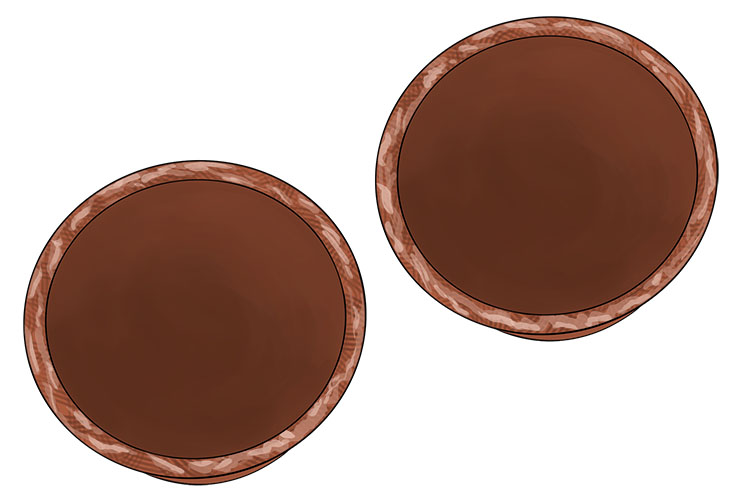
Continue to pinch the clay until you have a half-sphere shape and the clay is no more than 1/2 an inch thick across any point of the pot.
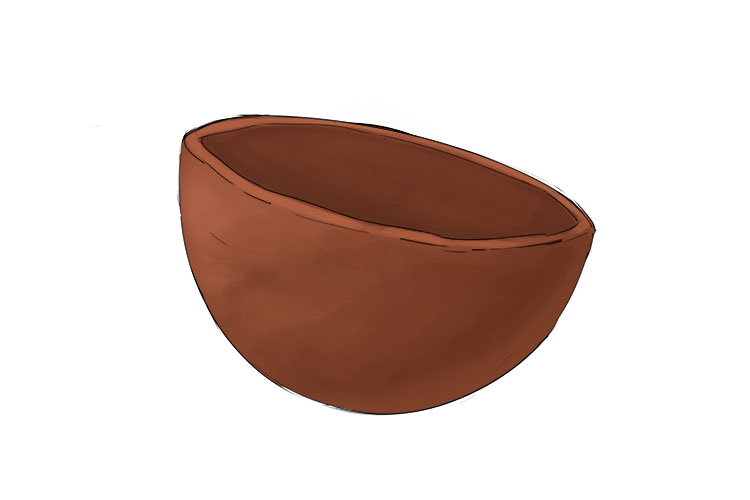
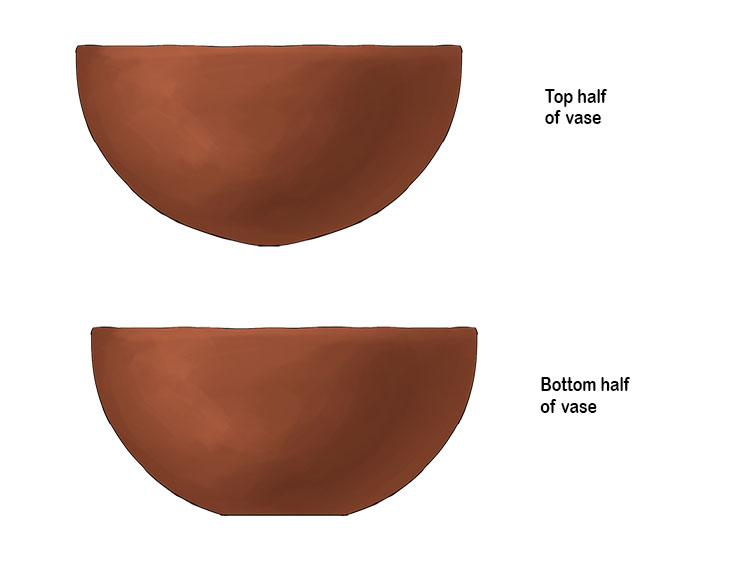
This first pinch pot will be the bottom half of our vase body so we will need to flatten out the bottom, this can be done by repeatedly tapping it on a flat surface.
Now repeat this process with your second ball of clay, skipping the step where we flatten out the bottom. This second pot will be the top half of our vase body. Make sure that the rims of both pots are the same size so they match up when joined, then leave the two pots to dry until leather hard.
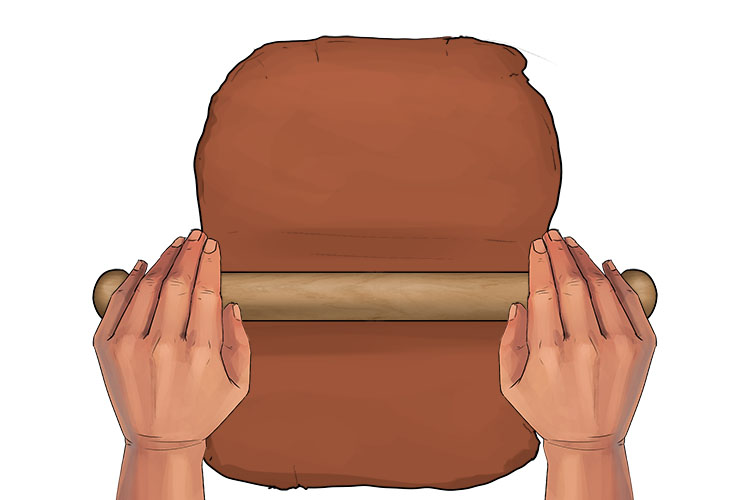
While the two halves are drying you can make the neck of the vase. The neck being the top section of the vase used for pouring. Start by rolling out an inch thick sheet of clay.
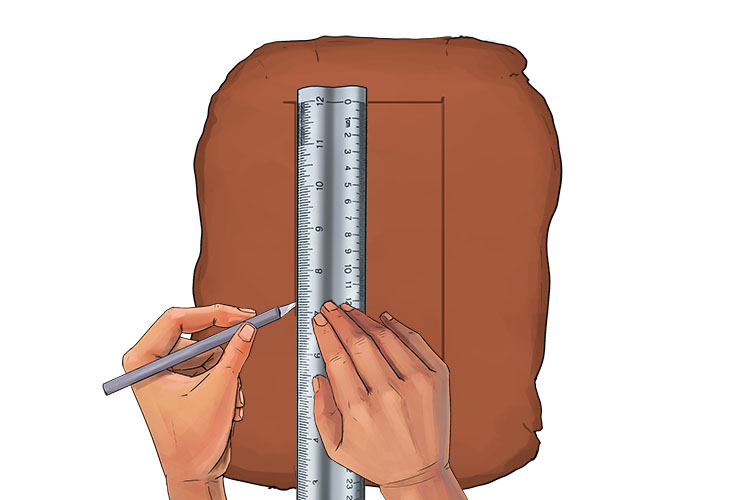
Cut a rectangle out of your rolled out clay. The width of this rectangle will determine how tall the vase neck is, the length will determine how wide the vase neck is.
Join the two shorter ends of the rectangle together to form a cylinder.
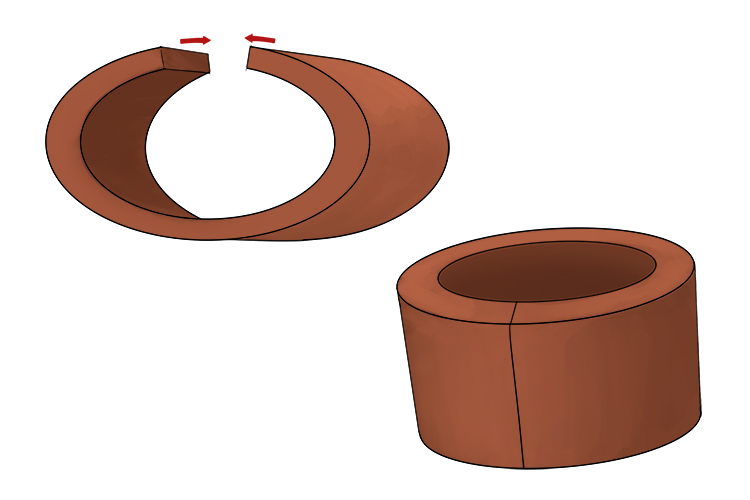
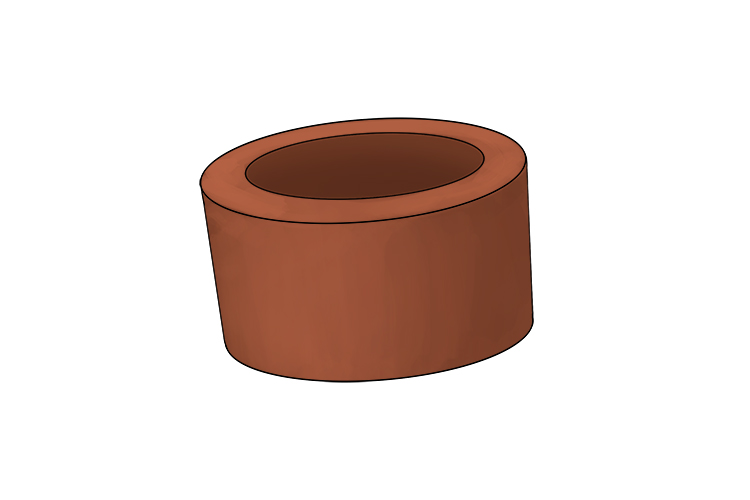
Then smooth out the seam on your cylinder.
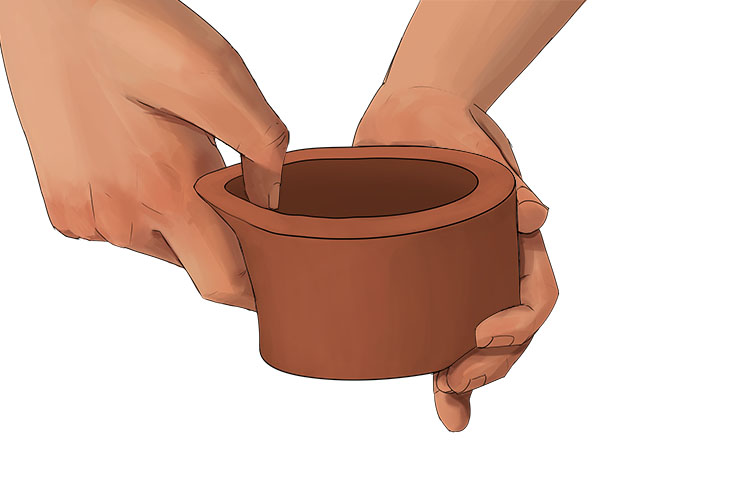
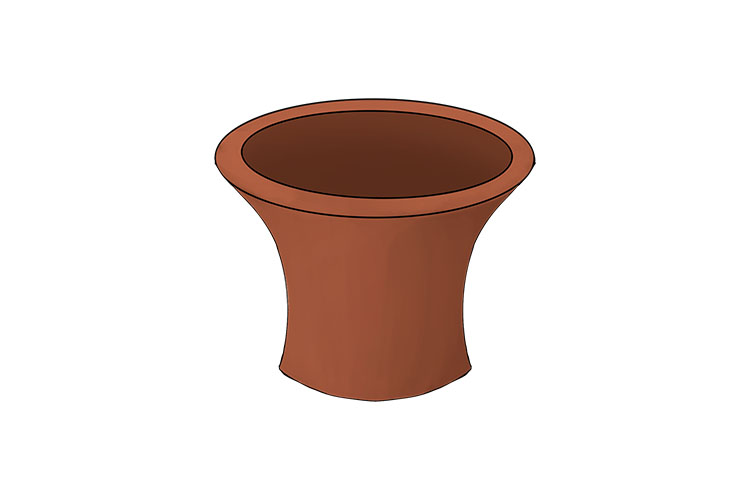
Now you can shape the cylinder into the your desired neck shape by pinching and pulling out the top and bottom edges of the cylinder.
Once you're happy with the shape, leave it to dry until it is leather hard.
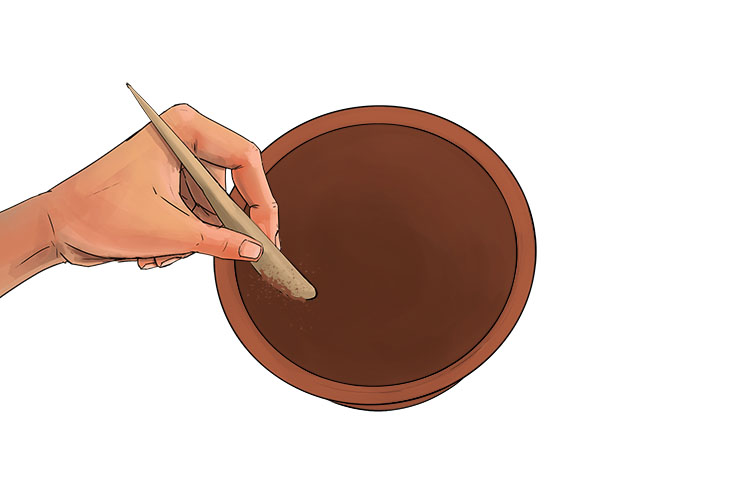
Once all of your pieces are leather hard, we can focus on tidying up our two pinch pots so they have smooth surfaces. Using a curved clay carving tool, scrape the inside of each pot to remove any bumps and even out the surface as below:
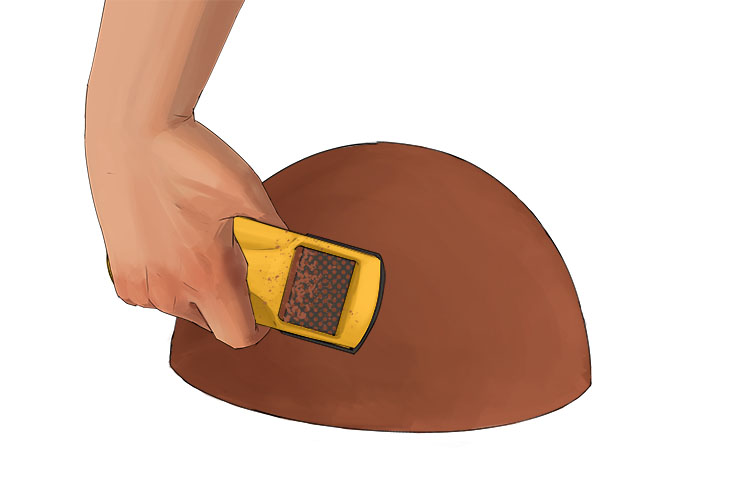
Use your clay shredder to even out the outside surfaces by gently running it across the outside of each pot.
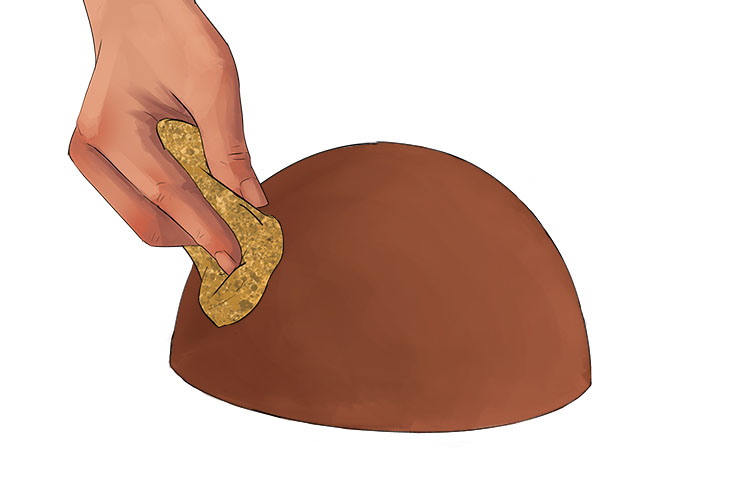
Smooth out the inside and outside surfaces with a damp sponge to give a cleaner finish.
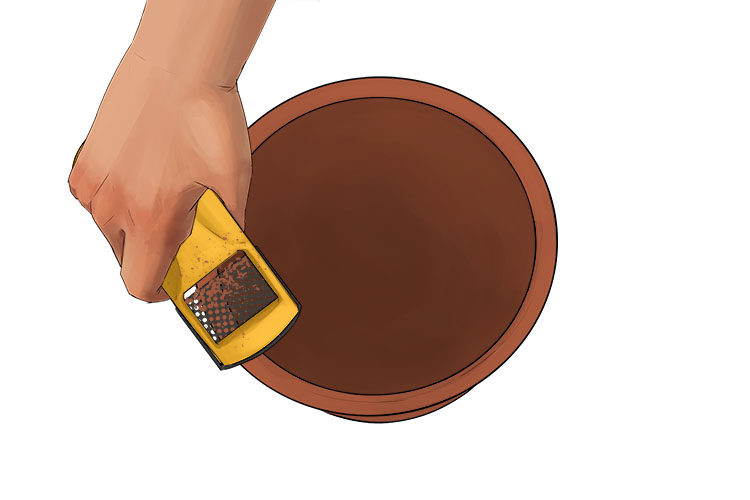
Next use the shredder to level off the rim of each pot so you have level surfaces to join the two together.
Score the rim of both pots and apply slip to each.
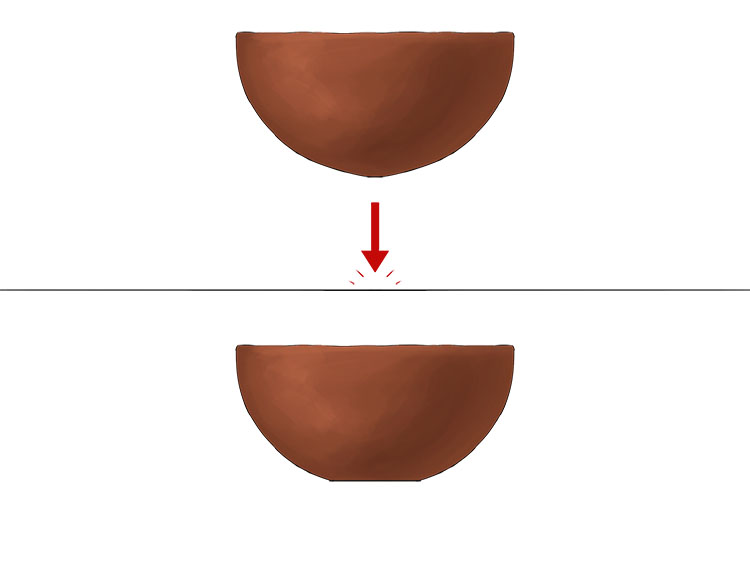
Line up the two halves and carefully press them together and smooth out the seam.
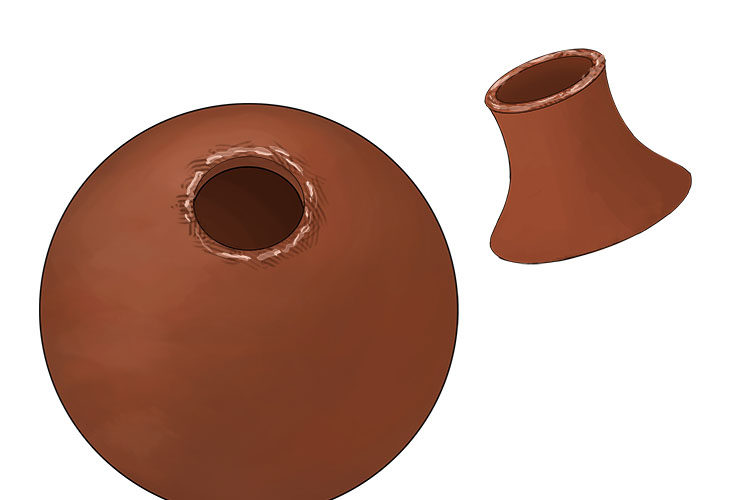
Cut a circle out of the top of your vase that is slightly smaller than bottom of the vase neck we made earlier.
Now score and apply slip to the neck and vase and attach the neck to the vase.
Smooth out the neck seam inside and outside, then leave the assembled vase to dry before firing. Drying time will vary depending on the size of your vase and a number of environmental factors but will likely take a couple of days.
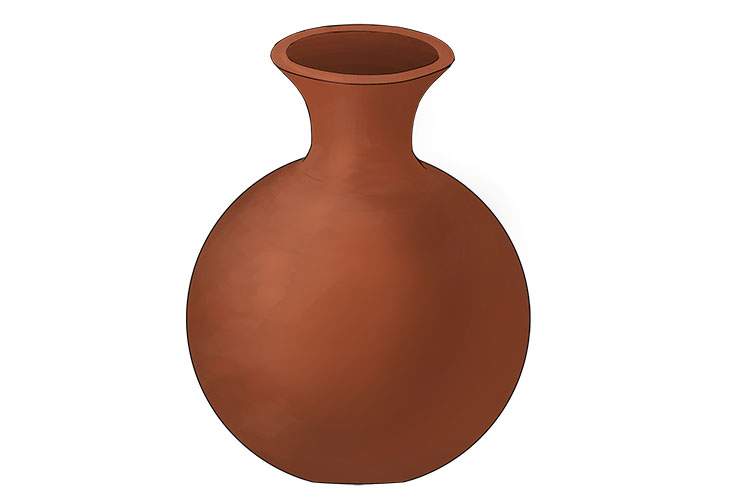
Pottery.


