
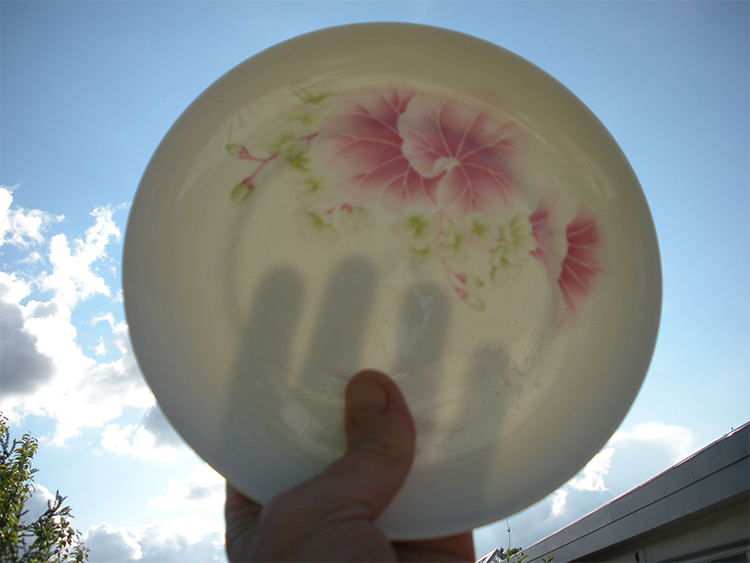
Porcelain – Objects made out of clay typically white in colour. Translucent and highly fired. True porcelain is fired at over 1300 degrees Celsius
(Pronounced paw-sehl-in)
To remember that porcelain is fired at the hottest of kiln temperatures use the following mnemonic:
The bear who hurt his paw was sulking (porcelain), he'd burnt it on the very hot kiln getting his pottery out.
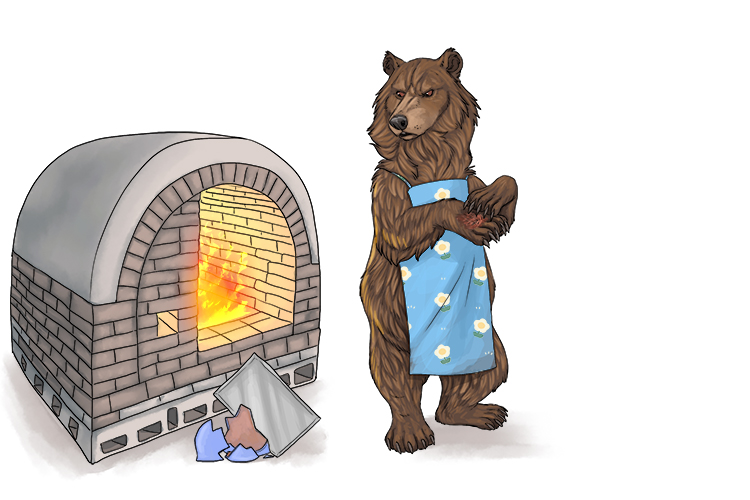
and to remember that porcelain is normally white in colour use this mnemonic.
Bears have big paws so they can fling (porcelain) large white snowballs.

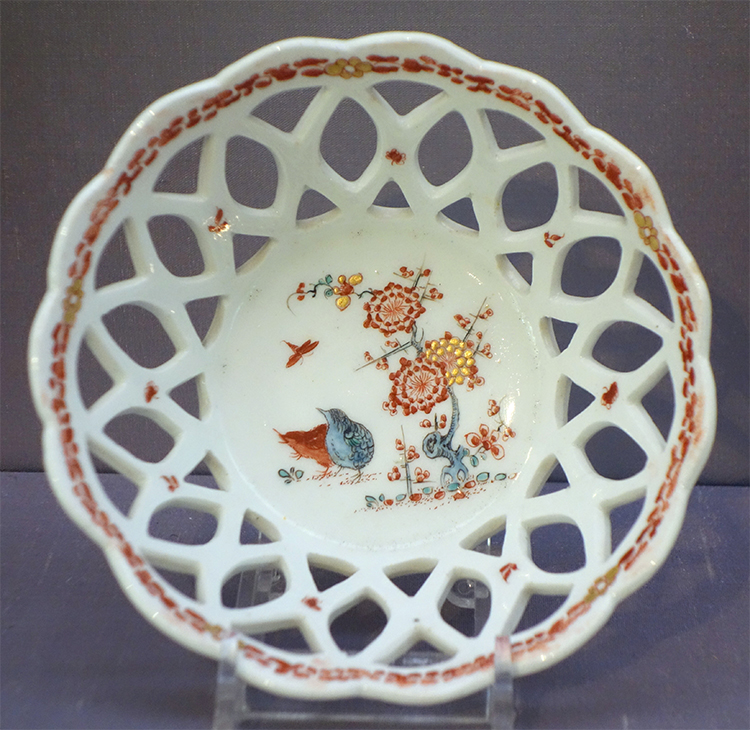
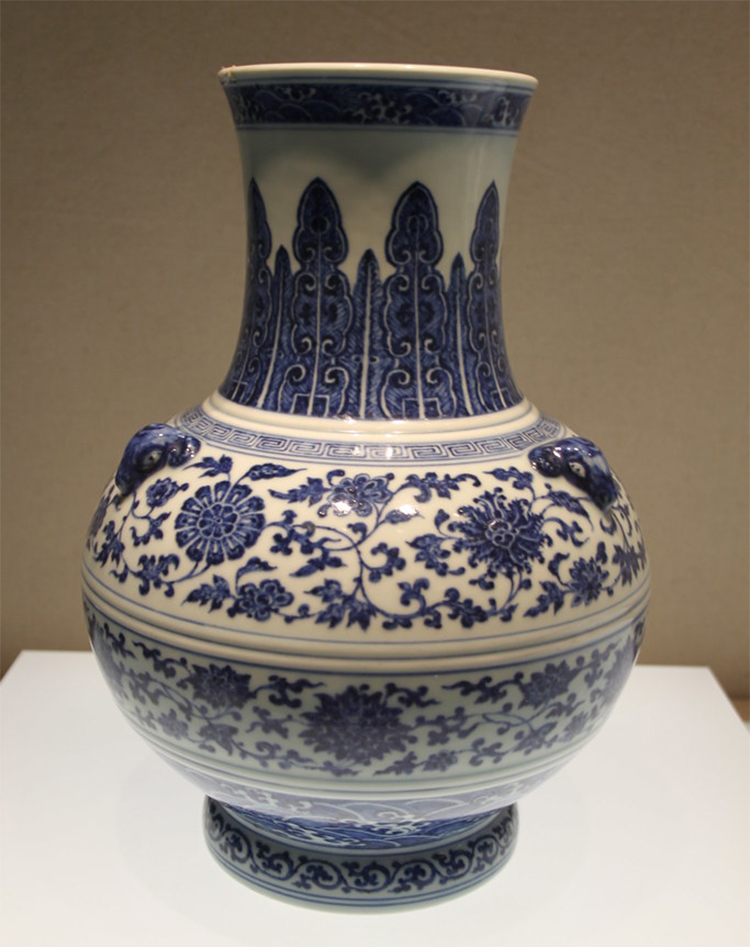
Porcelain was invented in China and was perfected over several centuries (between 1600-1046 BCE and 618-907 CE). The later date range was when porcelain became recognisable as we know it today, with its white, translucent quality.
Porcelain Project 1
For this project we will be making a teapot.
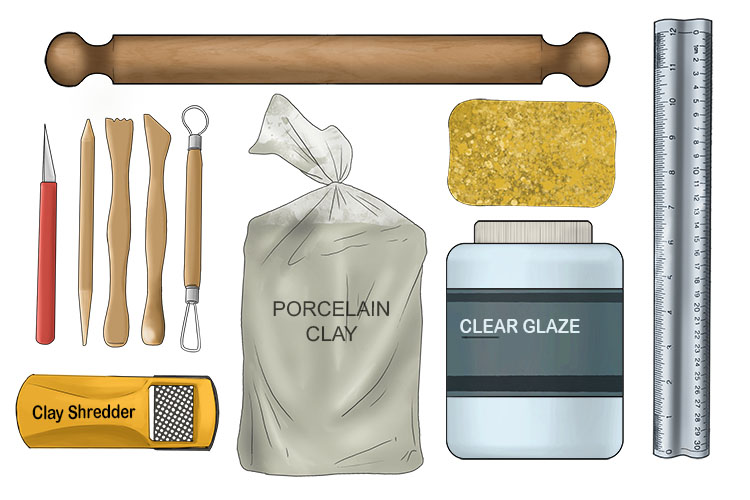
You will need porcelain clay, a sponge, a clay shredder, clay carving tools, a rolling pin, a ruler and some clear glaze.
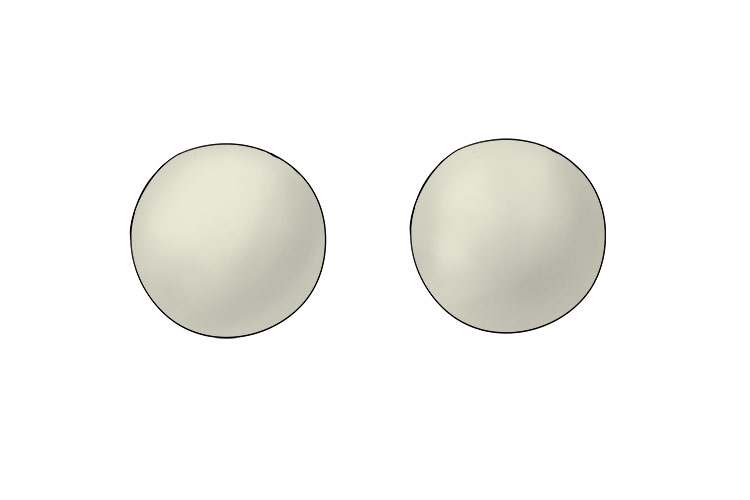
To start you will need to roll two equally sized balls of clay. The size of ball you use will depend on how large you would like your teapot, we wouldn't recommend using a ball of clay larger than a golf ball for this project. We are going to make two separate pinch pots that we will join together to create the body of our teapot like in our Mammoth Memory pottery project.
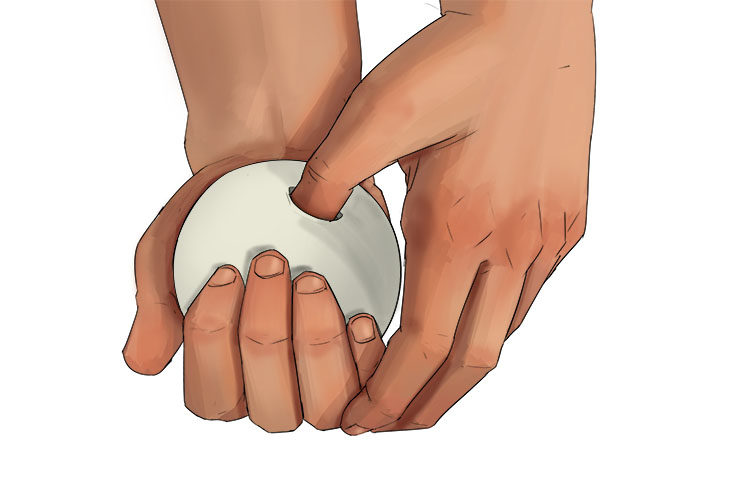
Take one of your balls of clay and push your thumb into the centre of it. You should stop pushing when your thumb is roughly 1/2 an inch away from pushing right through the clay.
Repeatedly pinch the clay between your thumb and fingers, rotating the clay as you do so. This will start to open up the hole you made with your thumb.
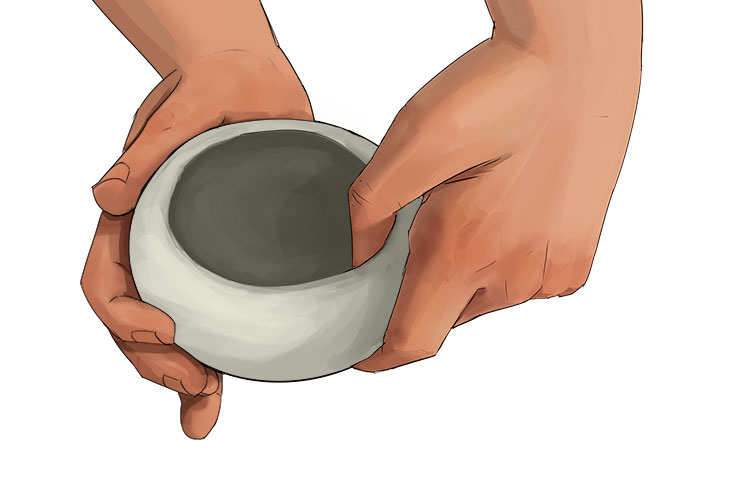
Continue to pinch the clay until you have a half-sphere shape and the clay is no more than 1/2 an inch thick across any point of the pot.
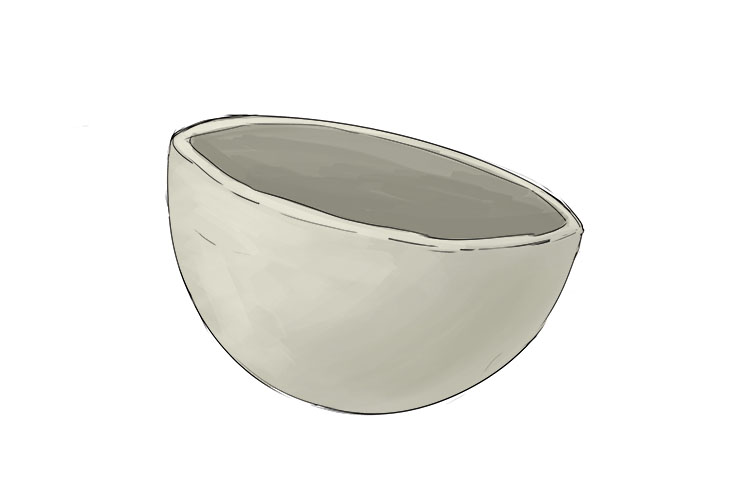
This first pinch pot will be the bottom half of our teapot's body so we will need to flatten out the bottom, this can be done by repeatedly tapping it on a flat surface.
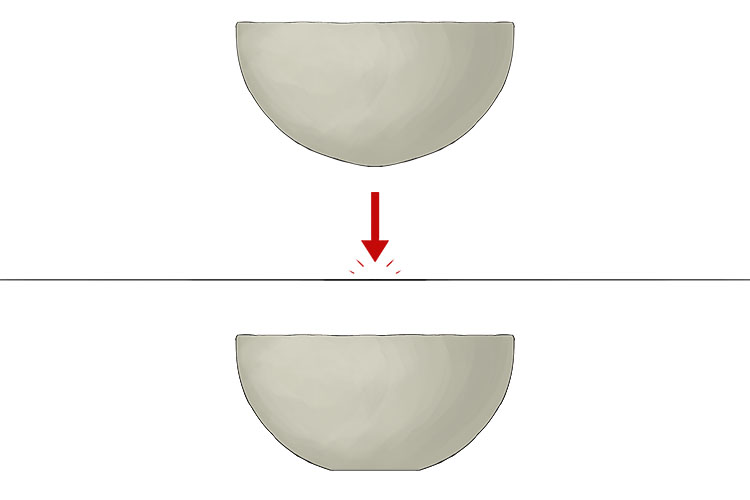
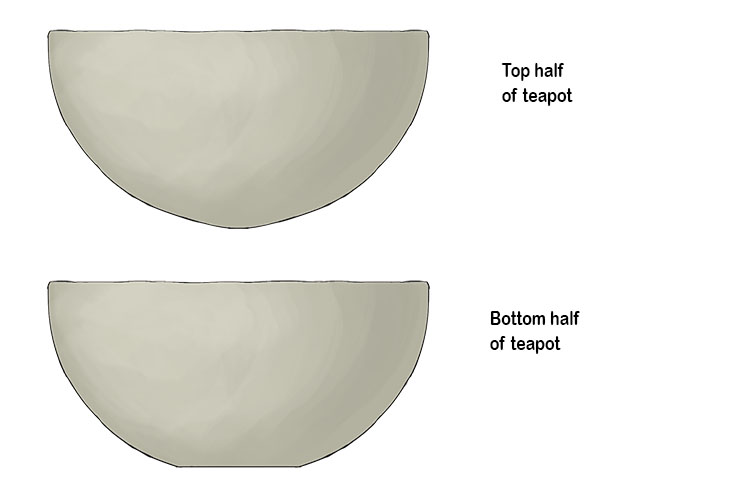
Now repeat this process with your second ball of clay, skipping the step where we flatten out the bottom. This second pot will be the top half of our teapot's body. Make sure that the rims of both pots are the same size so they match up when joined, then leave the two pots to dry until leather hard.
Using a curved clay carving tool, scrape the inside of each pot to remove any bumps and even out the surface as below:

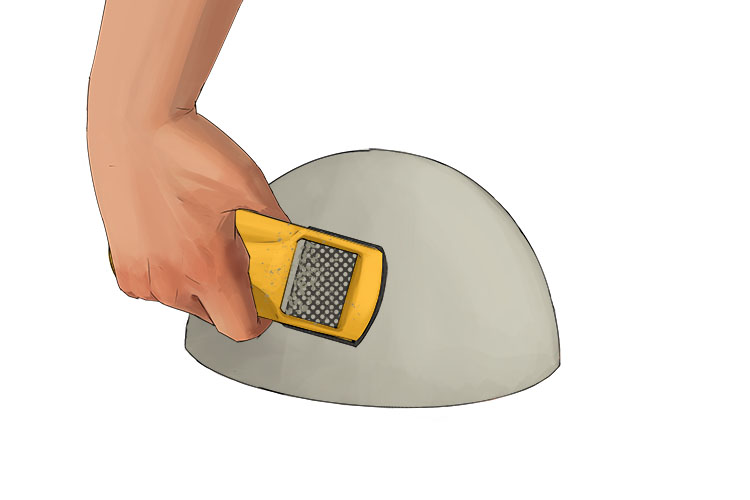
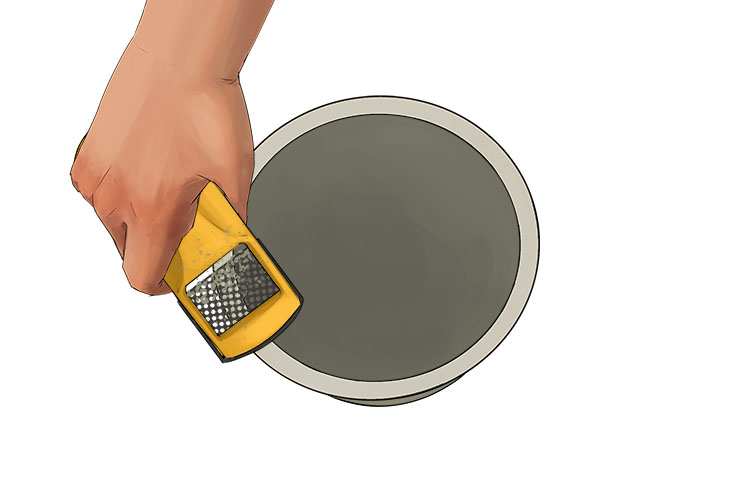
Smooth the outside using a clay shredder.
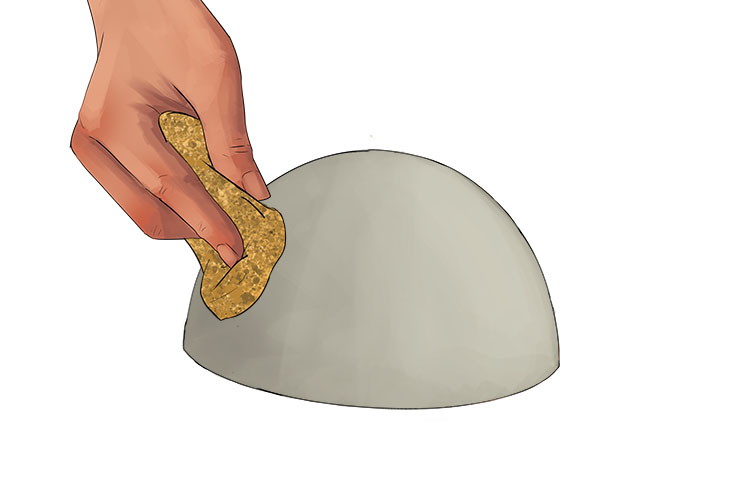
Go over the outside and inside surfaces using a damp sponge.
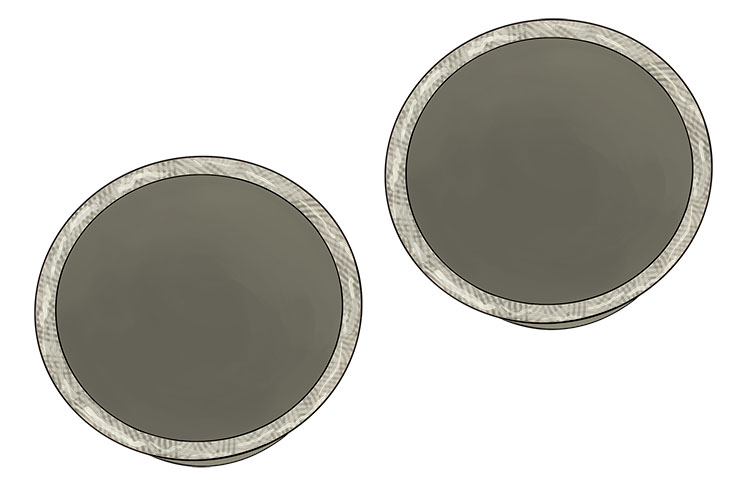
Level off the rim of each pot using your clay shredder.
Score the rim of each pot and apply slip.
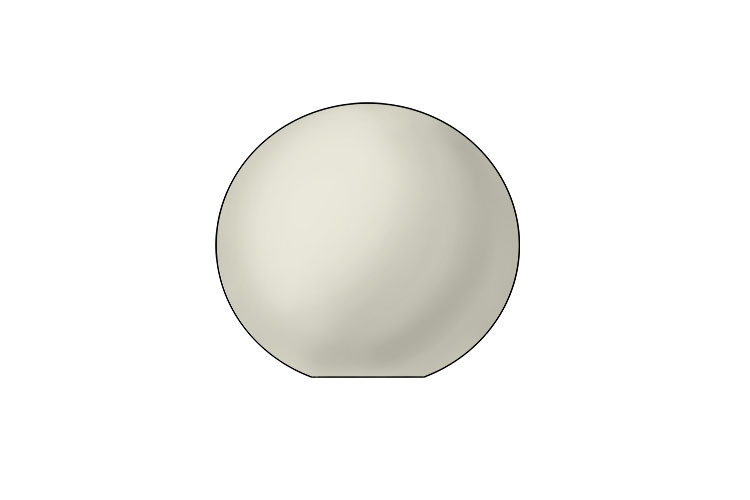
Join the two halves and smooth out the seam.
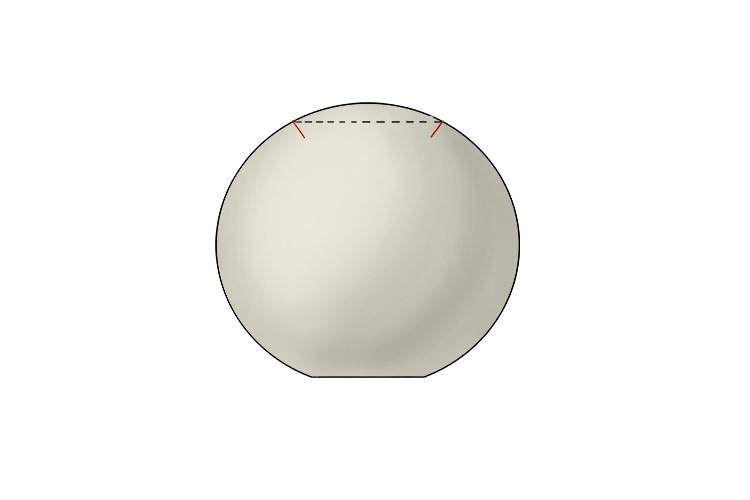
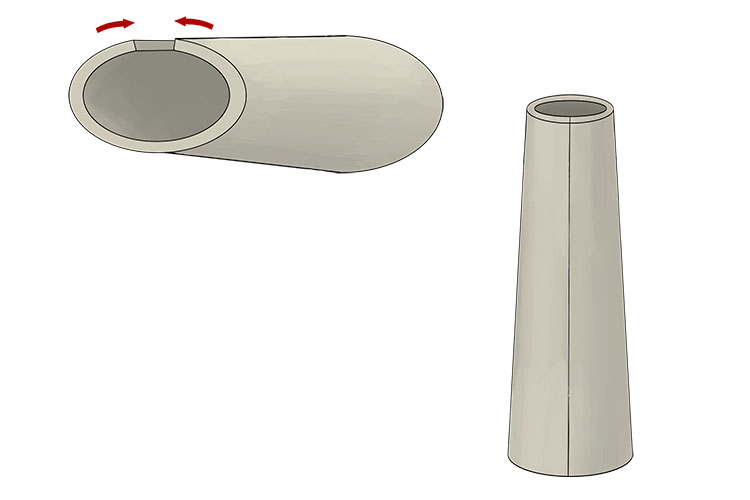
To make the lid, cut a circle from the top of your teapot but with your clay knife at an angle (indicated by the red lines on the image below). Cutting this circle at an angle is important as it will ensure your lid doesn't fall into the teapot or slide straight off when the teapot is moved.
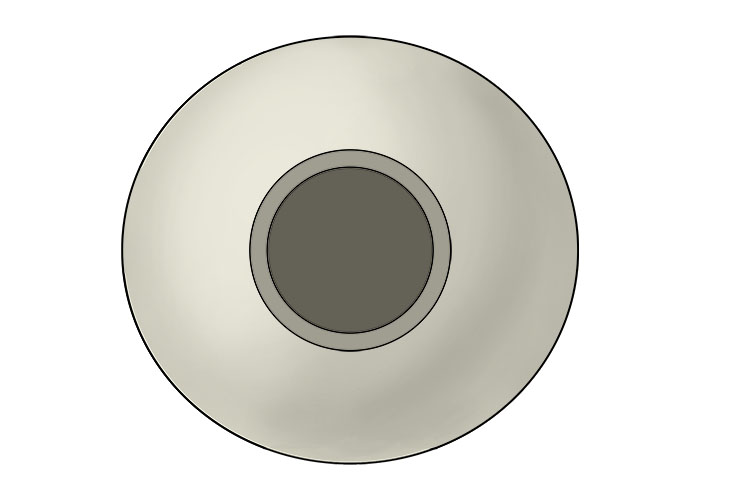
This is what the hole in the top of your teapot should look like from above.
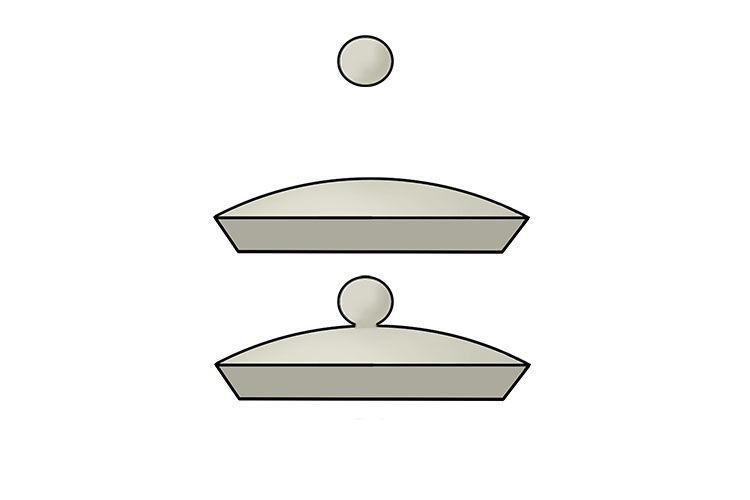
Roll a small ball of clay and attach it to the lid of your teapot. This will act as a handle to make it easier to remove the lid.
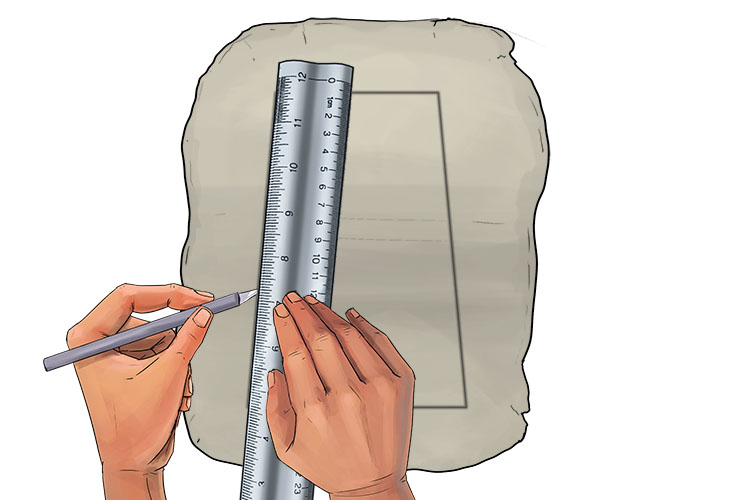
Roll out a 1/2 inch thick sheet of clay.

Cut out a narrow trapezium from your rolled out clay, this will be the spout of your teapot. The length of your spout will be determined by the distance between your two parallel sides on your trapezium.
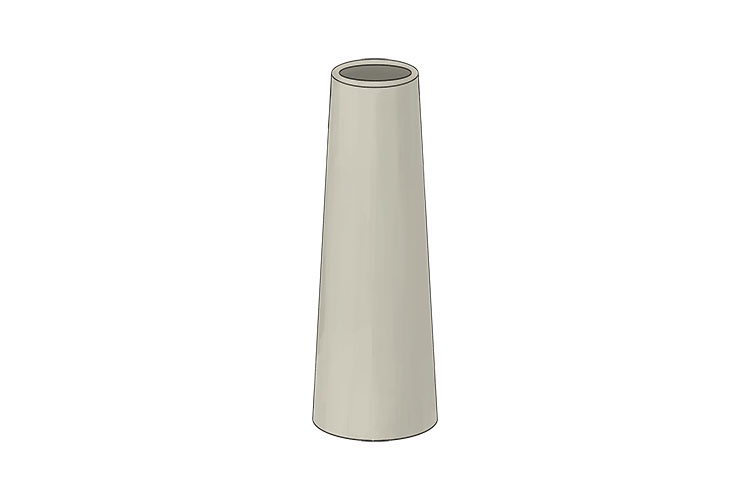
Join the two sloped sides together to create a cylinder that is wider at one end. Score and apply on the joint.
Smooth out the seam on the spout.
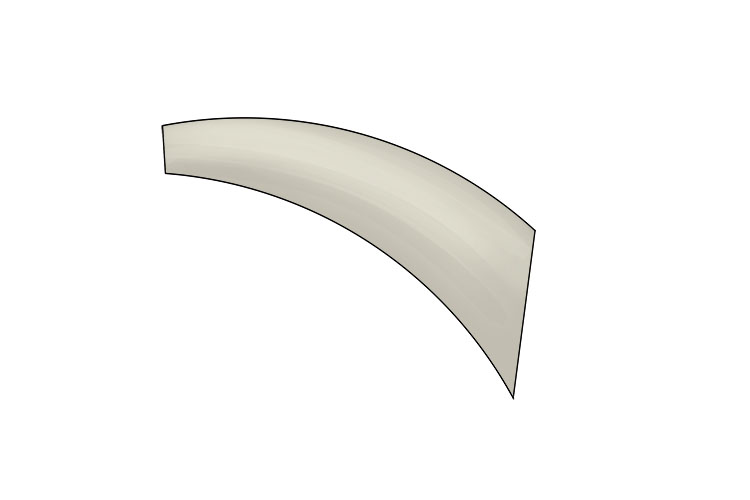
Carefully bend the spout slightly to add a slight curve to it as shown below. You can now leave your spout to dry until it is leather hard.
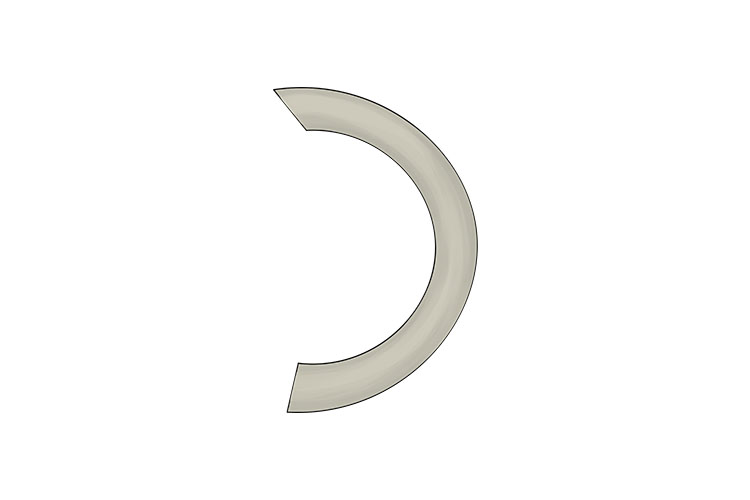
To make the handle, roll a small log of clay and trim the ends so they are both flat.
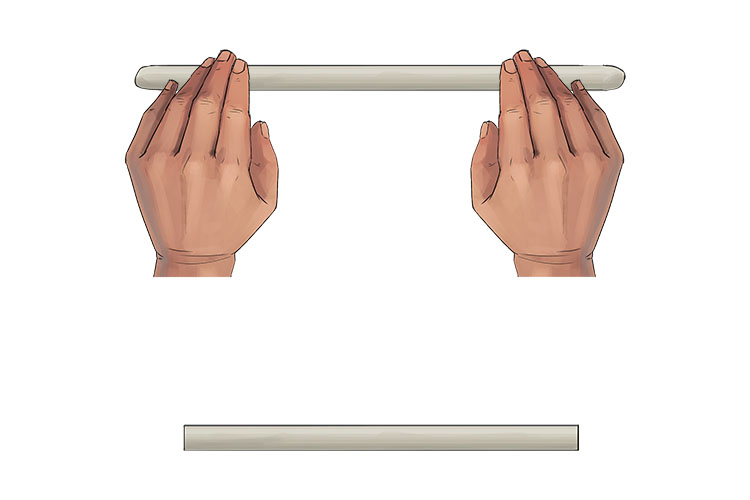
Bend the handle into a c-shape and leave it to dry until it is leather hard.
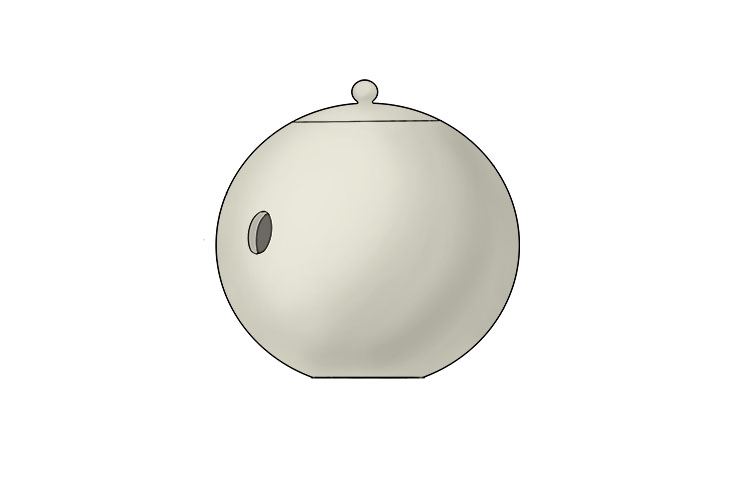
Once the spout and handle are leather hard, cut a hole on the side of your teapot’s body that is smaller than the larger end of your spout.
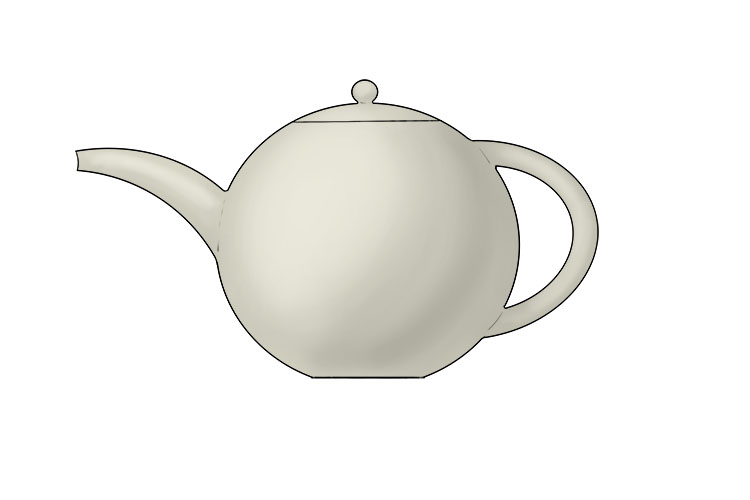
Attach spout and handle to body using slip.

smooth out the seams where the spout and handle are attached. You can now leave your teapot to dry ready for firing.
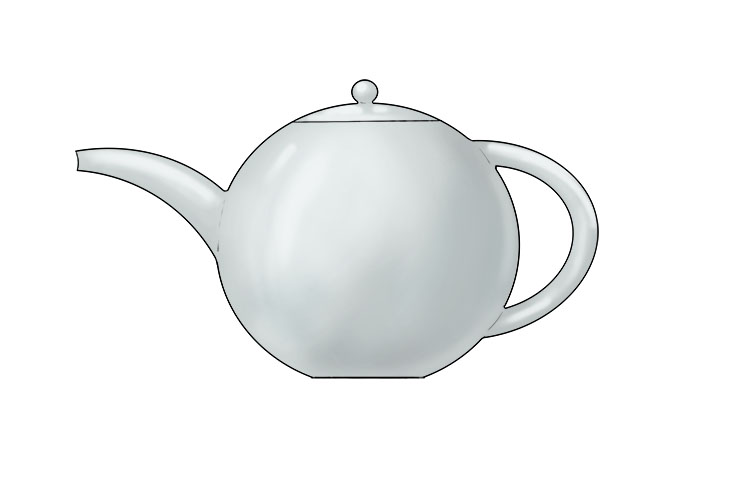
Once fired, finish your teapot by adding a clear glaze and firing again.
Porcelain Project 2
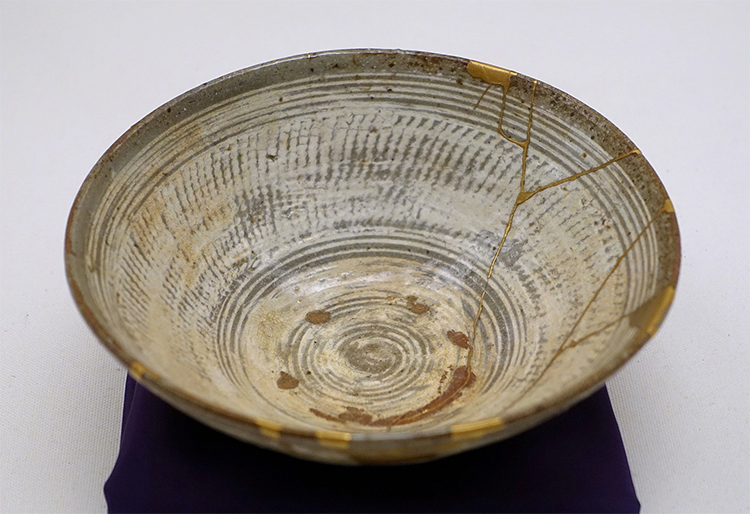
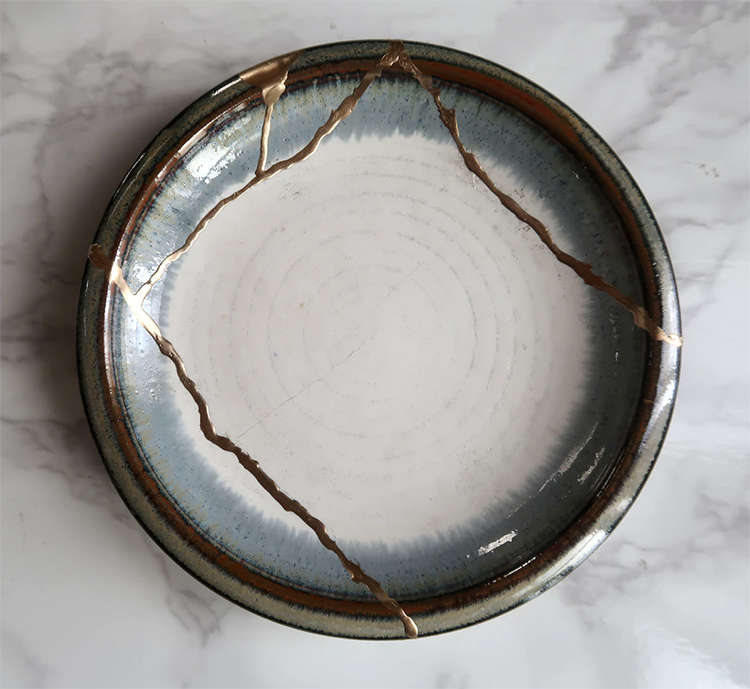
The project is inspired by "kintsugi", which is the Japanese art of mending broken pottery with gold or silver. This creates a beautiful effect and treats repairs as part of the history of the object, rather than something to be hidden.
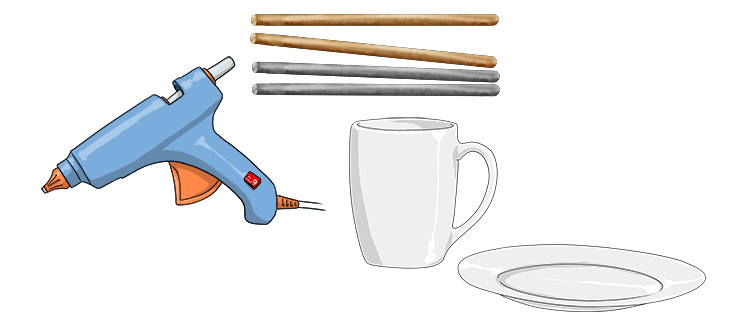
You will need: an (unwanted) porcelain object, a glue gun, a gold or silver glue gun stick.
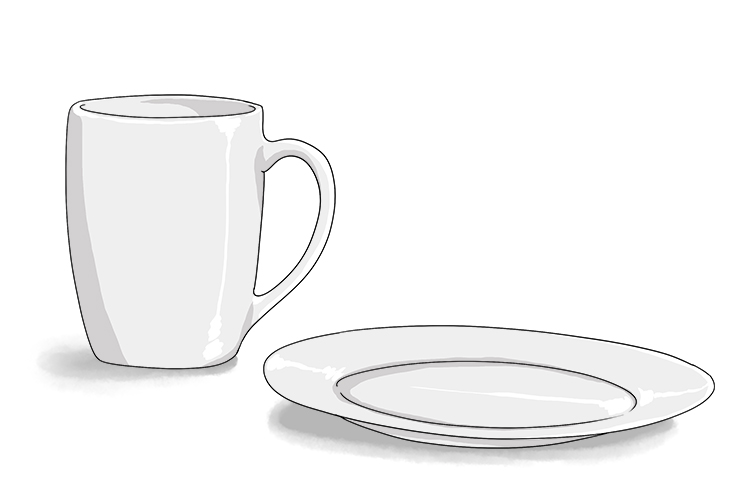
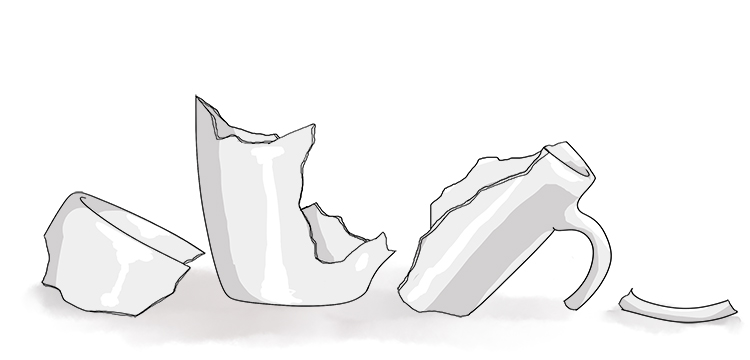
Find a porcelain object.
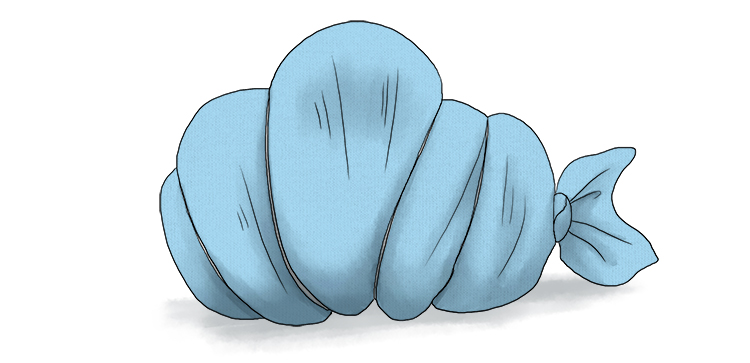
Wrap it in a pillowcase or bag and seal it to prevent shards coming out.
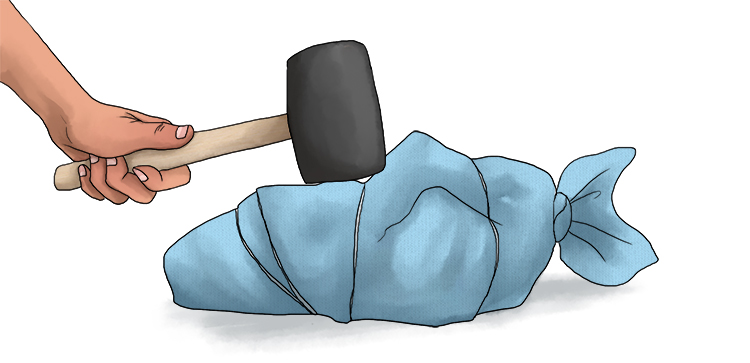
Either drop the object or hit it with a mallet to break it. You are aiming for a few large pieces, not to smash it into tiny bits
Tip the contents of the pillowcase or bag out onto a tray and sort the piece so you can fit it back together again like a jigsaw puzzle.
Start at the base and work your way up, letting the glue dry and harden between each piece before moving onto the next.
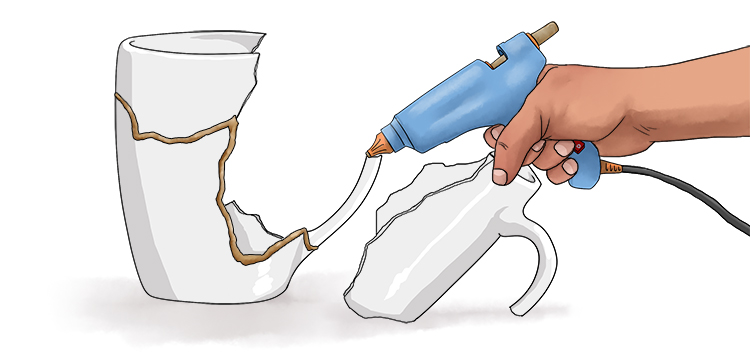
Finally, display your beautiful unique mug!

Here's how the finished effect can look on real examples.
Porcelain.


