
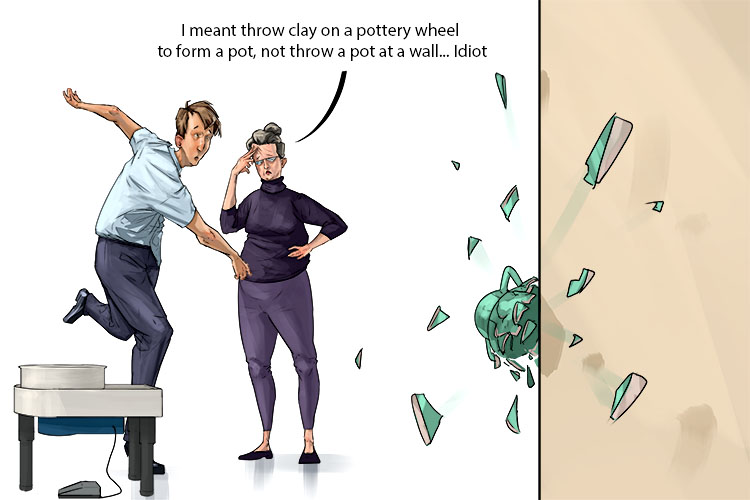
Throw – To form cylindrical pots on a wheel
To remember what throwing is, recall the following mnemonic.
I told you to throw a pot, meaning throw clay on the wheel and form a pot, not throw a pot at a wall, you idiot.
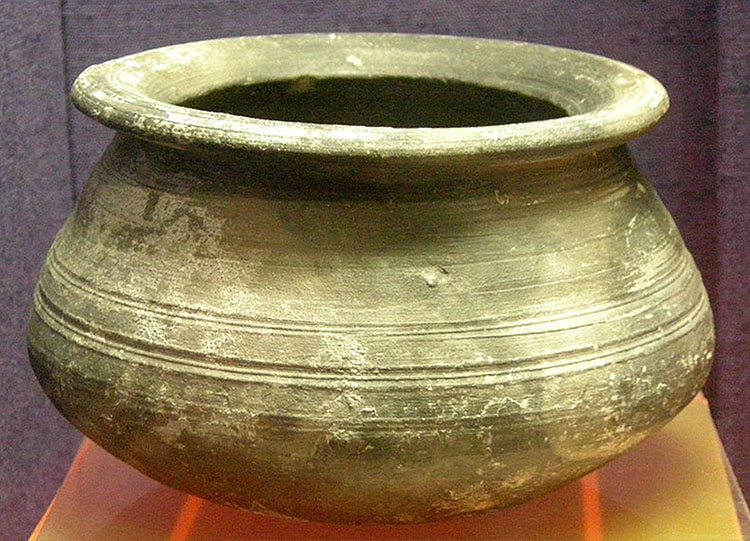
"File:Herne Bay Museum 076.jpg" by Linda Spashett (Storye book) is licensed under CC BY 3.0.
Initially, potter's wheels were developed to aid in coiling which was the primary method of creating pots. These wheels were known as tournettes (or slow wheels) and were used to manually rotate the pot making it easier and quicker to add coils of clay. Around 3000 BC the fast wheel was created which allowed for throwing to be introduced. Throwing allowed for pots to be produced at a much higher rate, as well as allowing for a wider variety of shapes to be created like the 5th century Saxon pot above.
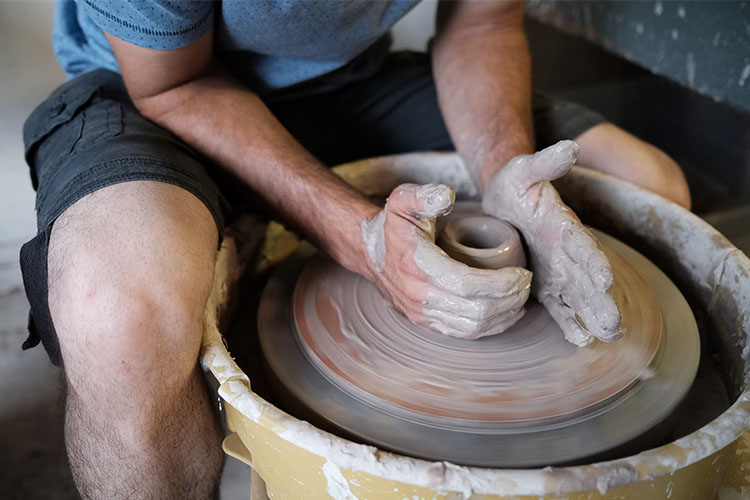
Throwing a cup on a pottery wheel
Posture is a key part of throwing pottery, bad posture can negatively affect your pots and your health. When sitting down to throw pottery you should make sure you are sat with the wheel between your knees and your back straight with your upper body leaning towards the wheel. Hunching over the wheel will ruin your back over time. If you do find yourself hunched over, it may be because you are sat too far from the wheel. Your elbows should be tucked in and anchored either on your sides or your legs, this will help steady your hands allowing you to make smooth, steady movements when shaping your clay. You should be using your whole upper body to move the clay, not just your arms.
Throw Project
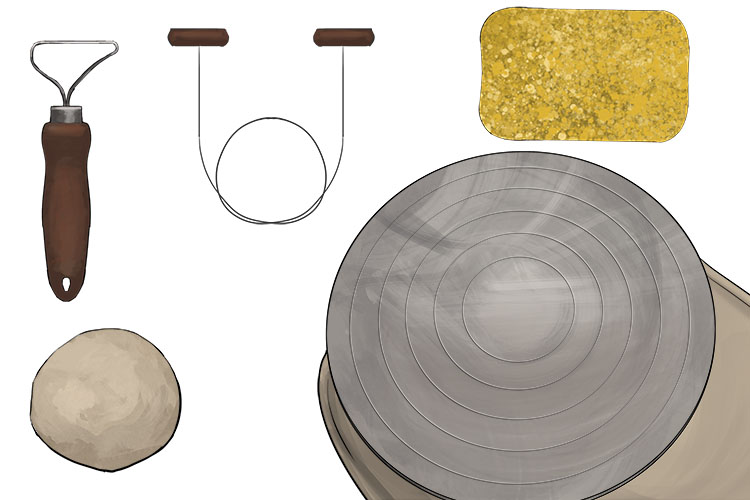
For this project we are going to use a potter's wheel to create a bowl.
You will need a potter's wheel, clay, a sponge, a trimming tool and a wire tool.
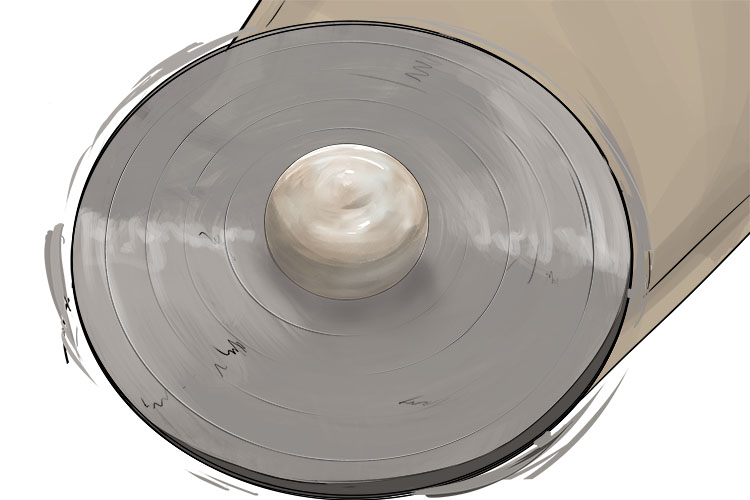
To start, throw your ball of clay onto the centre of the wheel.
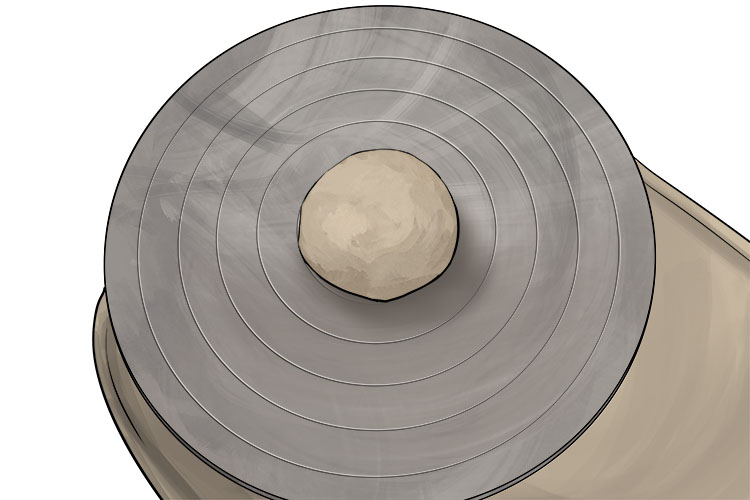
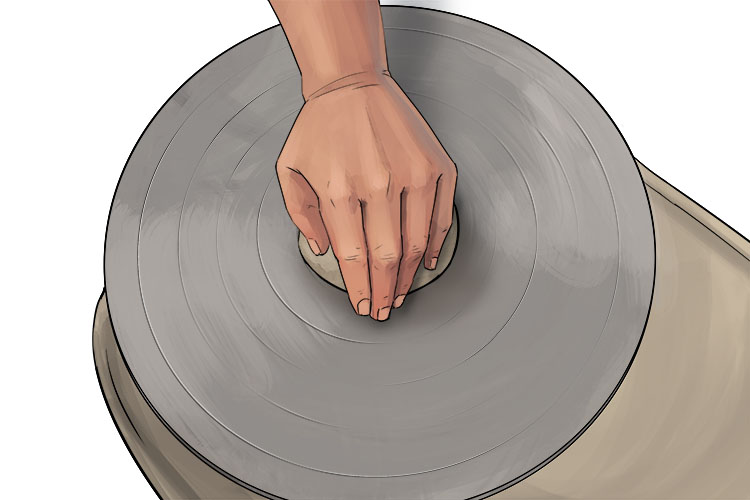
Start your wheel spinning at a low speed, how this is done will depend on the potter's wheel you are using (we are using a peddle operated wheel so we'll be lightly pressing the foot peddle to have the wheel spin slowly) so make sure to familiarise yourself with the controls of your wheel. While the wheel is slowly turning pat the clay to ensure it is stuck to the wheel, but not flattened.
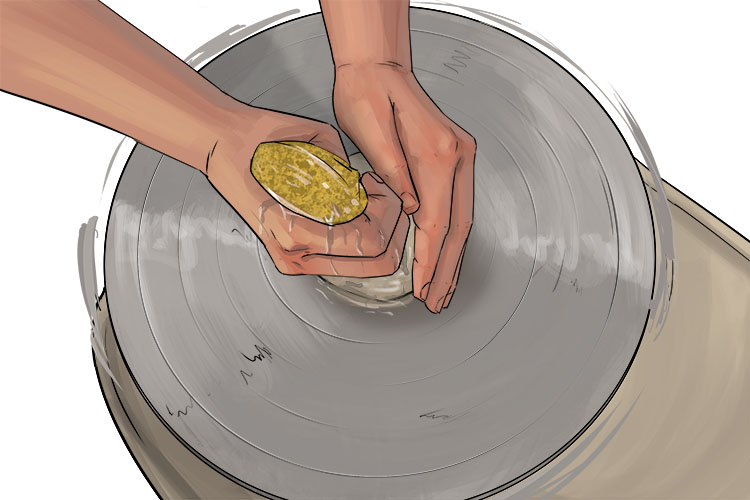
Now we need to centre the clay, this ensures you have a smooth, even mound of clay to start shaping your bowl. Centring the clay is an essential skill to learn when throwing pottery as your starting ball of clay will never be uniform in shape so it is well worth practicing before moving on to making finished pottery. Start by generously wetting your clay with a sponge, using your other hand to spread the water over the clay. You should also increase the speed of your wheel, it should be spinning at nearly full speed. Make sure to re-wet your clay throughout the initial sculpting process so it doesn't stick to your hands while you work.
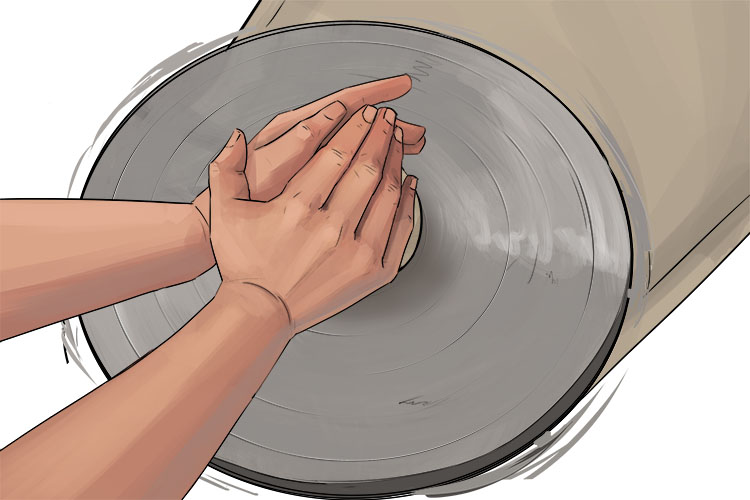
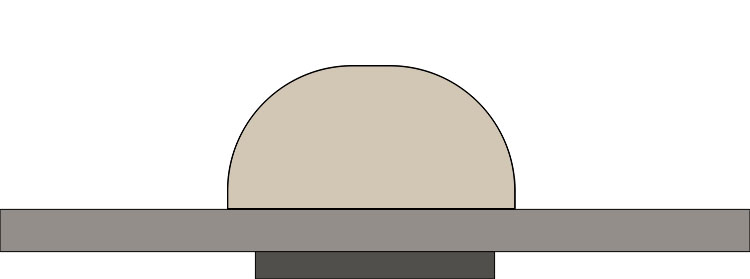
Place the heel of your left hand against the clay with the side your hand in contact with the wheel. Then cup your right hand over the clay. Keeping your hands steady, gently apply pressure to smooth the clay into a dome.
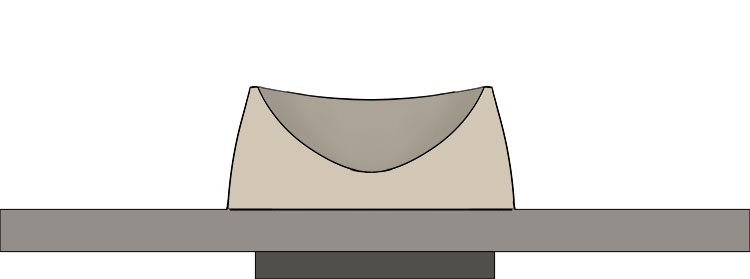
Below is a cross-section of the clay once it has been centred.
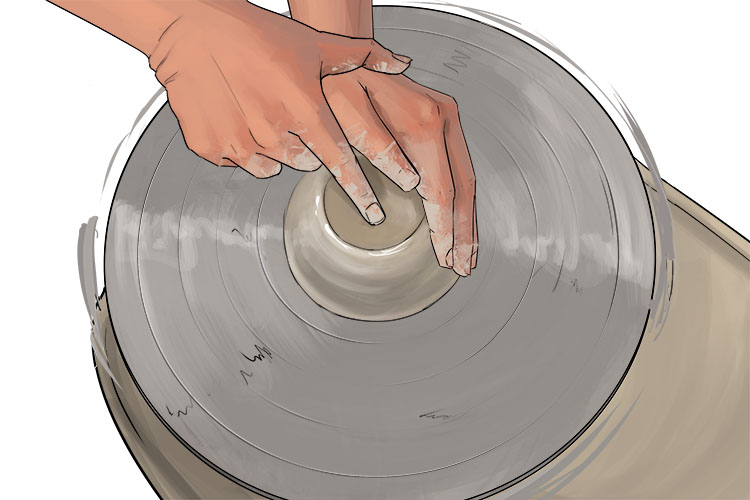
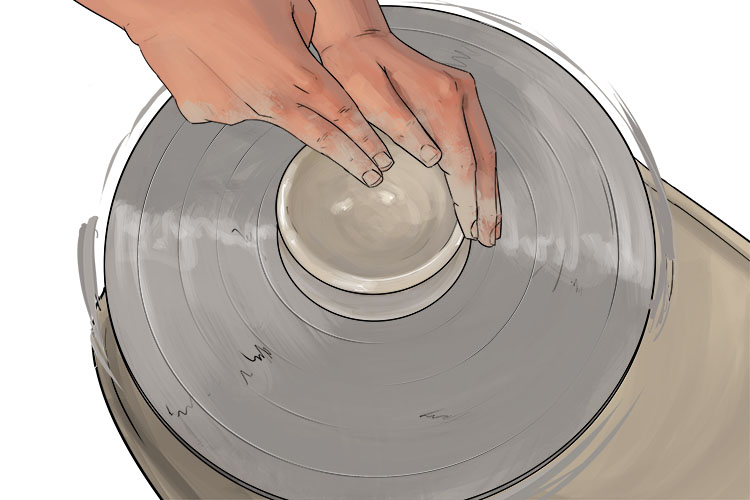
Make a centre hole by slowly pressing your index finger (the finger next to the thumb) into the clay, use your left hand to support the bowl while you do this. You should be pressing straight down but with your finger at an angle so you end up with a wide hole with sloped sides. Make sure not to push down too far as you will need the clay to be around 1 inch thick at the base.
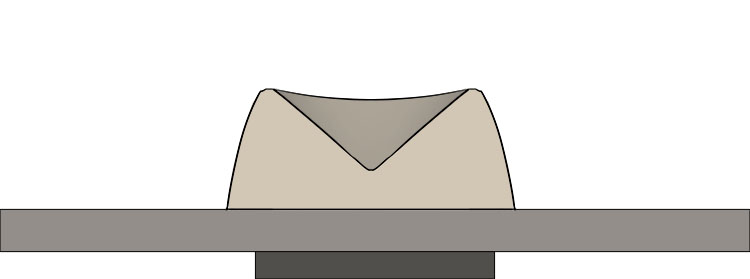
Using two fingers, gently smooth out the inside of the hole so it's a smooth curve with no flat edges.
Next you are going to pull the sides of the bowl out. With one hand inside the bowl and one outside, push from either side of the clay while moving your hands from the bottom to the top of the bowl. You should be gradually easing off how much pressure you are applying as you get closer to the top of the bowl. Make sure you don't slide your hands straight off the top of the bowl as you may end up making the edge too thin. You should slowly pull your hands apart when you reach the top. You should repeat this step about three times, or until you are happy with the size of the bowl, just make sure the clay isn't pressed too thin.

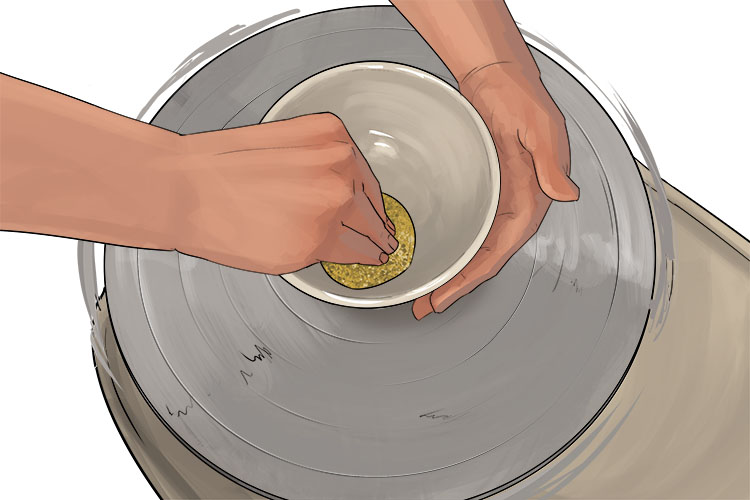
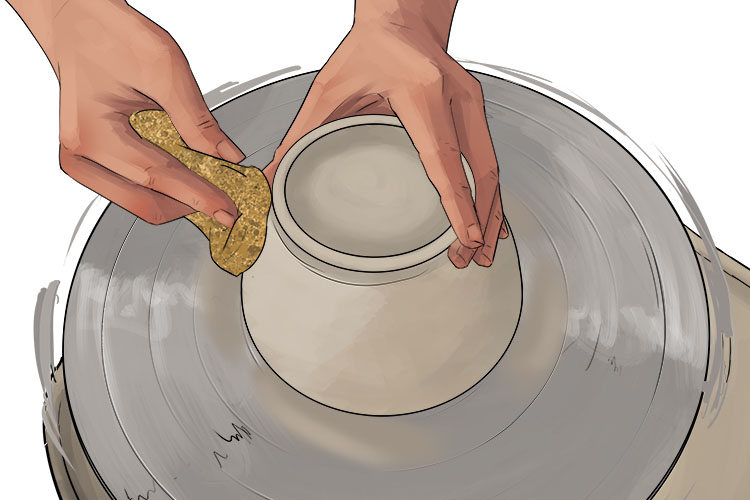
With your left hand cupped around the outside of the bowl, gently smooth out the inside using your sponge.
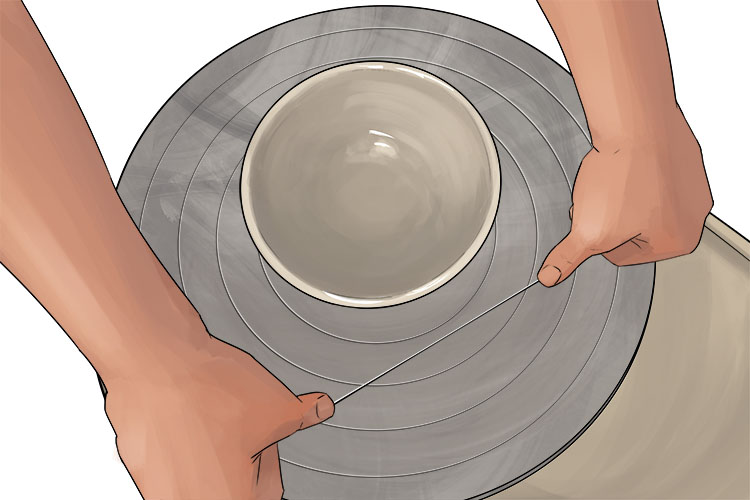
With your wire tool pressed against the surface of the wheel, run the wire under the bowl to separate it from the wheel. Make sure to keep your wire taut so you have a clean cut.
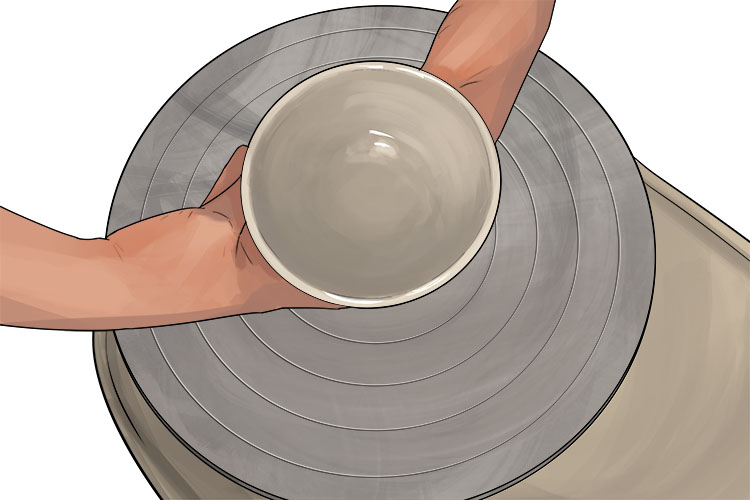
Carefully pick up your bowl by the base by creating a diamond shape with your index and middle fingers and place it on a wooden board.
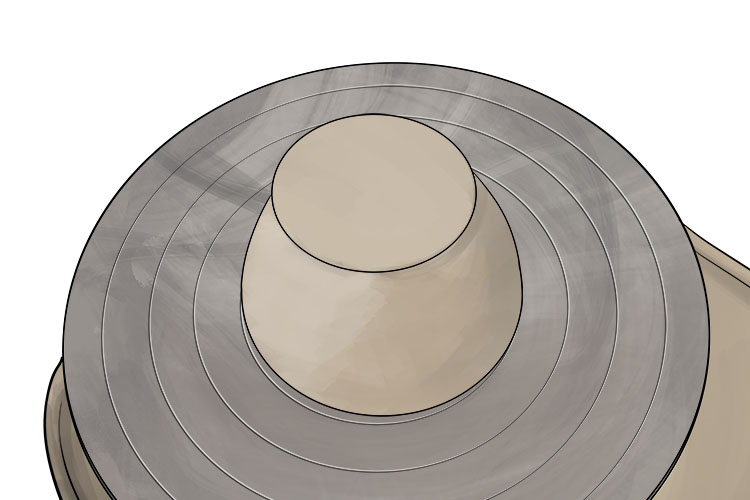
Let the bowl dry out until it is leather hard. This means the clay has dried enough to retain it's shape when handled but still has enough moisture to be trimmed, carved, smoothed and scored. How long the clay takes to reach this stage will depend on a number of factors so there's no set amount of time but it's likely to be around 1 - 3 days. Once your bowl is leather dry, place it upside down in the centre of your wheel.
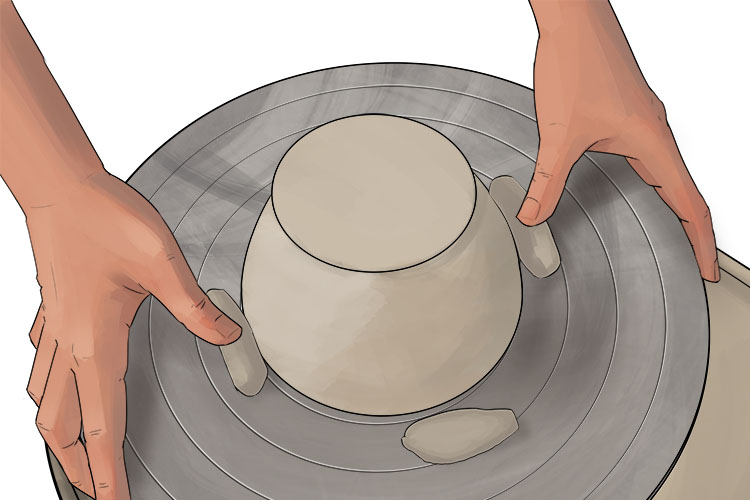
Secure the bowl in place using four evenly spaced chunks of clay pressed onto the surface of the wheel. Make sure not to press them into the bowl as these are only to hold it in place so shouldn't be attached.
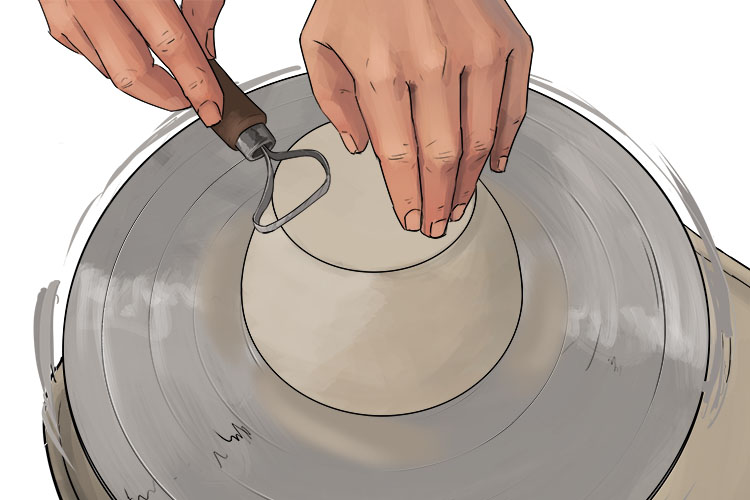
Now you can start trimming your bowl, all of the trimming work should be done with the wheel at it's highest speed. Take your trimming tool and run it's flat edge along bottom of the bowl. This is to remove any bumps you may have on the bottom so you want the tool to be just touching the surface.
Next use your trimming tool's flat edge again to trim the outside of the bowl's foot.
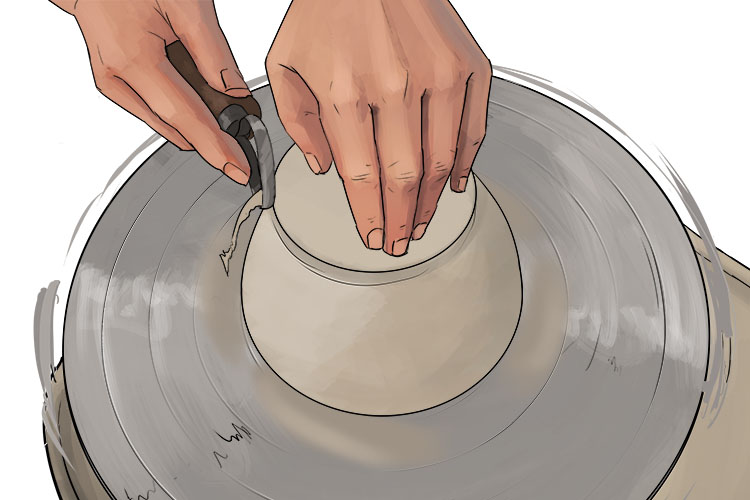
After trimming the outside of the foot you will need to smooth out the side of the bowl, use the flat edge of your trimming tool like before and run it along the outside of the bowl.
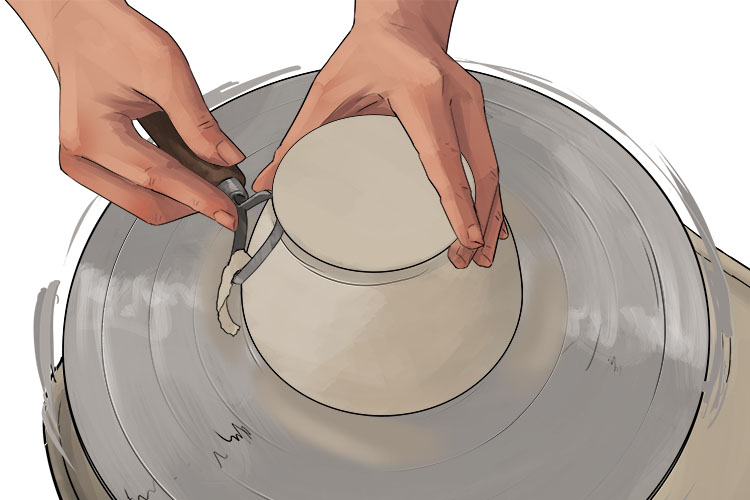
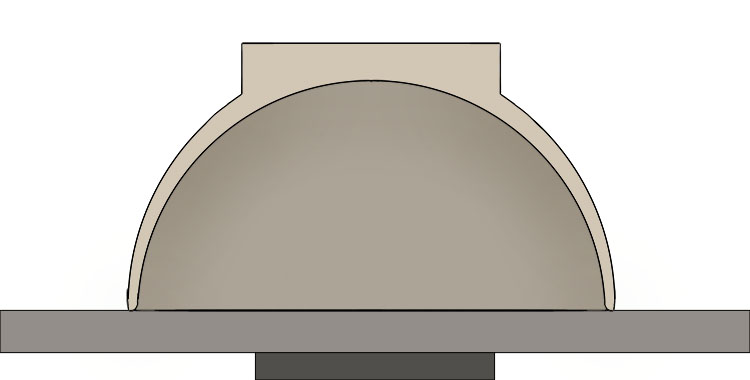
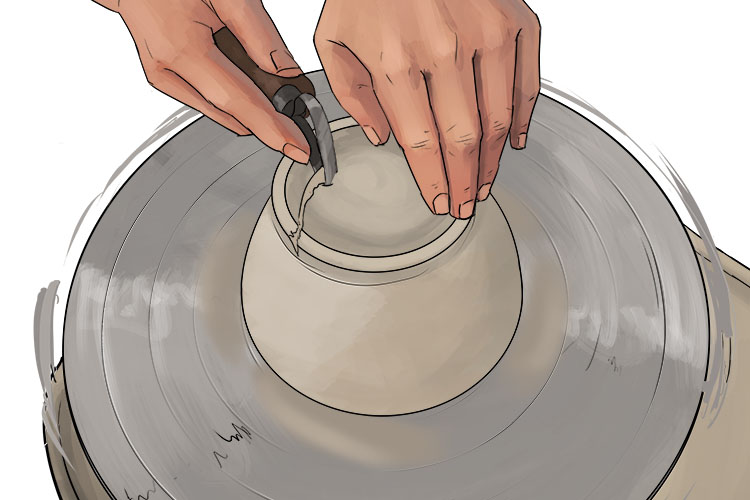
Use the rounded edge or 'beak' of the trimming tool to carve a channel into the bottom of the bowl.

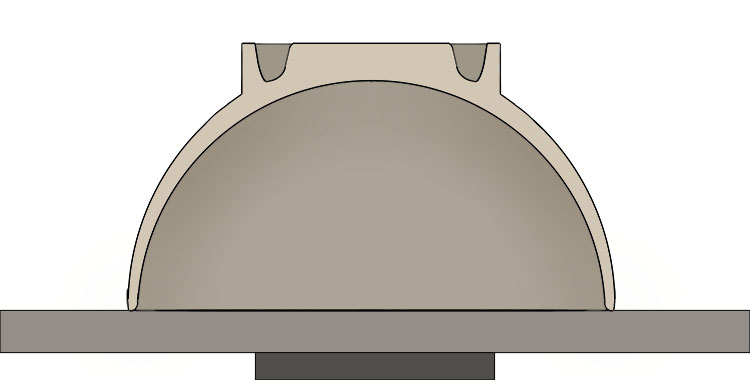
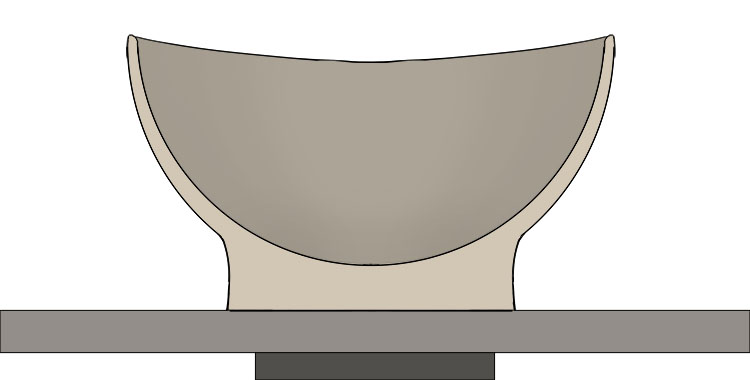
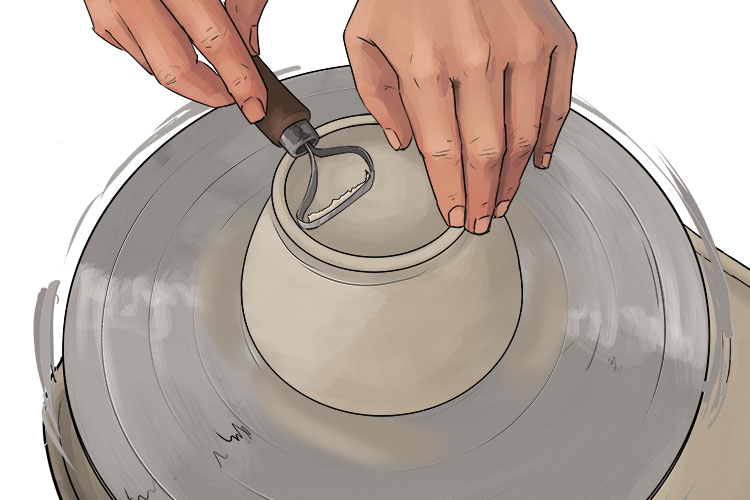
Remove the material from the centre of the channel. When removing this material you are aiming for a curved surface that matches the curve on the inside of the bowl as seen in the image below.
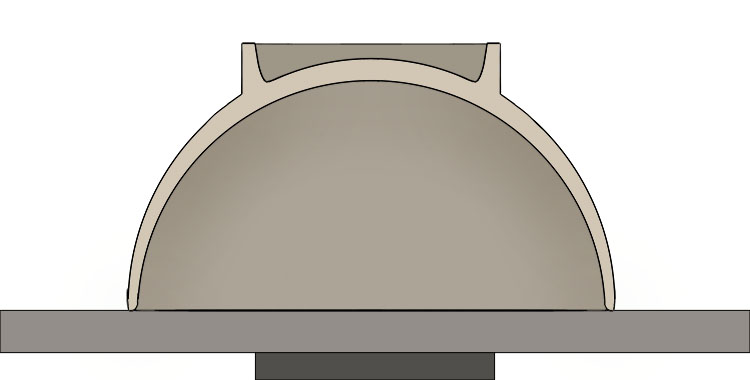
You can then use the flat edge of the tool to smooth out this surface.
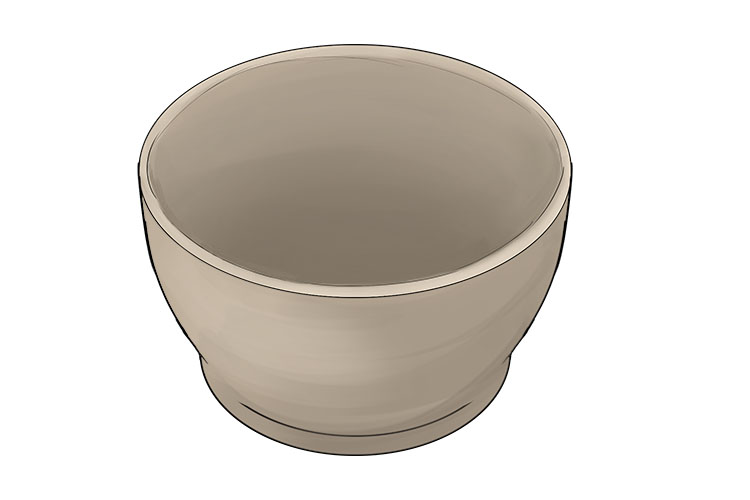
Once your happy with the bowl take a damp sponge and use it to smooth over the surface of the bowl to give it a cleaner finish.
You can now remove your finished bowl.
Throw.


