
Combing – Form of decoration achieved by dragging a toothed instrument over a soft clay surface
To remember what combing is, recall the following mnemonic.
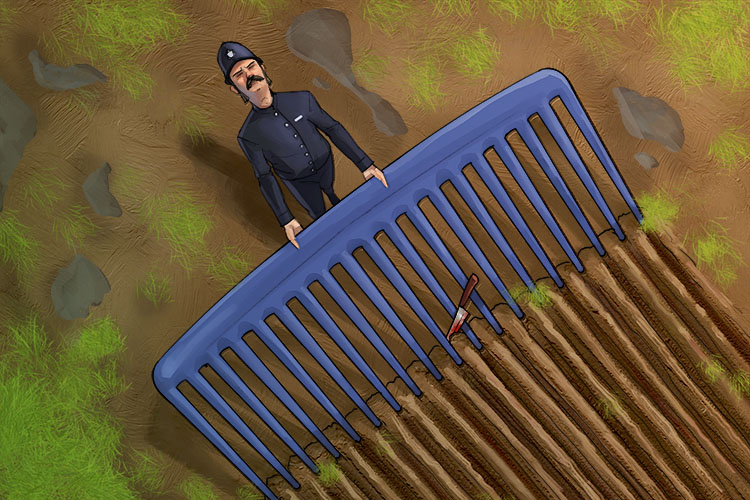
They were combing the area for the murder instrument, leaving a distinct imprint on the ground.
Combing can be done with any tool or object that has more than two prongs/fingers, as long as said object can create multiple parallel lines with one stroke. Some of the earliest example of combing were done using feather quills before carved pieces of wood or stone were used instead.
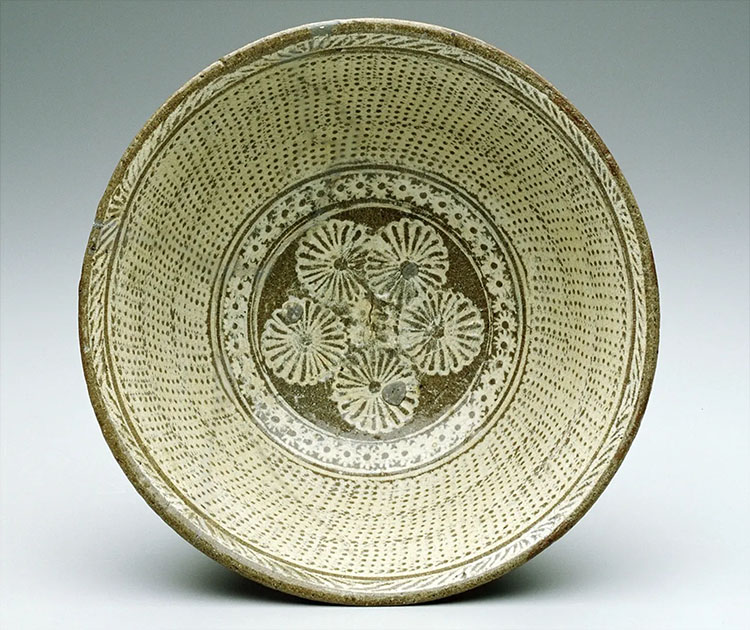
"Mishima Bowl; all-over comb motif" is marked with CC0 1.0.
The image above is a decorative Japanese Mishima bowl that has been decorated with a floral design in the centre, surrounded by a dotted pattern created by repeatedly dabbing a combing tool rather than dragging it across the surface of the clay.
Combing Project
For this project we will be using combing to decorate a clay pot.
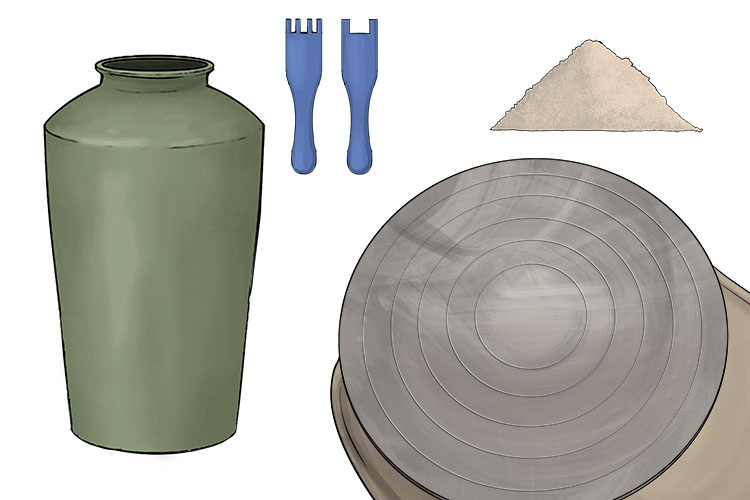
You will need some powdered clay, a leather hard pot, a potter's wheel and some combing tools.
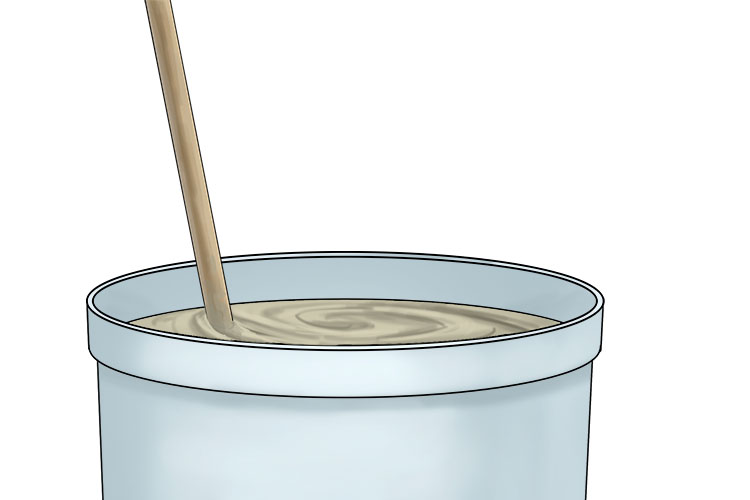
Start by mixing your powdered clay with water to create your slip, you want it to be thick enough that it doesn’t run down the sides of your pot.
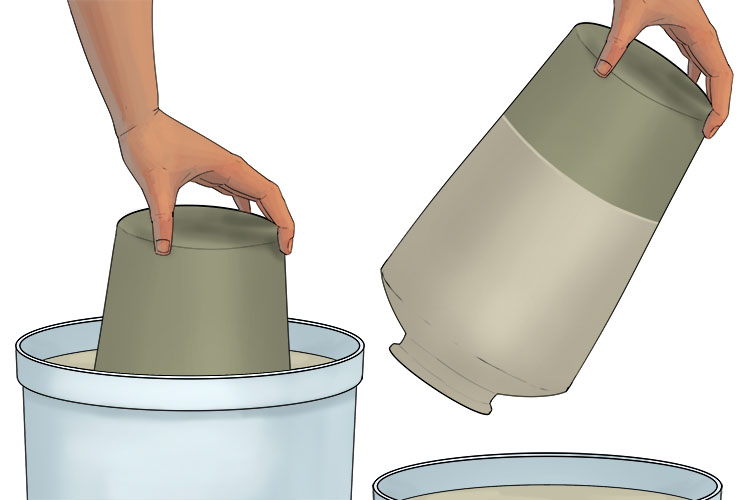
Now dip your leather hard pot into your slip. Depending on the design you would like for your pot you can either fully submerge it to cover the whole pot, or partially submerge it to only cover a portion of the pot in slip.
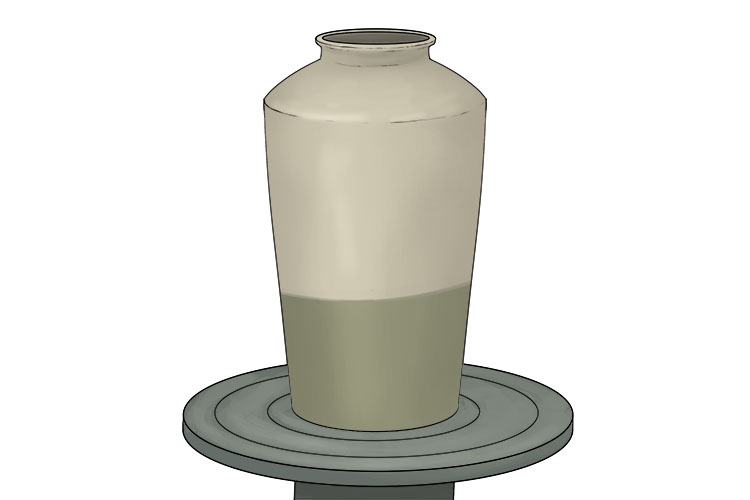
Place your pot on your potter’s wheel as close to the centre as you can. We’re just going to be spinning the wheel by hand as we only need a very slow rotation.
Now spin the wheel with one hand while using the other to press your comb tool into the slip, making sure to keep your comb tool as steady as possible. This will give you a series of concentric rings around your pot.
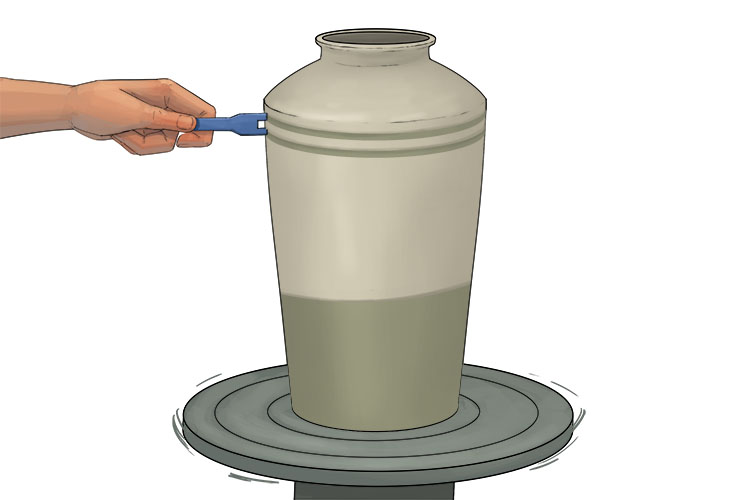
Repeat the previous step to create more rings around the bottom of our slip covered area.
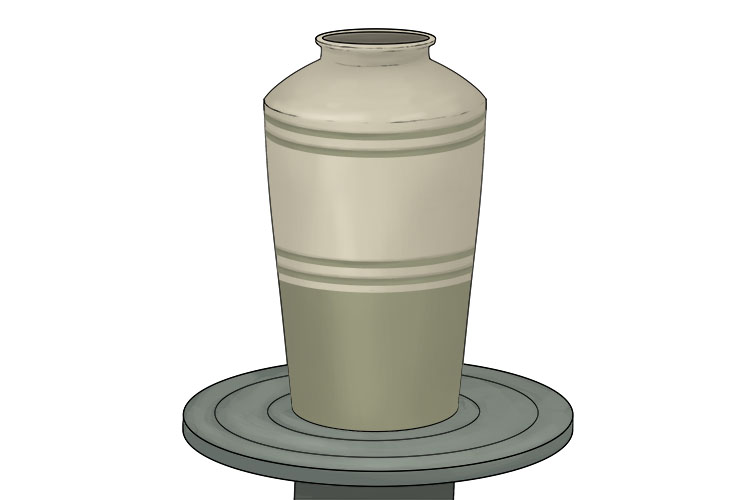
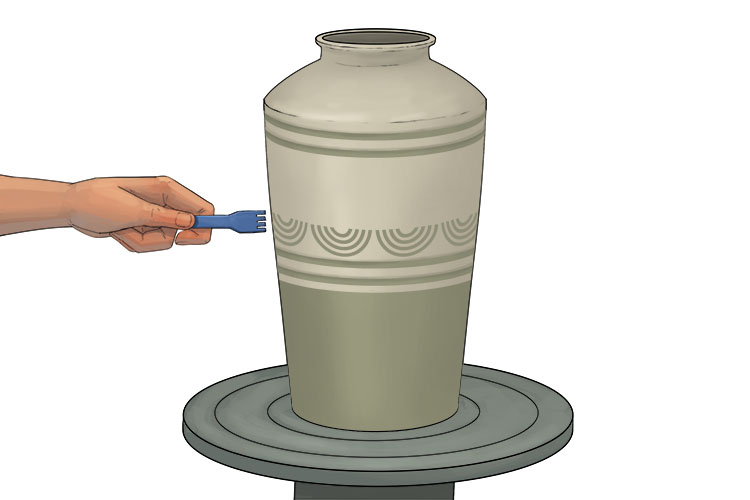
Next we're going to add a repeating pattern between our two sets of rings. To start this pattern we're going to draw a ring of semi-circles around our pot with our smaller combing tool, just above our bottom set of circles. When drawing these semi-circles try to make quick, smooth motions to give you a smooth curve.
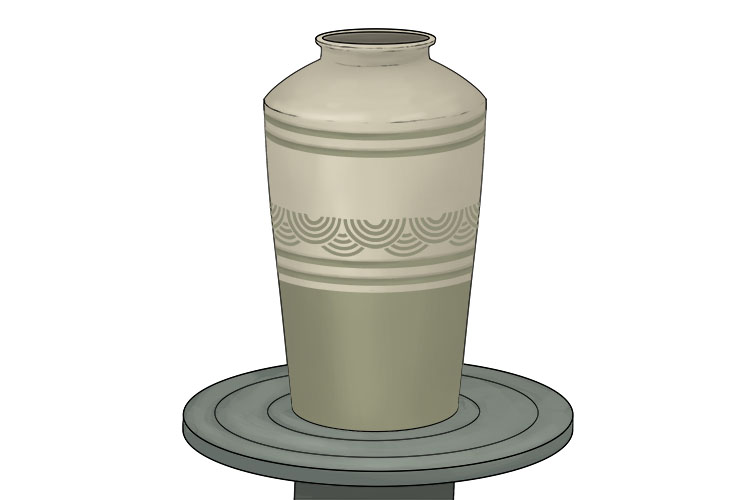
Make another ring of semi-circles with each new semi-circle off-set from the one below. This second ring of semi-circles should overlap and go over some of the row below to create a scale-like pattern.
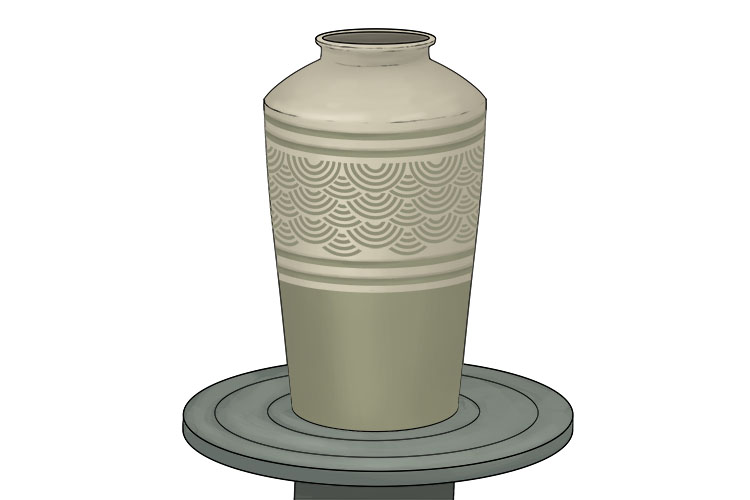
Continue to add layers of semi-circles until you have filled the area between the two sets of concentric rings, making sure each new layer is off-set and overlapping the layer below.
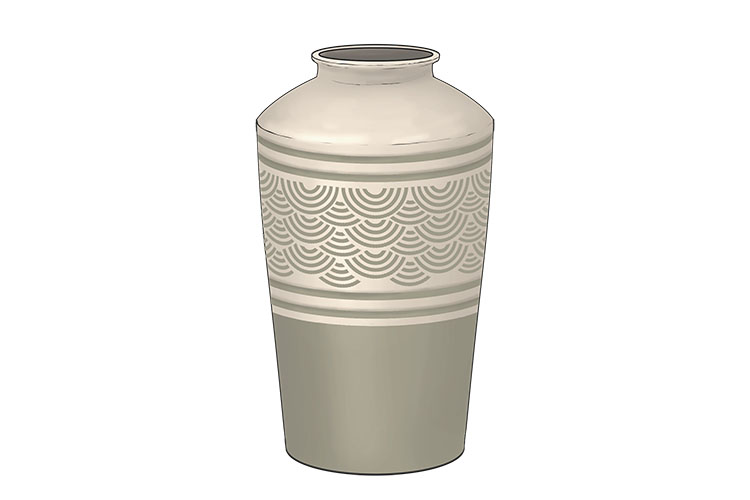
Once you’re happy with your design you can leave the slip to dry before firing and glazing.
Combing.


