Raku – Method of making pottery in which the pots are removed from the kiln red hot and cooled rapidly by placing the ceramics in combustible materials (which start to burn) in a sealed container
(Pronounced rah-koo)
Note: This is rapid cooling because normally ceramics, after firing in a kiln, are allowed to cool for up to 24 hours in the kiln.
To remember what Raku pottery is, recall the following:
Rapid cooling (Raku) is the main part of the process.
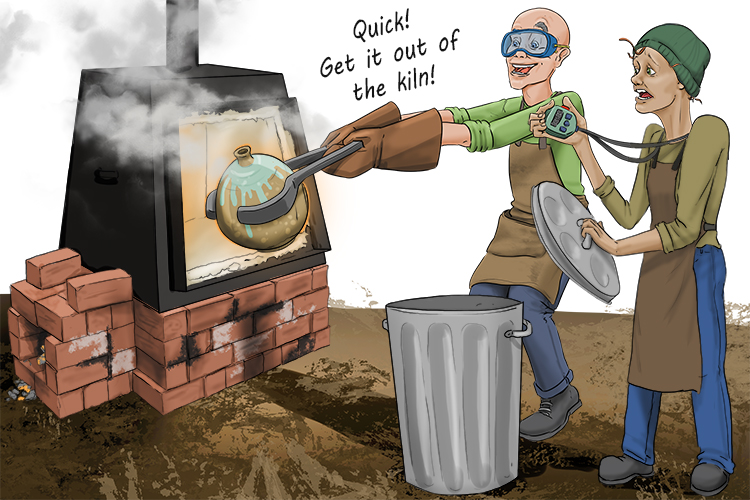
Raku pottery undergoes rapid cooling in contrast to traditional cooling, which is left to cool slowly in the kiln.
Initially, your pot is brushed with different glazes or metal oxide pastes and heated in a kiln to red hot.
Take the ceramics out of the kiln, while still red hot, and place them into a dustbin which contains different combustible materials.
The hot ceramics set fire to the combustible materials. The lid is put on the dustbin and the oxygen is used up quickly.
Because there is now no oxygen left in the dust bin, the glazes and oxides react with any oxygen in the clay chemicals which then creates many varied intense colours and patterns. The rapid cooling in the dustbin also causes thermal shock which produces cracking. This can be another aesthetic effect of Raku pottery.
Below are some examples of beautiful Raku pottery:
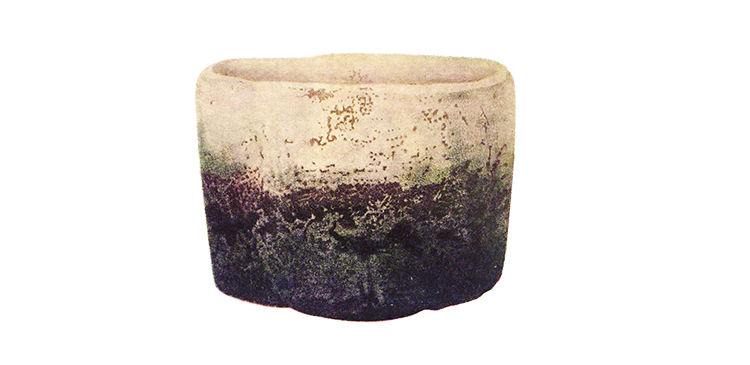
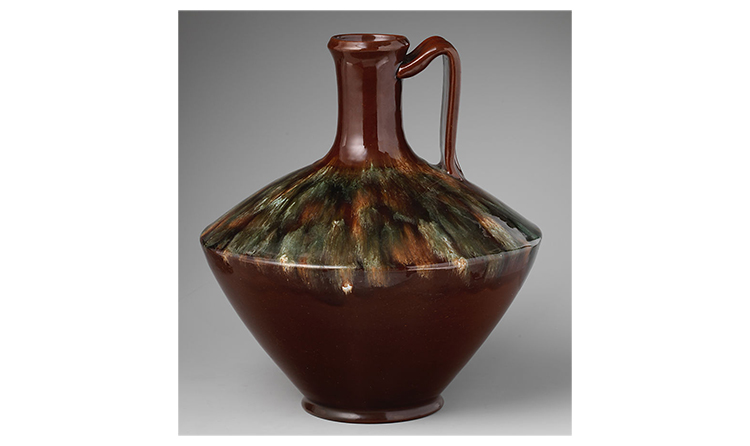
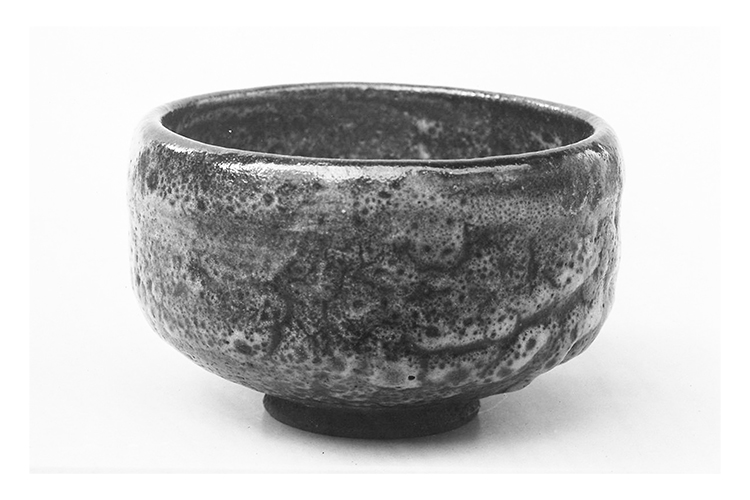
Raku Project
WARNING: Creating Raku pottery involves using a kiln and handling potentially dangerous objects. This cannot be avoided and there is no simpler way of recreating the process as we have with other projects. As this is the case, you should not try this technique without the help of a skilled professional who is experienced in Raku pottery.
To begin the Raku process, you first need to create the object you wish to make from clay. You could form a traditional Raku object like a pot or a bowl, or you could experiment with different forms such as tiles, sculptures or vases. Raku pottery is made from stoneware clay, which you can find information on in the Mammoth Memory ceramics introduction.
We have made a simple bottle using rolled clay which is then smoothed down on the outside.
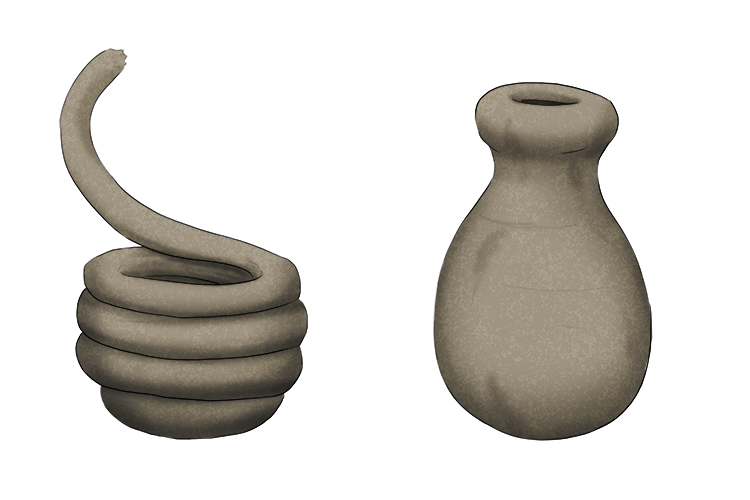
Once you have created your object, allow it to dry leather hard before applying any glazes or oxides you wish to add. The glazes will change colour in the kiln but also react with the combustibles in the cooling process. This will create interesting designs on the final product. Any areas that are left without glaze will form a dark black colour which often looks striking against any pale glazes. Oxides will react in a different way to the glazes, creating metallic-looking areas on the pots.
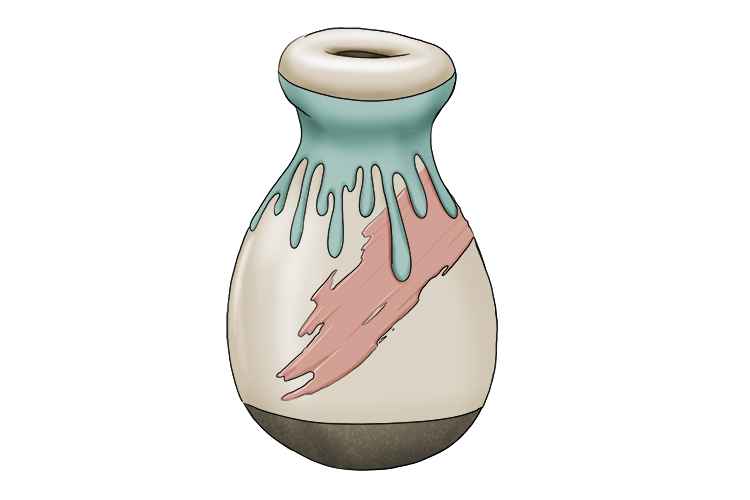
The objects now need to be placed into a kiln and fired at around 1015°C then lowered to 920°C, for a total of around 30-45 minutes.
Whilst the object is being fired, prepare your dustbin with combustibles. Newspaper and sawdust are ideal. Once the pot is in the bin, horsehair, straw and feathers, or any other natural materials you wish to use, can be added to the bin around the pot. These will each produce different textures and patterns.
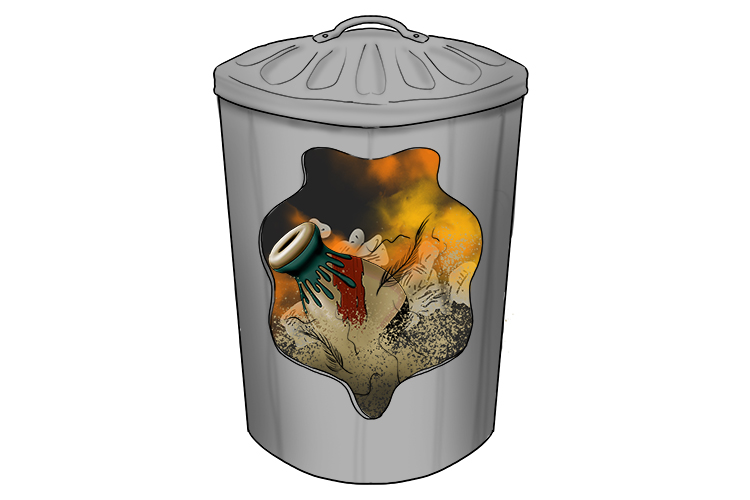
When the pot has cooled enough you can take it out of the dust bin and clean it with water.
You should have a fine Raku pot ready to show off to people.
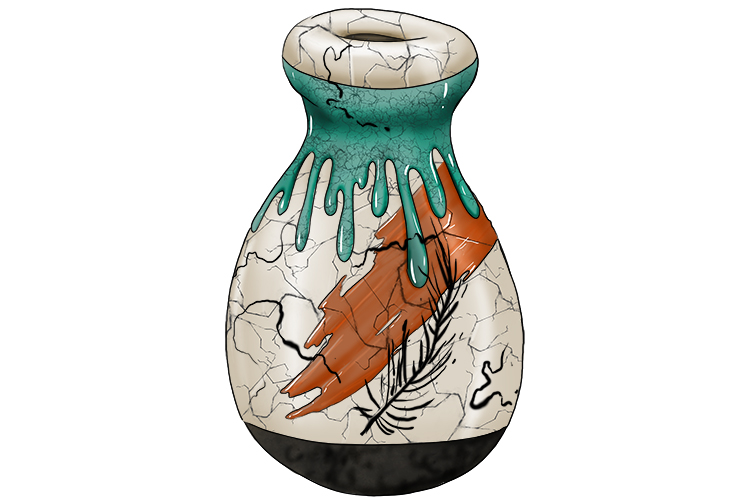
Raku Pottery.


