Sgraffito (Italian for 'to scratch') – A type of decoration created by scratching through a surface to reveal a lower layer of contrasting colour or base material, often done in plaster or stucco on walls, and ceramics before firing in a kiln
(Pronounced scrah-fee-toe)
Note: The technique can also be used in paintings, using a pointed tool (such as the non-bristle end of a paintbrush) to scrape off lines of wet paint to reveal a dry layer beneath.
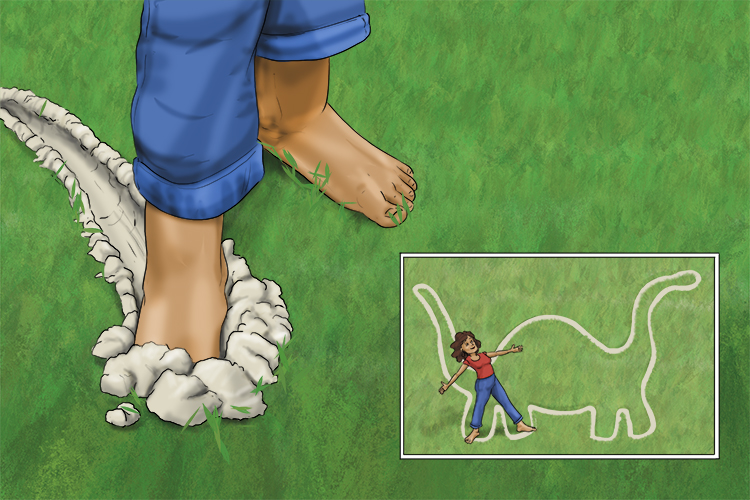
To remember the meaning of sgraffito, recall the following mnemonic:
She scratched away using her feet and toes (sgraffito) on the grass and found a white chalk under the surface. She kept going and created a picture by scraping away the surface.
Here you can see an example of a large piece of sgraffito art on a building:
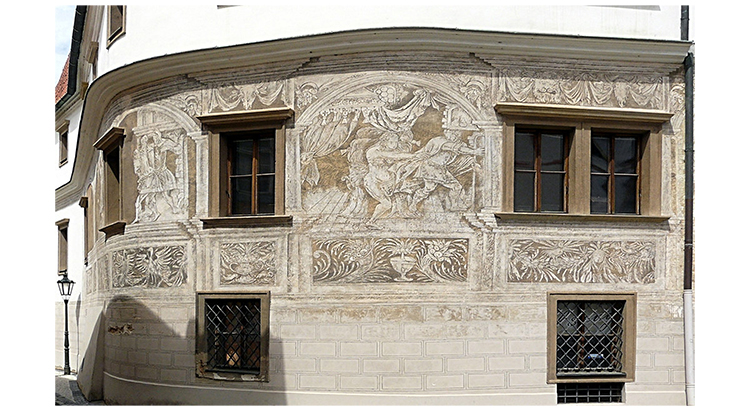
On closer inspection, you can see the areas that have been scraped away to reveal lower layers of plaster:

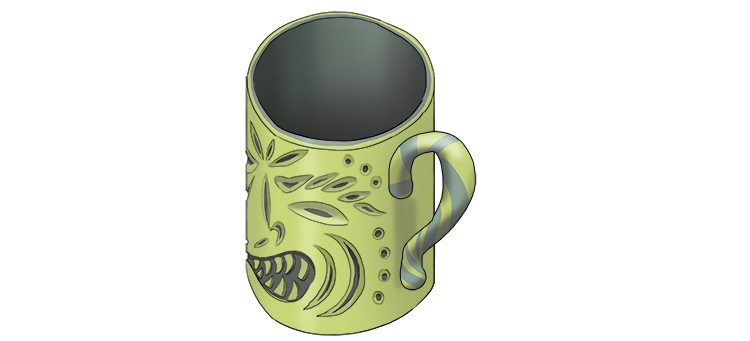
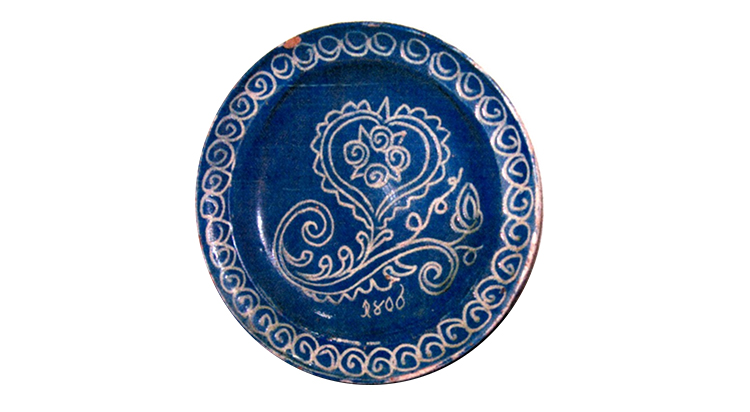
In ceramics, sgraffito can be used to add a contrast between two colours or tones:
Sgraffito Project
Sgraffito pottery is extremely popular and easy to create at home using air-drying clay.
To create a sgraffito mug, you will need two colours of air-drying clay, a rolling pin and a wire hook clay tool – it's that simple.
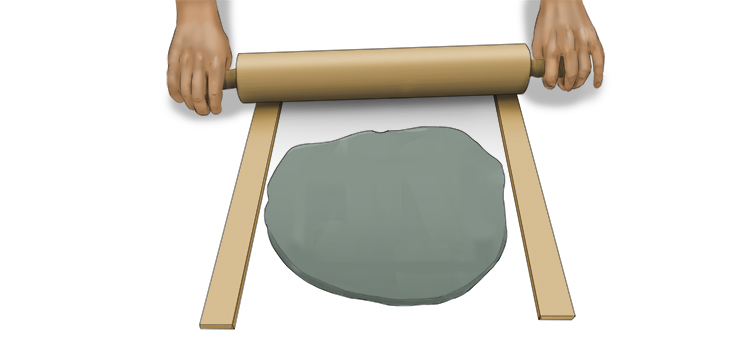
The first step is to roll out your first colour of clay. Use two wooden rules around 5mm thick to ensure you roll the clay to an even thickness.
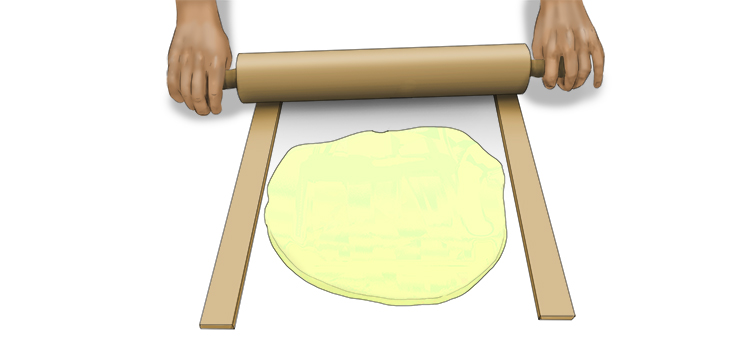
Once rolled, keep the clay to one side and repeat the process with your second colour clay. Pick a colour that will be a strong contrast to the other one.
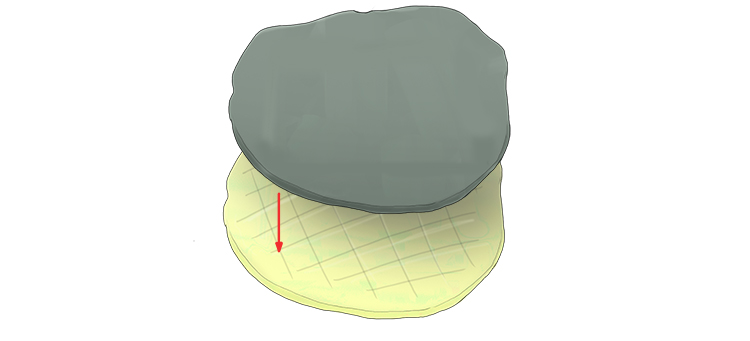
These two colours need adding together. Score and dampen the clay on one side of each colour and place them on top of each other (scored sides touching).
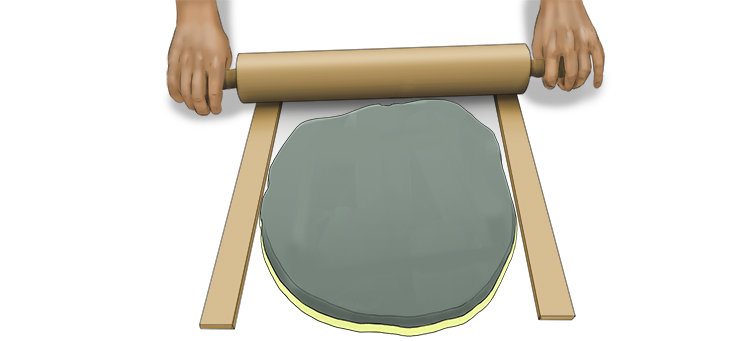
Repeat the rolling process with both of the colours together. The rolling will ensure the colours are firmly connected whilst returning to the desired thickness of clay.
Mark out a base circle 8cm in dimeter and a rectangle 25.1 cm (the diameter of the base) x 9cm (the height of a mug).
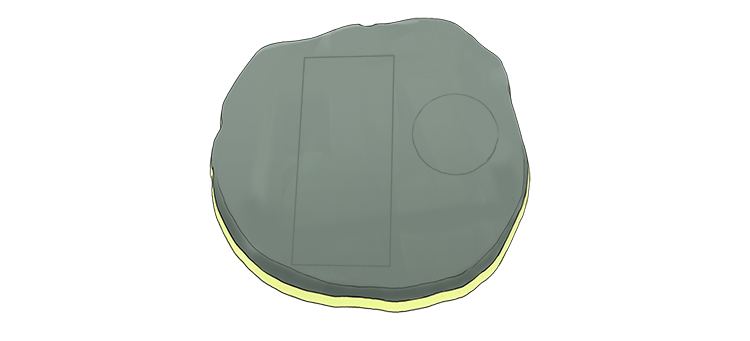
Cut the shapes out, saving the rest of the clay to use later.

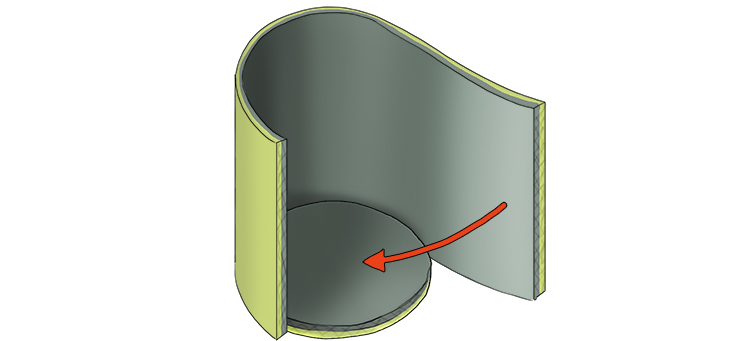
Score and dampen the two short sides of the rectangle, a strip next to one of the edges of the rectangle and the outer edge of the circle.

Wrap the rectangle around the base, so the scored area binds with the edges of the base and the short ends of the rectangle meet. Use a wet finger to gently rub the join to disguise it.
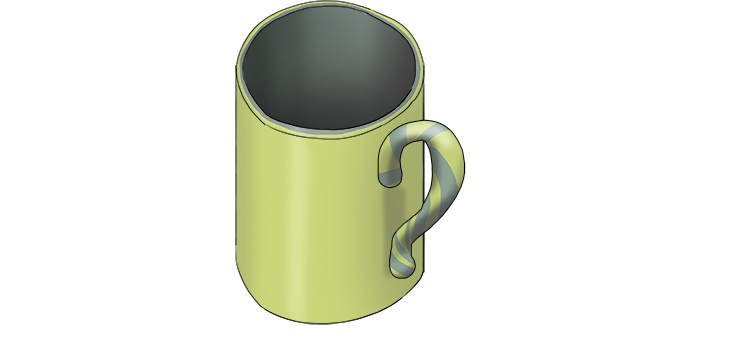
Now the cup part of the mug is made, you can add a handle.
Roll a sausage shape out of a ball of leftover clay (it doesn't matter what colour, it looks interesting being both) and form a handle, attaching it by scoring the mug and smoothing the handle onto the scored area.
Leave the clay mug to go leather hard for a few hours.
Once part-dry, use the wire loop clay tool to carve into the outer surface of the mug, exposing the darker clay below.
Be careful when doing this, and get gradually deeper, stopping when you see the layer below – you don't want to go too far and make a hole in it.
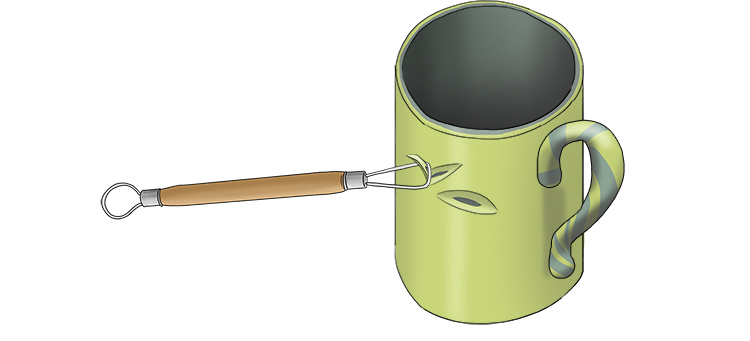
Continue until you are happy with your design and the mug is complete. Leave it as long as it takes to air dry.
Use a varnish or acrylic sealer (available in craft shops) to seal your mug and make it waterproof if you want to drink from it.