
Coiling – A method of forming pottery or sculpture from rolls of clay
Note: The walls of the pots or sculpture can be smoothed together after the coiling process.
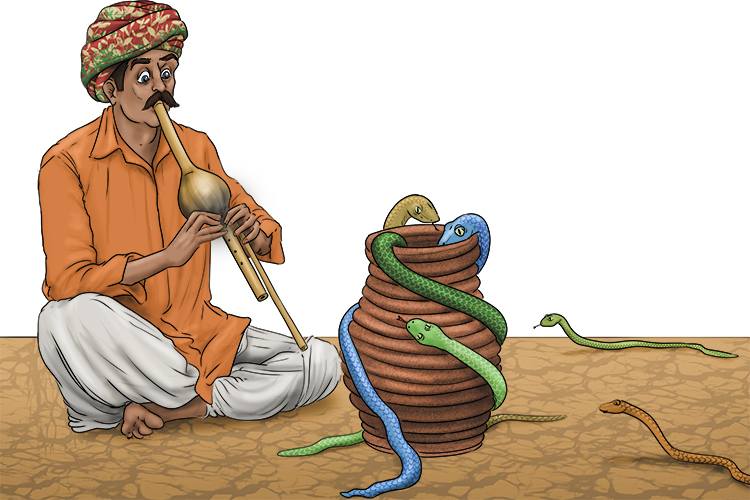
To remember what coiling is, recall the following mnemonic:
The snakes were coiling back into the coiled pot as the charmer finished his show.
With coiling, a long, continuous length of rolled clay is wound on top of itself to gradually build up height in a piece of pottery or sculpture. The process eliminates the need for a potters wheel, as tall, round pots can still be formed with coils.
The artist Grayson Perry uses the coiling method to create his ornate ceramic pots and urns, before decorating them in busy, biographical designs. The vessels are used as a canvas for him to tell visual stories on, and we will seek to do the same in this project.
Below are examples of coiling used to make vases. The first vase, by Grayson Perry, is tall and smooth, as he has been careful to create a shiny, flay, curved working surface. The surface is finished in layers of coloured slip, lustre glaze and ceramic transfers.
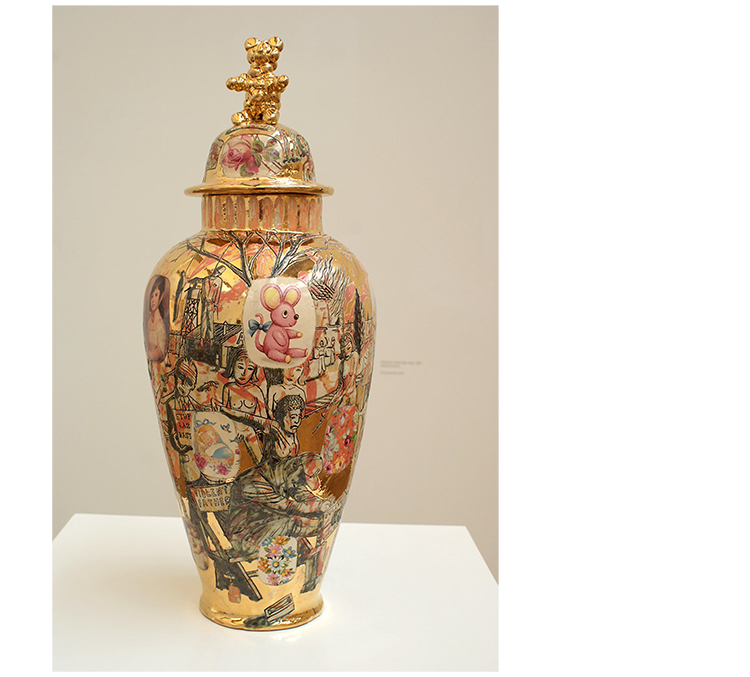
Grayson Perry, Revenge of the Alison Girls, 2000 9by Marc Wathieu is licensed under CC BY 2.0)
The following coiled vase has been smoothed on the inside but the outside has been left with the individual coils visible. This is common with many ancient coiled pottery, as the smooth internal surface was better for storing food and cleaning, but there was no need for ornate decoration on the outside.
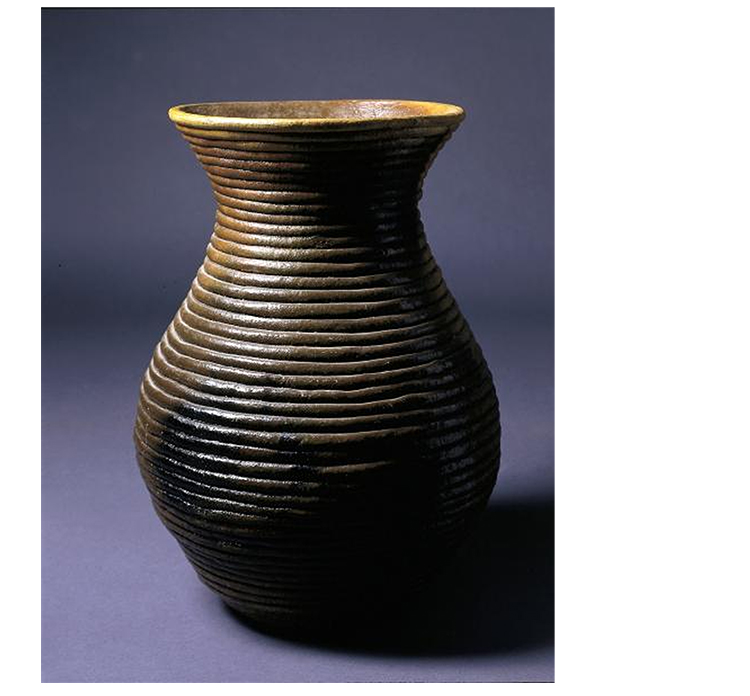
Louise Goodman, Coiled Pot, ca. 1986, fired clay with piñon pitch, Smithsonian American Art Museum
Coiling Project
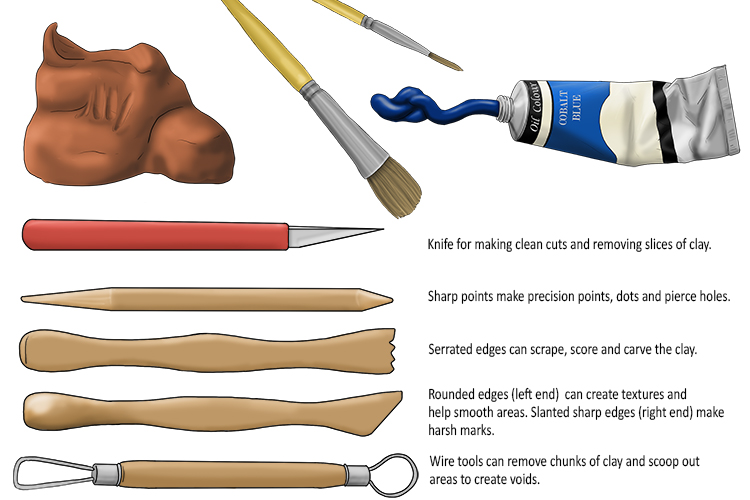
To make your own autobiographical pot, you will need air-drying clay, sculpting tools and acrylic paints. You will also need a piece of thin white card and a large sheet of carboard a little bigger than the final height of your pot.
To begin, take a thin white card that is bigger than the size of the pot base. Draw a circle the diameter you want the base of your pot to be. The card will be used to move the pot around easily as it is worked on.
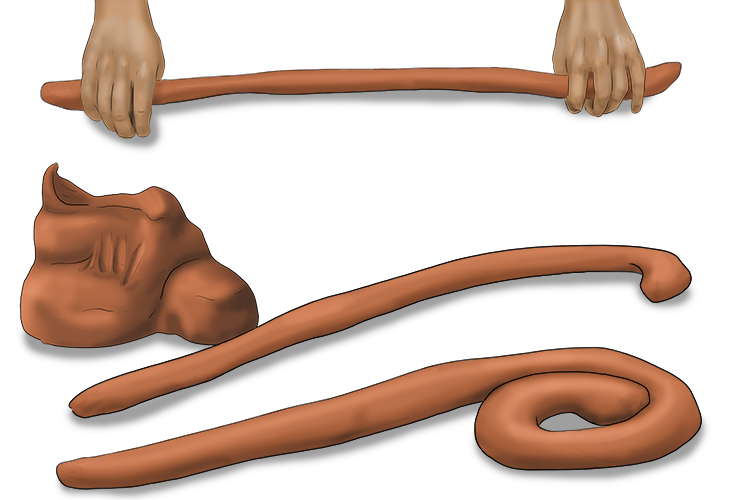
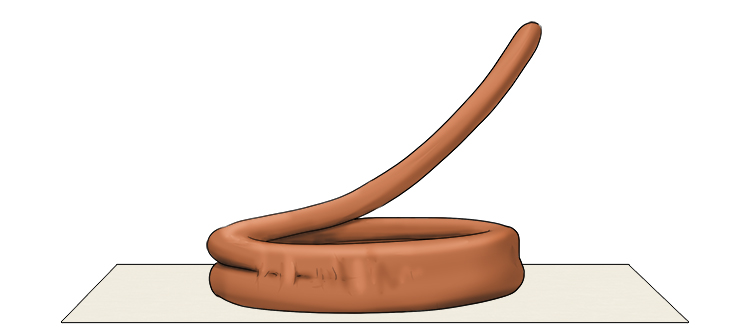
The first step of coiling is to roll your clay into long tubes. Try to keep them the same thickness and this will prevent your pot being wonky.
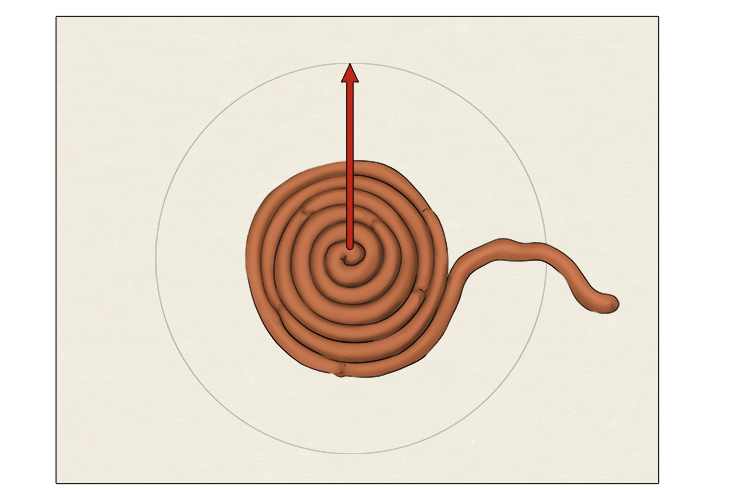
Begin by creating the base, starting from the centre of your circle and spiralling out until you reach the circle you drew. If you reach the end of one tube of clay, simply add another and rub the joint together with a damp finger and a little force to help them bond.
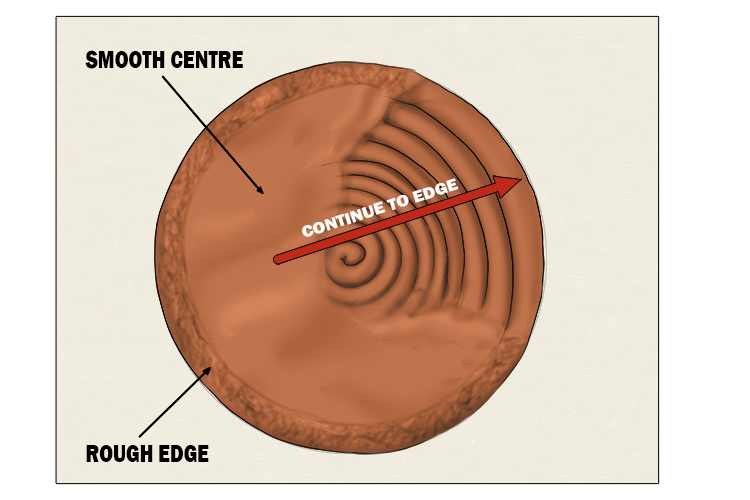
Using a damp finger (avoid using too much water, dryer clay is stronger), smooth the surface you have made by rubbing the tubes together with a little bit of force until they merge into one flat piece.
Use your clay tool to scratch a rough section around the perimeter, around a centimetre thick. The rough area will allow the walls of the vase to bond to the base.
You can now begin by running a coil of clay up along the outer edge of the base. Start with one rotation of clay, ensuring it is smoothed down onto the base well by rubbing it with your fingers, as having a sealed base is essential. You can do the same to the inside if you wish, although it will not be seen, some pots are still smooth on the inside.
As you start to build up coils, smooth them onto the one below in the same rubbing motion you used to combine the base coil. You will see the beginnings of a pot showing. You could choose to smooth the inner surface of the pot too.
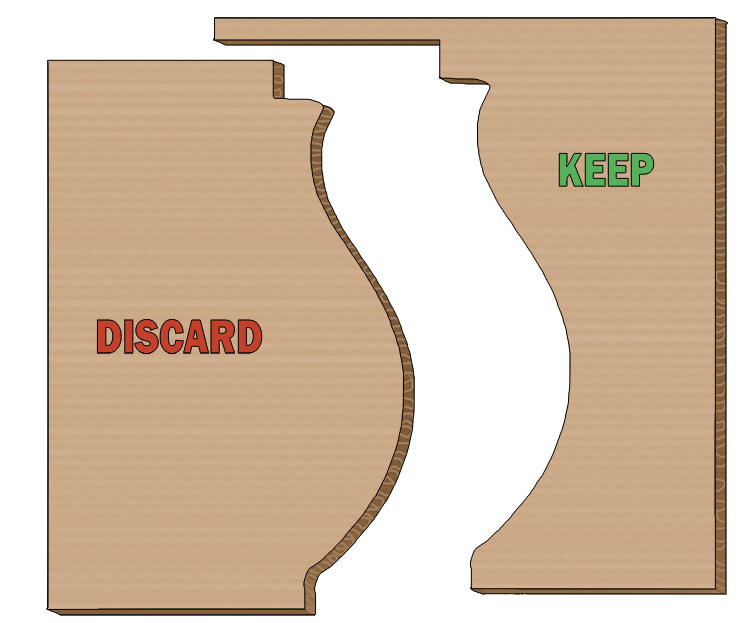
Using the thicker cardboard, draw the shape you want the outer edge of your pot to form, from the bottom up to the top. Cut off the excess cardboard and keep the outer section to use as a guide.
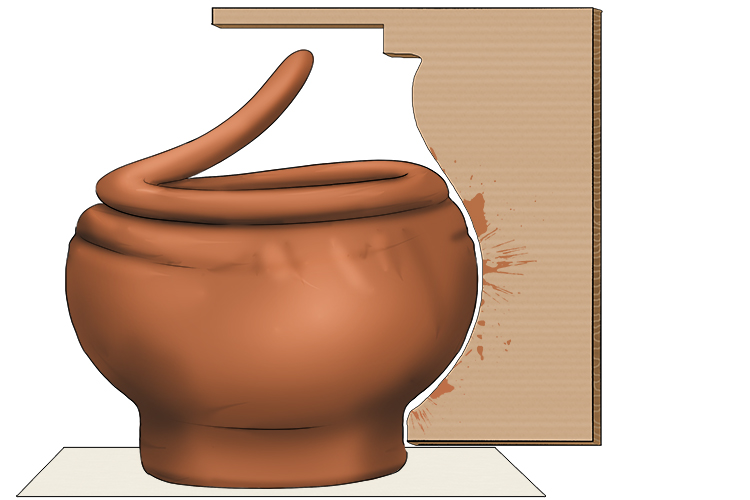
This is the part in which your cardboard guide is essential. Whilst building the sides, place the bottom edge of the guide flat on the surface you are using and up against the base of the pot. You can keep doing this to ensure your coils are getting wider or narrower in the right areas (be sure to do this from all angles so your pot is symmetrical, it will make the pot stronger as well as looking better).
Continue to work your way up until you reach the top of your guide and you're happy with the overall shape of your pot.
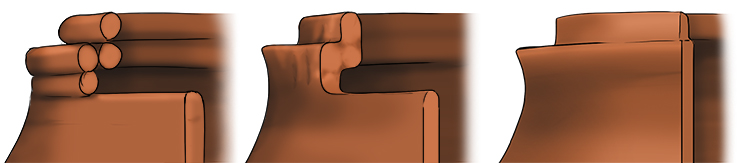
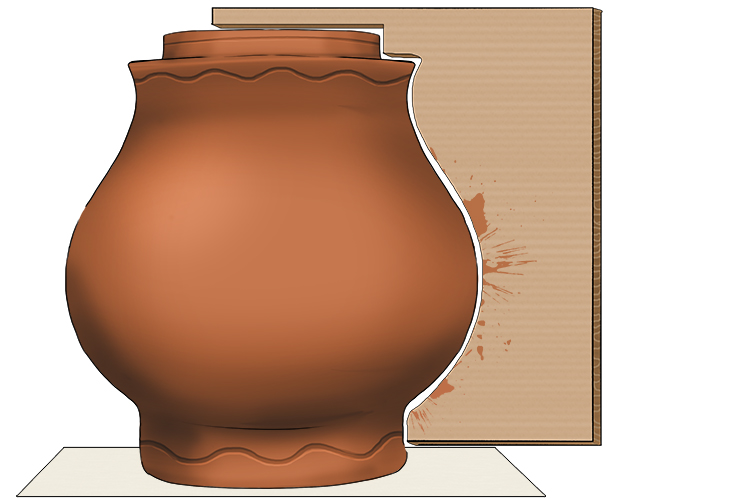
To add a lip at the top, you need to add a coil around the inner edge of your highest point, then add another, the same diameter, on top of that, smoothing them in, one coil at a time, as shown below.
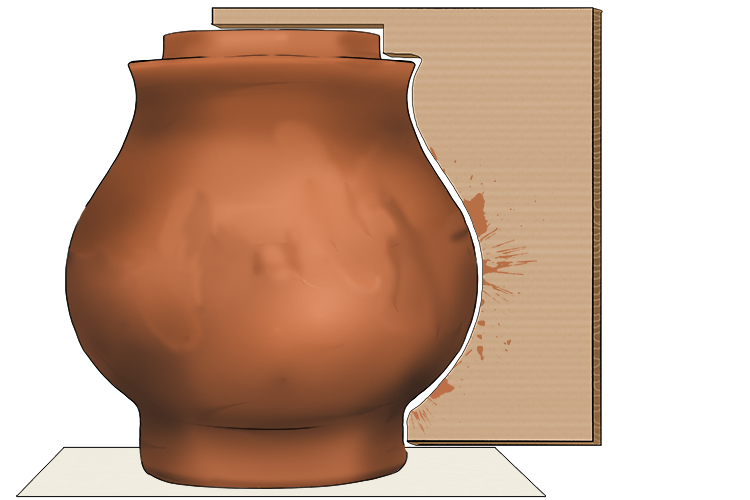
Smooth the sides of the vase, gently rubbing out any lumps with your fingers, using a little water if necessary. If any dents appear, they can be pushed out from the inside, and smoothed down again from the outside. You can also use your clay tools to make any textural marks you wish to have in your finished piece, as we have on the top and bottom edge of the vase below. Once you have a smooth pot, allow it to dry, this may happen overnight but for larger pots, this could take a couple of days.
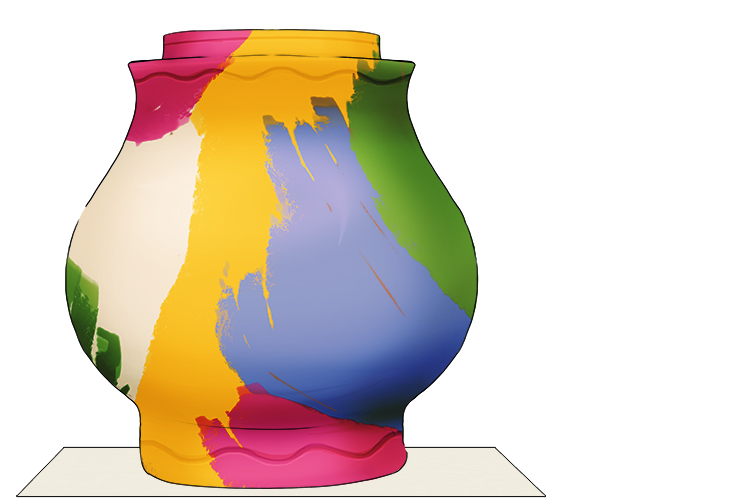
Once your pot is dry, you can think about the surface decoration. Grayson Perry uses an array of drawing and mark making styles to decorate his pots, and they are never neat or organised.
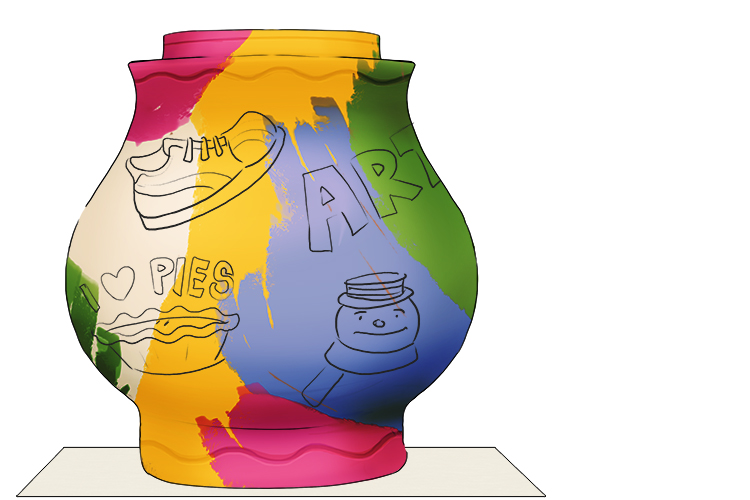
Begin the design process by painting your pot in bright colours. You could use one block colour, like the orange seen in Perry's ceramics, or use large brushstrokes of multiple bright colours as we have below.
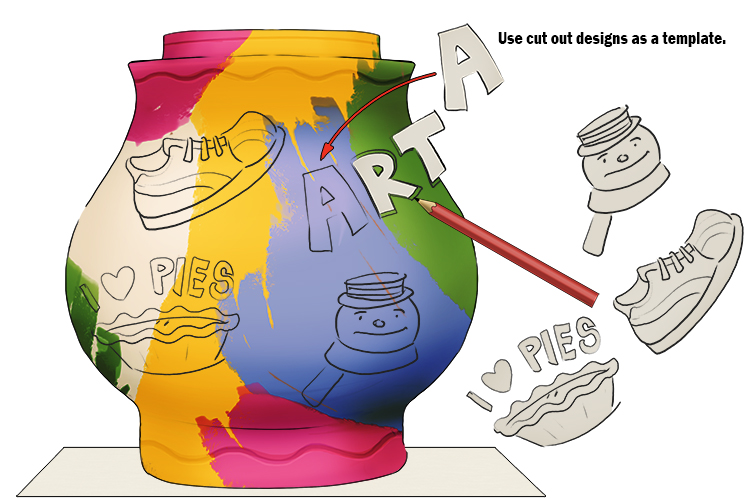
For your autobiographical pot, think of all the things you like about your life. Whether it be hobbies, the people around you, animals and nature, or anything else. We have chosen, art, winter, food and clothing. Draw your ideas with pencil onto the surface of the vessel. You can also use text if you wish, another of Grayson Perry's techniques. You may wish to draw your designs onto paper first, then cut them out and use the outer edge as a guide to draw them on the pot.
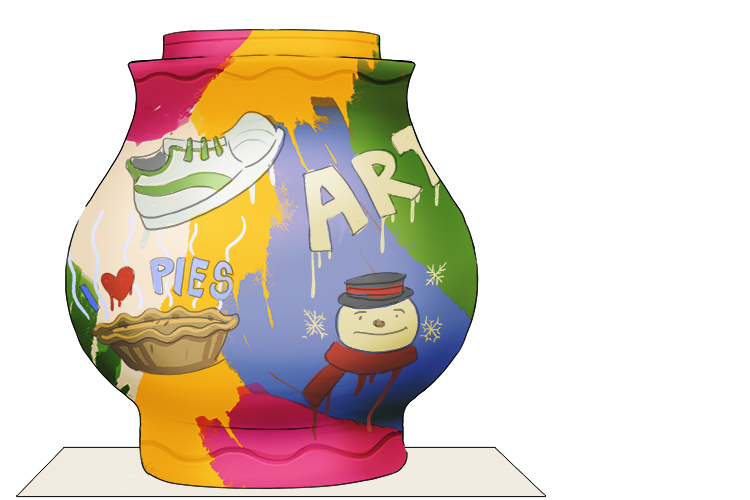
Once all the pencil outlines are complete, use the acrylic paints again to fill in your pencil designs. Once the paint is dry you have a finished autobiographical coiled pot.
Coiling.


