
Horizon Line – Horizontal line on which, in one point perspective, the vanishing point appears. In two point perspective, it is the line on which both vanishing points appear.
Note: If you put your eyes level with the horizon line of a picture, this will be the same horizontal eye view position that the artist was in.
The horizon line is always horizontal and is the line which, if you put your eyes level with it, will be the same position, horizontally, that the artist or photographer was in when they created the image.
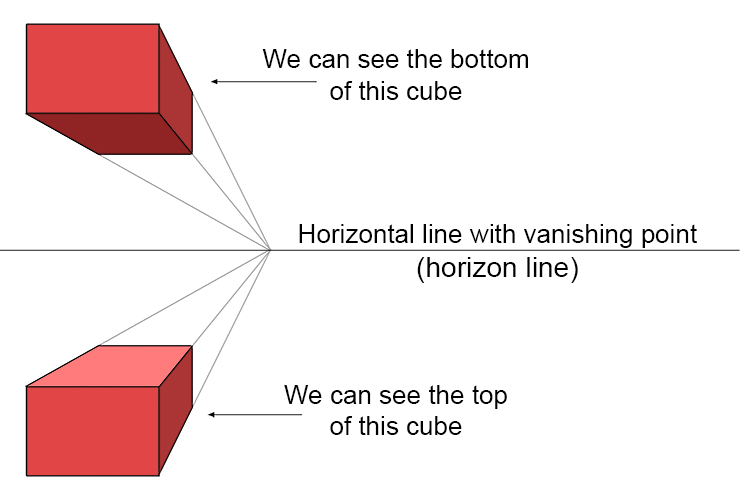
Objects above the horizon line: you will look up at them.
Objects below the horizon line: you will look down at them.
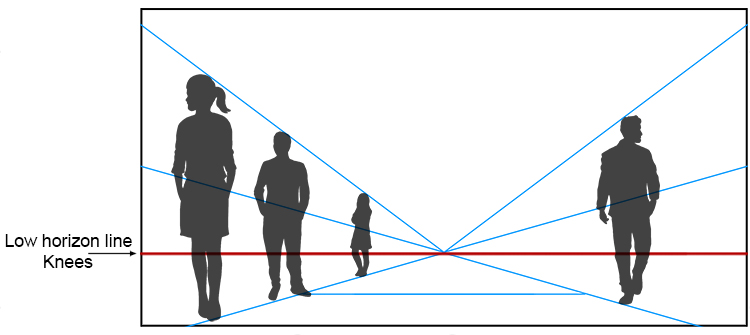
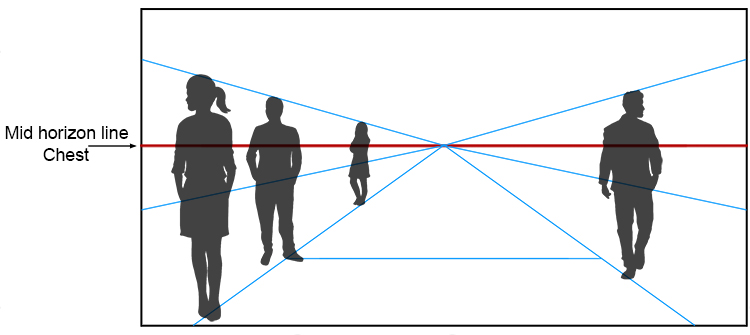
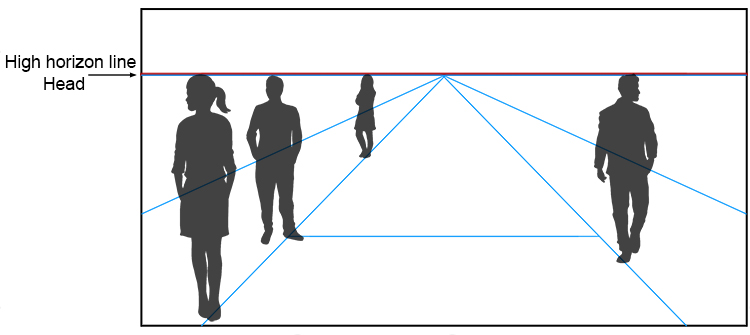
Horizon Line Project 1
The drawings below show how people of the same height are affected when drawn from different horizon lines from a one-point perspective.
Horizon Line Project 2
For this project we are going to use two point perspective to write a word. The word can be anything you like, but we're going to use the word Mammoth.
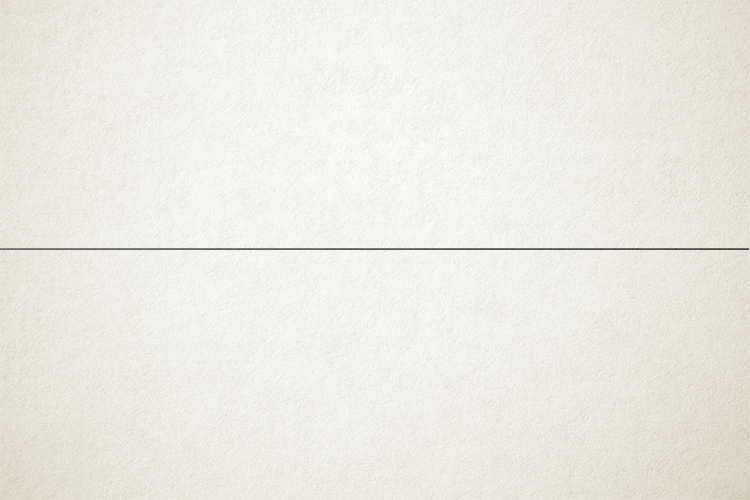
Start by using a pencil and ruler to lightly draw the horizon line. This should be a horizontal line across the middle of your page.
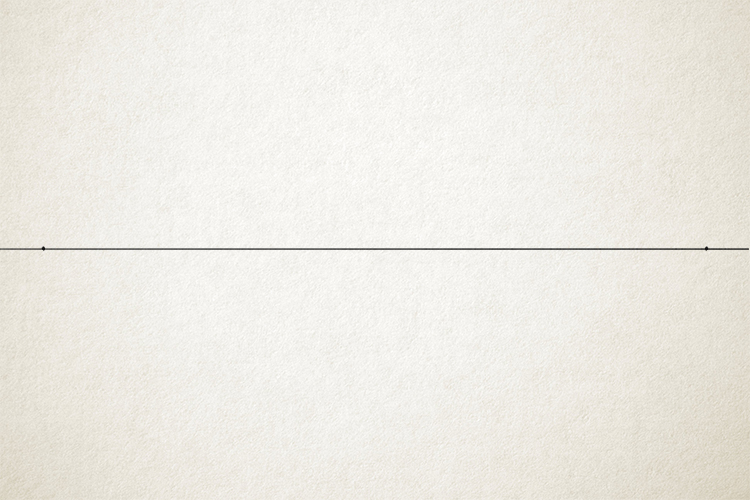
About 3cm in from each end of your line, draw a dot. These will be the points of your two point perspective.
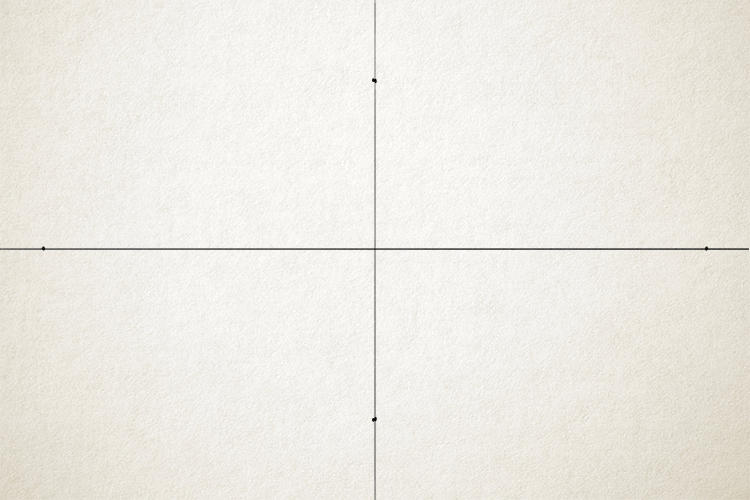
Then, using your ruler, draw a vertical line down the middle of the page so you have intersecting lines, as shown below. These will be our vanishing points.

Add two more dots on the vertical line, equally spaced apart either side of the horizon line. This will determine how tall your letters will be.
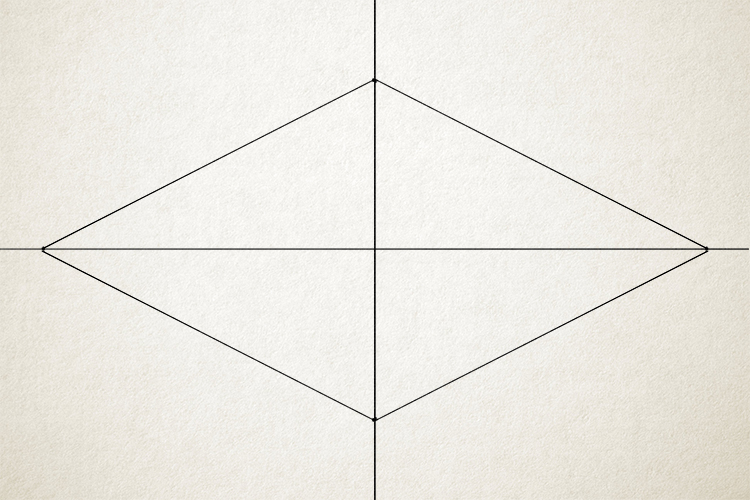
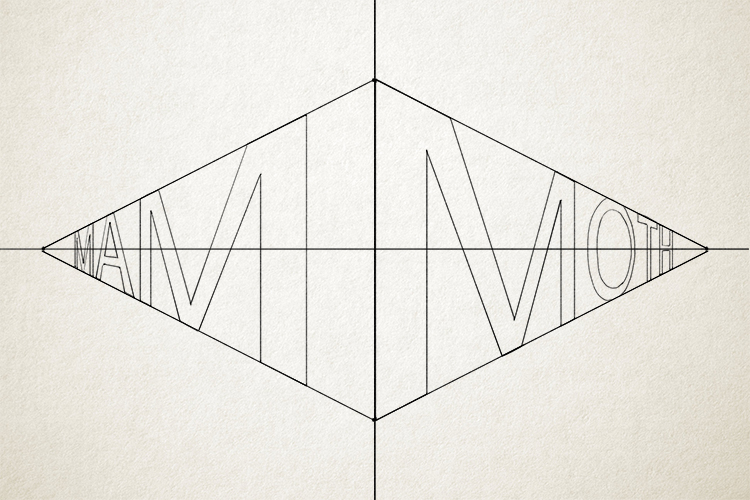
Connect the dots with straight lines as shown below.
Sketch out your letters. Notice how all the vertical lines are straight, but the horizontal lines follow the horizon line.
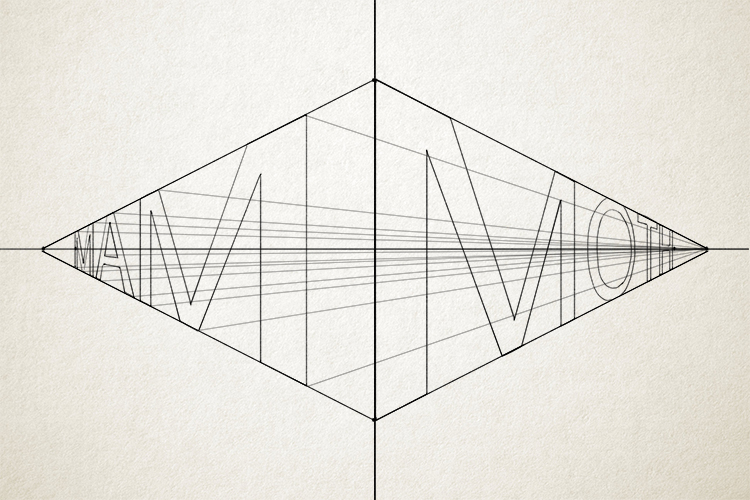
On all of the letters on the left of the vertical line, using your ruler, draw a line from all the points of the letters to the vanishing point on the horizon line on the right.
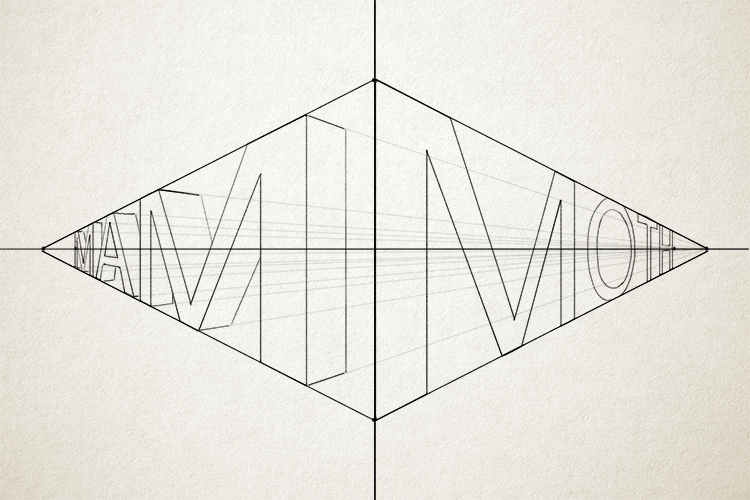
To give the letters the three-dimensional look, follow the lines of the letters slightly further back. Use the lines connected to the vanishing point as a guide to where the horizontal lines should be.
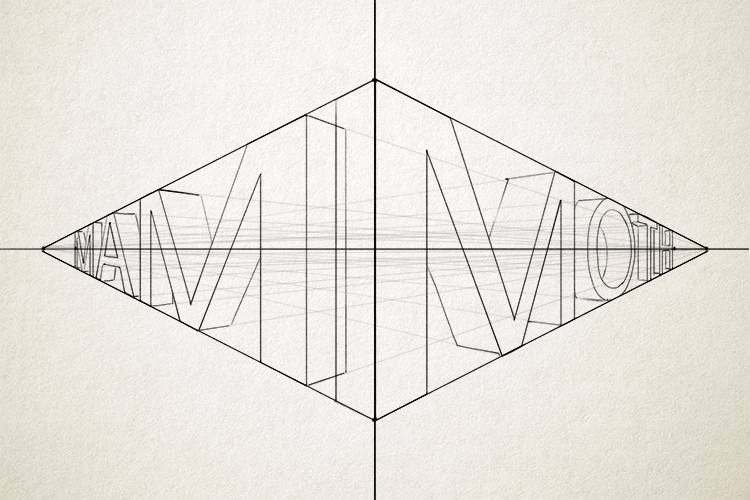
Use the same technique as above and give the letters on the right a 3D effect! Remember that the lines will be going to the vanishing point on the left.
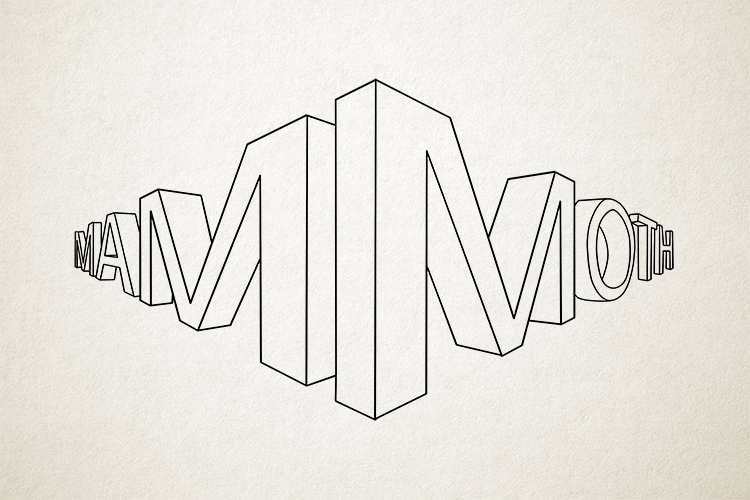
Go over all of the lines you want to keep in pen and erase the pencil lines. You should be left with something similar to the image below.
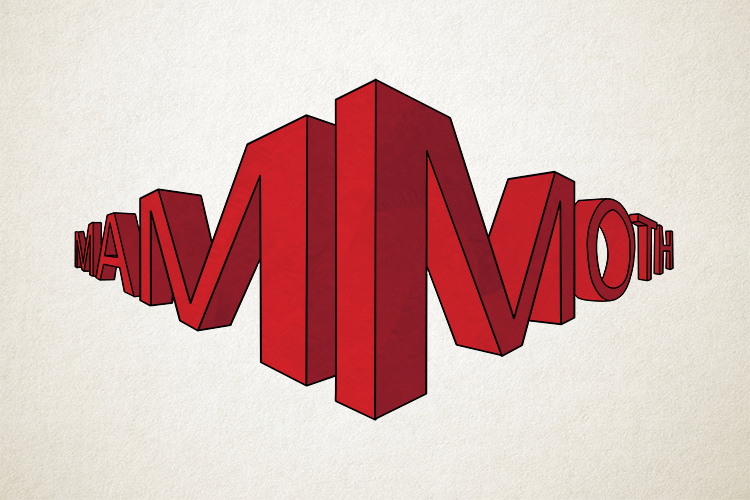
Finally you can colour in your letters. You can choose any colour you like. We have chosen the reds from the Mammoth Memory logo! To make it look extra 3d, try colouring everything that faces to the left in a brighter colour and everything facing to the right in a darker colour. This will give the illusion of a light source.
Horizon line.


