
Andy Warhol Art Project 1
One of Andy Warhol's most famous techniques for creating his artwork was screen printing.
While he could create detailed images with several different colours, it is best to start off with a simple single colour image.
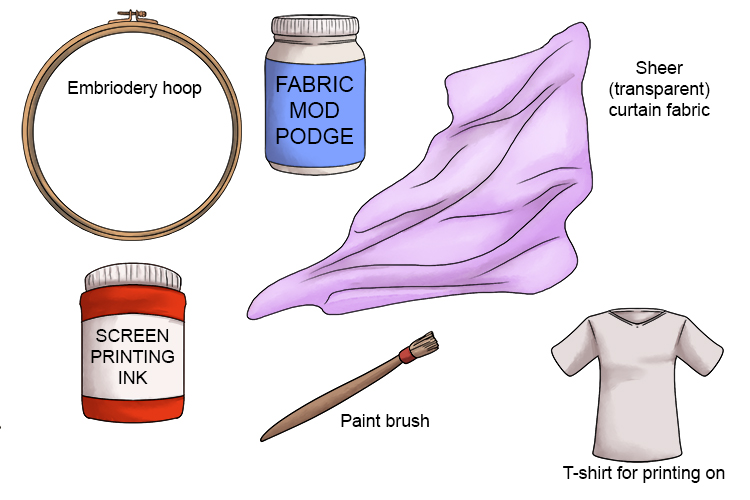
You will need an embroidery hoop, fabric Mod Podge, sheer (transparent) curtain material, screen printing ink, a paintbrush and something to print onto, for example a T-shirt or tote bag (a large handled bag).
Note: Mod Podge is a glue, sealer and finisher all in one. The glue part of the Mod Podge can be used to adhere items to porous surfaces. The sealer part of the Mod Podge gives you a protective coat over the project and the Mod Podge finish gives you a lustrous, soft appearance between matte and gloss.
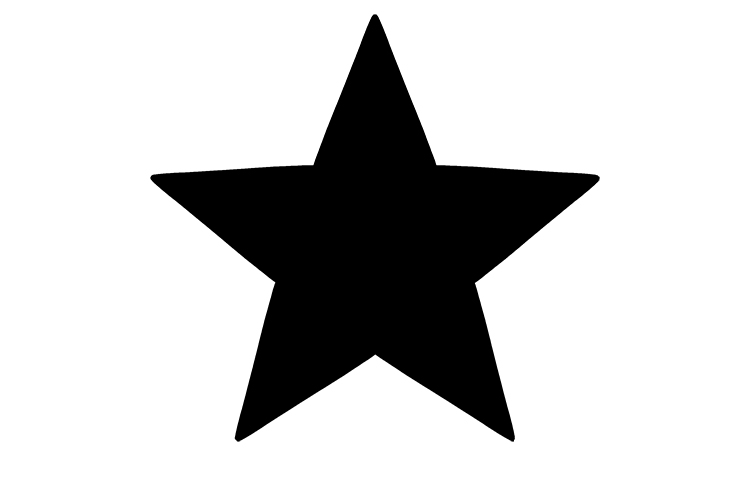
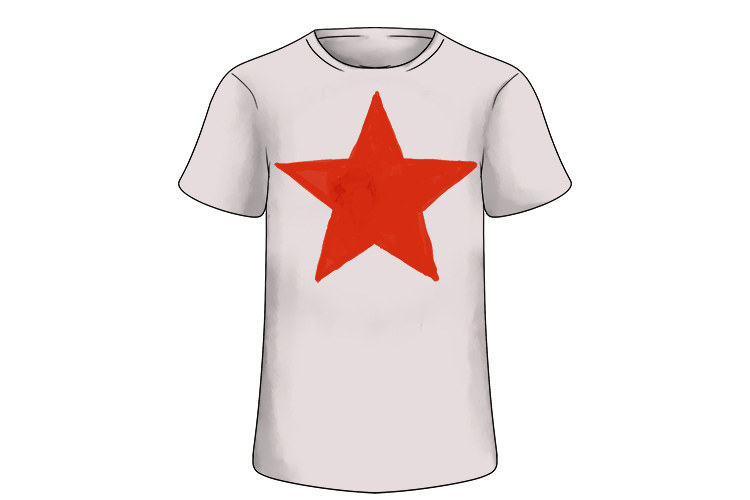
Start by drawing your design. Use a simple, basic shape at first to practise this screening technique. Once you feel confident, you can go on to tackle more difficult designs. We have drawn a simple star.
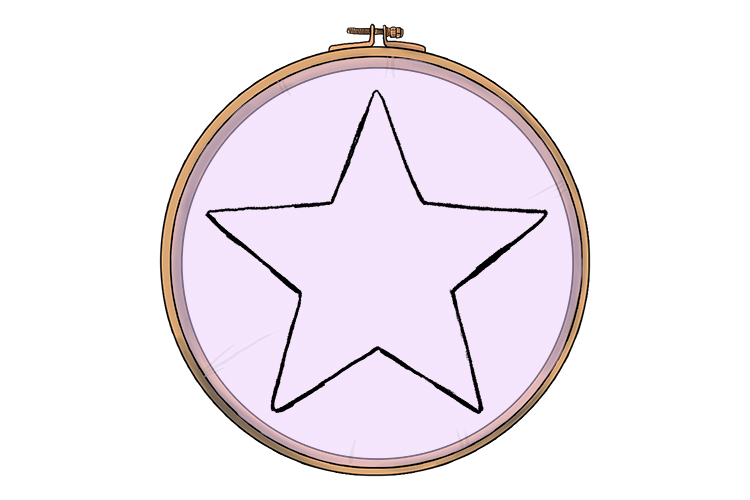
Next, fit your sheer (transparent) curtain material into the embroidery hoop, making sure it's tight and cut off the excess (old tights would also be suitable for the sheer transparent material).

With the material side of the hoop still facing you, trace your design onto the curtain panel, using a pen or pencil.
Note: A bit of caution here – if you choose to do an asymmetrical design (for instance, the initials AB on a T-shirt), you will need to trace it on in reverse so that when you turn the hoop over to print, the letters will read correctly.
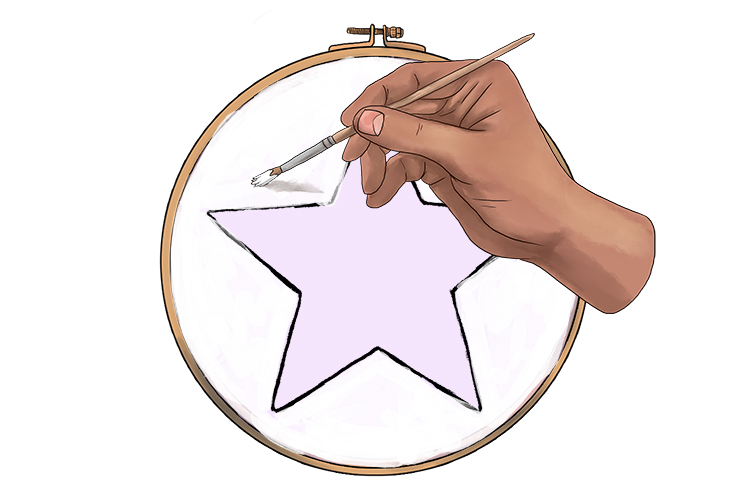
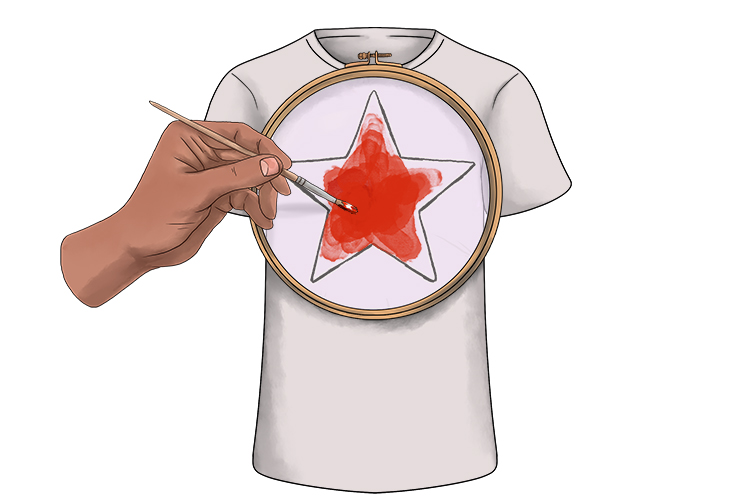
Paint your Mod Podge around the outside of the design – anywhere you don't want the ink to go! Make sure there are no gaps, or the ink will go through. The mod podge will be transparent when dry.
Once the Mod Podge is completely dry, turn the embroidery hoop upside down so the sheer (transparent) curtain fabric is directly on the T-shirt or bag (if your item has two layers like a T-shirt or bag, make sure to put a barrier inside the two layers!) and start painting! Paint several layers before lifting the hoop, to make sure you've completely covered your design.
Allow the ink to dry for 24hrs and then enjoy your design!
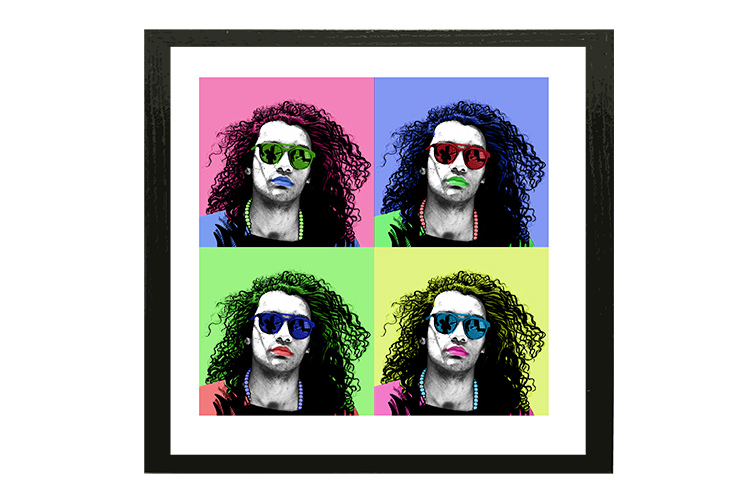
Andy Warhol Art Project 2
To create this style of artwork, Andy Warhol used silk screen printing. It is a similar, but more advanced technique to the one shown above.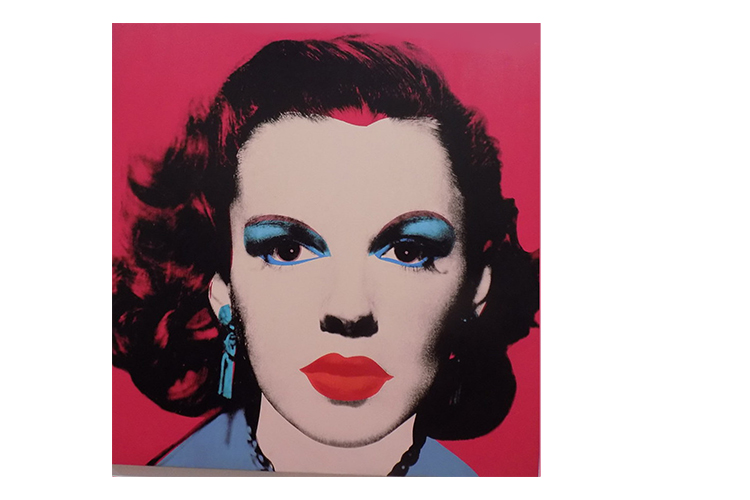
You can recreate this style using the following steps.
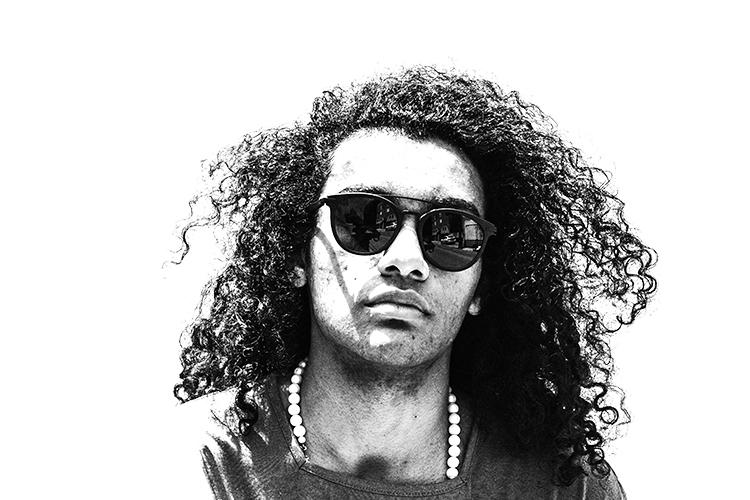
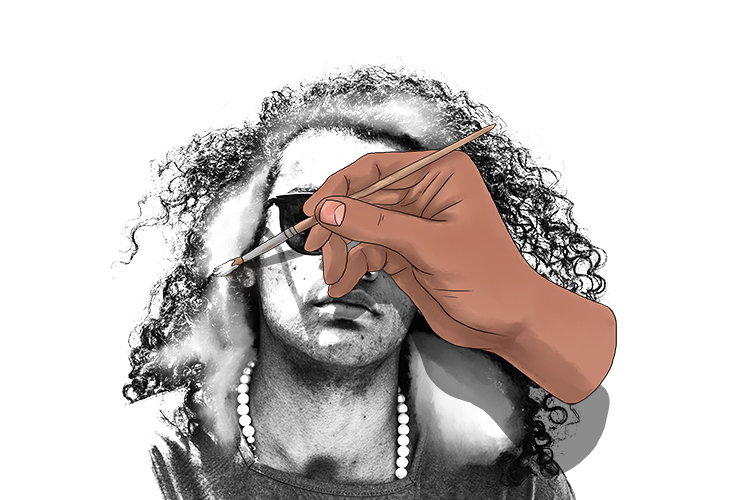
Print out a high contrast, black and white portrait photo.
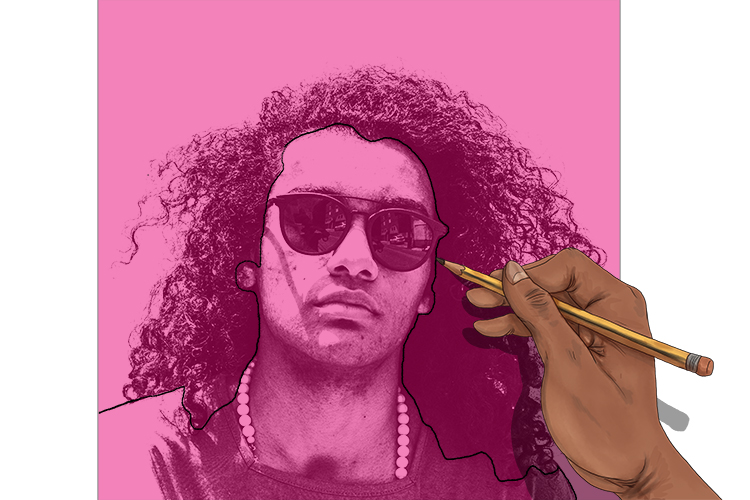
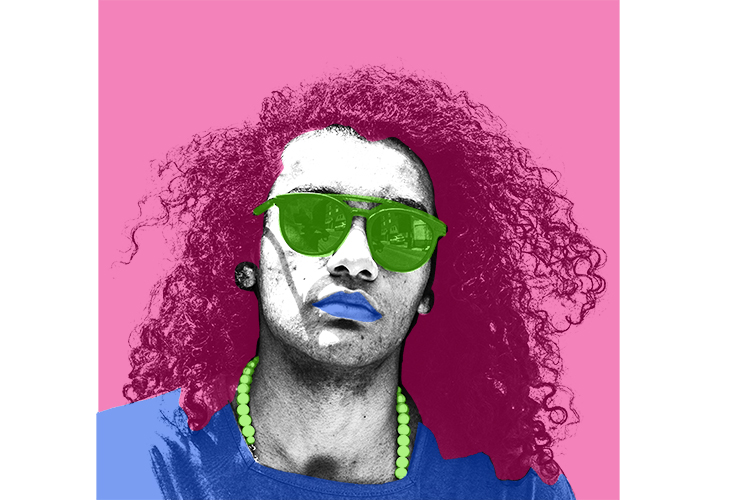
Lay thin, brightly coloured tissue paper (found in most art shops) over the picture and lightly draw around a shape where you want that colour to go. Below we have put pink coloured tissue paper over our picture and have drawn across the shoulder, around the hairline and back down across the other shoulder.
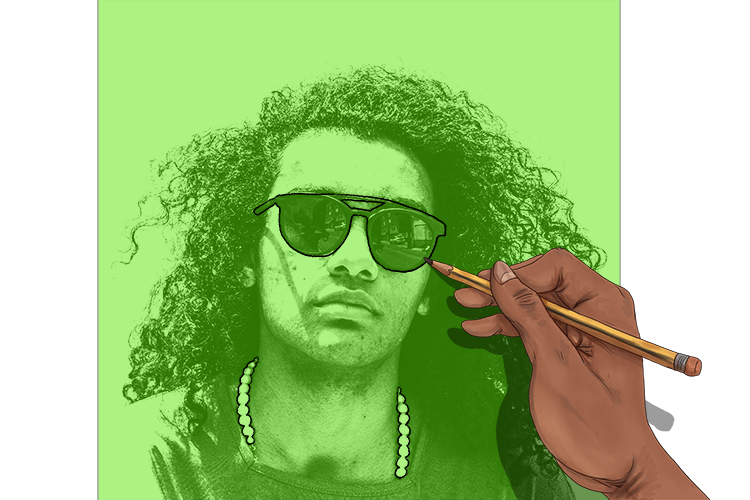
Next we have taken bright green tissue paper and after overlaying it on the picture we have traced out the sunglasses and the necklace.
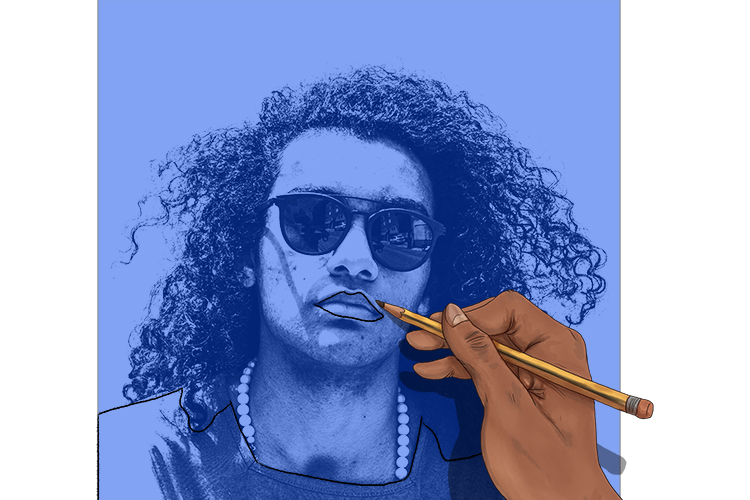
Finally, with the bright blue tissue paper overlaid on the picture, we have traced out the lips and the T-shirt.
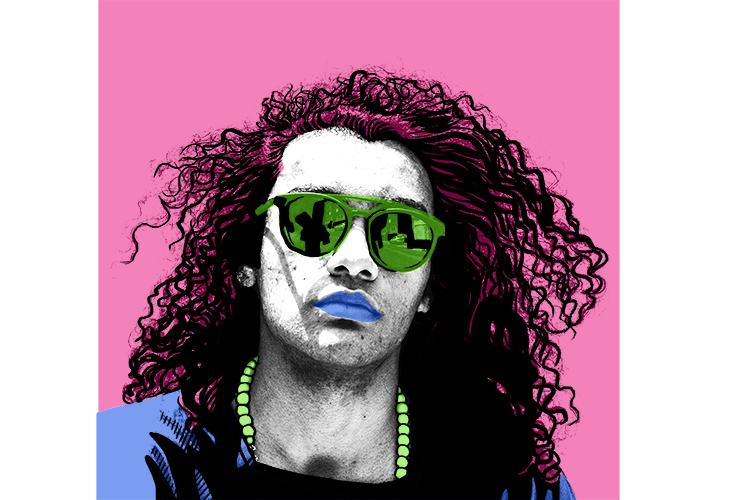
Now we cut out the shapes of each on the different coloured tissue papers.
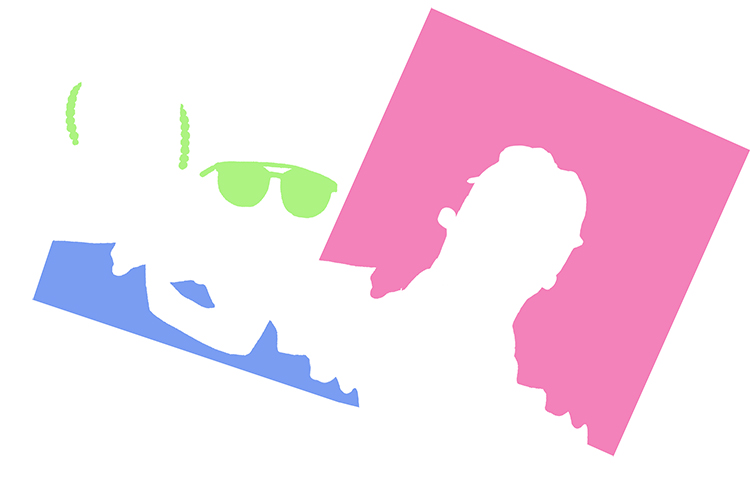
Brush a thin coat of PVA glue onto your picture where you will be sticking the different coloured tissue paper.
Now carefully place each tissue paper into the correct position and stick each piece down as below.
The black from your picture should be showing through, but to really help it pop, go over the black in a black pen, but only once the glue has totally dried.
Finally, frame your work!
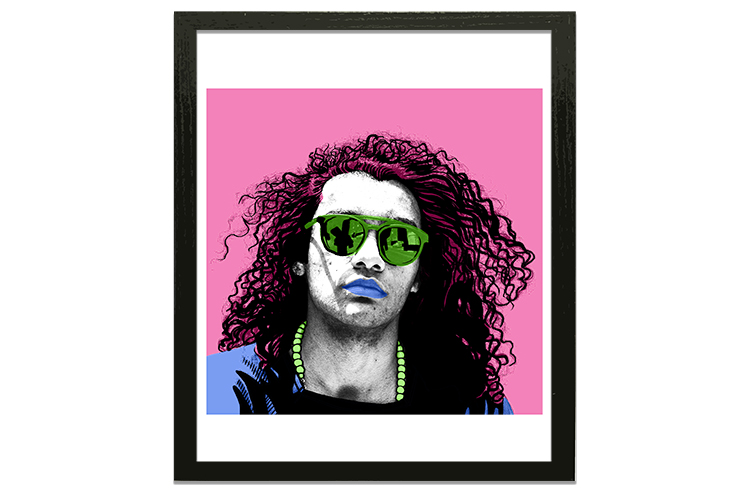
Andy Warhol often did multiple versions of the same portrait, but changed the colours on each. You can achieve this by repeating the steps above three more times, but changing the colour of the tissue paper each time.
Andy Warhol.


