
Roy Lichtenstein Art Project
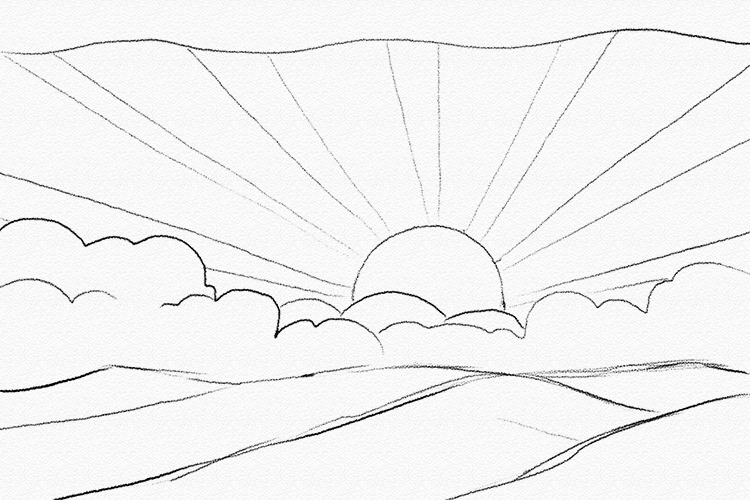
Here's how to create a fun and colourful Roy Lichtenstein-style artwork. On a plain piece of paper, sketch out a simple sunset. Add some clouds across the middle of your picture, obscuring the sun slightly, and a slightly wavy line near the top for some more clouds.
For the rays of the sun, draw them closer together by the sun, fanning out all the way to the edge of your picture. Draw the ground at the bottom of the picture. All of these elements should be very simplified with limited detail.
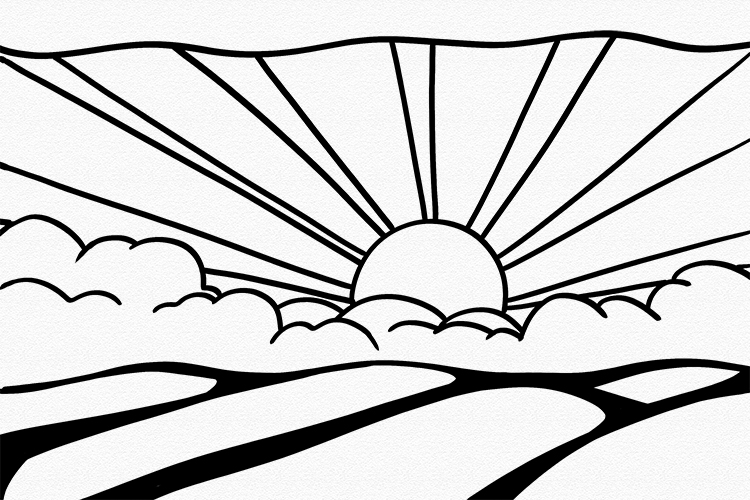
Next, go around the outlines of your sun, rays, clouds and ground in a thick black line – a thick marker pen would be best to use. Draw thick lines on the ground to give the impression of shadows. Once the ink is dry, erase the pencil lines.
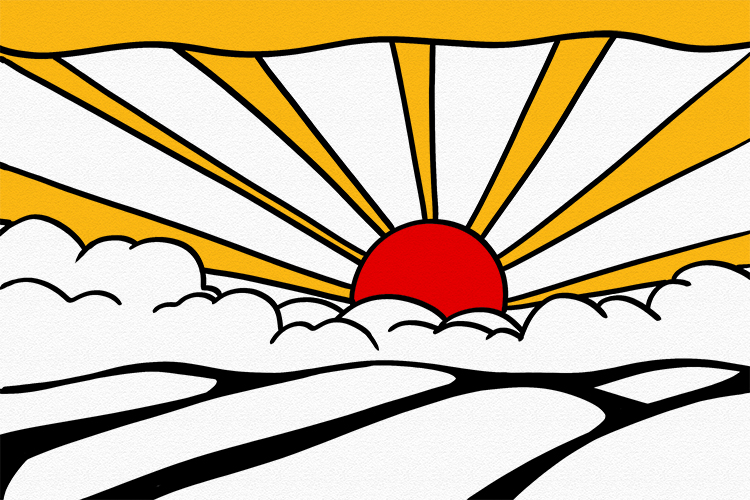
Paint the sun in solid red, the rays and clouds at the very top in solid yellow.
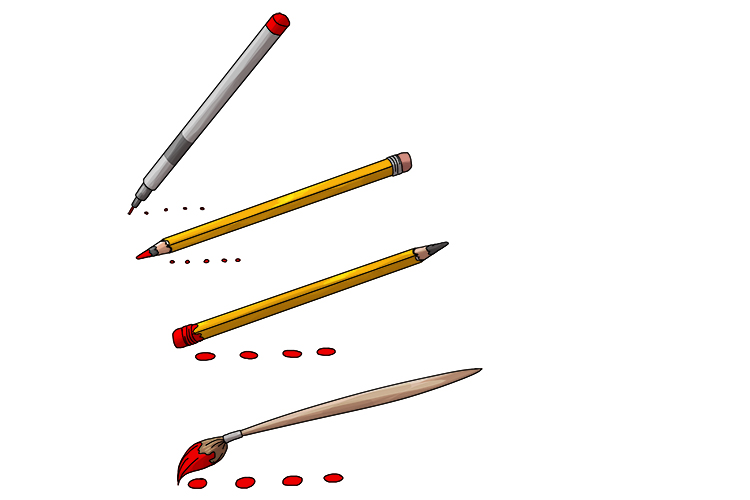
The size of dots you want to use for your painting will determine what tools you use to apply them. If you want smaller dots, you could use a felt tip pen or dip the tip of a pencil in paint and apply the dots with that. For larger dots, you could use the eraser end of a pencil, or dab them on using a finer paintbrush.
The sky and ground should be completely filled with dots, while the clouds are only partially covered, to represent shadow. All the dots should be as equally spaced as possible. The sky is made up of only red dots and the shading on the clouds is made up of blue dots. In the immediate drawing below we have zoomed in to a view of the ground. You can see in this detail that the ground is made up of blue and red dots very close together and gives the impression of purple. Try copying our pattern for this effect.
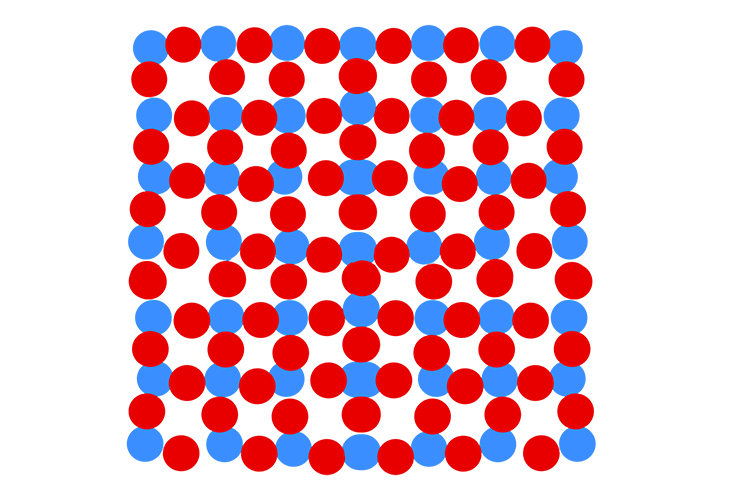
Below is the finished drawing.

Roy Lichtenstein.
Roy Lichtenstein Art Project 2
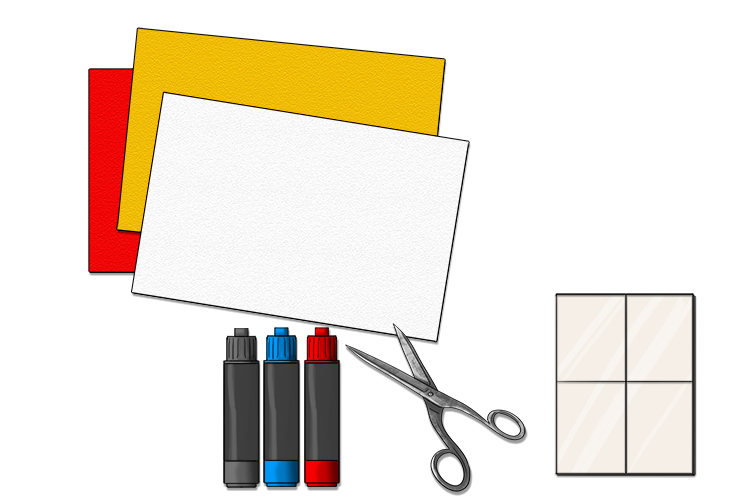
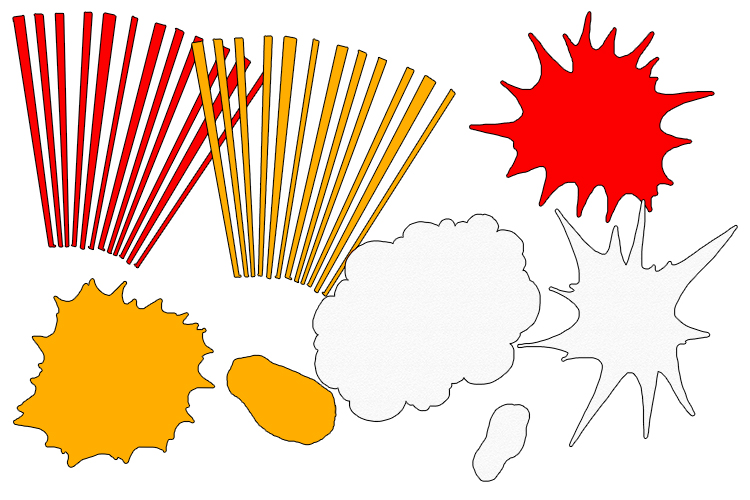
For this three-dimensional pop art project you'll need two sheets of white card and one sheet each of red and yellow card; black, blue and red marker pens; scissors; and some "sticky fixers" double-sided foam pads.
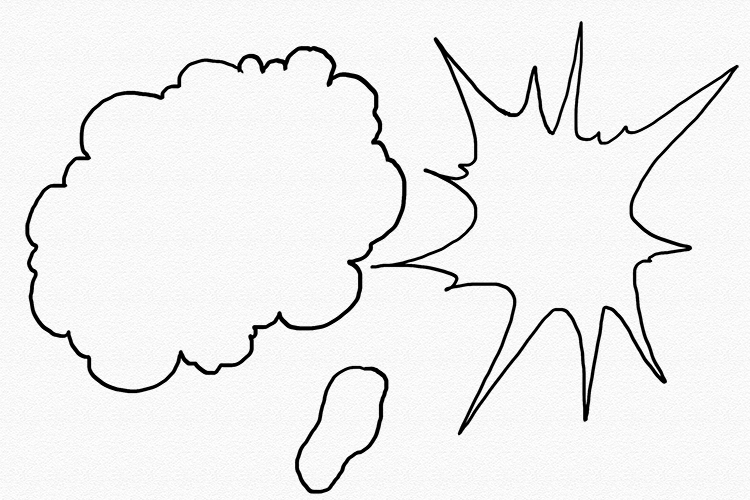
On one piece of white card, draw three shapes: a cloud, a spiked blast that is smaller than the cloud (but whose spikes will protrude when laid over the top) and finally, a small smooth shape that will easily fit inside the spiked shape.
On the yellow card, draw around 12 strips, all thick at one end and thin at the other. Also from the yellow card, cut out two more shapes, one a spiked blast shape (with shallower spikes but overall bigger than the white blast shape) and the other a smooth shape (similar to the white one but bigger).

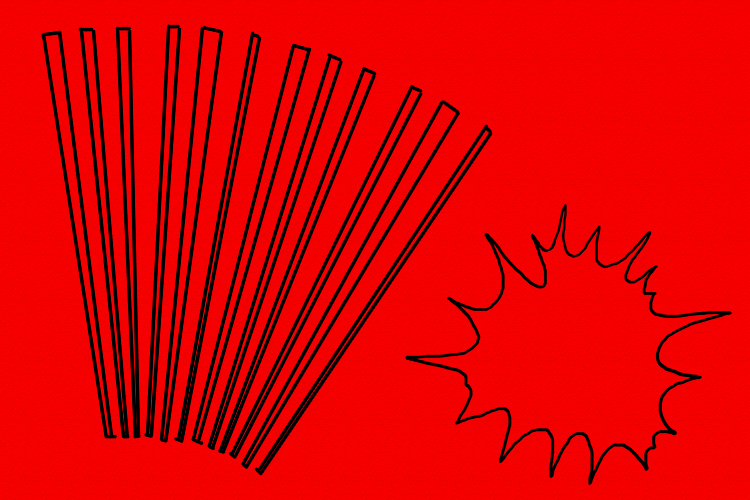
On the red card, draw more strips, which are thick at one end and thin at the other and another spiked blast shape (but smaller than the white and yellow ones).
Cut out all of these shapes.
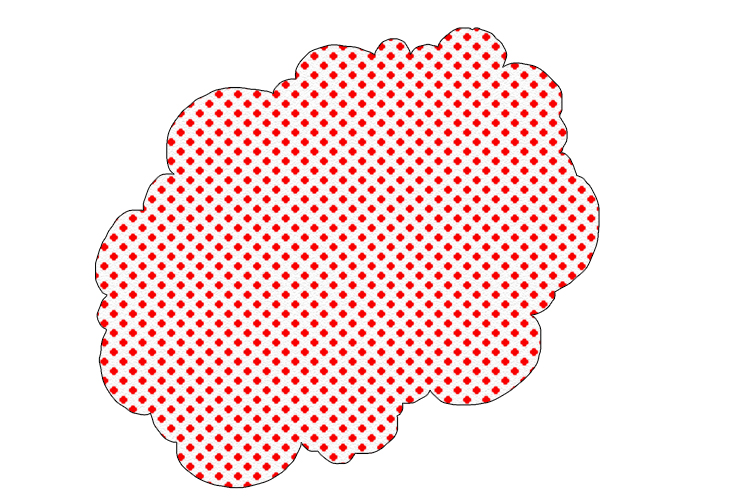
Completely cover the white cloud shape in red Ben Day dots.
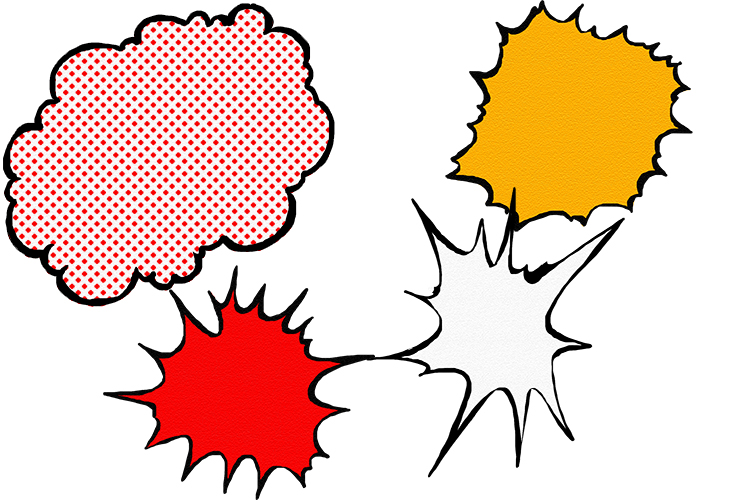
Draw a thick black border around the edge of the red, yellow and white spikey shapes and the white cloud with the red dots
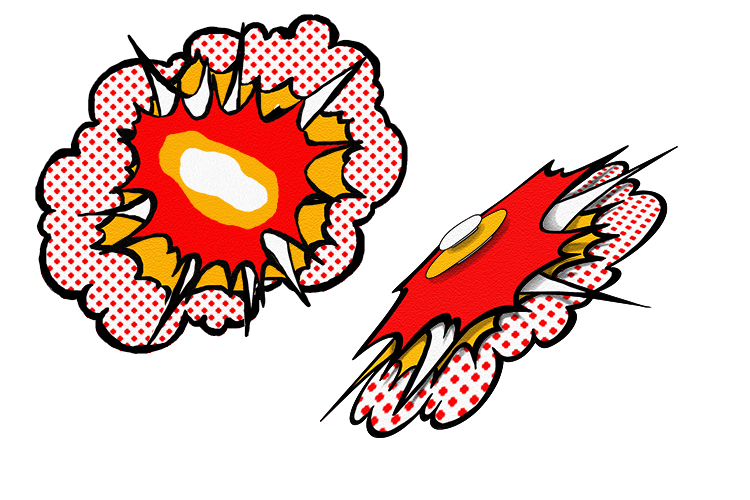
Use your "sticky fixers" to stick the yellow spiked blast shape to the spotted cloud, then the white shape to the yellow and the red on top of the white. The two small, smooth shapes don't need a black outline. Stick the larger yellow smooth shape on top of the red and then finally stick the small white shape on.
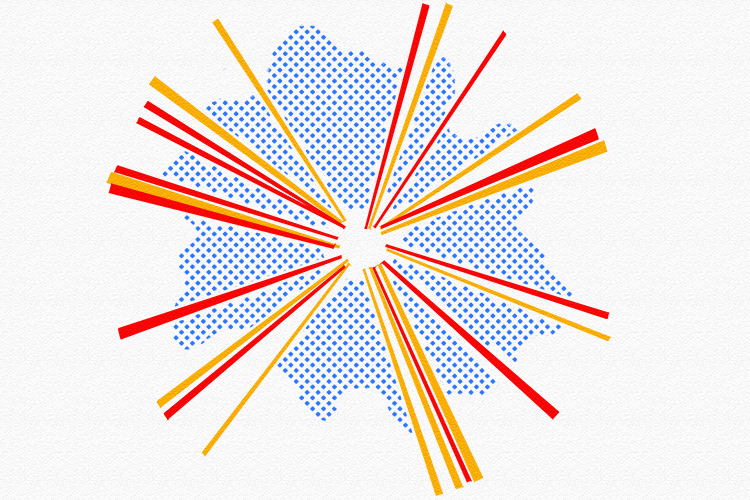
On your other white piece of card, stick down the strips of red and yellow card, flat against the paper (not using the "sticky fixers") with the pointed end towards the middle.
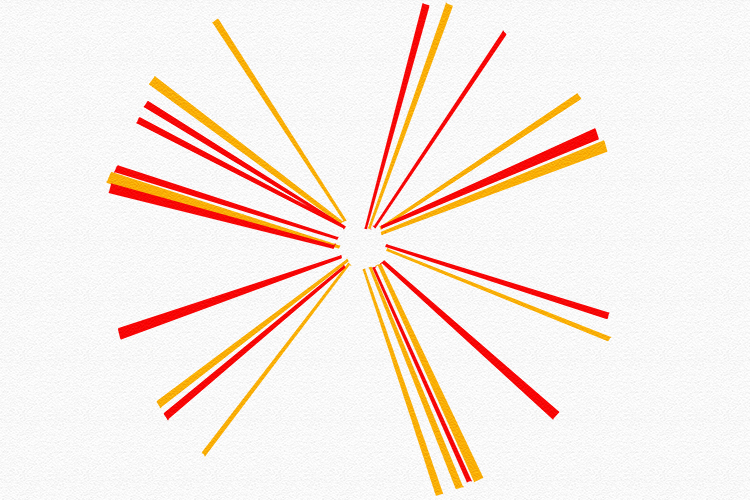
Before sticking the cloud and other shapes down, use your blue marker to draw Ben Day dots in a larger cloud shape, being careful not to mark the red and yellow strips.
Then, using a "sticky fixer", stick the cloud and other shapes on top.

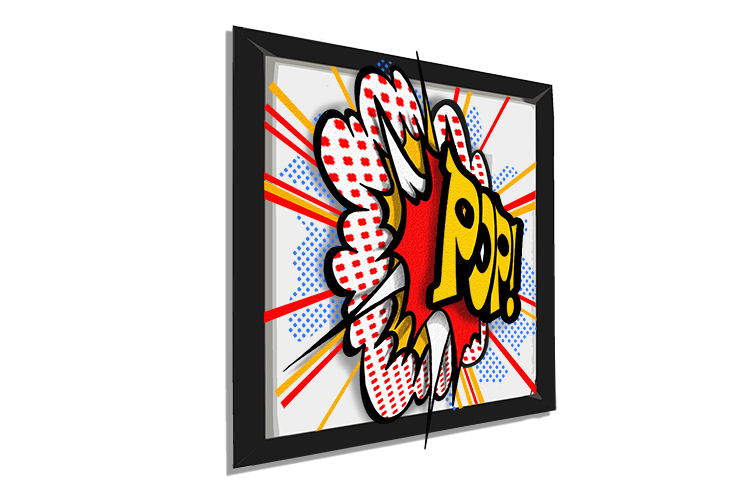
Try adding a word on top. Lichtenstein used onomatopoeic words (words that sound like what they describe) such as "POP!", "BANG!" and "KA-POW!". Draw the letters of your word slightly overlapping, with a thick black line all the way around. When you cut the letters out, make sure they stay attached so you can use a "sticky fixer" to attach them to the top.

Since this is a three-dimensional piece, you could use a box frame to display it, or take the glass out of a regular frame, so it looks like it's popping out!
Roy Lichtenstein.


