
Clarice Cliff Art Project
Clarice Cliff was known for her brightly coloured ceramic ware. For this project, you'll need some air drying clay and some colourful paint.
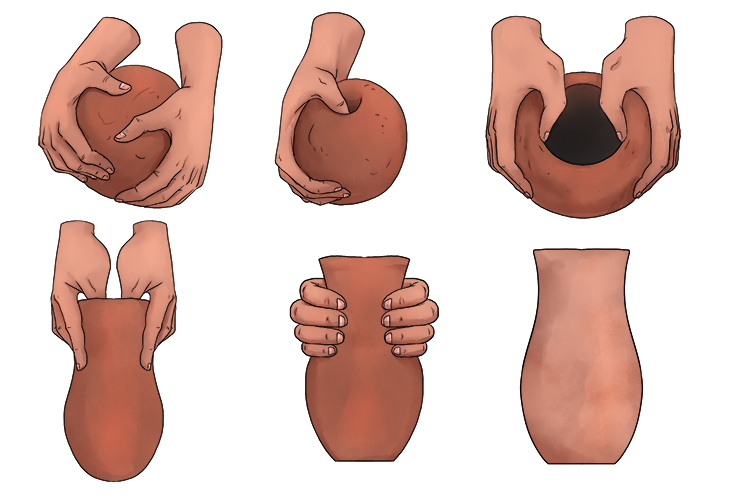
The easiest way to create your vase is using the ball method. Take a decent sized lump of clay and work it into a ball. Be careful not to overwork it! Poke your thumb into the ball and use your thumb and forefinger to thin the clay and work it into a vase shape. Push the bottom onto a flat surface to give it a flat base to stand on. Leave the vase to dry completely.
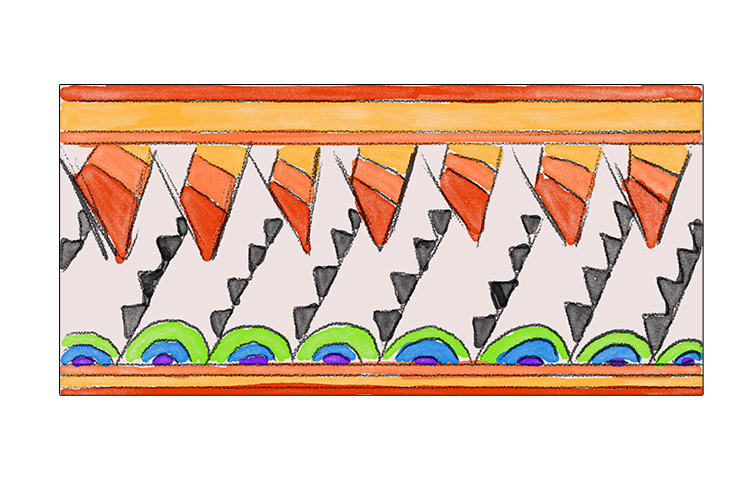
It is a good idea to plan your design on paper first as a rough guide, to make sure the patterns and colours work well and look like a Clarice Cliff design.
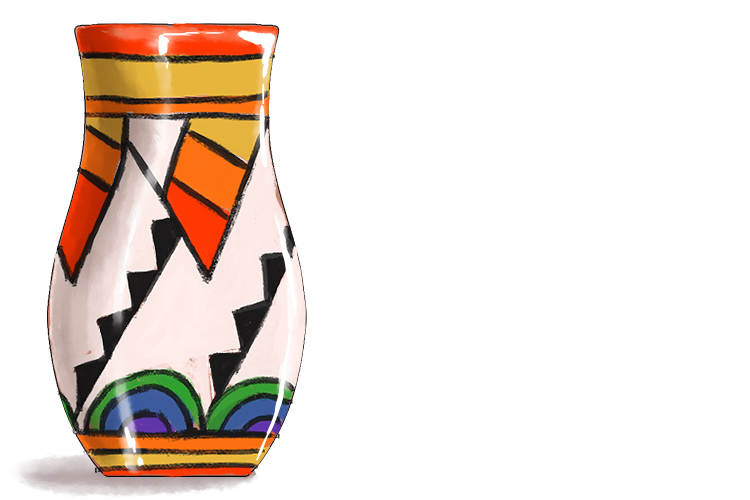
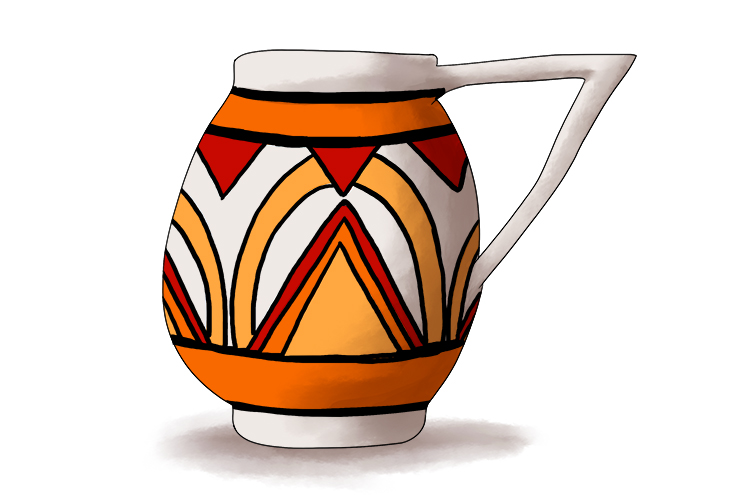
Clarice Cliff liked to use orange, yellow, blue, green, black and white in her designs, with circles, zigzags, straight lines and triangles.
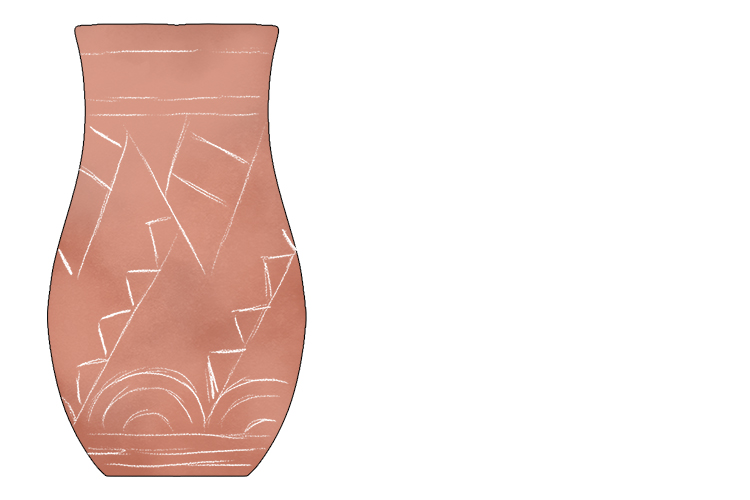
Gently use a white pencil or chalk to mark out your design on the vase.
Carefully start painting your design, It is a good idea to let each colour dry properly before starting your next colour. This shouldn't take too long, depending on the paints you use.
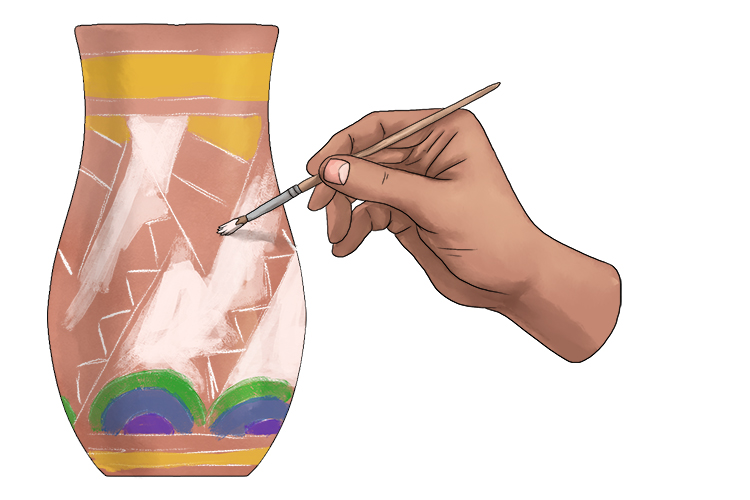
Use a small paintbrush to paint black lines between all the colours.

Finally, if possible, varnish your vase with polyurethane varnish, which will help bring out the colour and protect the paint from chipping.
Clarice Cliff.
Clarice Cliff Art Project 2
Clarice Cliff painted many different types of ceramic ware, but her plate designs were among the most varied.
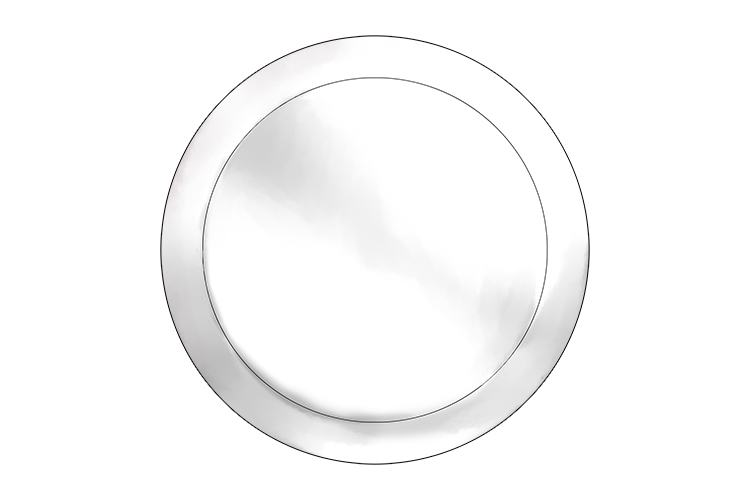
As these plates will be purely decorative, you don't need to worry about finding food-safe paint or pens. You can either use a paper plate, or buy a cheap white plate.
Sharpie pens work well on plates and will give you the bright vibrant colour that Clarice Cliff is known for. The designs ranged from the geometric and colourful designs she is known for, to stylised scenes and even quite realistic landscapes.
Sketch out your design on paper first. For the stylised landscape, use bold but flowing lines. She used fewer straight lines in these designs, if there were any at all. The geometric designs are the most varied in terms of pattern. She used rectangles, triangles, circles, shapes intercepting each other, zigzags and diamond shapes. The more realistic landscapes are still stylised, but they have more detailed shapes and hints of shading and highlights.
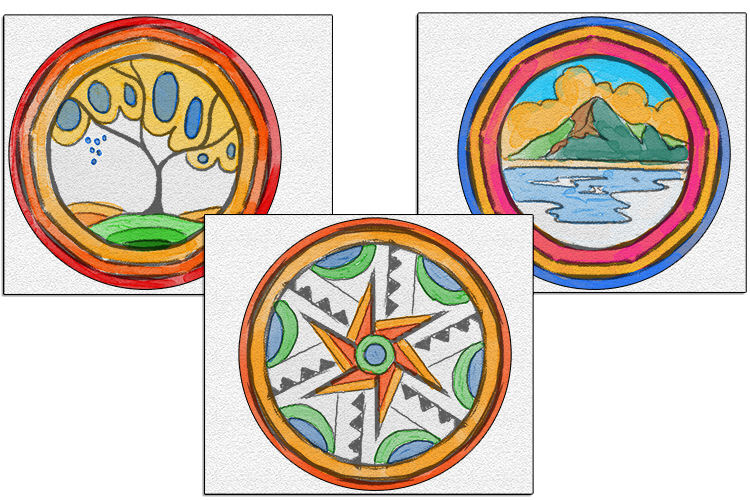
Her plates were also predominantly orange, with a few other colours to complement it.
Draw out the lines of your chosen design onto the plate with a black Sharpie.
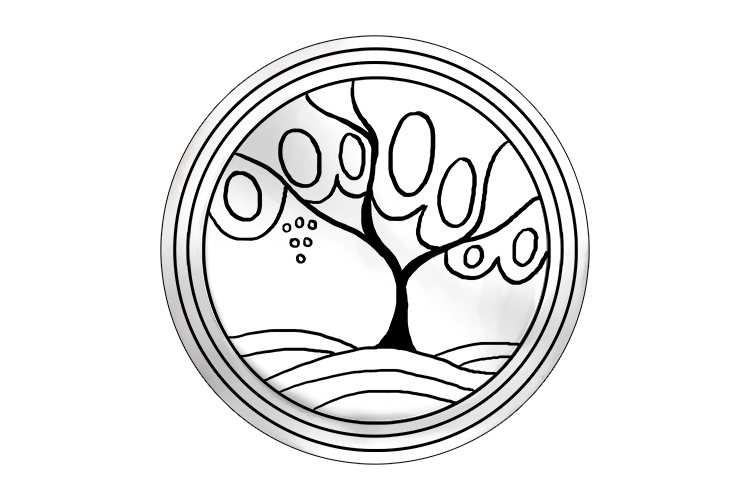
Once you are happy with your lines, colour your drawing in bright colours.
Sharpie pens dry quickly, but make sure they're completely dry or they'll smudge together. You can also bake the plate in the oven for 30 minutes, but since this is a decorative plate, it's not absolutely necessary.
Clarice Cliff.
Clarice Cliff Art Project 3
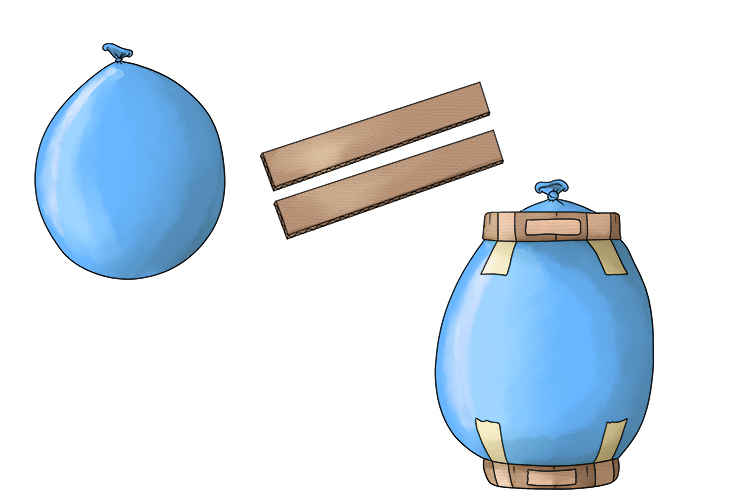
Firstly, inflate a balloon. It will need to be firm, but not close to bursting. Cut out two strips of thick cardboard long enough to create a base and top for the vase, but not so long that it'll slip down when placed on the balloon. Bend each strip of card into a circle and secure them onto the top and bottom of the balloon.
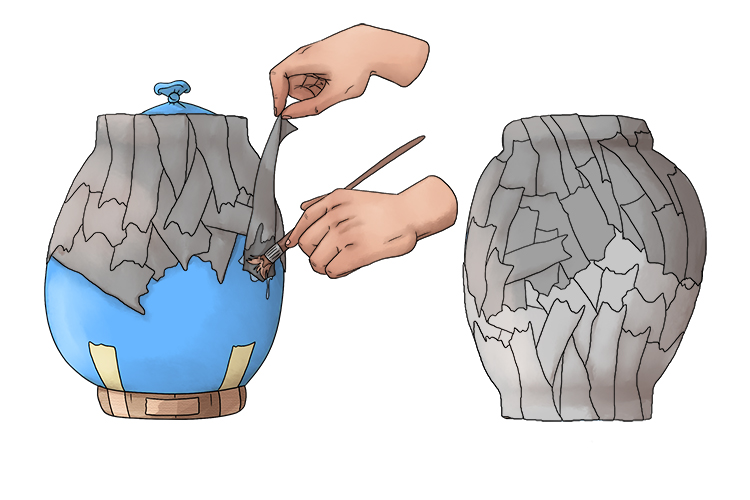
Next, use PVA glue or wallpaper paste to stick strips of newspaper all over the balloon. Make sure to papier-mâché the cardboard circles into place, but leave the hole in the top open. You will need to do this in two halves, giving the top time to dry before starting the bottom.
You will need about four layers of paper to ensure the vase will be solid enough.
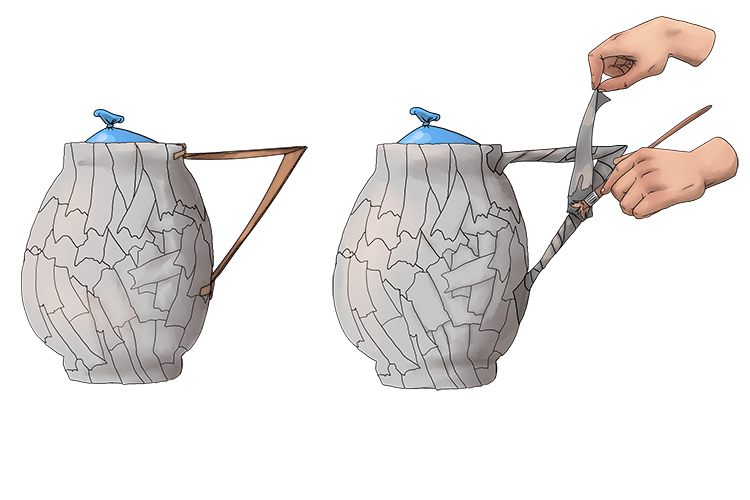
Once this is dry, you can attach a handle by cutting thick cardboard into the desired shape and taping it to the vase. Stick papier-mâché over the handle to give it a more three-dimensional feel and help keep it secure. Again, it will need around four layers.
Once the handle is secure and dry, use fine sandpaper to gently sand down your vase, this will help make it look more like the real thing!

Next, it's time to pop the balloon! When the balloon is out, use the PVA glue or wallpaper paste on the inside of the vase to give it another layer of protection.

Finally, use acrylic paint and the ideas in Project 1 to give your vase some colour! Remember, Clarice Cliff is known for bright, geometric patterns and stylised scenes.
Clarice Cliff.


