
Banksy Art Project
Banksy's graffiti work is famous worldwide and the majority of it is produced using spray paint and stencils. Stencils can be created easily and we will show you how to create a piece of artwork using one in this exercise.
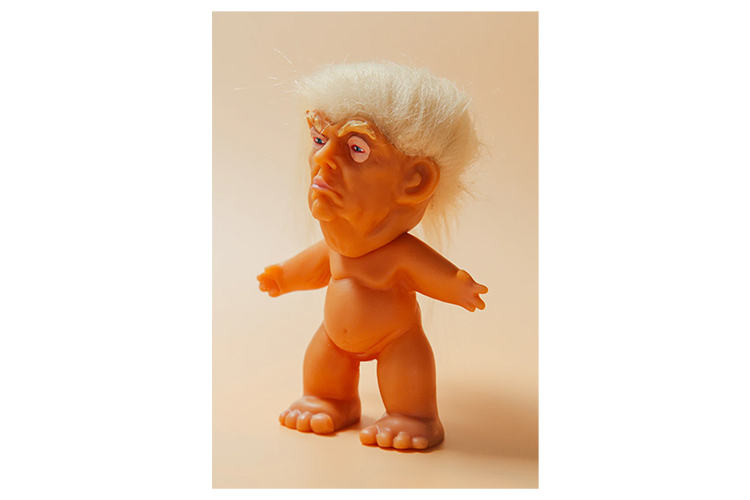
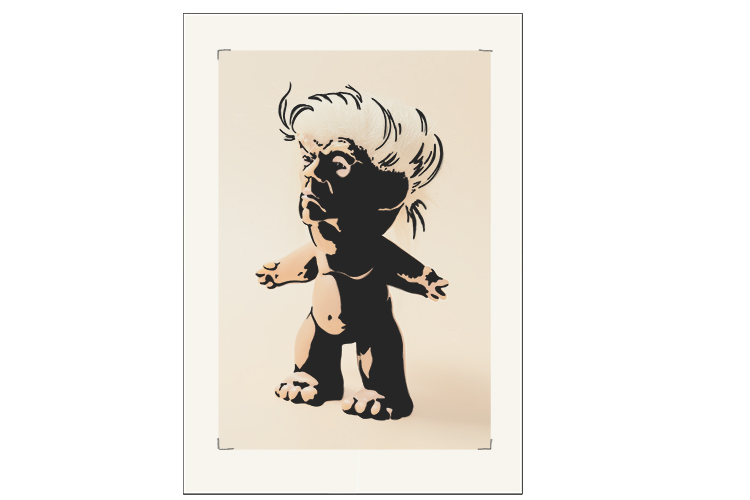
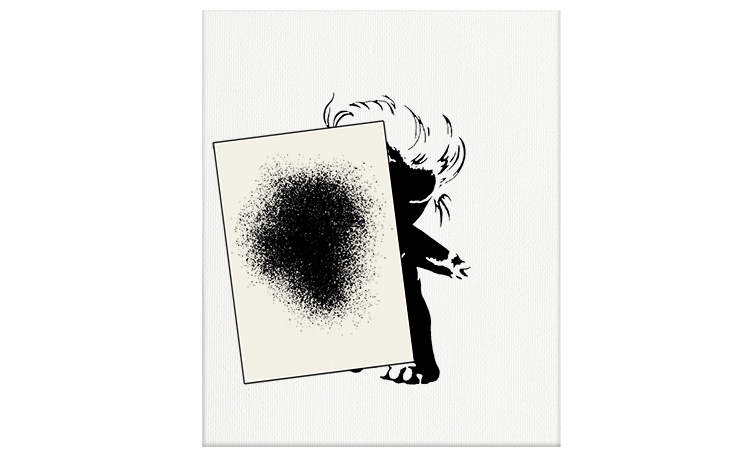
The most popular Banksy pieces are political and funny. He uses his artwork to entertain and protest, reflecting heavily on the modern world and current affairs. Think about this when you decide on your image, think funny, think political. We have used this image of ex-president Donald Trump as a children's toy troll as controversial images work well for this.
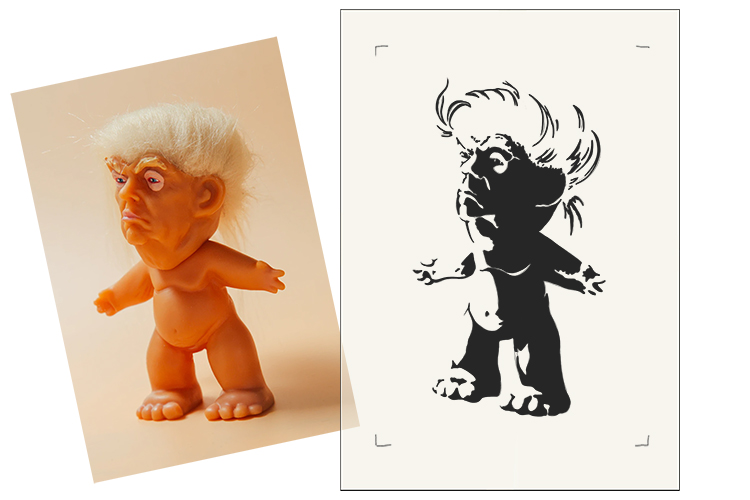
In order to create a completely black and white stencil, you first need to decide on the areas you wish to have in black, this will be the area your stencil forms.
Looking at your reference images, mark out the areas you wish to have in black. Remember, the finished piece will only consist of two tones – the black and the white, so you need to include as much detail in the black areas as possible.
For this process, you will need your reference image and a sheet of acetate (a thin piece of clear plastic available in most arts and craft shops).
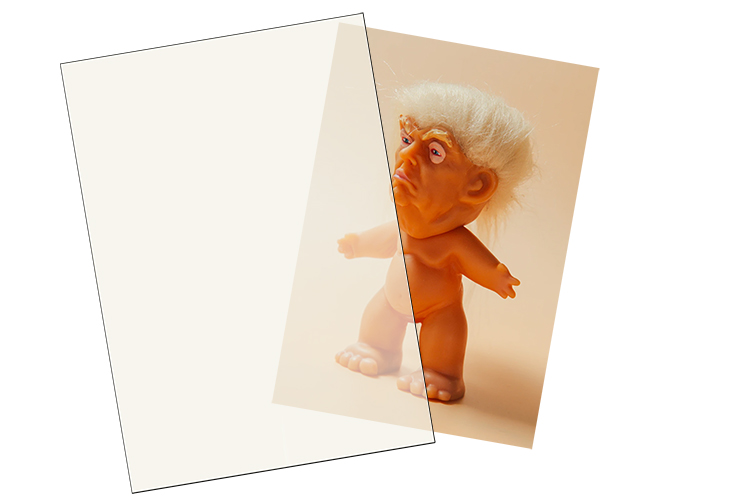
Place your image underneath the acetate and mark where the corners of your reference image are. This will mean you can always line up your work if it slips, and your marks will always be in the correct place.
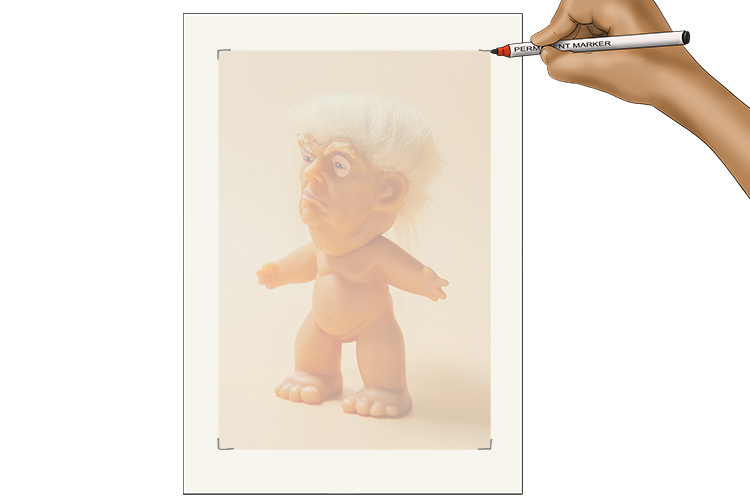
You now need to take your time to work out which areas you want to black in completely for your stencil. Ensure there is enough detail to make out what the final image is and take into consideration that once these marks are made, they will be cut out, therefore any white areas completely surrounded by black areas will be lost as they won't be attached to anything. You can hold the acetate up against a white surface to see how it is looking as you draw it. You can practise on tracing paper before using a marker pen on the acetate.
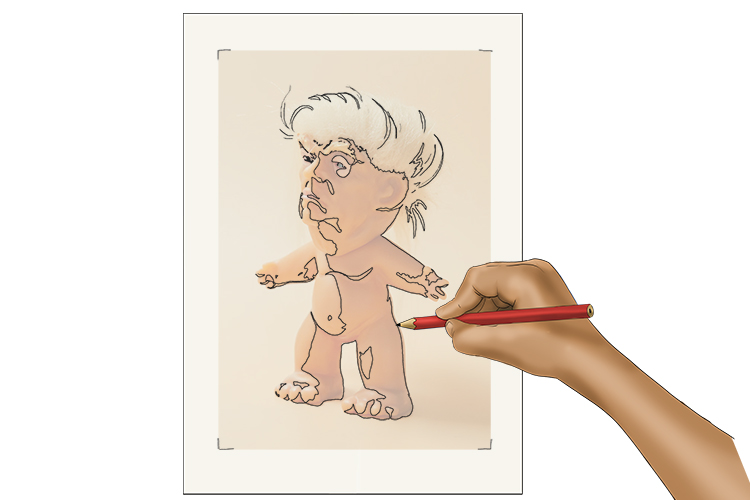
Once you are happy, you can black in the areas with your marker pen, again holding it against a white surface as you do it, to see how well it works.
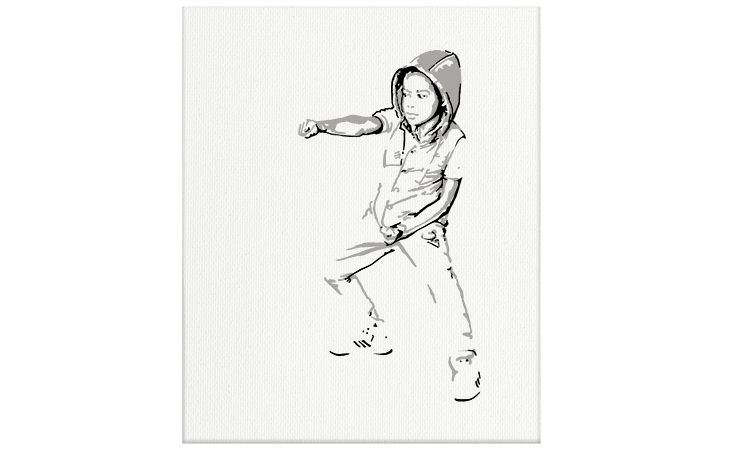
Remove the reference image from under the tracing paper and you will see more clearly the image you are left with. This will be the image you use to create your stencil.
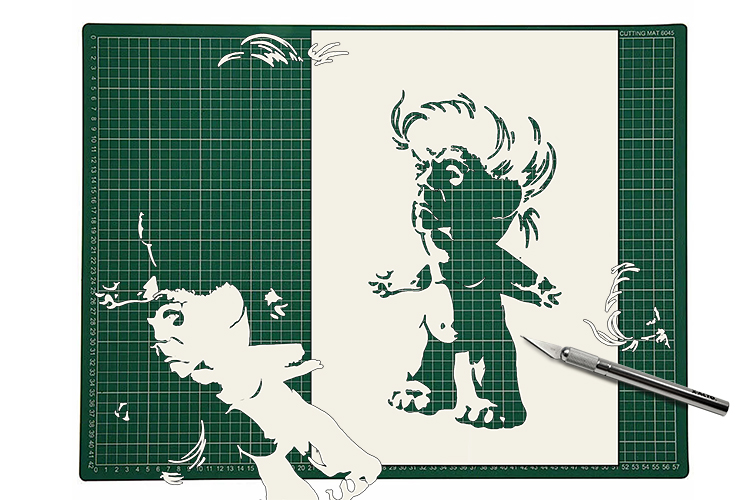
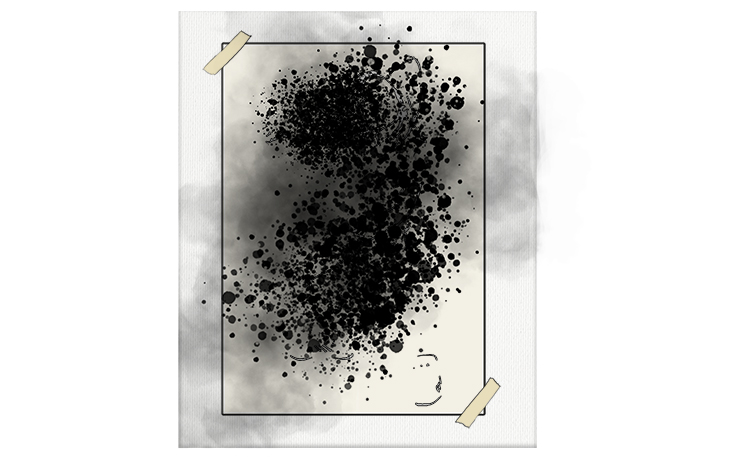
Place your acetate on a cutting mat and use a craft knife to carefully remove all of the areas that are black.
Now the stencil is cut, it can be used to create your artwork.
To use the stencil, hold it against your chosen surface with tape and spray paint over the whole stencil.
The image left behind when the stencil is lifted is your new Banksy-inspired piece of art.

You can use your stencil on various backgrounds and use different coloured paint in order to create endless variations.

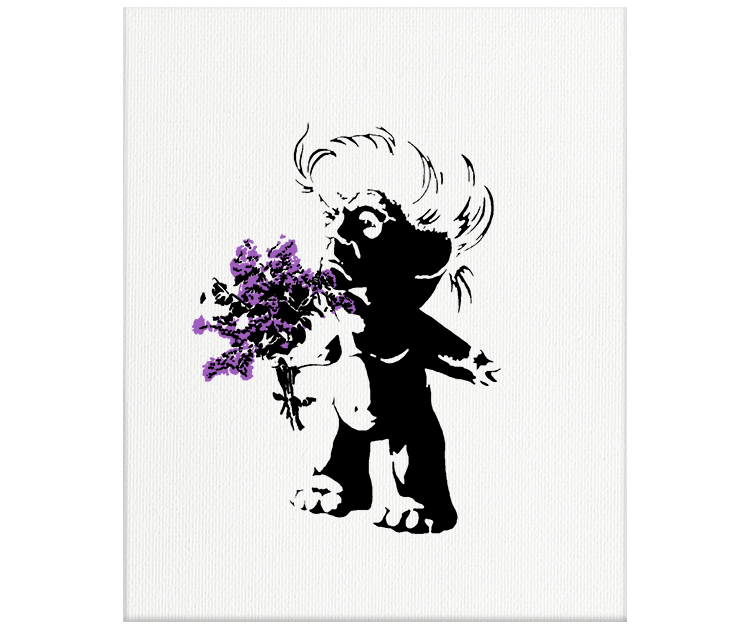
One of Banksy's works, Rage, the Flower Thrower, depicts a Palestinian man throwing a coloured bouquet of flowers. The flowers in this piece were part of one whole stencil, but it is easy to add details like this as a separate stencil to your work.
The process would be the same and could end up with a seamless end result if lined up correctly.
To add flowers to our Donald Trump image, first find an image of the flowers you wish to use, as we have below.
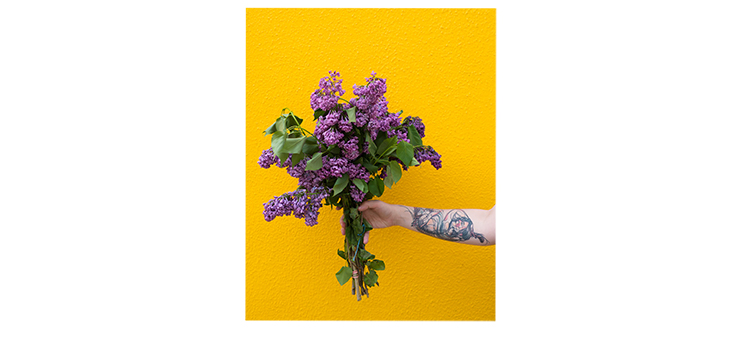
We are now going to use two sheets of acetate for this bunch of flowers – one for the stem and leaves, and one for the flowers themselves.
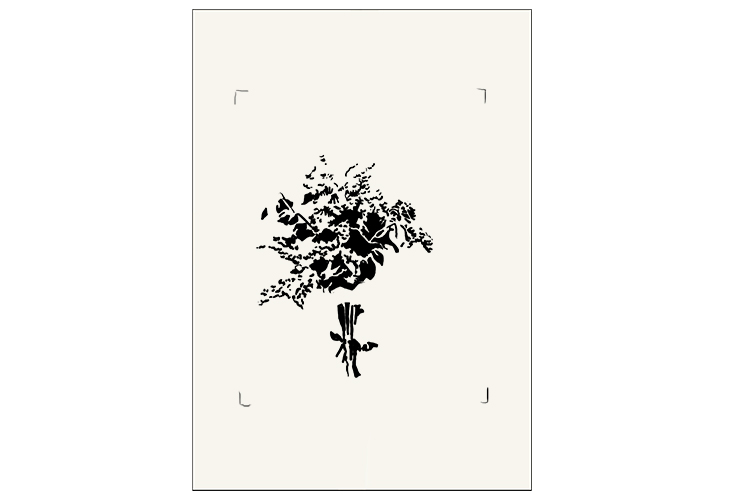
As you can see below, the black marker pen has been used on the first acetate sheet for the stem and leaves.
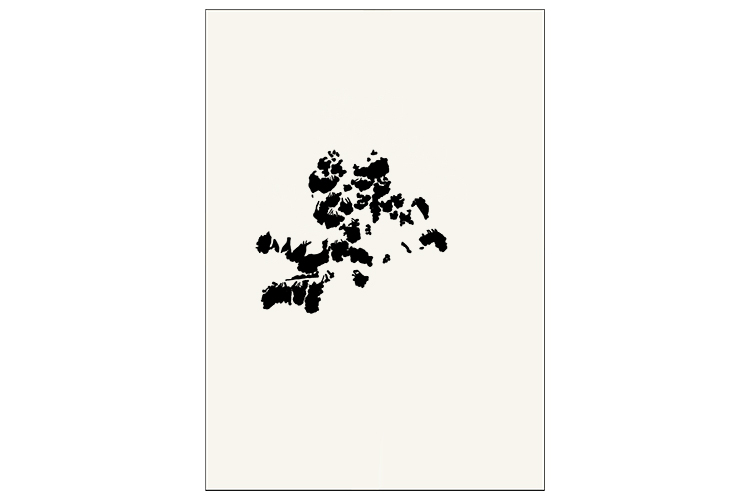
The second acetate sheet has been used to mark out the actual flower heads.
As you want the black details to be at the foreground on your image, line the purple stencil up first, on top of your current Donald Trump image.
Spray the stencil with purple paint.
Remove the stencil and allow the paint to dry.

Once dry, line up the black stencil and apply the paint.
Remove the stencil revealing your final image, with the new additional bouquet added.
Banksy.
Banksy Art Project 2
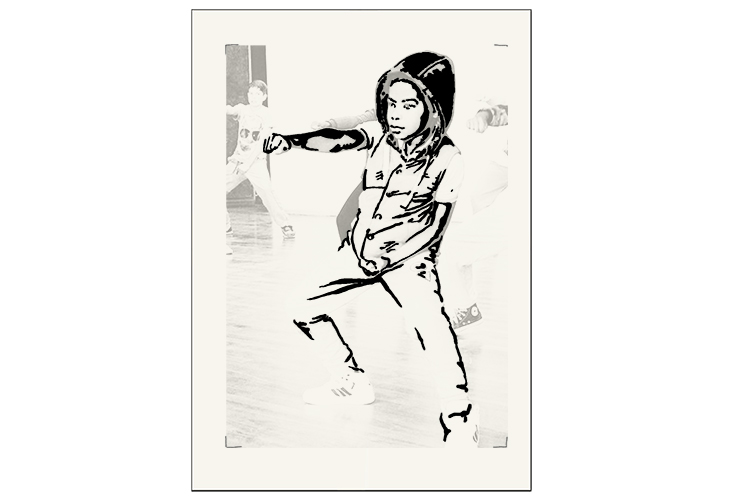
Many of Banksy's works have a third tone, a mid-tone. Colours and greys are used a lot in Banksy's work to add detail to the art.
Another method of creating a stencil, which is helpful for detailed reference images, uses technology. Computers play a huge part in the creation of accurate stencils for graffiti artists today, with digital techniques becoming more popular.
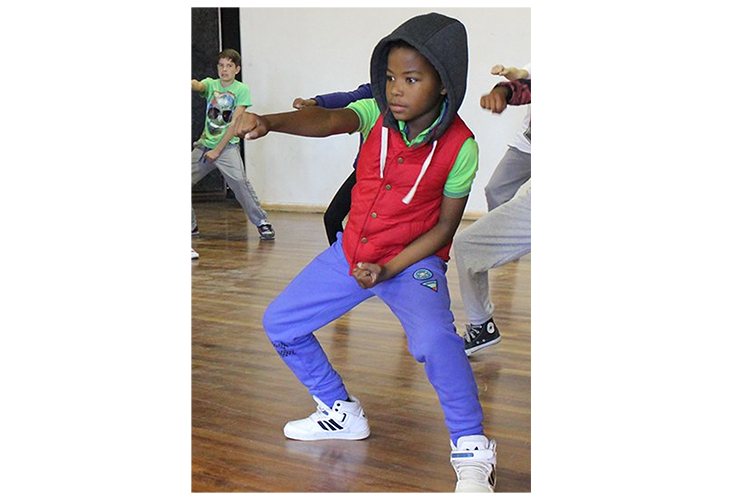
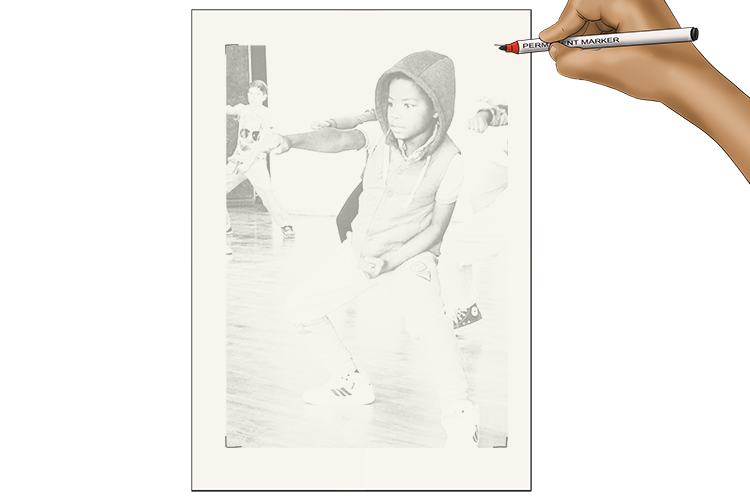
To begin, choose the image you wish to turn into a stencil.
The first stage of making a stencil is deciding which areas are going to be black and which are going to be white. This will show you the areas of your stencil that need cutting.
It is possible to painstakingly sit and decide the areas of an image you want to keep and draw around them with a pen, but a simpler, more effective method uses a computer.
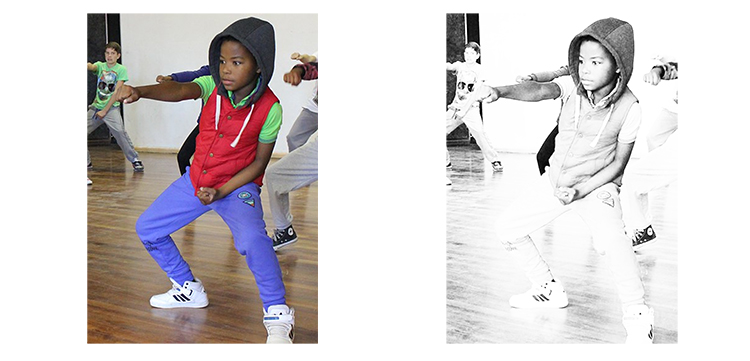
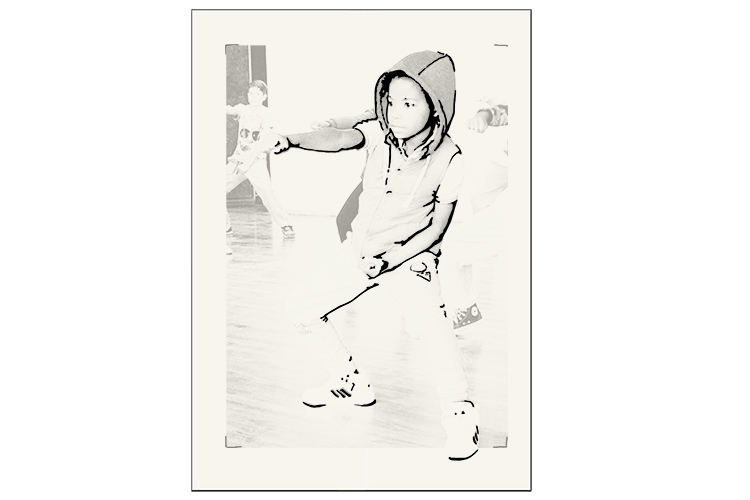
In order to get the required light and dark areas, open your photo in an editor and change it to black and white. Once it is in black and white, play around with the brightness and contrast settings until your image is broken up into defined areas of light and shade.
You will need two sheets of acetate for this project.
Place your image underneath each of the two acetate sheets and mark where the corners of your reference image are. This will ensure you can always line up your work if it slips and your marks will always be in the correct place.
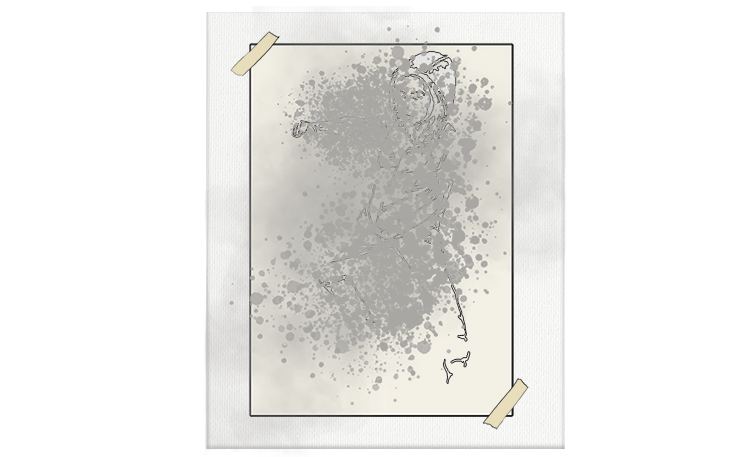
Take one of the acetate sheets and with a black pen, mark out the areas you want to be the black sections on your design.
Now, with the other acetate sheet, repeat exactly the same process, but this time mark out the areas you want to be the grey sections of your design.
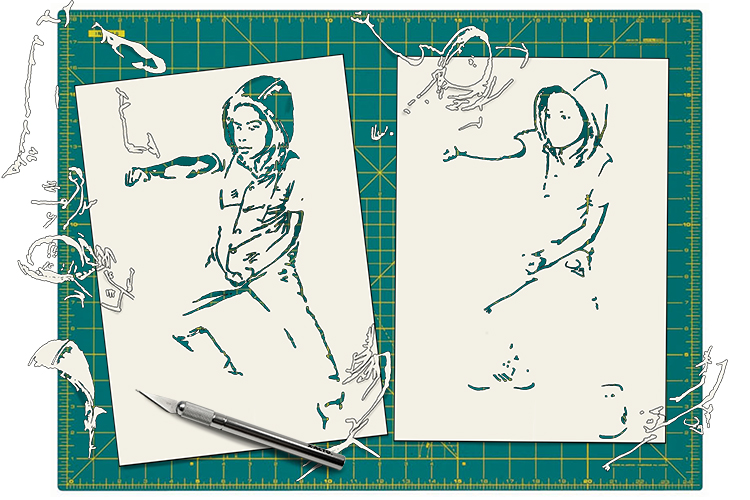
Place your acetate sheets on a cutting mat and carefully remove all of the areas that you have marked out.
You are now left with two stencils – one for the grey areas and one for the black areas.
The two stencils can now be used to create your Banksy-style artwork.
Hold the grey area stencil in place on your chosen surface with a small piece of tape and spray over the stencil with the grey paint. If you do not have spray paint, you could create a similar effect by using a sponge to dab the paint onto the stencil.
Carefully remove the stencil and allow the image to dry a little underneath.
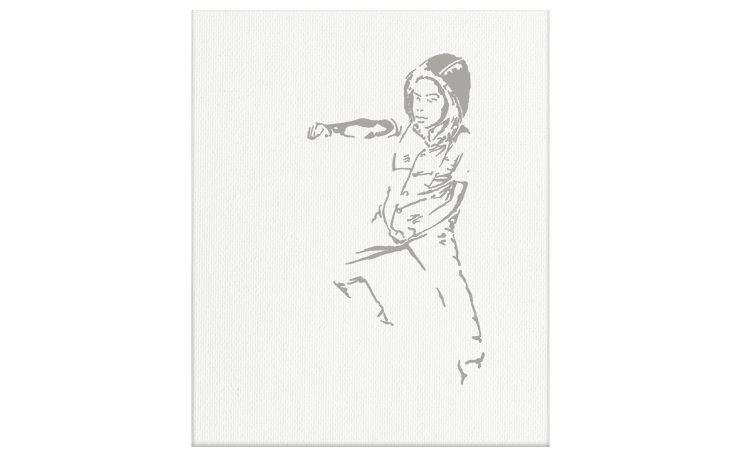
Line the black stencil up with the grey image on your surface and tape it into position.
Spray (or sponge) the black paint over the stencil the same way as you did the grey.
Again, carefully remove the stencil and allow the paint to dry.
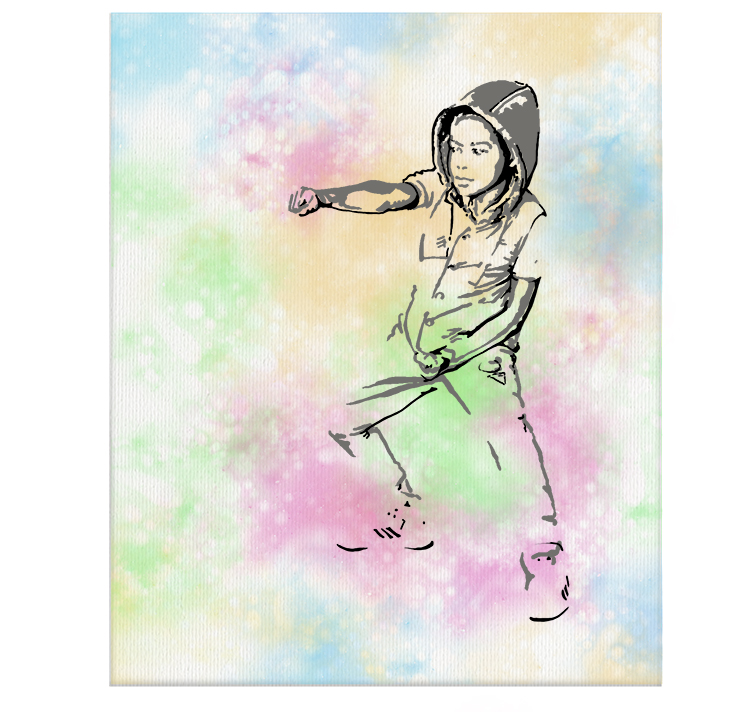
And that is it! It's so simple to create a stencil for your artwork. Now you can try out stencilling onto different backgrounds, like a colourful one for example.
Banksy.


