Rembrandt Van Rijn Art Project
Rembrandt Van Rijn was famous for producing self-portraits throughout his entire life. The portraits vary in expression, size and lighting but all show the head of the artist himself.
This project will talk you through the stages of creating a series of drawings of yourself, showing an array of different expressions on your face.
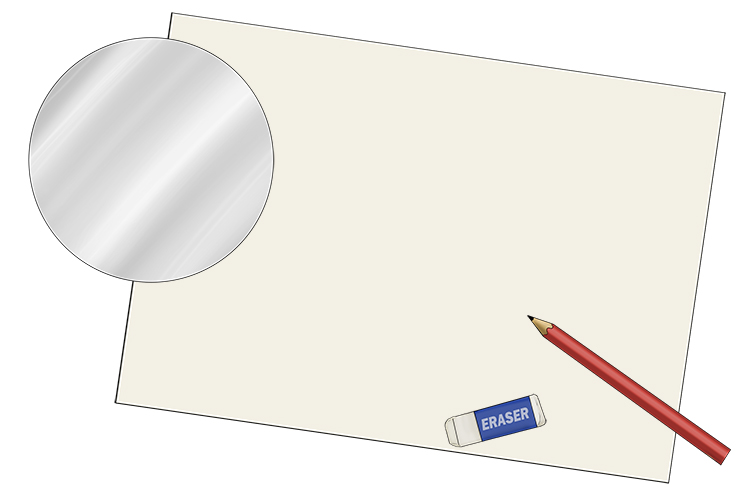
For this project, you will need a large sheet of paper (around A3), pencils, an eraser and a mirror.
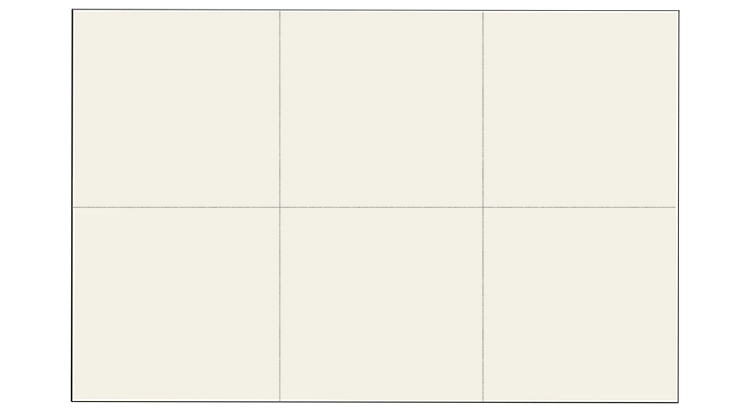
The first step is to divide the paper into six sections. Each of these sections will house a separate self-portrait, showing a different expression of yours.
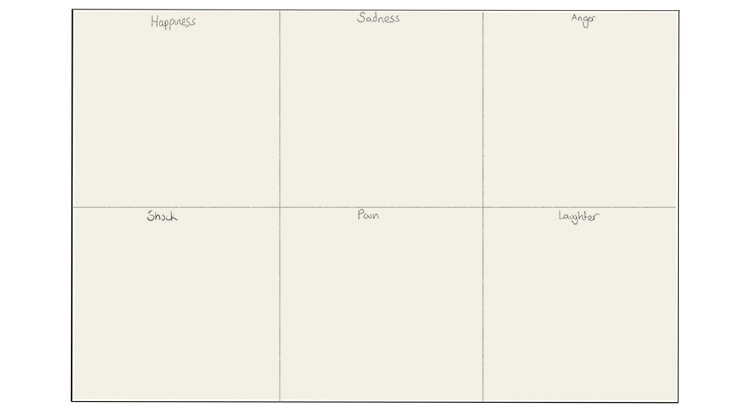
Think of six different facial expressions you can show and lightly write them at the top of each section so you remember which you are working on. We have opted to show happiness, sadness, anger, shock, pain and laughter.
Use your mirror to study your face, showing each of the expressions for a while. The more you look the more familiar you will be with the workings of your face.
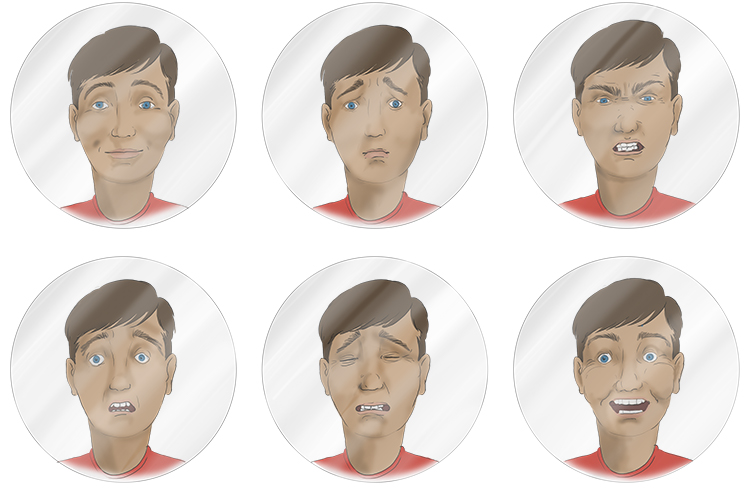
Once you have spent some time observing your face, draw what you see into its corresponding area of the page. The main way of improving your drawing is to draw – practice makes perfect, so don't worry if your drawings aren't photo-perfect. You could always take six separate photos and use the Mammoth Memory grid method to draw them up. Don't worry about the shading, you only need to place the lines of the key features for now.
Concentrate on the features and how they change between the different poses and try to capture these in your drawings. For example, eyebrows will rise when someone is happy, surprised, shocked and laughing; they will rise in the centre of the face and drop at the outer sides when somebody is upset, and they will drop in the centre of the face and rise at the outer sides to show anger. As well as the eyebrows, the mouth will change a lot, with happy smiles, downturned sad faces, gritted teeth and an open mouth all showing different emotions.
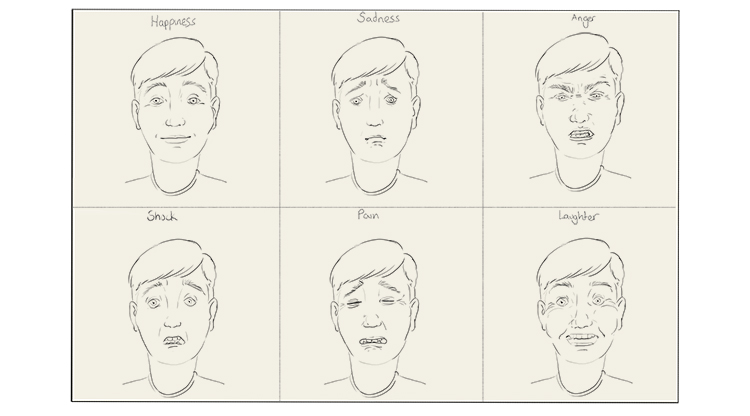
Now you have your sketches drawn out, we can think about shading them.
Rembrandt was known for using quite a severe light source in his paintings. The faces lit from one side became recognisable throughout most of his work.
In order to recreate this, get a lamp and place it at the side of you, allowing the light to fall on one side of your face. It helps if you are in a darker room with no other light sources present, but ensure it is light enough to see your paper.
Recreate the six faces in your mirror and study how the light fall changes on your face between each one. Again, the more you sit and study this, the more familiar you will become with the facial expressions.
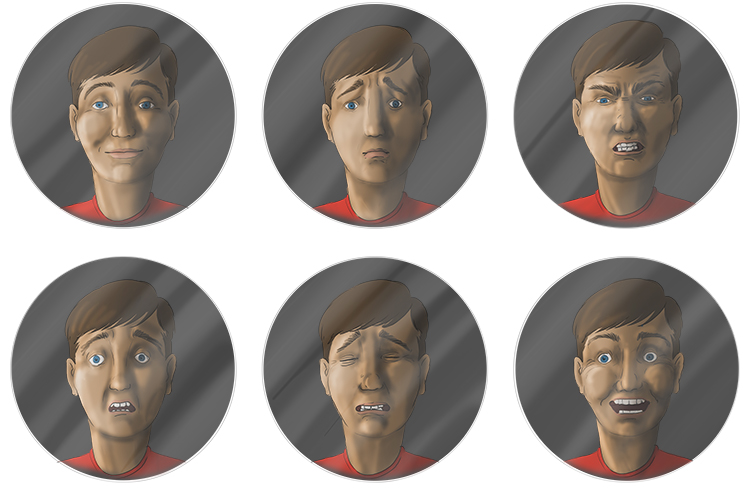
Once you have studied the light on your face for a while, start shading in blocks of tone on your self-portraits.
Tilt your pencil to the side, shading with the edge of the lead rather than the tip. This allows you to lay a block of tone down rather than a scratchy mass of thin lines.
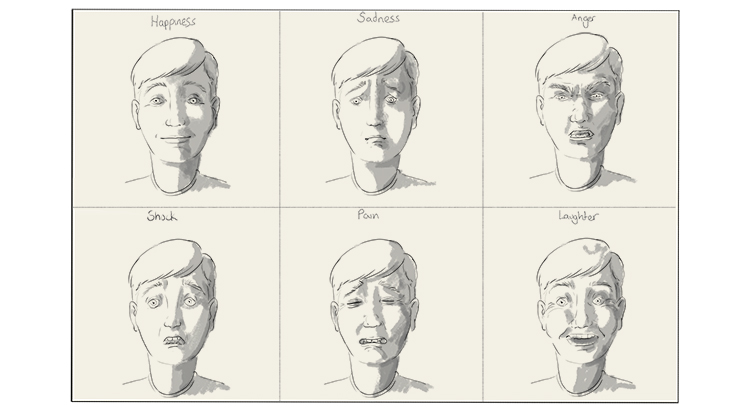
The blocks of tone will now have created the base for you to work into the drawing a little more, adding more details to the shadows and picking up on more precise marks. You can use an eraser to add light patches to areas you have shaded dark – this works well for picking up reflected light in the eyes and on the tip of the nose. If you use off-white paper, you can use correction fluid or white paint to emphasise the lighter areas even more.
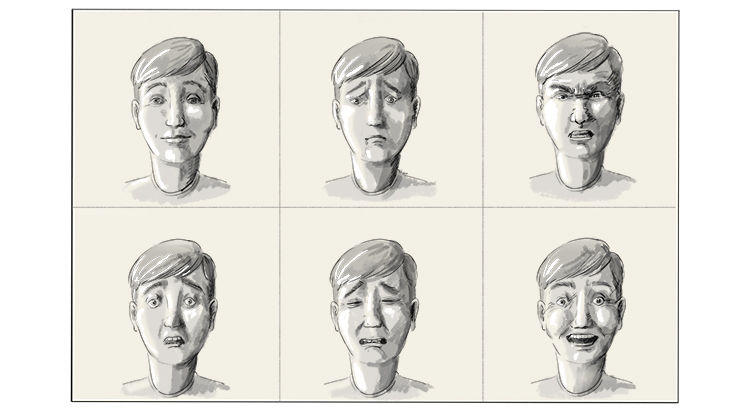
Rembrandt Van Rijn.


