
Airbrush – A device using compressed air to spray a liquid such as paint or ink
To remember what airbrush is, recall the following mnemonic:
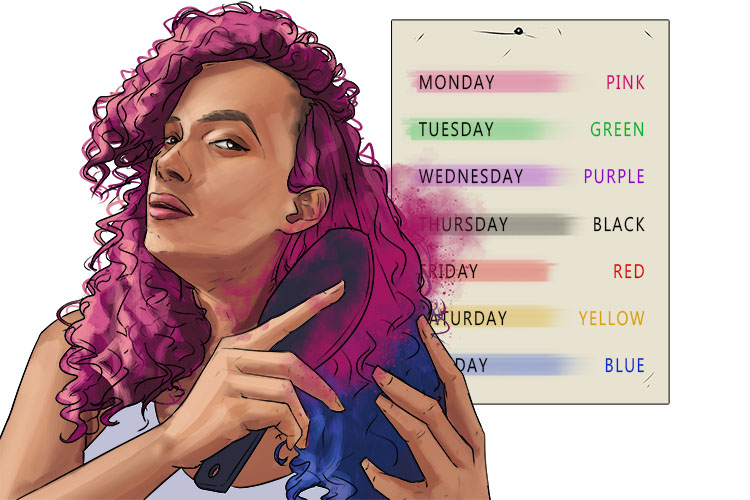
Her hairbrush (airbrush) sprayed colour onto her hair - she sprayed on a different colour every day.
Airbrushing dates back to the late 1800s and has seen use in numerous industries since its creation. Airbrushing techniques can vary depending on the type of brush being used, but the key aspects are the manipulation of air pressure, the distance from the surface and the volume of ink/paint/etc being atomised by the brush (colour flow). The adjustment of these variables will allow a skilled user to create consistent and controlled results with or without the aid of stencils. The development of airbrushes also lead to the development of spray guns and aerosol paint (spray paint).
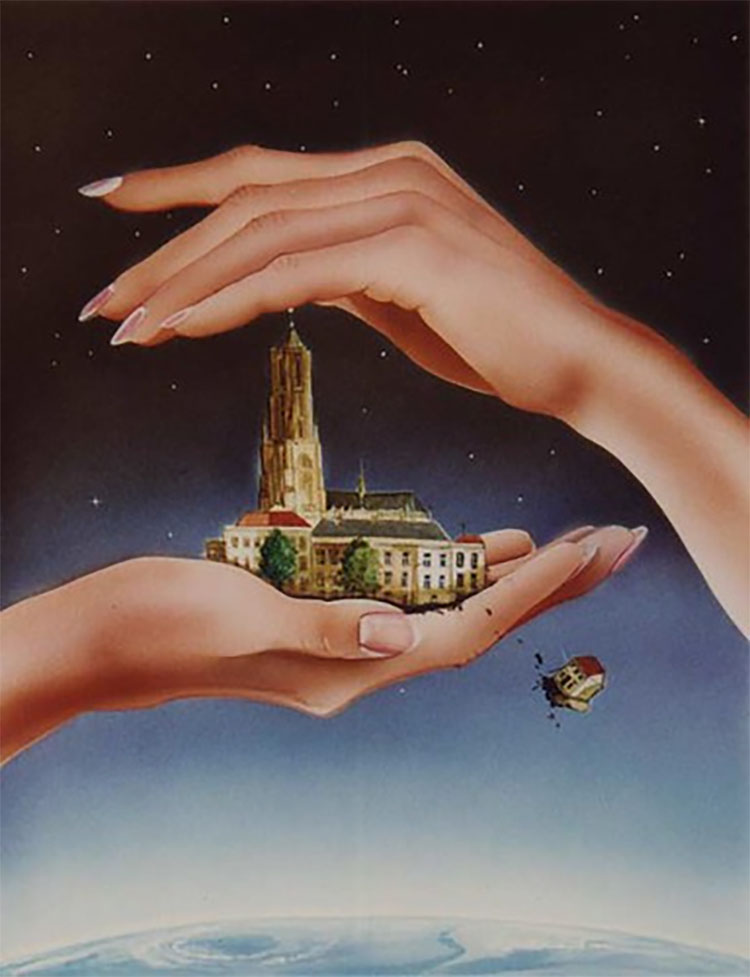
"airbrush of Arnhem (NL)" by Luckybee is licensed under CC BY 2.0.
The image above is an example of artwork produced using an airbrush. One of the defining characteristics of airbrushed artwork is the smooth gradients and colour transitions that can be achieved with the proper technique and practice. This, when combined with the fine detail that can be produced by adjusting the spray pattern and working closer to the surface, makes airbrushing incredibly useful for creating realistic artwork. To create a hard edge in an image, airbrush artists will often use stencils or masks. To create a hard edge with a soft gradient away from the line you should leave the stencil in place. The artist above would have likely created a stencil for the silhouette of the hands and a separate stencil specifically for the nails.
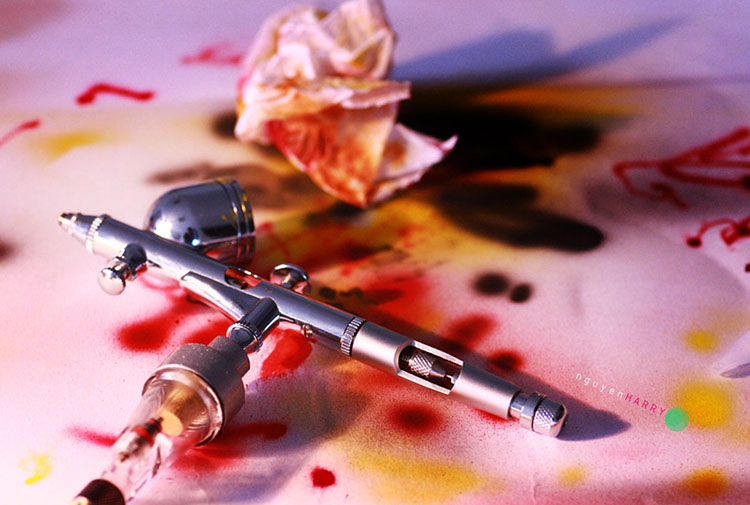
"airbrush gun" by HARRY NG is licensed under CC BY 2.0.
The above image is an example of an airbrush. Airbrushes come in a variety of different types, which are separated by three main attributes; trigger action, mix point and feed system.
The trigger action determines how the airbrush's trigger functions and can be grouped into either single action or double/dual action. A single action trigger only controls the airflow, leaving the colour flow to be adjusted separately, which will depend on the mix point of the airbrush. A double/dual action trigger controls the airflow and colour flow. This allows the user to transition between fine and wide lines without having to stop and adjust the colour flow.
The mix point determines where the paint and air mix; this can either be internal or external. Internal means it mixes inside the brush and produces a finer mist of paint, making them more suited to finer detailed work. External means the air and paint mix outside the brush and produces larger paint particles in the spray, making them more suited to covering larger areas.
The feed system is the mechanism for feeding paint/ink/etc into the airbrush. The feed system is determined by the placement of the paint reservoir, which can be found on the top, bottom or side of the airbrush. When the paint reservoir is on top of the brush (top feed or gravity feed), the flow of paint is assisted by gravity and requires less air pressure, allowing for finer control of colour flow. However, a top feed system limits the capacity of the paint. A reservoir below the brush (bottom or syphon feed) means the paint is sucked or syphoned into the brush by the air pressure and allows for a higher paint capacity making it more suitable for larger scale projects. A paint reservoir on the side of the brush (side feed) is a hybrid of the previous two systems and allows the use of both suction-fed and gravity-fed paint reservoirs.
Airbrush Project
For this project, we're going to create an airbrushed landscape using spray paints and stencils. Spray paints will give a similar effect to an airbrush but are more widely available.
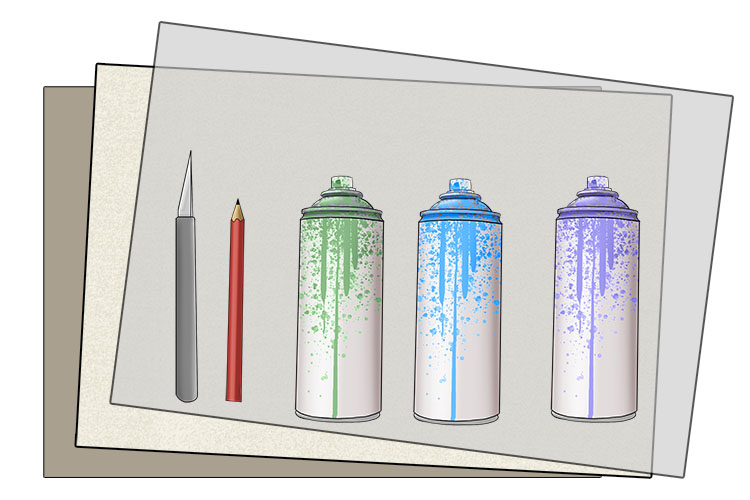
You will need paper, a pencil, tracing paper, a craft knife, card and various colours of spray paint.
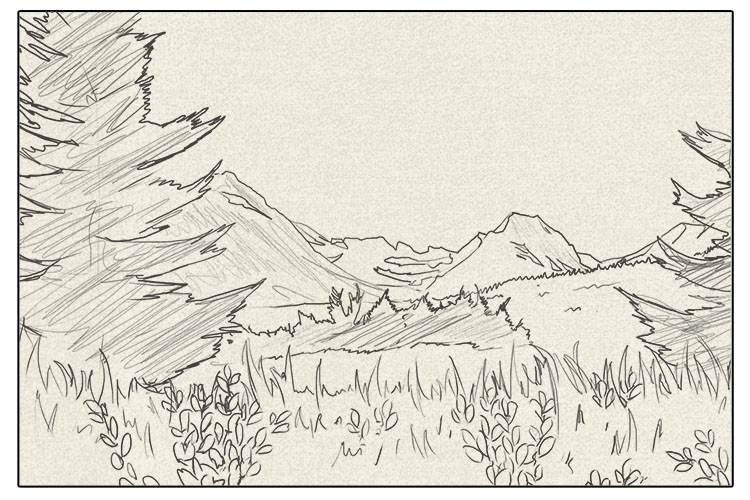
Start by sketching out your landscape. You can either copy an existing image or come up with your own.
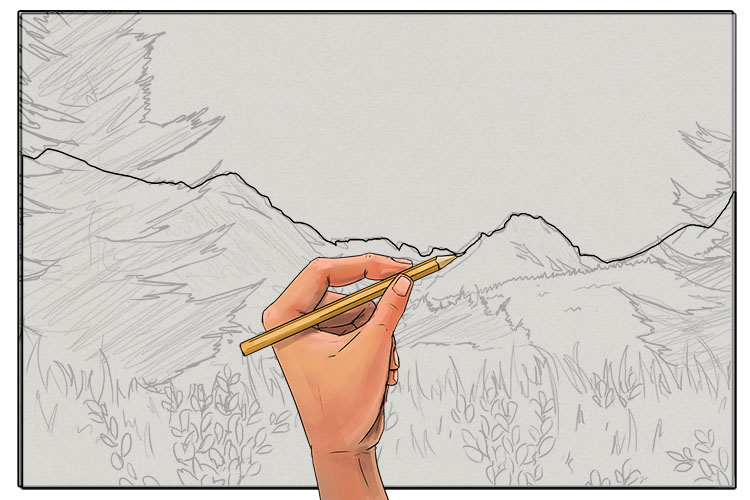
Next, trace over individual elements of the piece onto tracing paper so you can create stencils to use when spray painting your landscape.
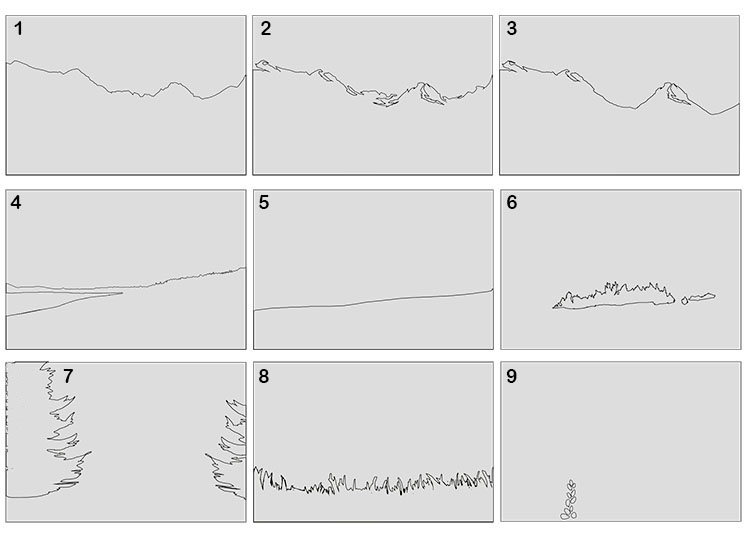
We've broken our design down into nine sections which you can see below.
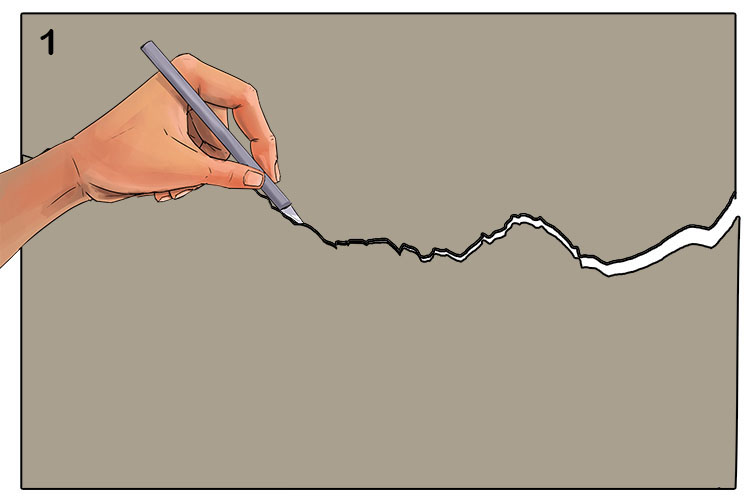
Trace each element onto card and cut it out using your craft knife, leaving you with your stencils.
Below are all the stencils we will need for our design which we have numbered to show the order they will be used.

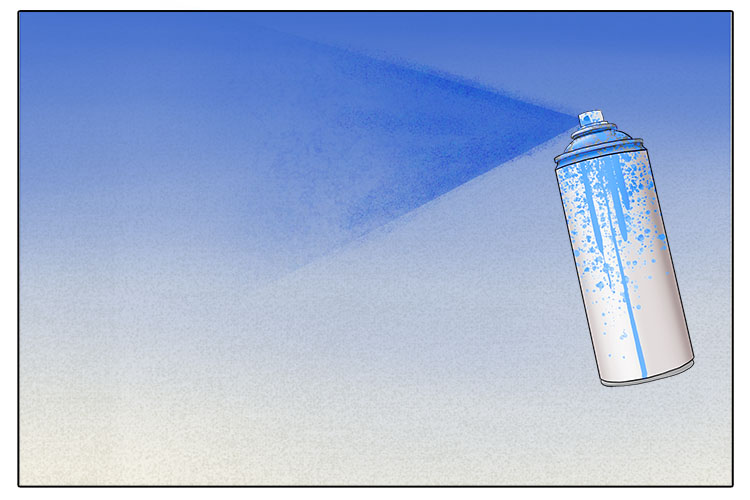
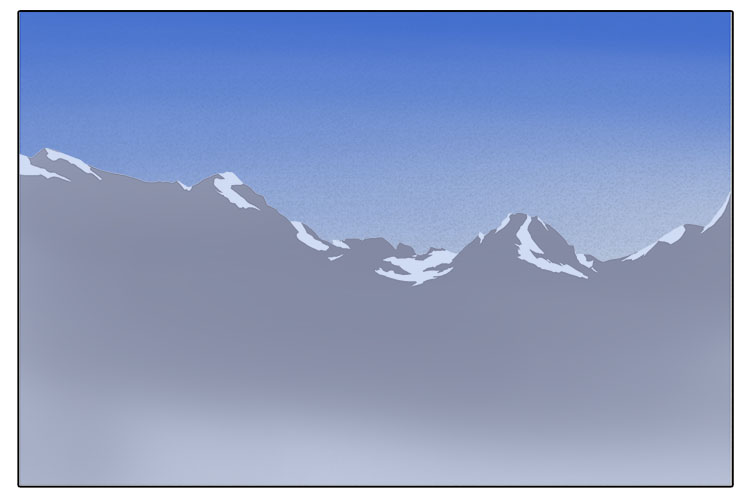
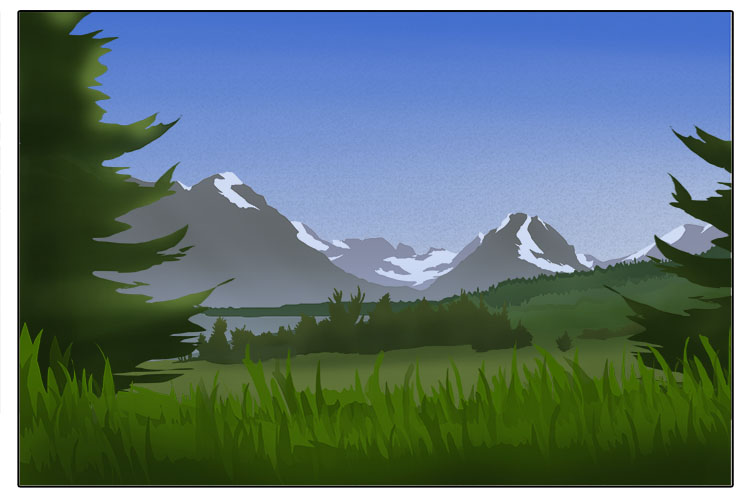
To start your landscape, use your spray paint to create a gradient for the sky.
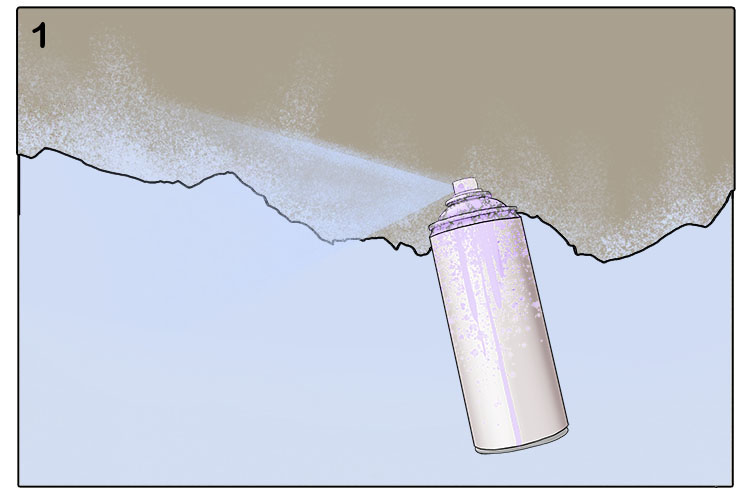
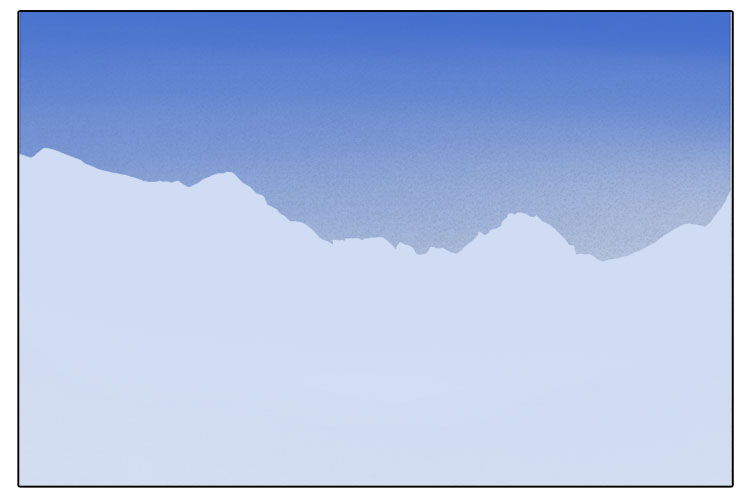
Then add your first stencil and spray another layer of paint. For ours this is a stencil for the mountain silhouettes which we'll spray with white.
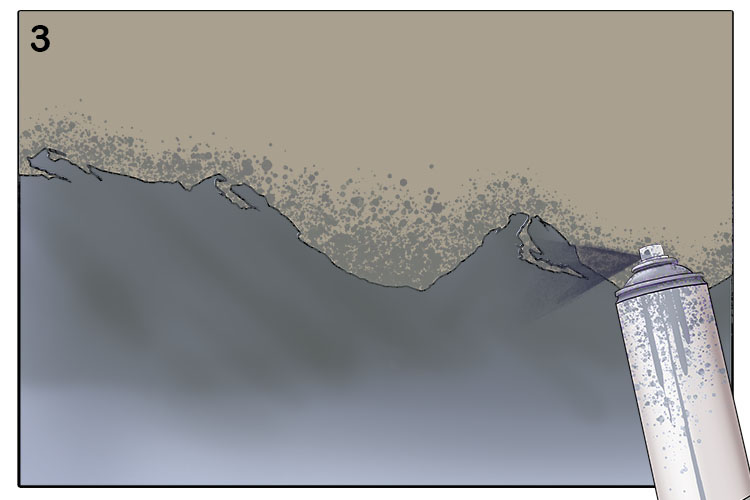
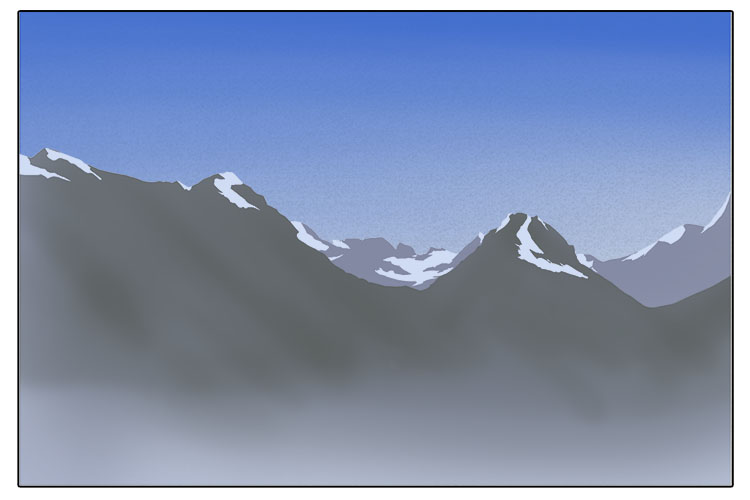
Next we're going to use our next two stencils to add depth and colour to the mountains.
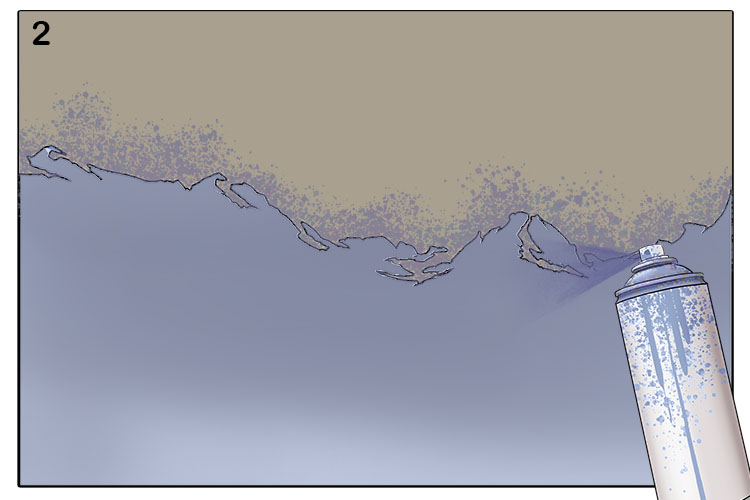
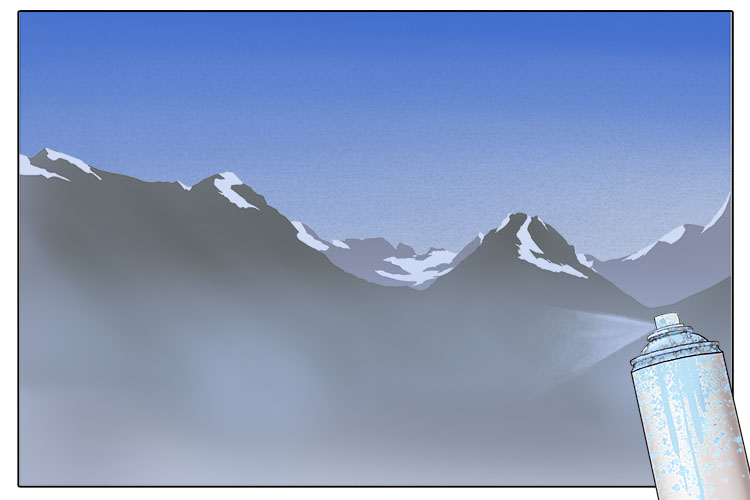
We're going to add a layer of fog over the bottom half of the mountains. To do this you'll need to keep the spray paint further away from the paper and make quicker movements to ensure you only add a thin layer of paint.
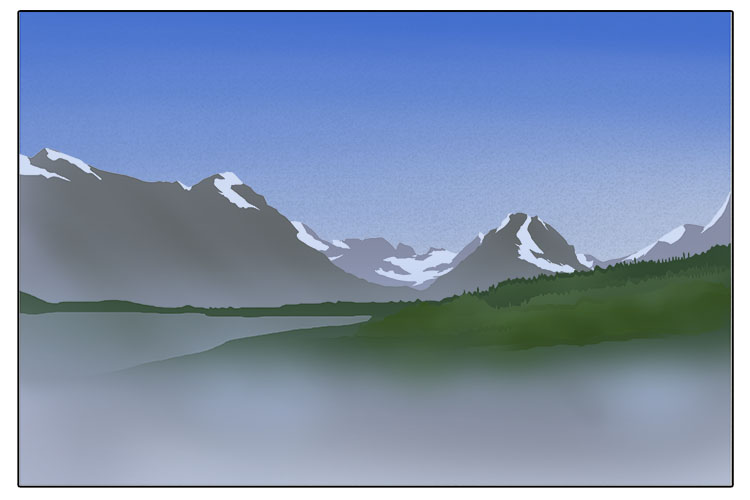
Using our next stencil we'll add a base layer of green for the forest, then we'll move our stencil slightly and add some lighter green paint.
You can repeat this step multiple times until you are happy with your forest.
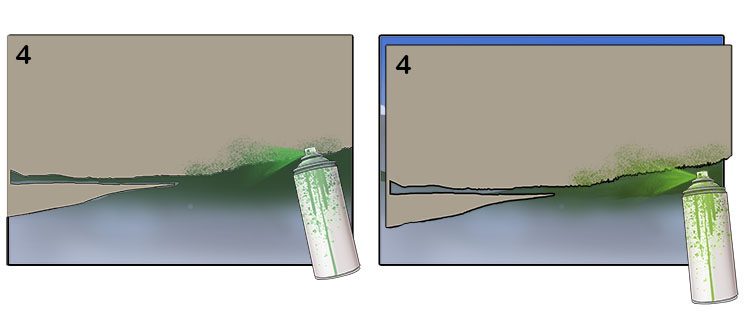
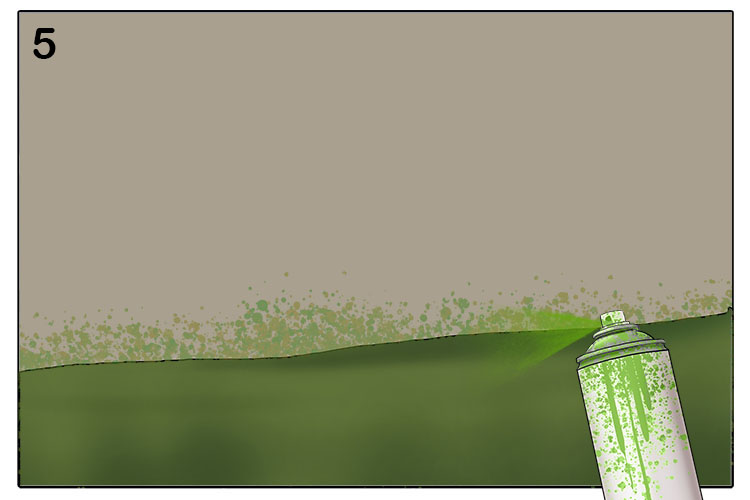
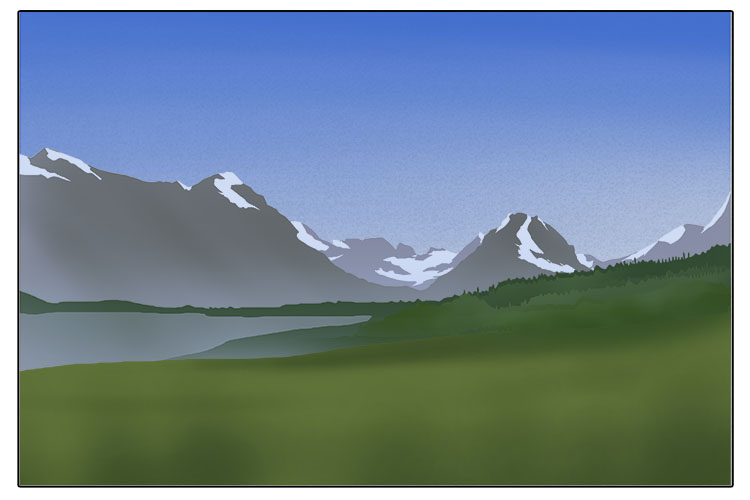
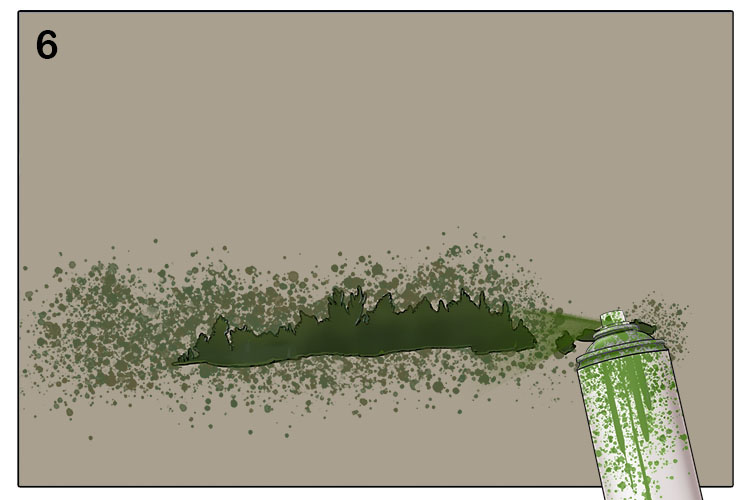
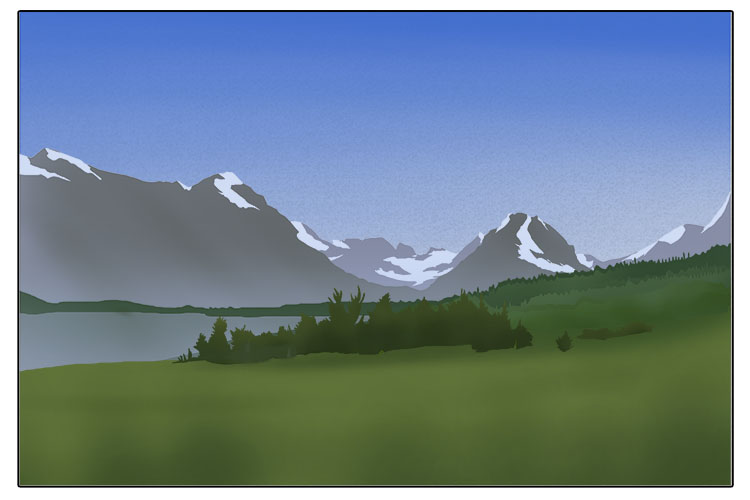
Using our fourth and fifth stencils, we'll add some grass and some more trees.
Next we'll add some foreground trees and grass using our seventh and eighth stencils.
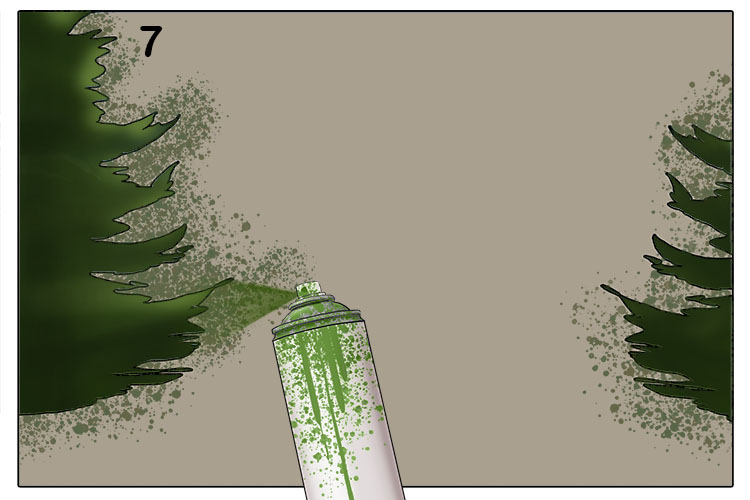
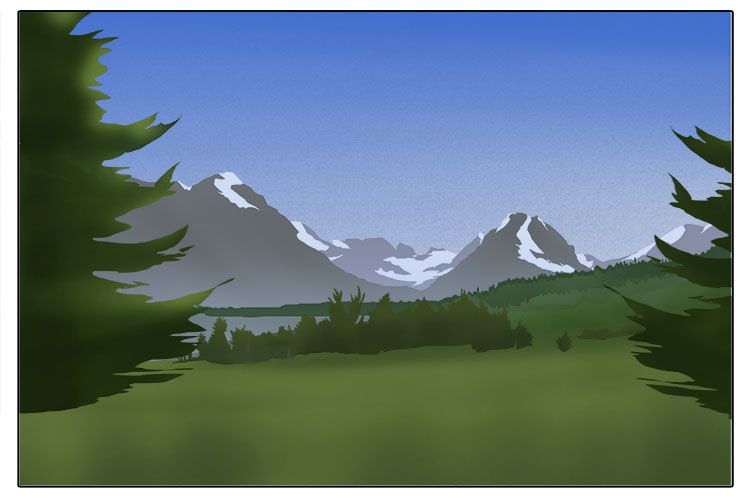
For our foreground grass we're going to use the same technique of moving our stencil and alternating between shades of green.

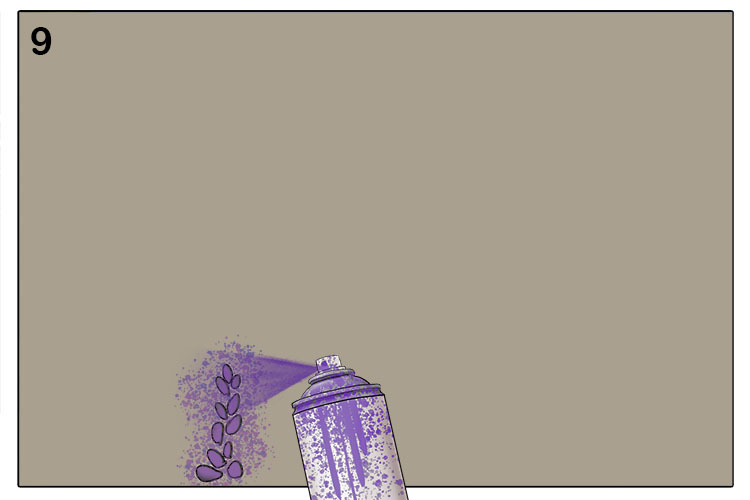
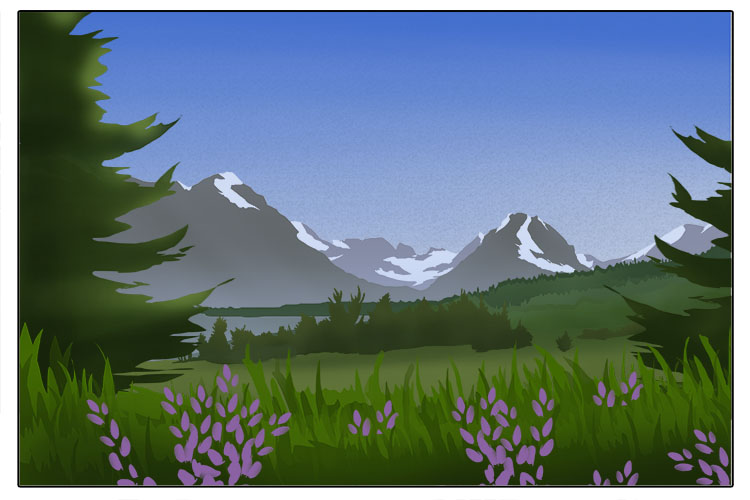
To finish our piece off we're going to add some flowers in the foreground using our sixth stencil. We're going to use this stencil several times, adjusting the placement and angle each time.
Once you've added all of your layers of paint using your stencils you will be left with your finished landscape.
Airbrush.


