
Applique – The technique where one fabric is layered or applied on-top of another and secured in place by hand - or machine-stitching
(Pronounced ap-lee-kay)
To remember what applique is, recall the following mnemonic:
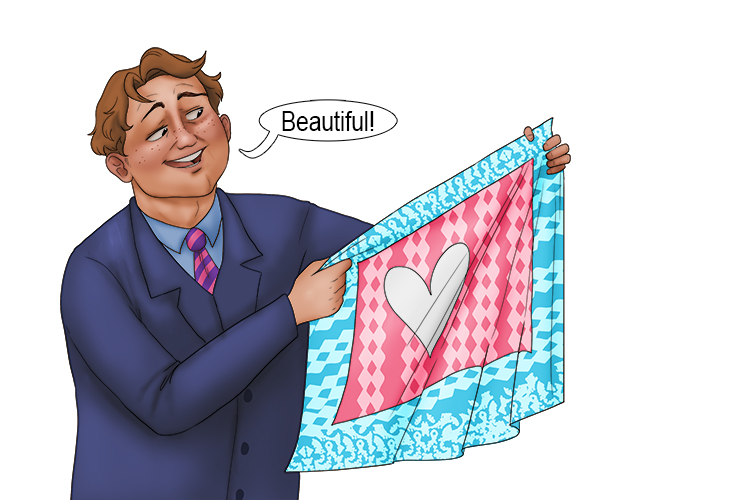
The application (applique) of one piece of material on another can give beautiful results.
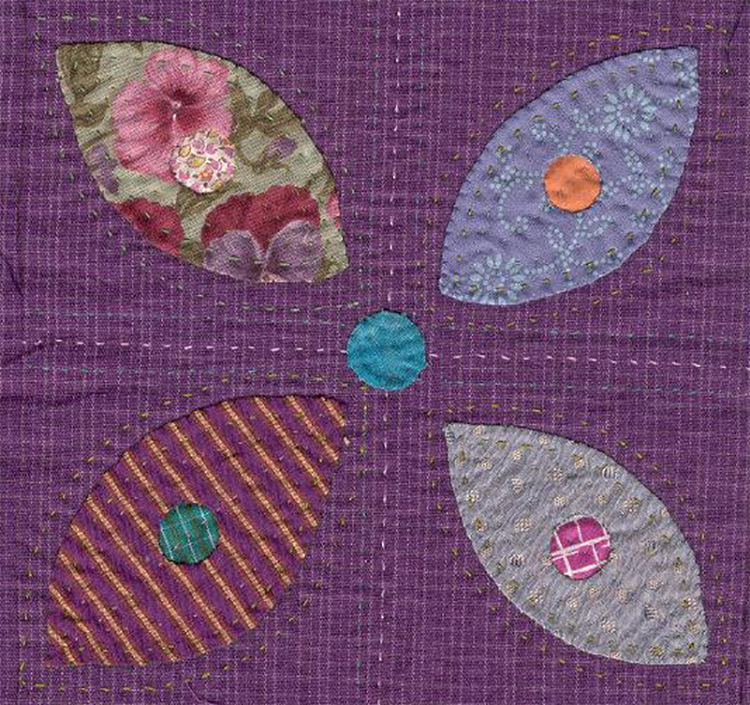
Applique has been practiced for centuries for both practical and artistic uses. The Ancient Egyptians used applique to mend leather and in Mongolia it was used to fix and decorate saddle pads. Although applique is mostly used for arts and crafts in modern times, it can still be used to mend clothing with a fun and colourful design. The image below shows a silk applique from 18th century Tibet.

While applique can be incredibly intricate and detailed, it can also be very simple but still eye catching.
Applique Project
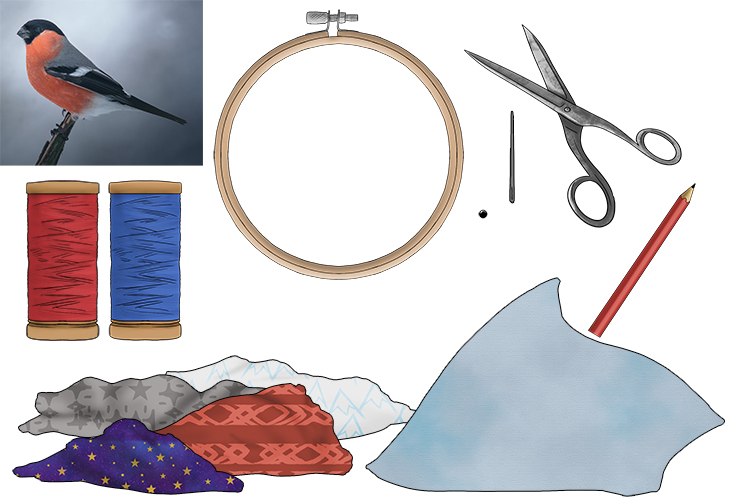
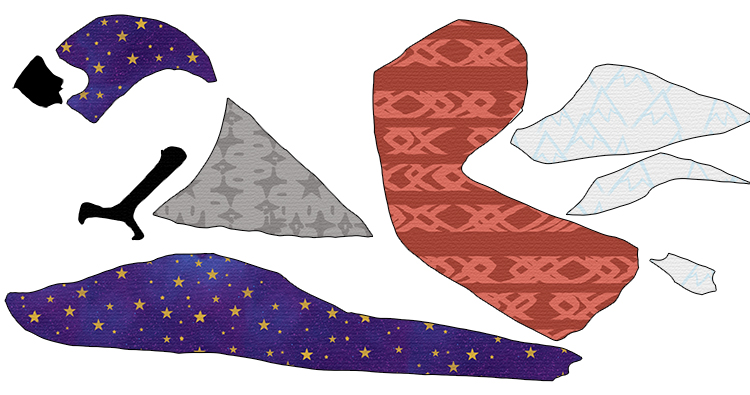
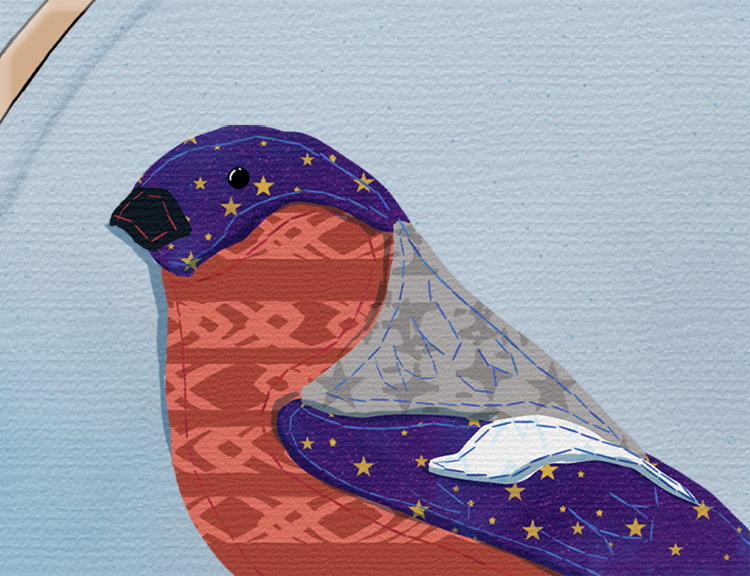
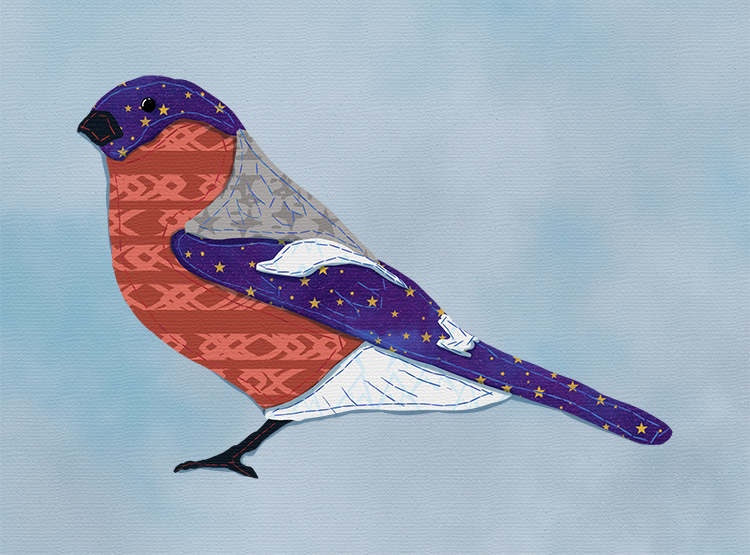
For this project we will be creating a little garden bird with applique. You will need: Various colours of thread, a small black bead, a needle, scissors, a large embroidery hoop, a reference photo (the same size as you want your final piece to be) and scraps of fabric with different textures, colours and patterns. You will also need a piece of fabric for the base. The fabric colours can relate to your chosen bird, but they don't have to.
First, cut your reference image into the different colours. The black head, the grey back, the black wings and tail, the red chest and the little white markings on the wings and underside.
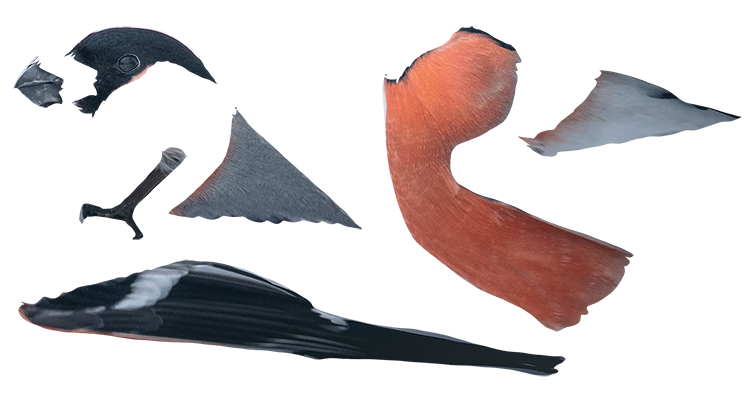
Trace over each piece onto a bit of fabric. When you cut them out, leave a small border around the edge, we suggest 3mm. This will help make sure everything is the right size, you can always trim bits off later on.
Secure your base fabric into the embroidery hoop and make sure it's taut.

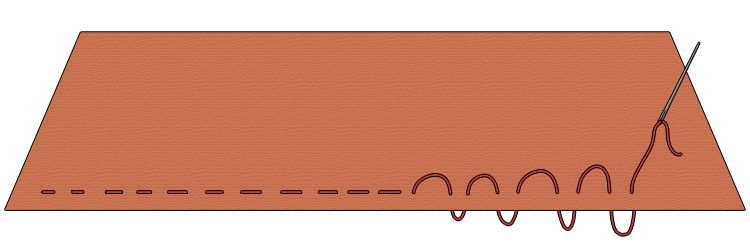
You can really use any stitch you'd like, but we will be using a running stitch (shown below).
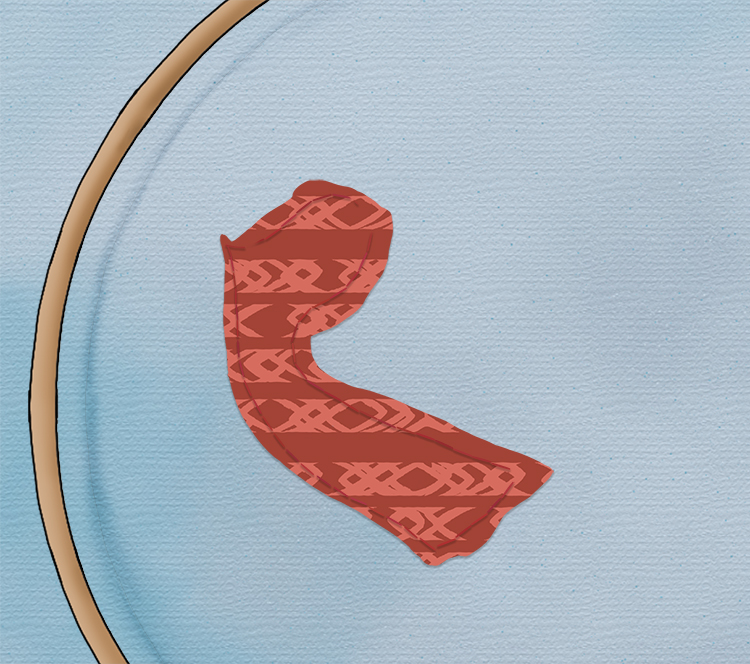
Sew the larger pieces on first, such as the red chest.
Sew the rest of the pieces on. You could even use the thread to mark out the lines of some feathers.
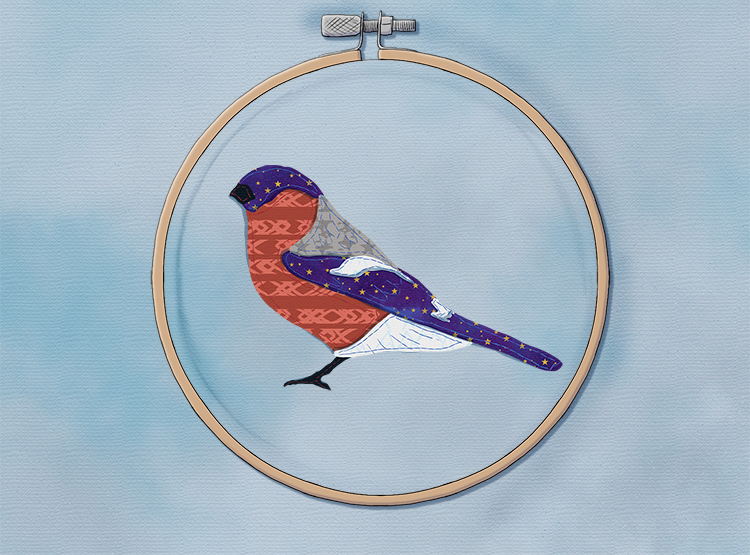
Add the bead for the eye.
Remove the fabric from the embroidery hoop and trim any excess fabric away.
Applique.


