
Aquatint – a technique in etching to create tonal areas of shade resembling ink washes. It entails exposing a copper plate to acid around a layer of melted granulated resin
(Pronounced ak-wuh-tint)
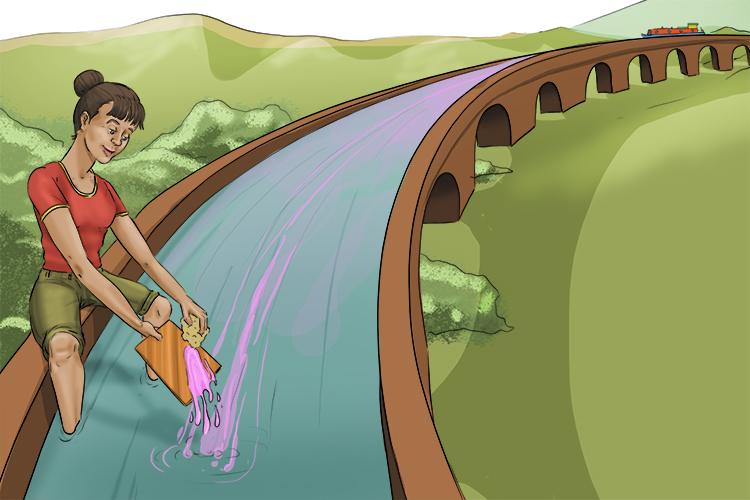
To remember what aquatint is, recall the following mnemonic:
The water in the aqueduct was tinted (aquatint) after she washed acid and granulated resin off her copper plates to reveal a watercolour effect.
Note: This process is a form of intaglio printing with different thicknesses of etching creating tonal variation on your final print.
Aquatint uses acid, but unlike basic etching, creates mid-tones and greys rather than monochromatic images. The process of covering lighter areas with resin between exposure to acid, allows a gradual build up of erosion to a copper plate. The areas that have been exposed to the acid for longer are eroded more, thus hold more ink and produce a darker tone. The areas that have been covered in resin for longer periods have eroded less and their smoother surface holds less ink. Upon close inspection, the surface of the copper is made up of a network of fine grains of different widths and depths.
For centuries aquatint has been used in printmaking creating extremely detailed, striking illustrations.
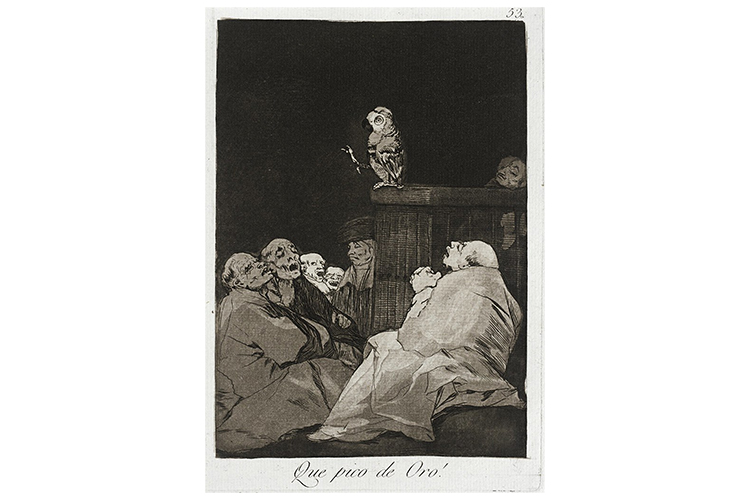
Francisco José de Goya y Lucientes, What a Golden Beak!, plate 53, 1797–1799
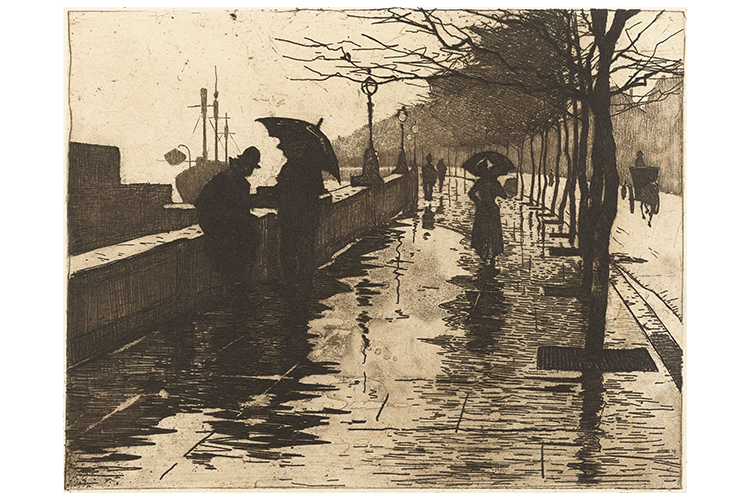
Willem Witsen, View of Victoria Embankment in London, 1890
Aquatint Project
The process of aquatint starts with a smooth piece of copper that gradually becomes rougher each time it is exposed to acid. The exposed areas hold more ink, therefore creating a darker tone when printed.
Although interesting, the process is difficult and the use of acid requires controlled environments and supervision from skilled workers.
To create a print that looks the same as an aquatint, and one which is a lot safer, we will create a project that flips the process on its head, starting with a rough surface and building up smoother areas.
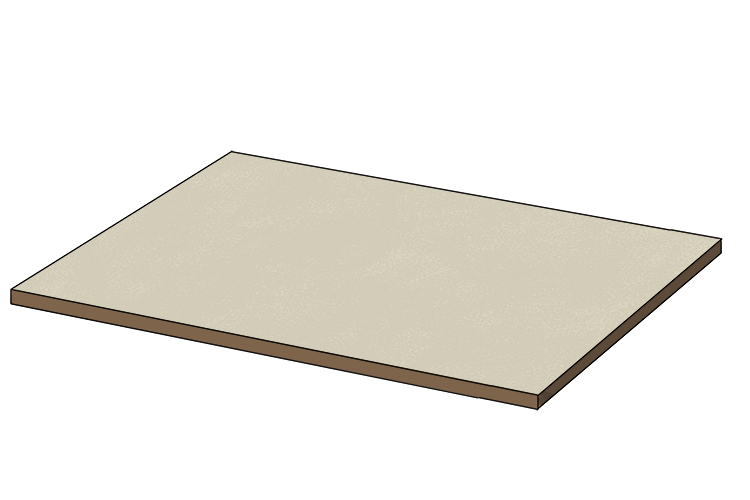
For the project you will need a piece of acrylic sheet, PVA glue, chalk, some screen printing silk or extremely fine mesh, black acrylic paint, white acrylic paint, acrylic gelling agent and printing ink.
The first step is to stick your silk or mesh onto your acrylic sheet. Apply a thin layer of PVA glue to the acrylic sheet and place the silk on top. Smooth the sheet down with a piece of card or an old credit card, ensuring it is evenly glued, there are no bubbles and that there is no build-up of glue.
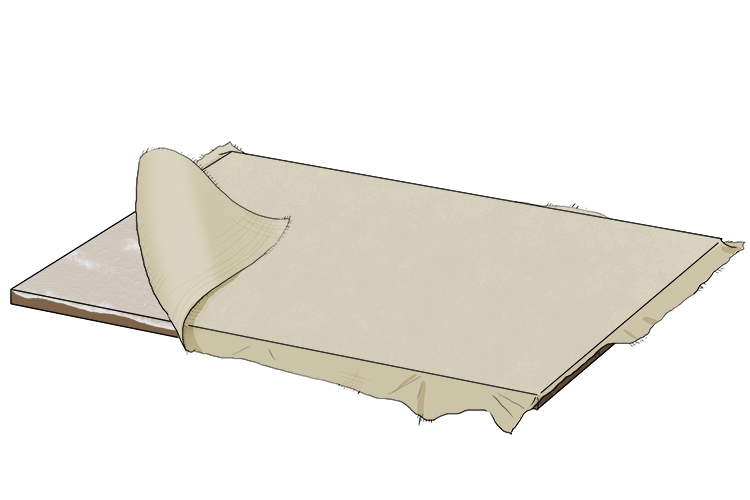
Once completely dry, cut the excess silk from the edges of the board.
Paint the whole thing in watered down black acrylic paint. It will take a few coats but do not use thick paint, it must be watered down. This ensures the board is black without any thick paint clogging up the texture of the silk as these are the fine holes that hold our ink when printing.
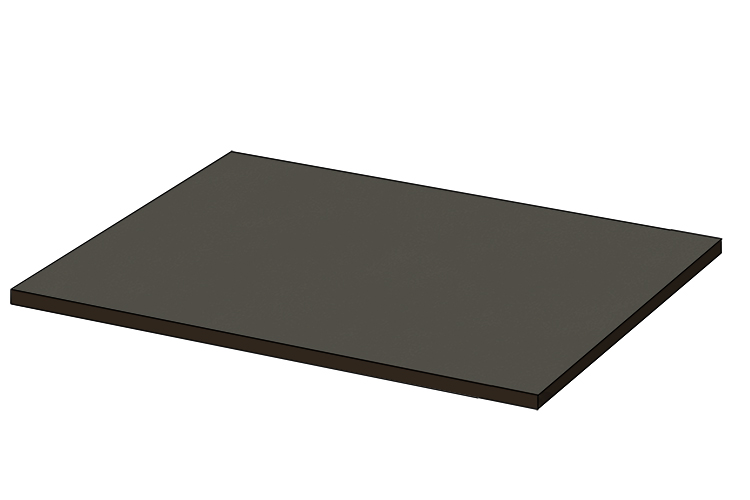
The black board makes it easier to visualise your final image when applying the white paint.
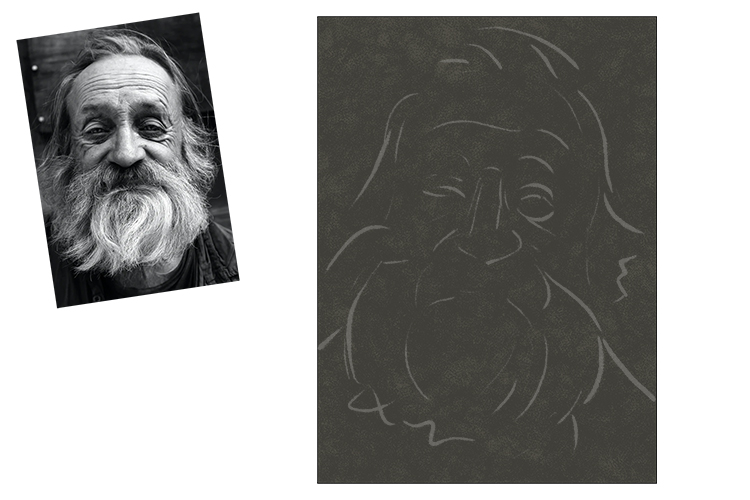
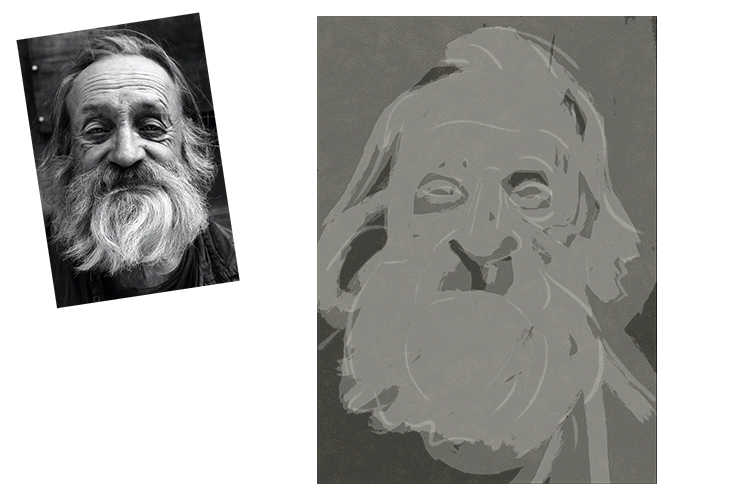
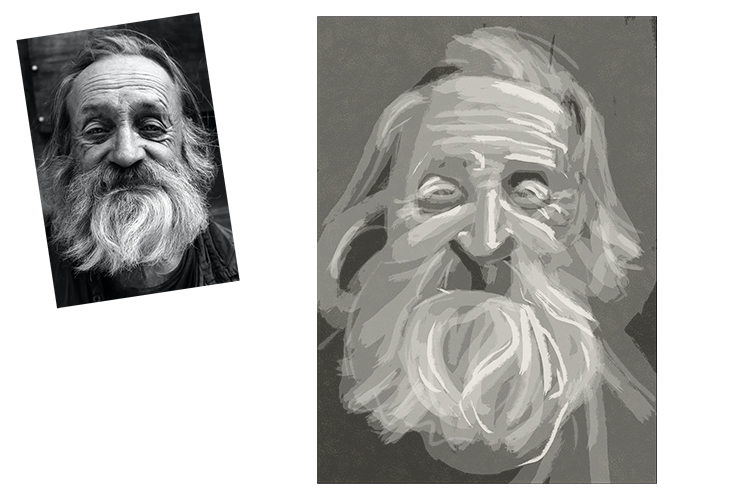
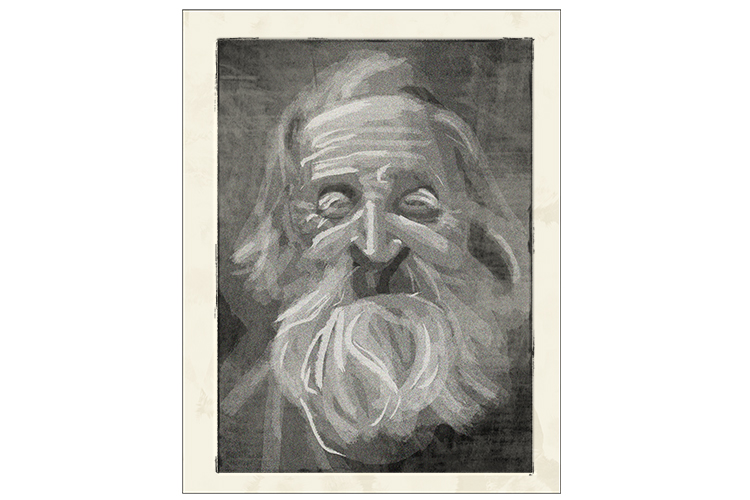
Find an image you are going to create a version of – it helps if you choose a black and white image as you will see the tones you are trying to achieve more clearly.
Draw a rough guide on your board in chalk. We are not aiming for a perfect image here – printmaking is experimental, so don't worry about the drawing being too accurate, the process is the important thing.
Mix some of the acrylic gelling agent into white acrylic paint. This paint will now be used to create your tones. The paint mixture, when thinned with a little water, is semi-transparent and can be applied in thin layers. With it being white on a black background, it will give you an idea (albeit not a perfect version) of how your print will look.
But how does it work? The thin layers of paint fill some of the holes in the silk, stopping it from holding the ink when printing. The more layers you add, the more holes are filled, and the lighter the tone when printed. Eventually, some areas will have that many layers, all of the holes in the silk are filled, leaving a smooth surface that holds no ink – these will be your bright whites when printed.
So to start, cover all of your board in a thin layer of the paint other than the areas you want to keep solid black when printed.
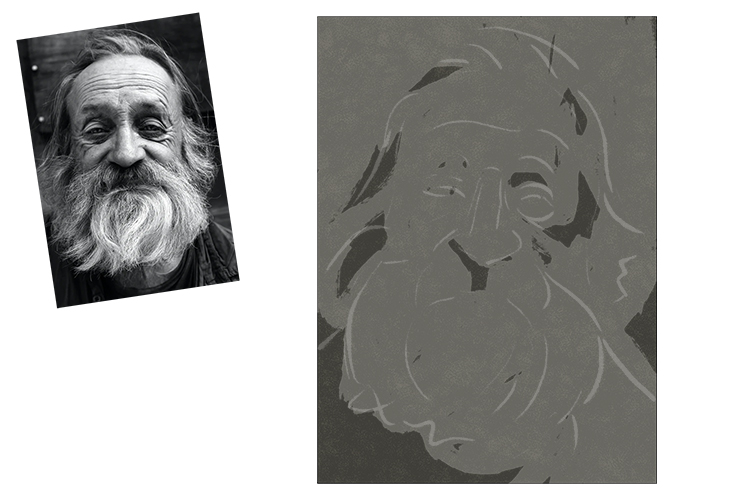
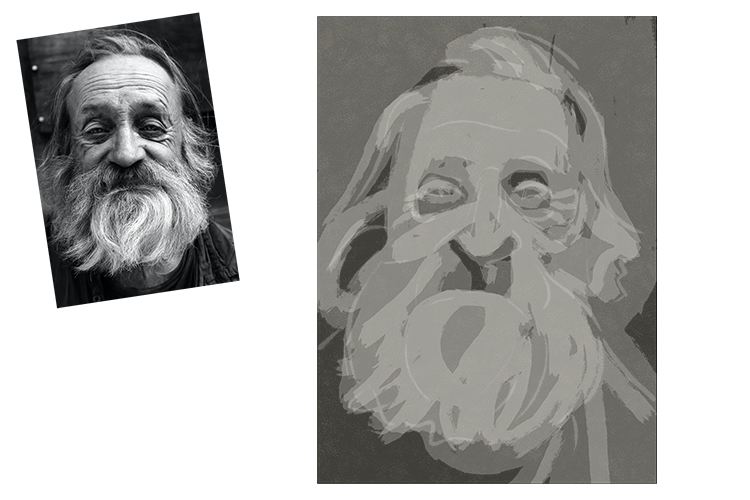
Allowing it to dry each time, add more layers of the paint to the lighter parts of the image, remembering that the lighter areas need more layers than the darker parts. It works best to go in stages from dark to light.
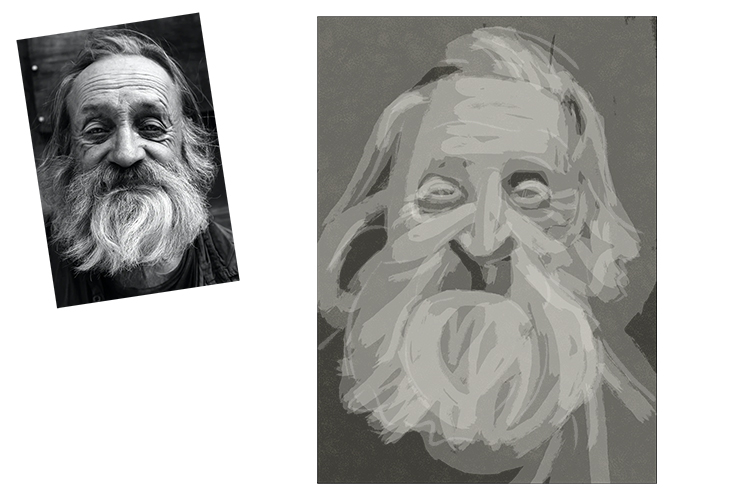
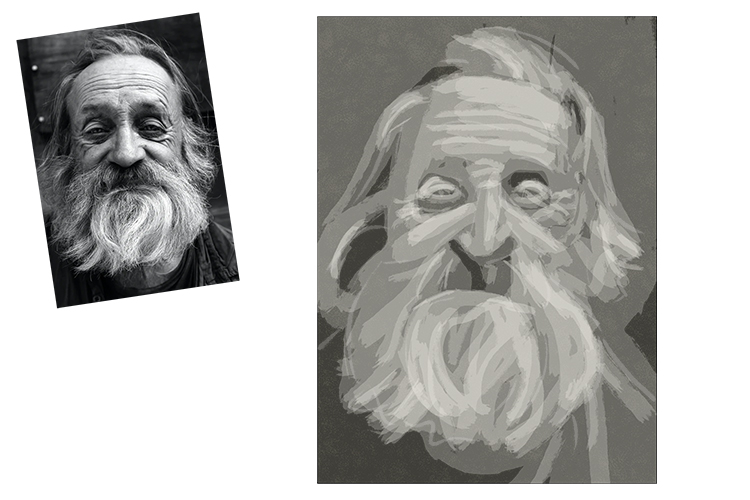
Use the paint without water to add your bright whites; this pigment will fill the holes completely so they will not hold any ink at all.
Allow the board to dry completely.
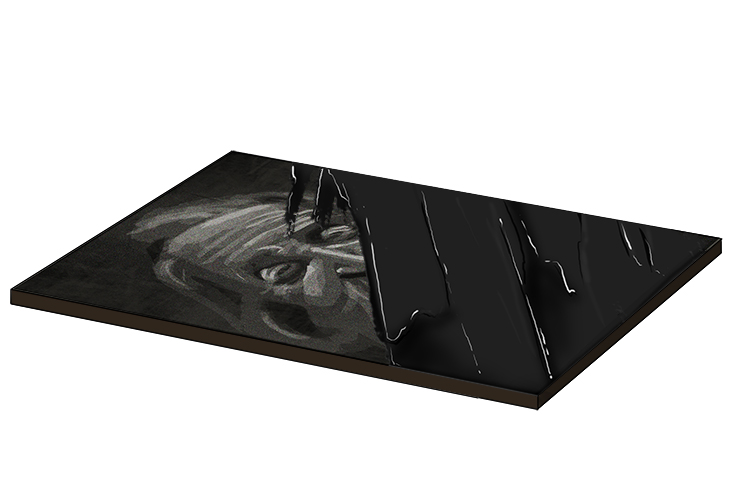
Once dry, apply a layer of black printing ink to the board with a teaspoon of cooking oil (to loosen it up). Using a scraper or an old credit card, mix it together on a glass surface (the base of a glass oven dish works fine). This process makes the ink more pliable as it warms up, making it easier to spread on the board.
Evenly distribute it across the board with the scraper or card, ensuring it has been pushed in every direction to fill all the remaining holes in the silk.
Using a clean cloth, wipe away the ink. This takes away any surface ink but leaves behind any ink in the texture of the board. It will take a while to wipe away all of the surface ink, but eventually it will clear.
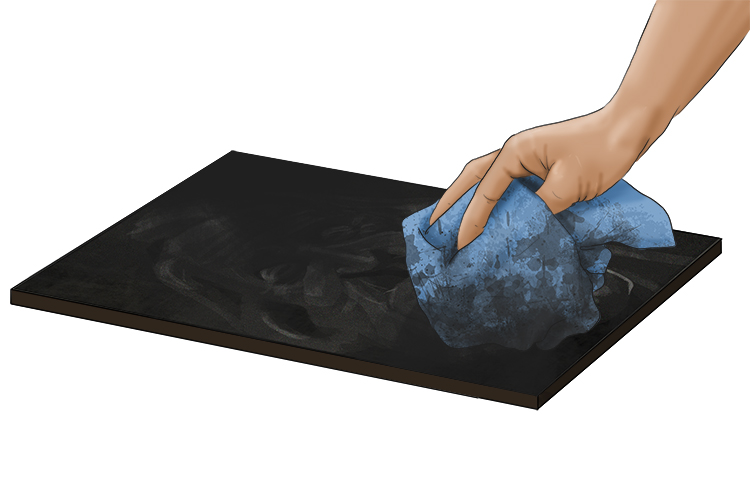
It is now time to print.
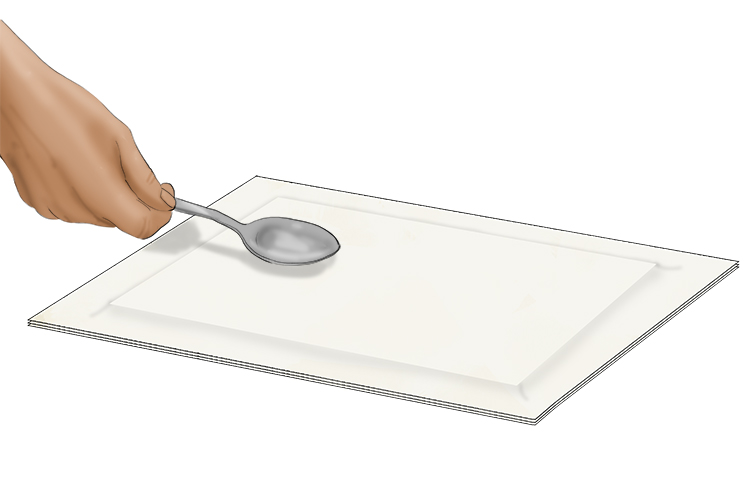
You need strong paper that isn't too thin to print onto. Ensuring it doesn't move, place your board face down onto the paper you wish to print onto then put a few sheets of parchment paper on top.
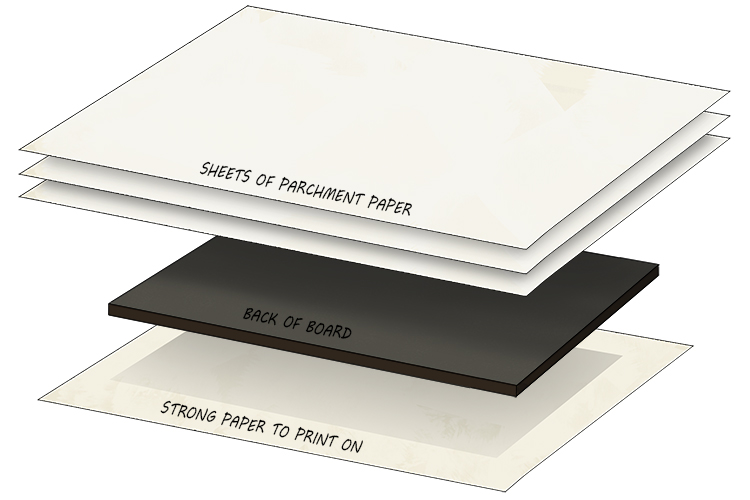
Holding the paper in place to stop it from moving, use the back of a spoon in circular motions to press the board onto the paper. Use a fair amount of force for this and make sure you cover the whole surface of the board. This will take a long time but it will be worth it for an even print.
Remove the parchment paper and peel your board off the paper.
You will now have a print you have created in an aquatint style, through a process completely opposite to the aquatint method. Your print may be darker than the board looks, but this is normal. Also, remember your print will be the reverse of what you painted onto the board.
The acrylic printing board you have made can easily be cleaned and used again and again.
To clean the panel, blot the print onto old paper until it is no longer printing, then use 1 part liquid dish detergent to 20 parts water for cleaning up any remaining ink on the acrylic. If necessary, use a little vinegar diluted in water to clean any soap build-up.
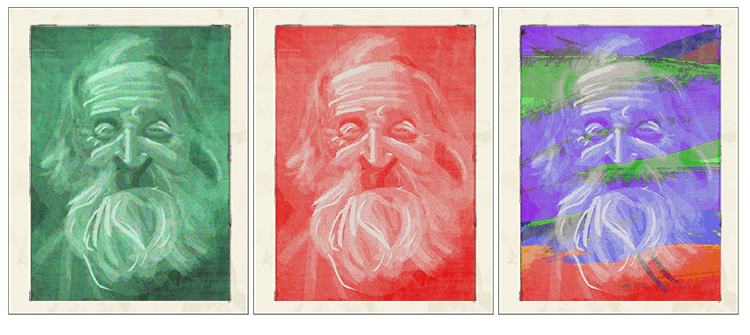
Once cleaned and dry, you can repeat the process in whatever colour ink you like. You can even try mixing multiple inks onto one panel to print.
Aquatint.


