
Pastels – moulded sticks made of pigment and chalk particles, and a binding material to hold the particles together. All compressed together.
To remember what pastels are, recall the following mnemonic:
She passed us all (pastels) a stick.
Pastels have been used by painters since the Renaissance, and they achieved a lot of prominence in the 18th century, when several famous artists made pastel their major medium.
There are six different types of pastels.
Soft pastels: These are the most common form of pastels. They can be easily blended and smudged. Soft pastel pictures usually need protecting with fixative to prevent smudging after the picture is finished.
Pan pastels: These are a more recent invention and look more like make-up. They are usually used with a variety of paintbrush-like sponges to apply them to the paper.
Hard pastels: Hard pastels are more traditionally used to create the initial sketch. The colours tend to be less bright than soft pastel colours.
Pastel pencils: These are as the name suggests - pastel material encased within a wooden shaft. Because they are in pencil form, they can be easily sharpened to a point and used to develop intricate details in a drawing. Colours can still be layered, blended and developed just as they would in a traditional soft pastel painting.
Oil pastels: These have a soft consistency and intense colour. They are dense and don't need a fixative like soft pastels. They may be thinned using turpentine.
Water-soluble pastels: These are similar to soft pastels, but can be used with water to allow easy blending and mixing.
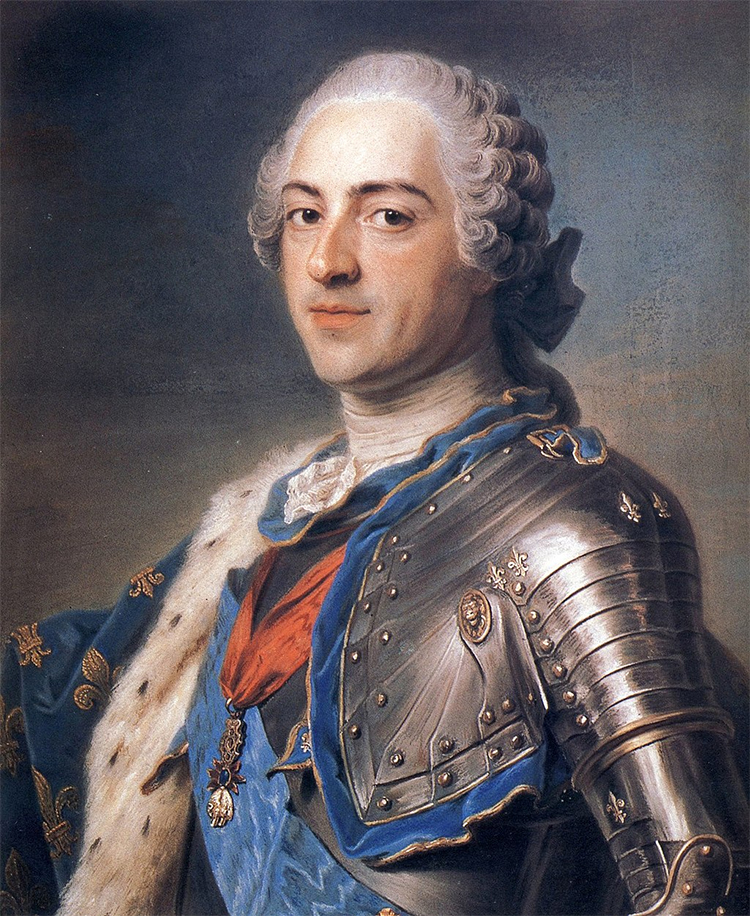
Maurice Quentin de La Tour, a bravura pastel portrait of Louis XV, 1748
La Tour would often use blue paper as a canvas to create his masterful pastel drawings. He would sketch in black and then build up the colours on top. Unlike mediums like watercolour and felt pens, pastels can be drawn over and built up. Later in his career, La Tour was known for over working his pieces and often ruining them.
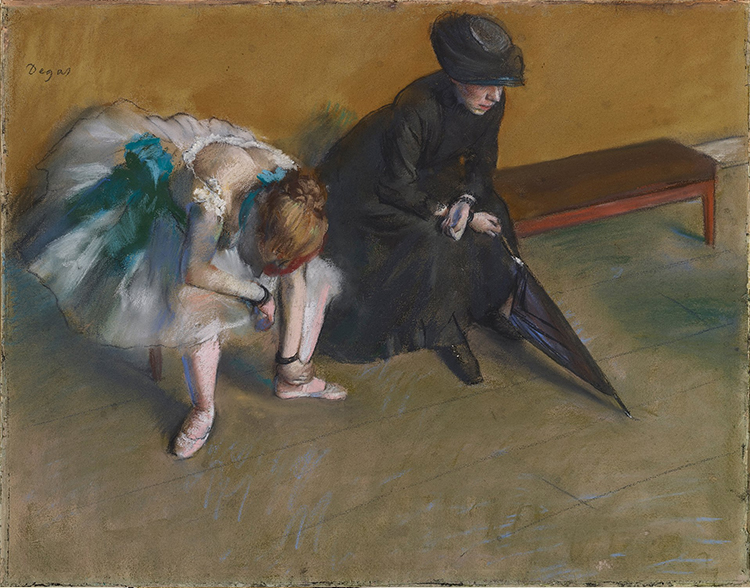
Waiting, pastel on paper, 1880–1882. Edgar Degas.
Degas worked in a similar way to La Tour in that he usually worked on coloured paper, sketched in black and then built the colour on top. Although as you can see from the images above, Degas (being an impressionist artist) used thicker, more sketchy marks, where as La Tour used very finer details to create a more realistic look.
Pastels Project
For this project, you will need soft pastels, a black piece of card or paper and fixative spray (hairspray also does the trick).
Find an image you'd like to draw. If you can, use a computer program or app to increase the saturation on the image, this will give you more interesting colours to use.
Next, (if you'd like to, using the Mammoth Memory grid method) sketch it lightly onto your card.
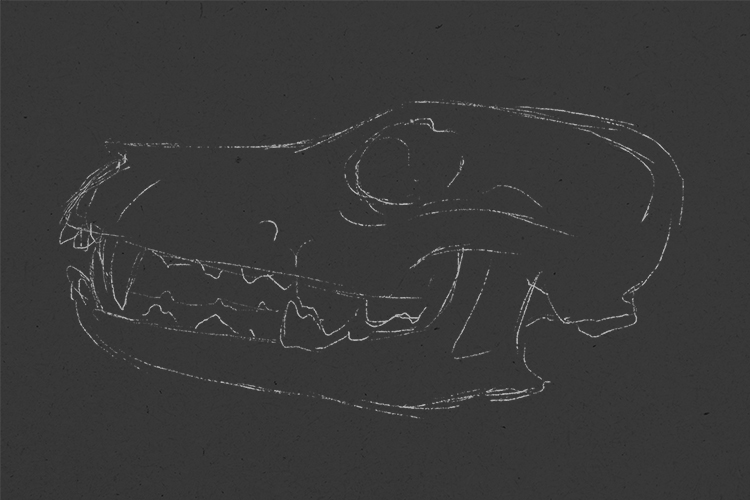
Pick one colour to start with, and fill as much of that colour as you can. You can always go back in later for any parts you miss.
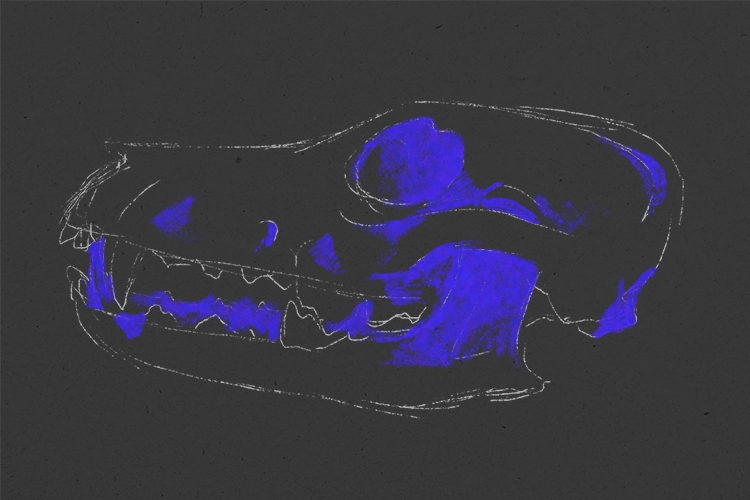
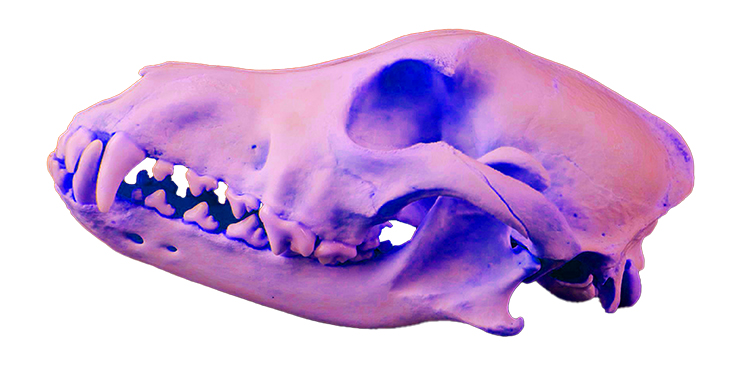
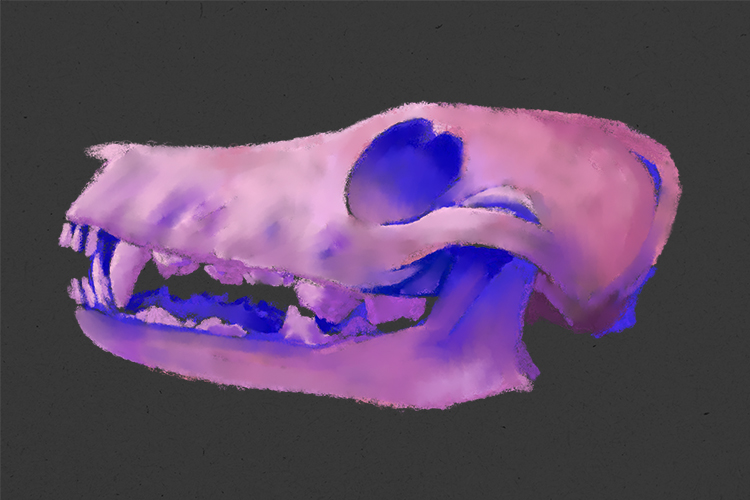
Gradually build up your drawing, colour by colour. From blue, to purple, to hot pink and finally baby pink.
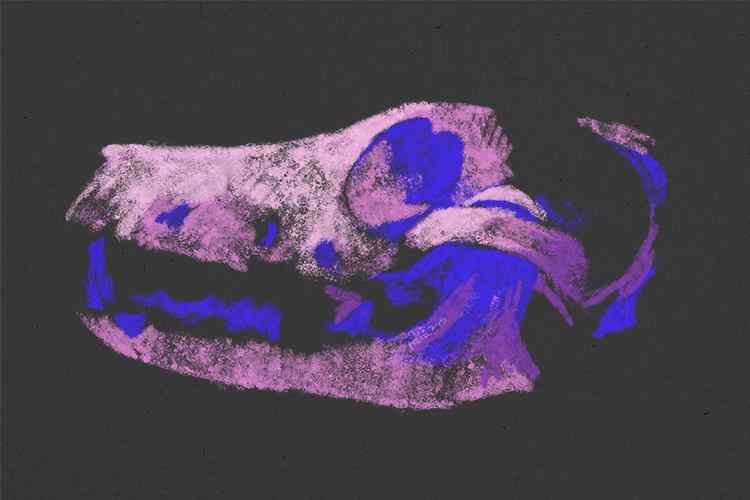
Keep colouring with your pastels until you're happy with your drawing.

At this stage, you can either leave it as it is, or use your finger or a piece of tissue paper to blend some of the colours together.
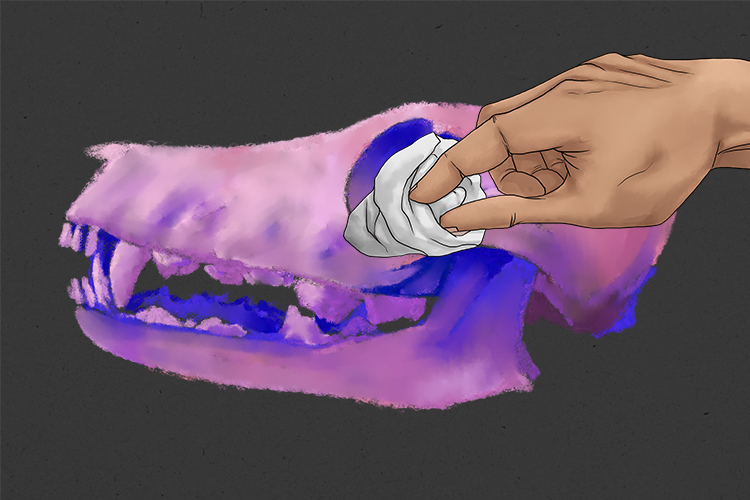
Finally, spray the hairspray or fixative generously over your picture.
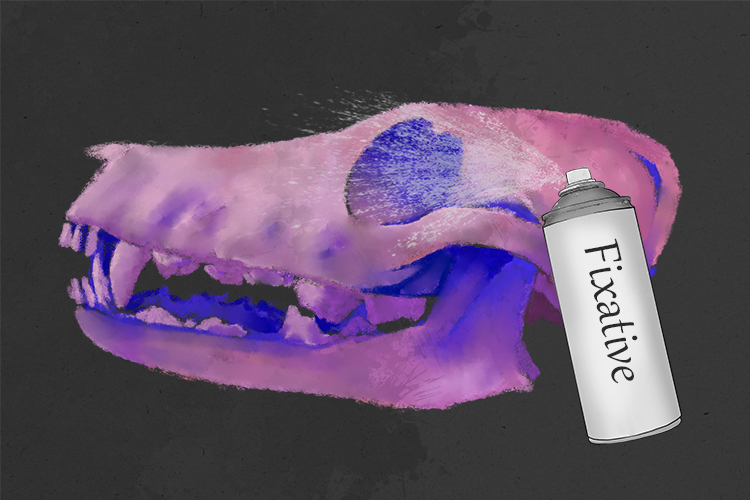
Your pastel drawing is now ready to display!
Pastels.


