
Backlighting – Lighting from behind the subject
To remember what backlighting means, recall the following mnemonic:
From the back of the subject came the lighting (backlighting).
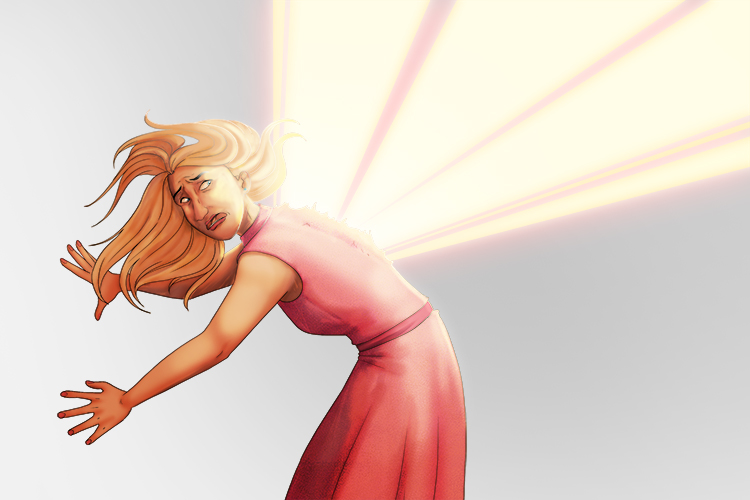
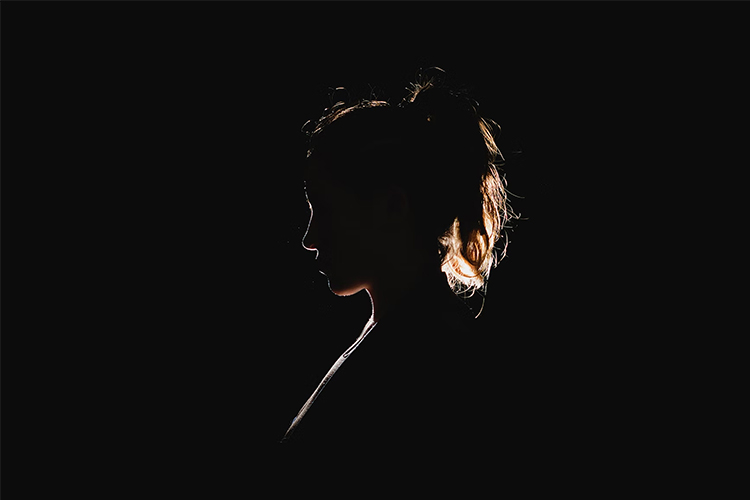
Backlit artwork can be made in several ways, as it simply means the main light source is behind the subject, and is seen in both photography and fine art. The two most common forms of backlighting are a strong contrast between light and dark, usually created with an artificial light source, and a softer, lighter image which usually features natural light. These both create a border around the edge of the subject which almost make the subject appear to glow.
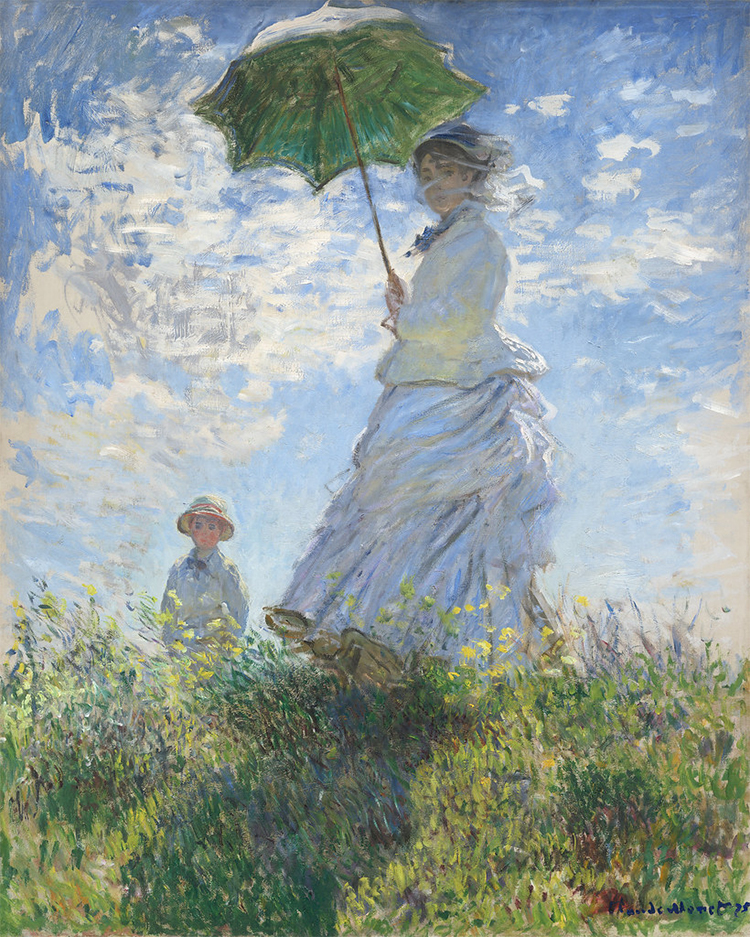
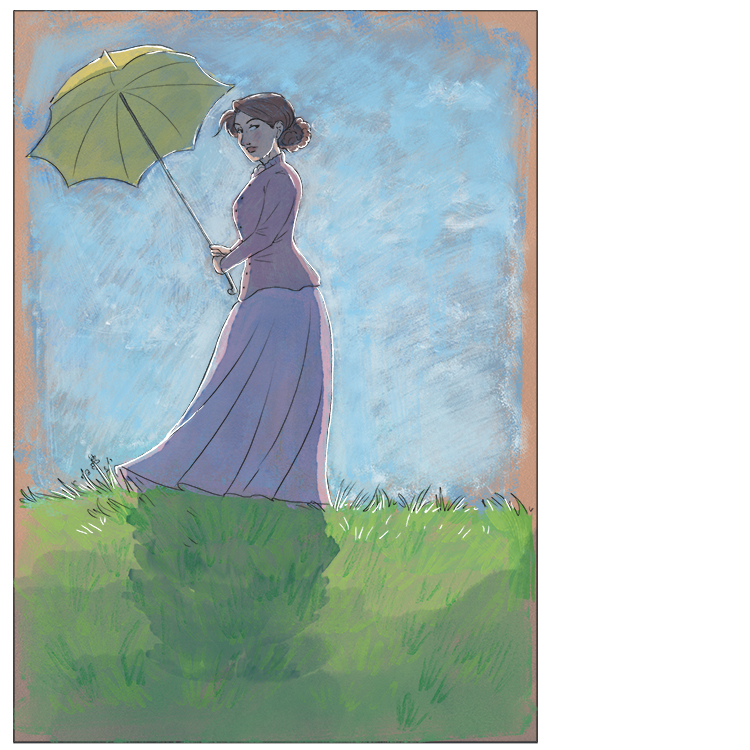
Claude Monet - Woman with a Parasol - Madame Monet and Her Son
Backlighting Art Project 1
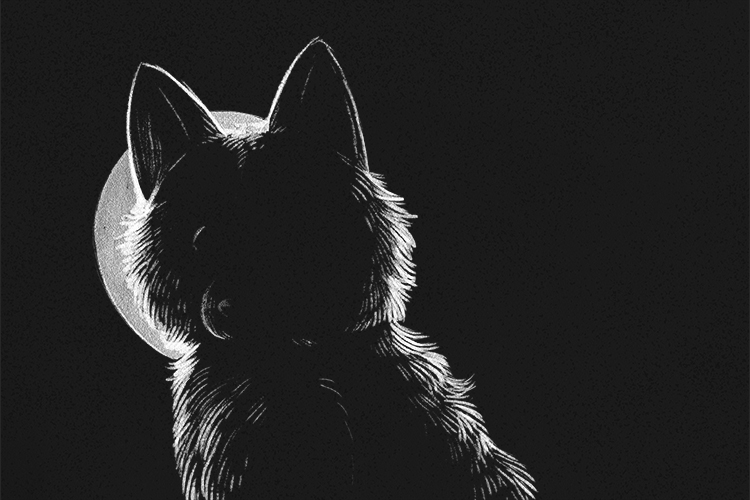
For this project we are going to create an image with harsh contrast between dark and light. You will need:
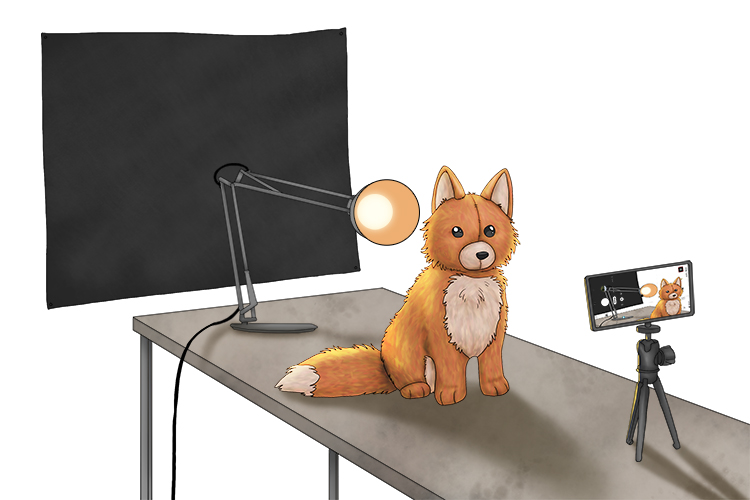
A lamp, a black backdrop (large card or fabric will work) a plush toy to draw, black paper or card, a white pencil and your phone or a camera to take a photo.
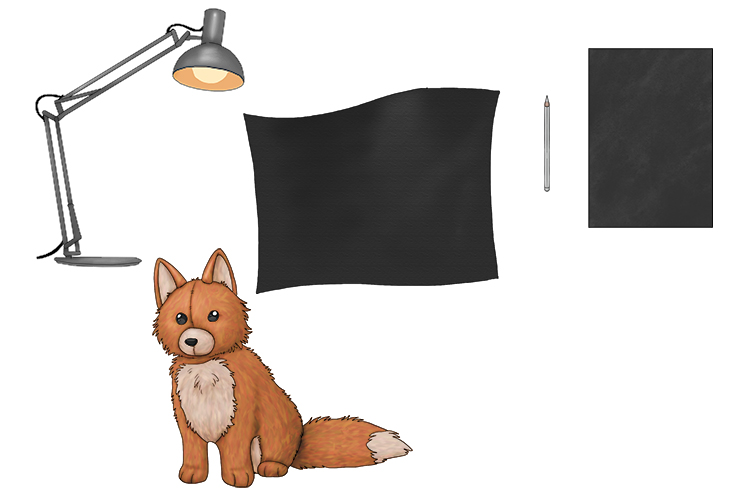
Tack your black backdrop to a wall and position your lamp directly behind your toy and your camera in front of it. This technique works best if the light is just visible behind your subject and if the rest of the lights in the room are turned off .
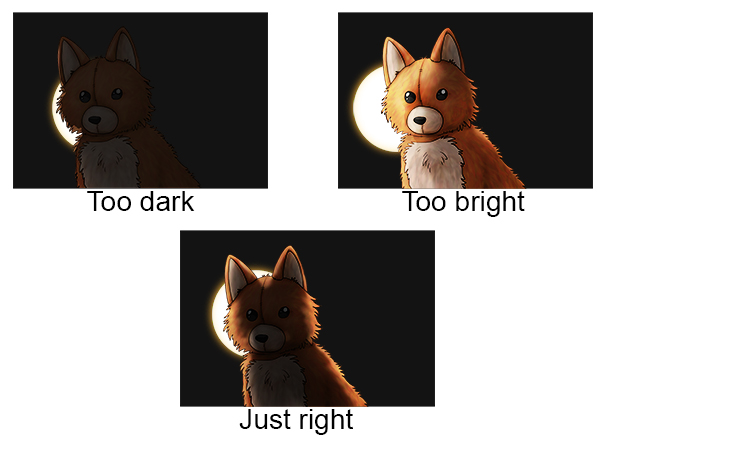
Using your camera, take several different photos until you're happy with the results and you have a good, strong light around the edge of your subject.
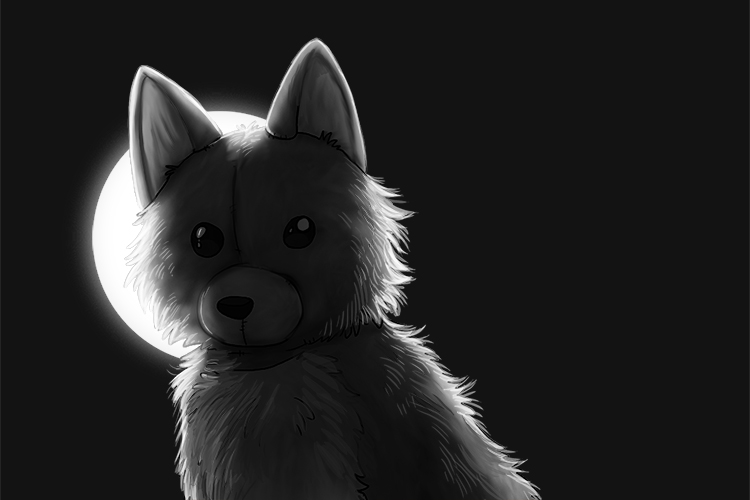
Print your photo in black and white and use it as a reference for your drawing.
Pressing very lightly with your white pencil, sketch out your subject onto the black paper. You can use the Mammoth Memory grid method if you aren't confident drawing straight on.
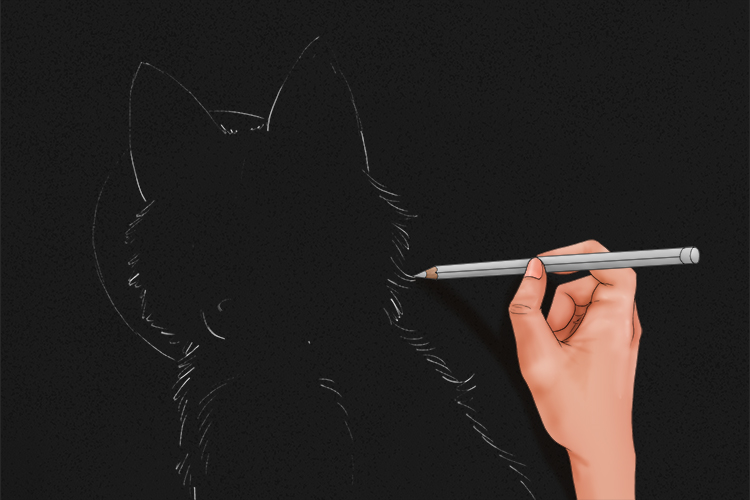
Next, using more concentrated lines in the brightest areas and more widely spaced lines in the darker areas, start to fill in the fur texture of the toy.
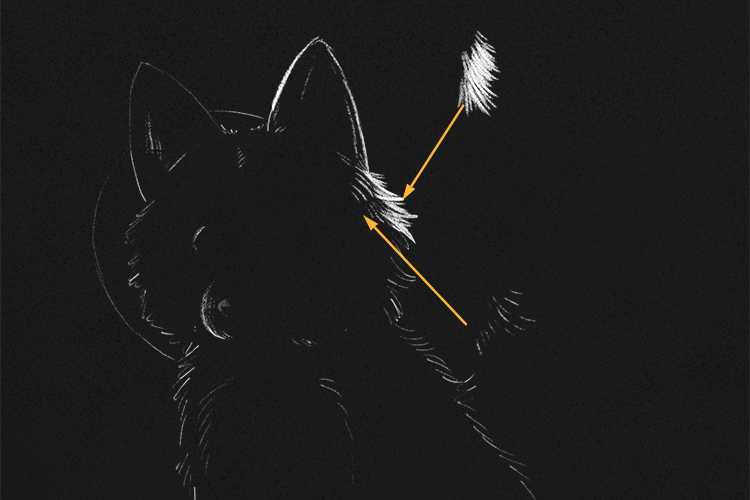
Continue with this process until you're happy with your drawing.
Backlighting Art Project 2
This second project is based on Monet's use of backlighting with bright colours. This style uses natural light as opposed to harsh artificial light.
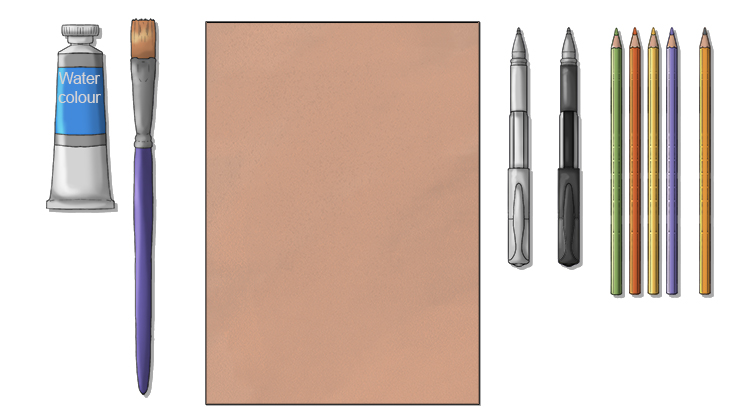
For this project you will need:
Blue watercolour paint, a wide bristle paintbrush, a white gel pen, brown paper, a pencil, coloured pencil and a pen that won't run when watercolours are applied.
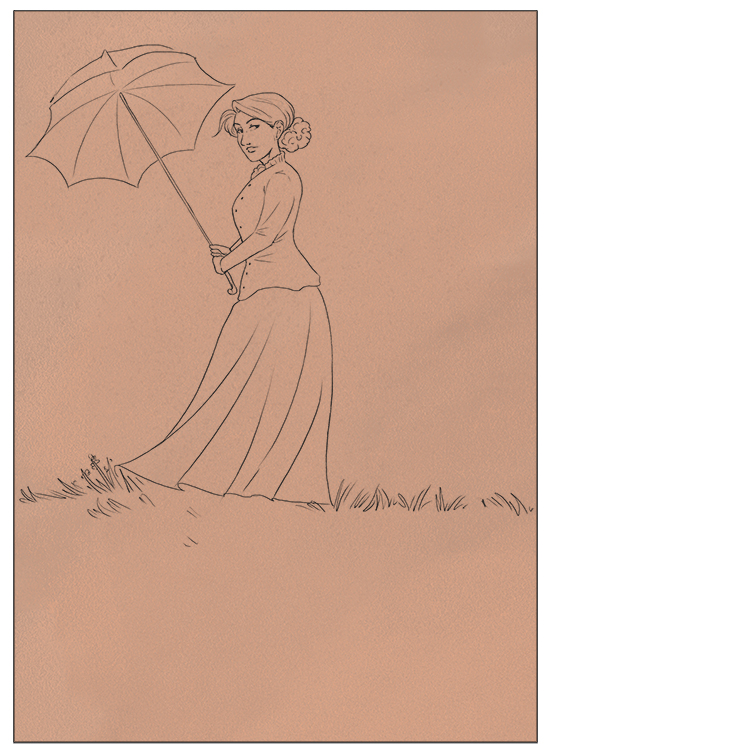
Firstly, sketch out what you would like to draw. It can be a copy of Monet's Woman with a Parasol, or you can create your own theme. We're going to draw a simplified version of Monet's work.
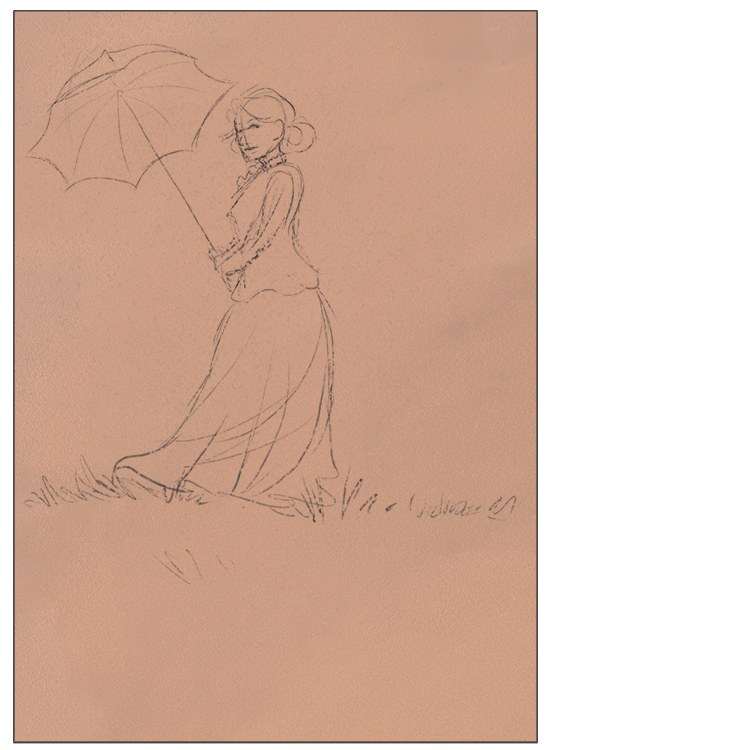
Once you have your sketch, draw around the outlines in your black pen.
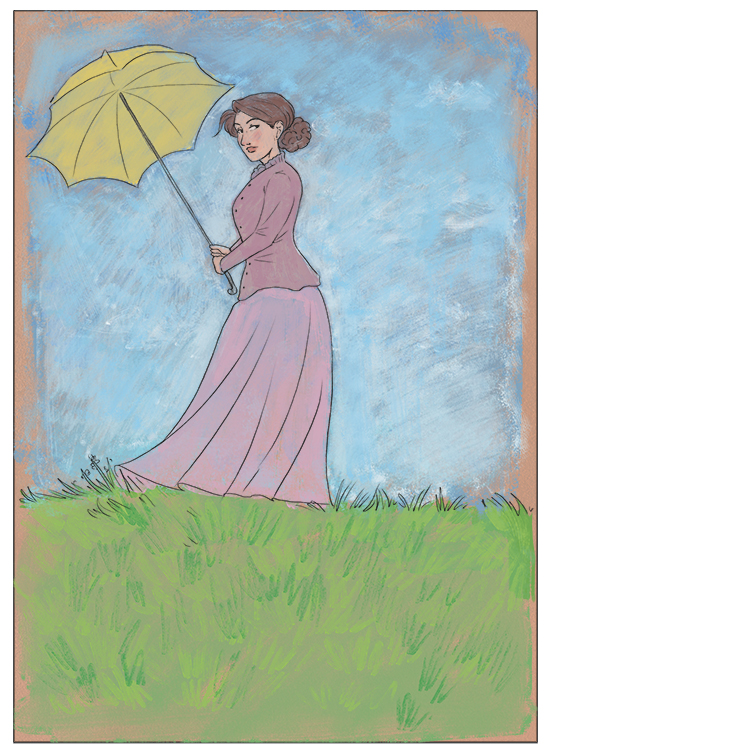
Then, colour the whole thing in with your coloured pencils.
To create the blue shadow, squeeze some watercolour onto a palette and mix in small amounts of water.
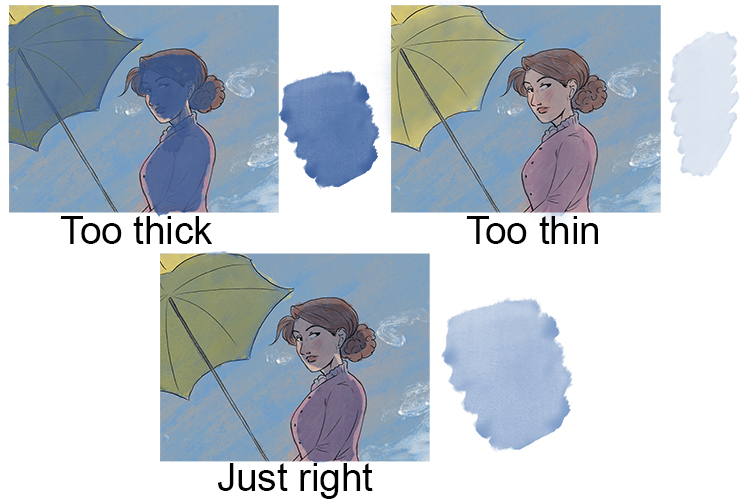
With your wide bristle paintbrush, paint over everything that would be in shadow.
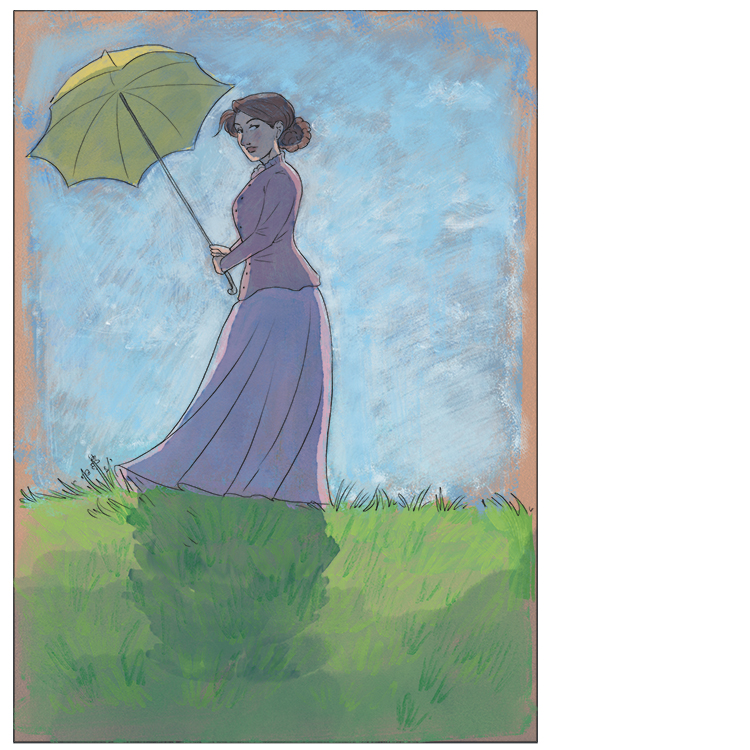
Finally, use your white gel pen to pick out the parts of the image that would be in brilliant sunshine, such as around the figure and on some blades of grass.
Backlighting.


