
Block Print – A method of printing, usually on fabric, using carved wooden printing blocks
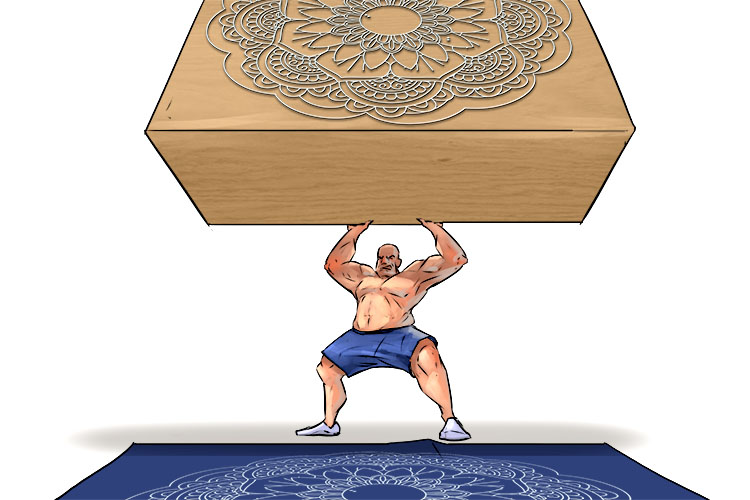
To remember what block print is, recall the following mnemonic.
The block of wood was used to print a beautiful pattern on the cloth.
Block printing is the oldest printing method and has been used by numerous cultures throughout history. It is also one of the slowest and most labour intensive techniques due to the time it takes to carve the blocks and print the design by hand, however some of the results are difficult to reproduce with any other methods. Block printing can be used to produce patterns through the repeated use of a single block or it can be used to create images through the layering of multiple blocks. It was also used to print full pages of books in the 15th century with images and text being carved into a single block.
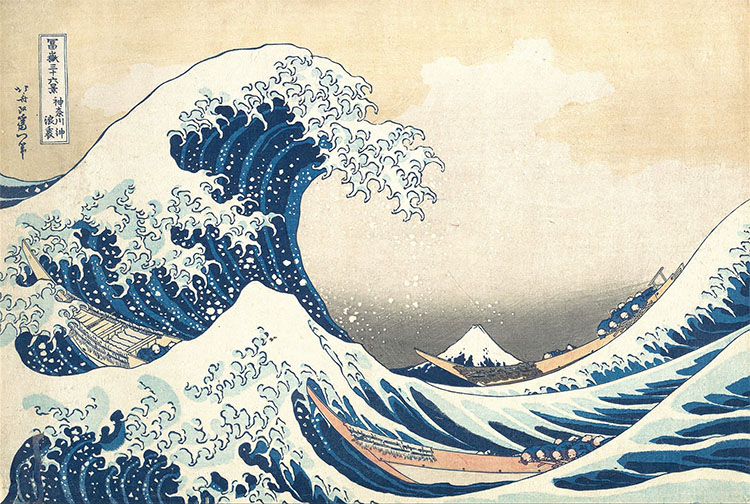
The Great Wave off Kanagawa by Katsushika Hokusai
The Great Wave (image above) is an example of block printing being used to create detailed multi-coloured pieces through the use of multiple woodblocks and was created by Ukiyo-e artist Hokusai. The piece is the first piece in Hokusai's Thirty-Six Views of Mount Fuji series, which were various depictions of Mount Fuji viewed from different locations and in different seasons with The Great Wave being the most well known of the prints. Ukiyo-e is a Japanese print making technique that was popular during the Edo period, the earliest of which were monochromatic until the works of Okumura Masanobu and Suzuki Harunobu lead to the popularity of full-colour prints. These full colour prints were usually produced by a team of people comprised of an artist, a carver and a printer with the prints often needing upwards of ten printing blocks to make up the image.
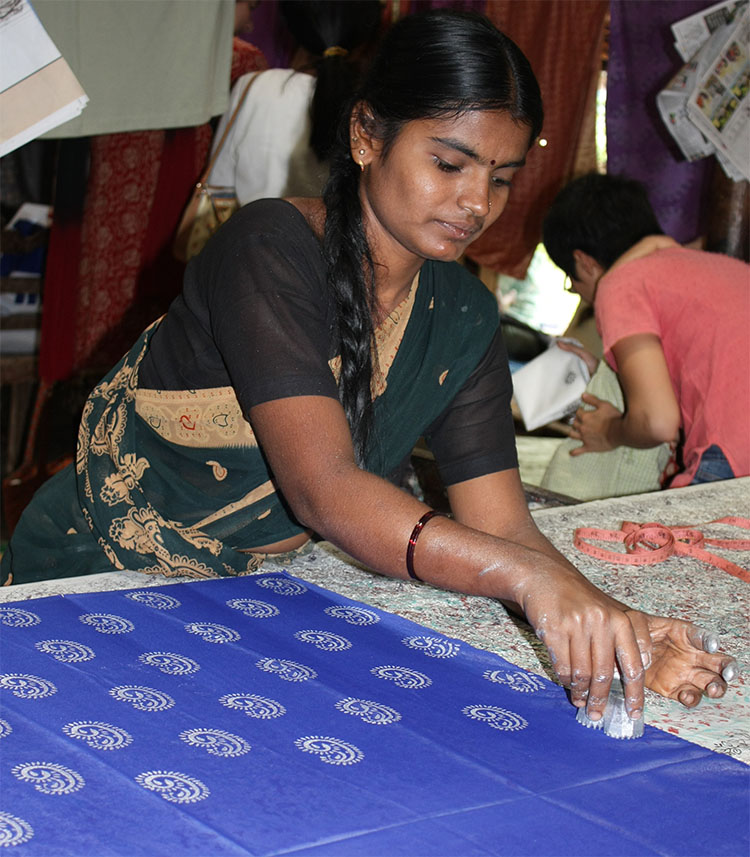
"File:Woman doing Block Printing at Halasur village, Karnataka.jpg" by Anne Roberts is licensed under CC BY 2.0.
Block printing was often used throughout history to decorate textiles and clothing. When block printing a pattern on a roll fabric, colour is applied to the wooden printing block, it is then pressed firmly onto the fabric before being struck with a wooden mallet. The printer then repeats this process across the fabric, making sure each subsequent placement lines up correctly with the previous to create a seamless pattern. To help the printer line up their prints the blocks often had pins in each corner which would leave impressions in the fabric. This process is incredibly time consuming, especially when printing multi-coloured designs as it would require the first colour being printed, left to dry, then any other colours printed using the same process for each colour in the design.
Block Printing Project
For this project we're going to print an image using several blocks which we will carve out of lino (linoleum).
You will need, some paper, a pencil, a pen, tracing paper, watercolour paints, block printing ink, rubber brayer (a small roller used to apply a thin layer of ink to your block), several lino blocks (can be purchased at most arts and crafts shops), rubber stamp carving tools.
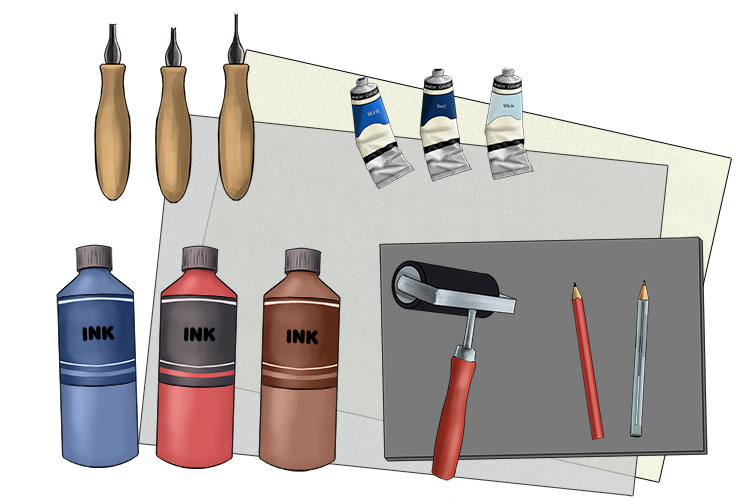
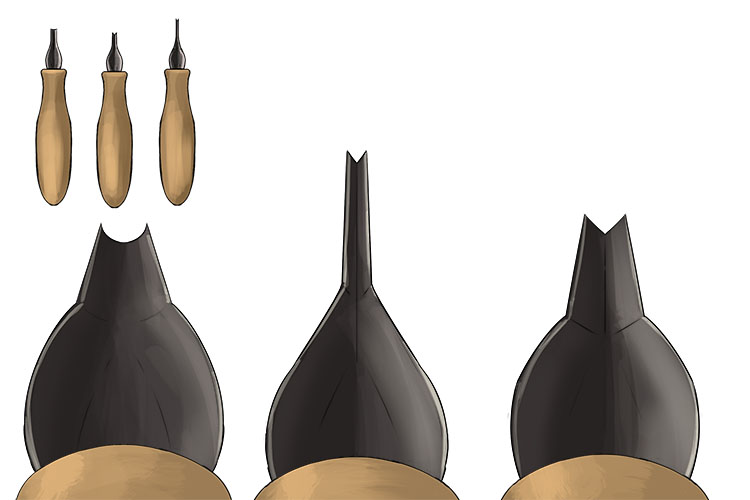
Below are some close ups of the different stamp carving tools you'll be using to carve your lino printing block.
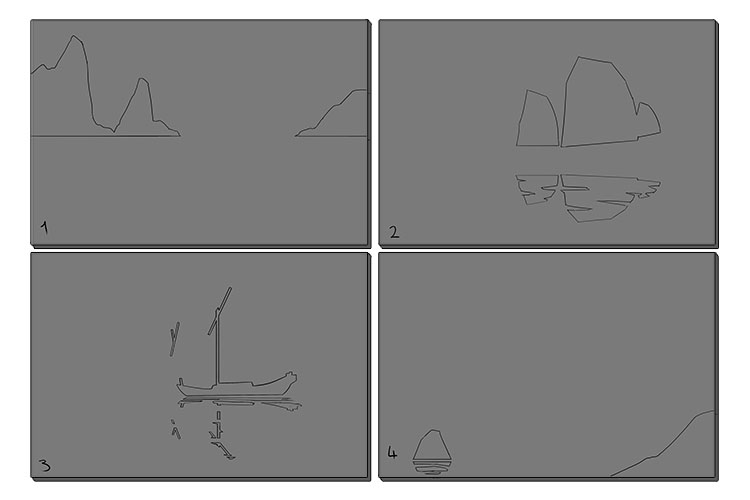
First we're going to sketch out our image on paper, try to focus mainly on silhouettes and keep the piece fairly simple to ensure you can replicate the design on your lino blocks. It will also be helpful to think about how the image you are designing will look when printed in 2-4 block colours.
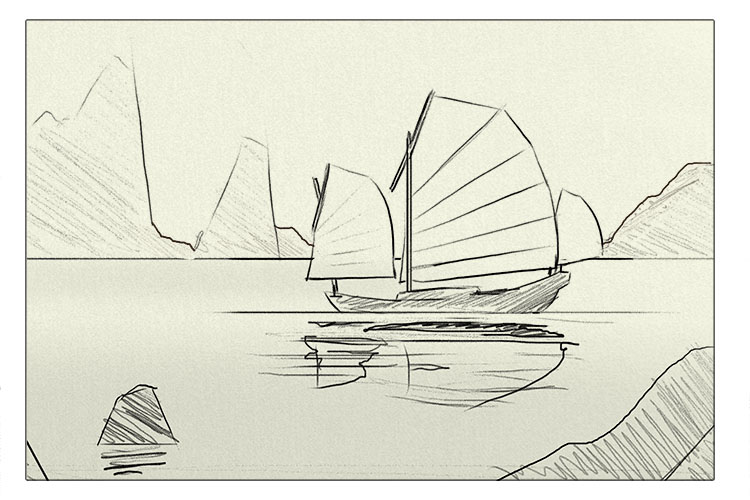
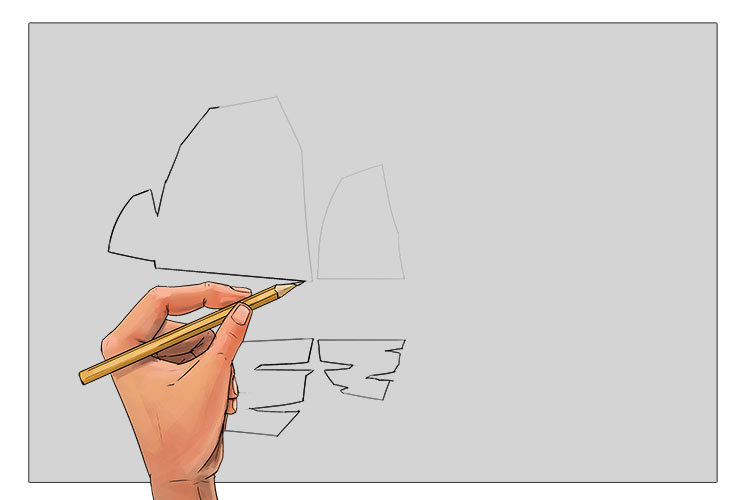
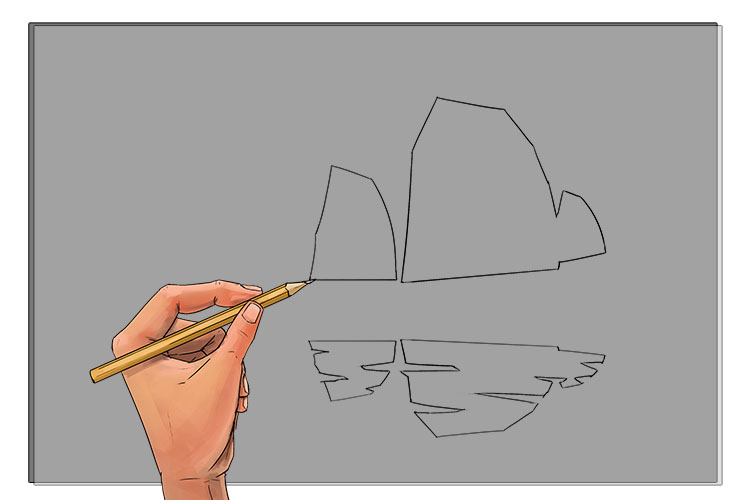
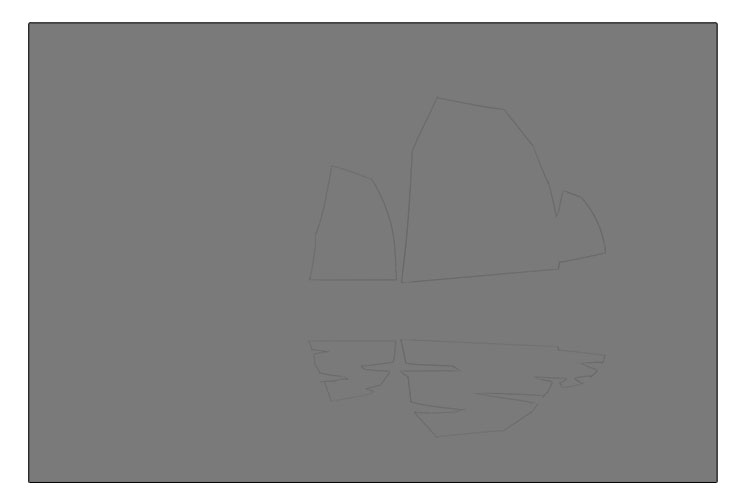
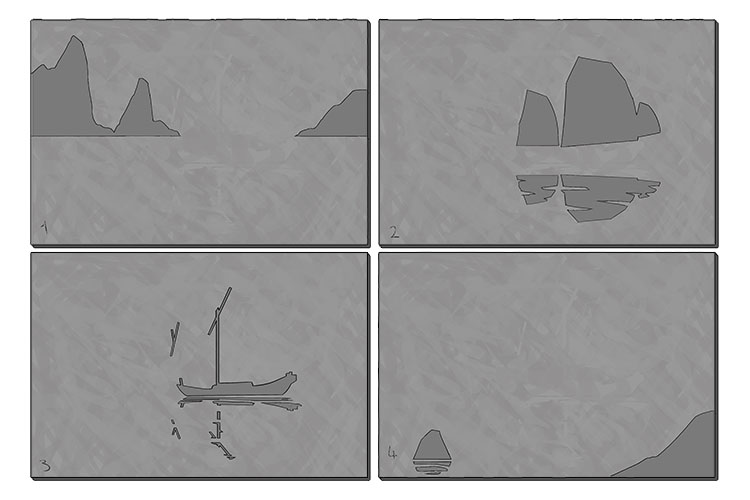
We have split our design into four; the background mountains, rocks, sails, and the ship .Trace over the details you will be carving into each lino block on separate pieces of tracing paper.
Because some of our sections overlap we have numbered our tracing paper sheets so we know what order their corresponding lino blocks need to be printed. For example, our background mountains need to be behind everything else so we'll need to print the mountains first.

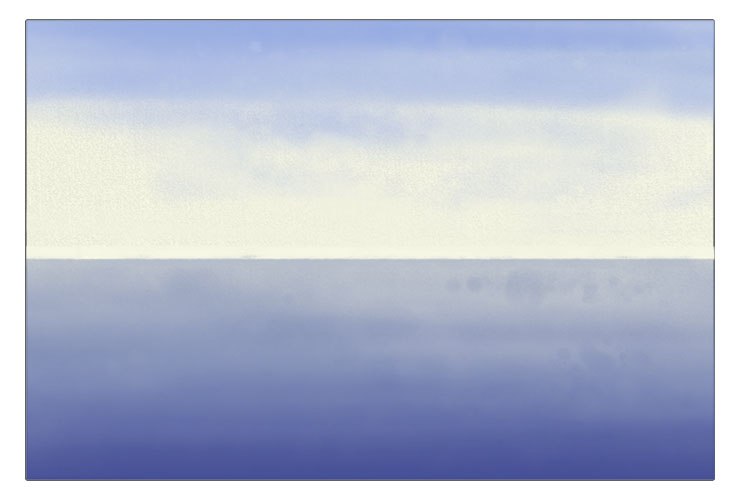
Next you will need to paint a very simple background using your watercolour paints on a piece of paper the same size as your lino blocks. We've painted a very simple gradient for the sky and sea. To do this we masked off the top half of our page so we could get a nice even line for our horizon. Then we painted our sea, adding more layers of paint closer to the bottom of the page to give us a darker blue, giving the image more depth.
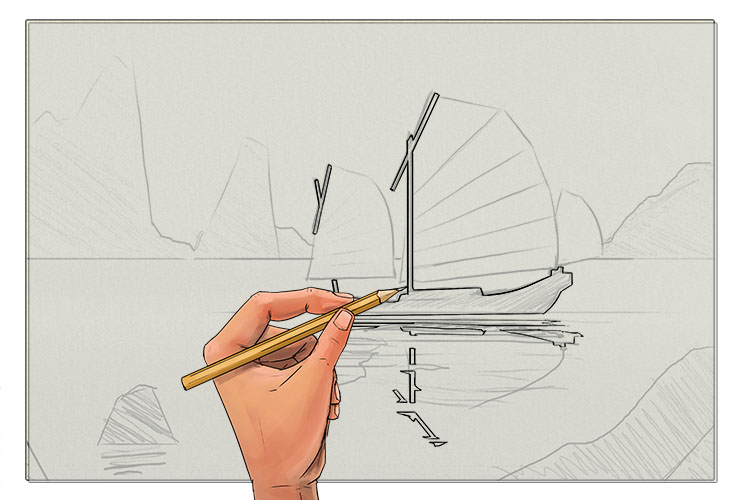
While your watercolour paint dries, flip each piece of tracing paper over and go over the design on the back of the tracing paper in pencil.
Flip the tracing paper back over and trace over the image again onto the lino block, this will leave a faint pencil line on your lino.
Go over the faint line with pen to make it easier to follow, now repeat this process until all of your tracing paper sheets have been transferred onto lino blocks.
Using your carving tools, cut away the lino so that only the image is left raised. Make sure to remove all of the material that isn't part of the design as any raised areas will show up when the design is printed.
Below is side-view of the lino block to show roughly how deep the lino should be carved. If you don't remove enough material the print could have imperfections and if too much is removed the lino could break.

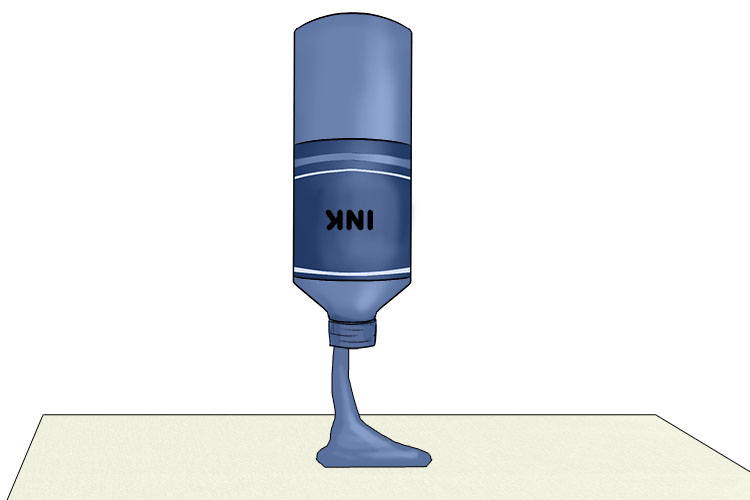
Once you've finished carving all of your blocks, you can now start printing. Squeeze some ink onto your palette (you can use some spare paper if you don't have a palette), then roll the brayer through the ink so you have a smooth layer of ink across the whole roller. If you don't have a brayer available you can always spread your ink into a thin layer on your palette and carefully dip you block, making sure to only get ink on the raised section.
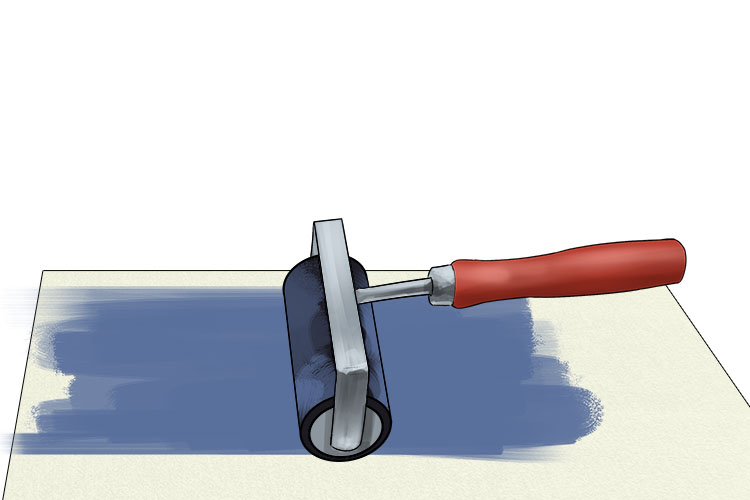
Now roll the brayer across your lino making sure to only get ink on the raised section.
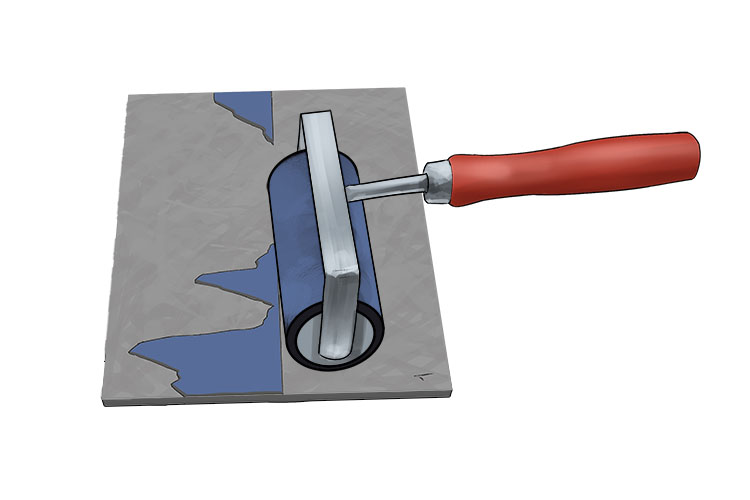
Carefully place your lino face down on your paper, making sure the paper and the block are lined up so the print is central. Then press down evenly on the lino (you could use a large book to put pressure evenly across the lino block).

Repeat these steps for the rest of your lino blocks. When printing your image make sure to line each block up with the edges of the paper so each part of the image lines up.

Once Your ink has dried you can add in more details with a brush if you like, we have added some ripples in the water and a little extra detail on the ship.

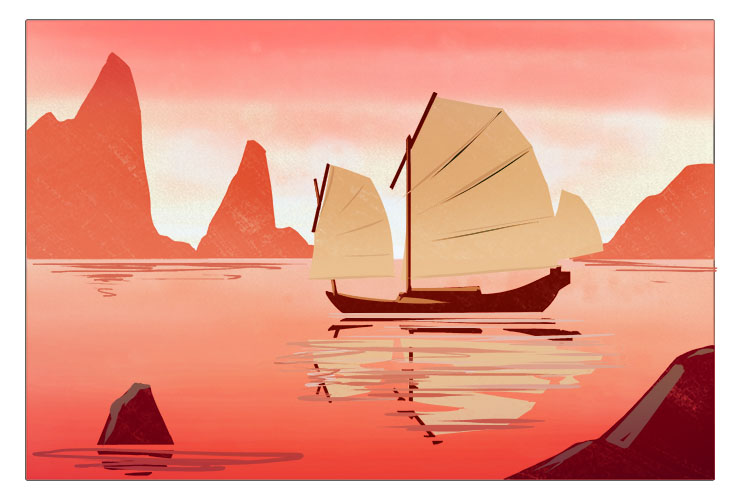
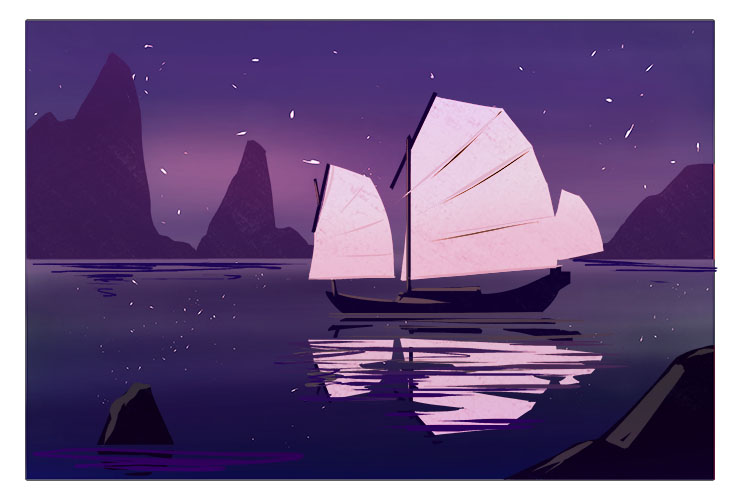
You can also reuse your printing blocks with different colours to portray the same scene with a different mood and atmosphere. Below we have reprinted our design as a colourful pink and orange sunset scene and as dark purple and pink night scene.
Block print.


