
Batik – The application of hot wax onto cloth to create a pattern or design
(Pronounced bat-teek)
Note: When dye is applied the waxed area resists the colour. Once dry, successive applications of wax and dye can be applied in layers to create intricate patterns. The process can often be found on textiles from Indonesia and India.
To remember what batik is, recall the following mnemonic.
The bat was seeking (batik) a way to wax it's wings.
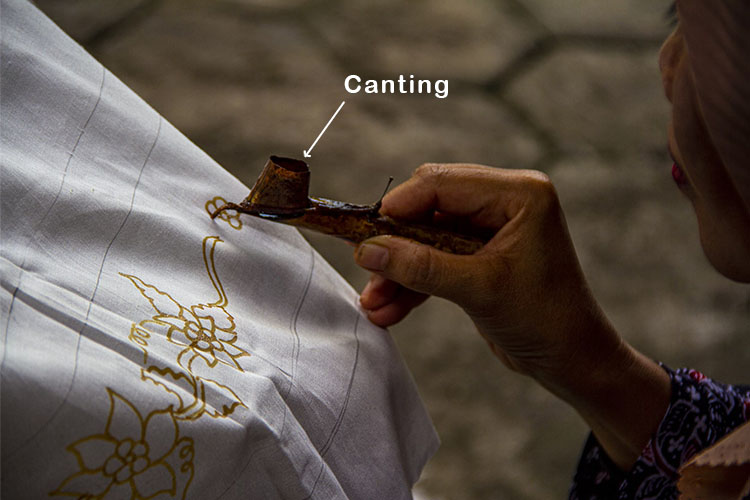
Batik is often created using a pen like tool known as a canting, which is made up of a copper container with a spout for the wax to pour from, and a wooden handle. The process of creating batik work by hand using a canting is also known as batik tulis (written batik).
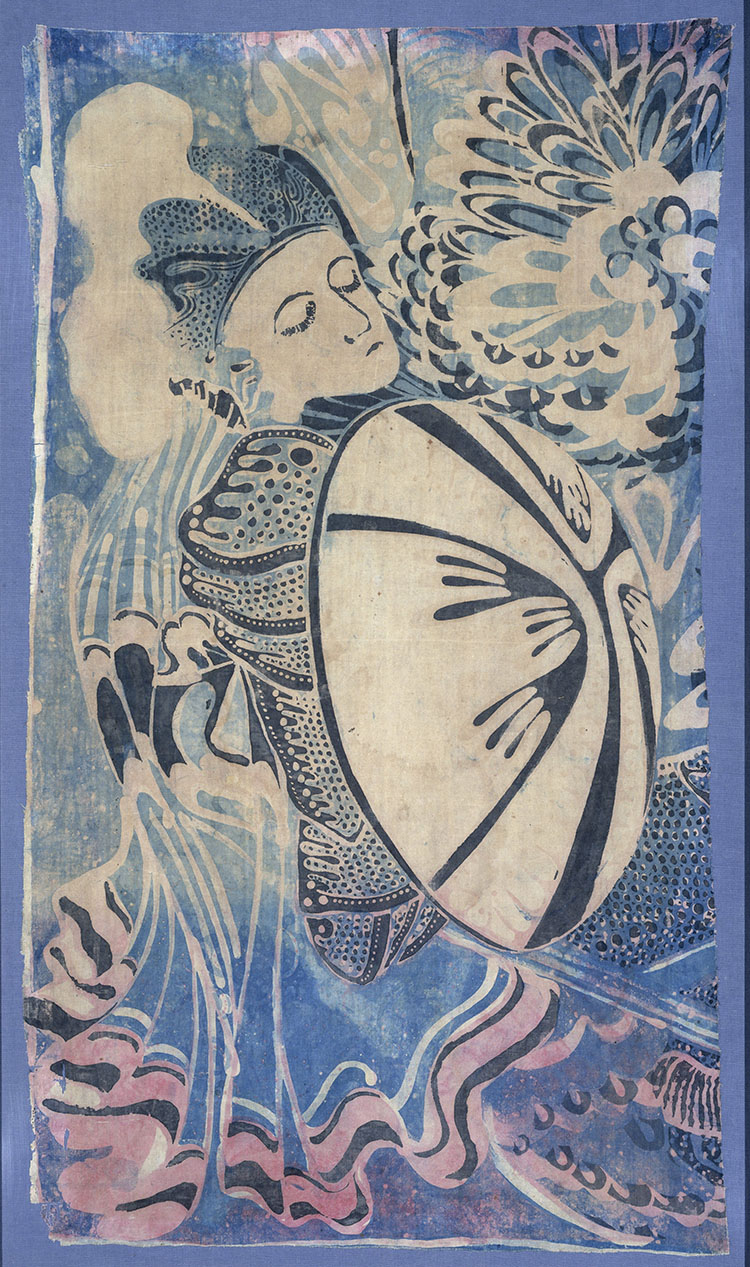
The image above shows the level of detail that can be achieved by an experienced batik artist. This work would have been created by applying wax to all the areas of the design that needs no colour, when this work is finished, a layer of dye is painted on. The wax would then be removed before another layer of wax is added along with more dye. This process of adding and removing layers of wax can be repeated several times to create intricate designs with multiple colours.
Batik Project
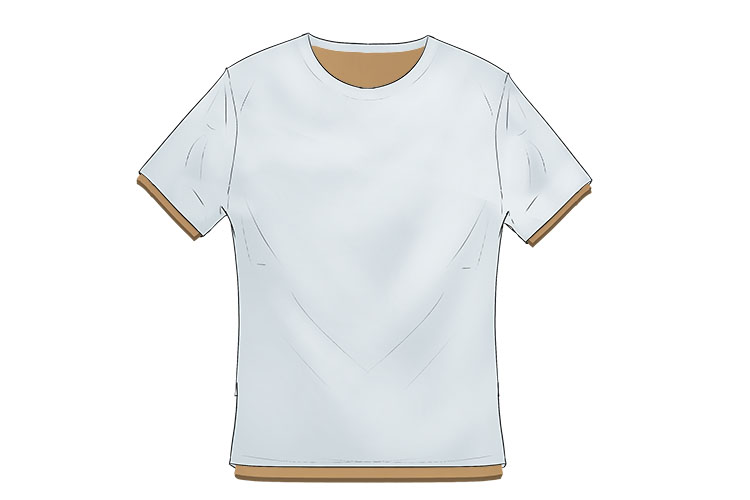
For this project we're going to be creating a batik patterned t-shirt using glue instead of wax.
You will need PVA glue, scissors, a pencil, paper, tape, cardboard, coloured dye (make sure it's a dye that can withstand washing) and a plain white t-shirt.

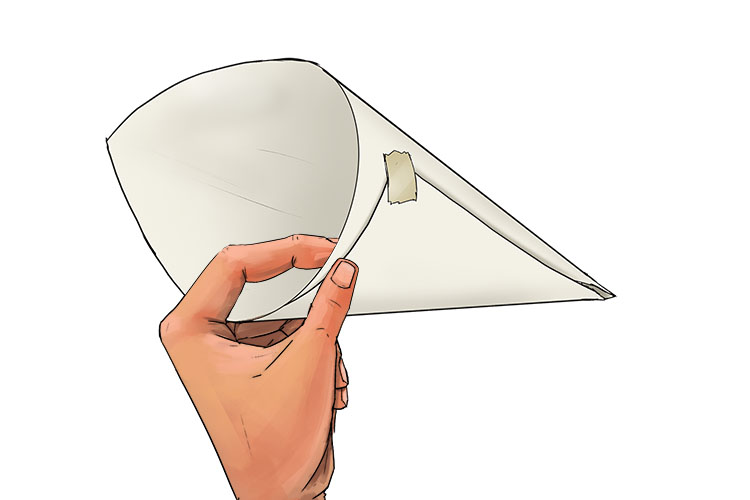
To start we're going to make a simple canting (cone) out of paper. First cut out a piece of paper that's roughly 15 x 15cm.
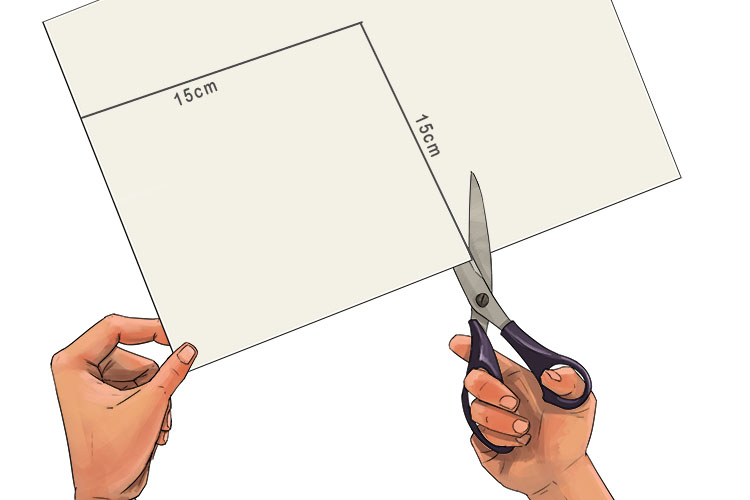
Now roll the piece of paper over to make a cone shape, making sure there's a small hole at the bottom, then tape the paper in place. This will act as your canting for your glue.
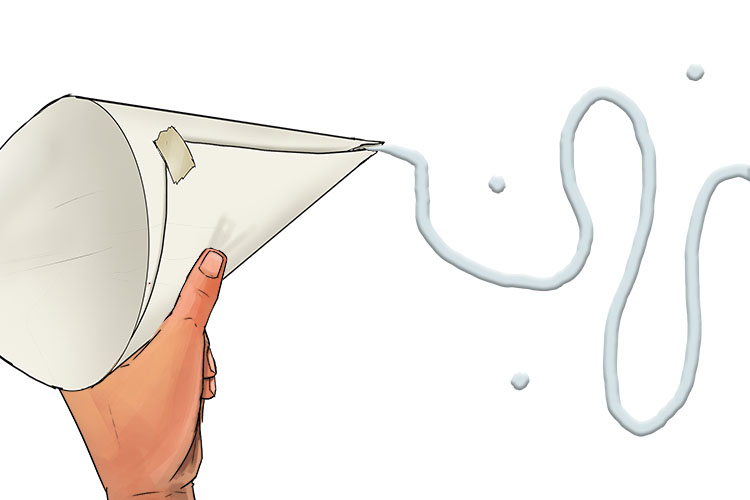
You may need to practice using your canting first on some scrap paper so you know how quickly the glue will flow out and can adjust the size of the hole if it's too fast or slow. Start by pouring a small amount of glue into the canting while holding it level so the glue doesn't pour straight out.
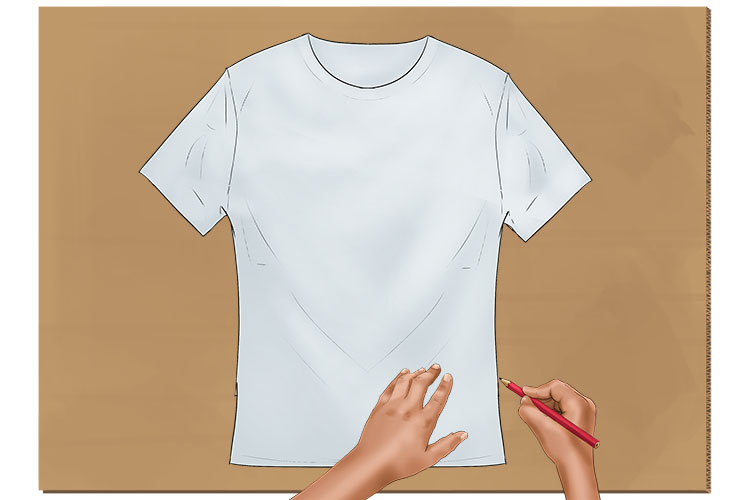
Next draw around your t-shirt onto some cardboard.
Cut the t-shirt shape out of the cardboard, this will keep the shirt ridged and make sure the glue only affects one side.
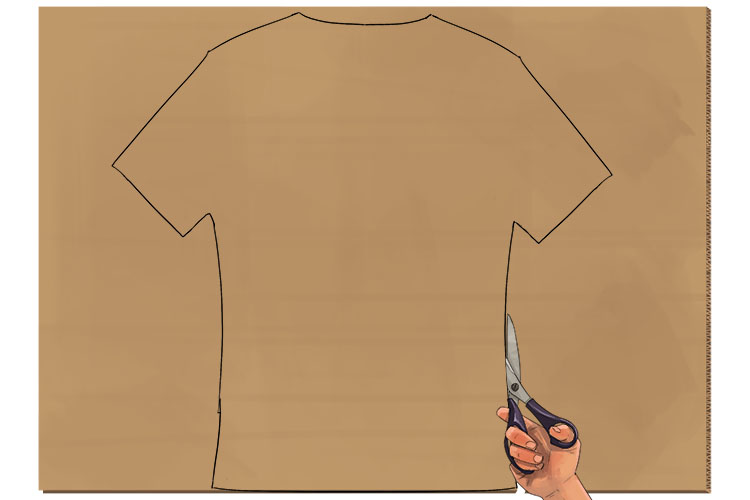
Place the cardboard inside the t-shirt.
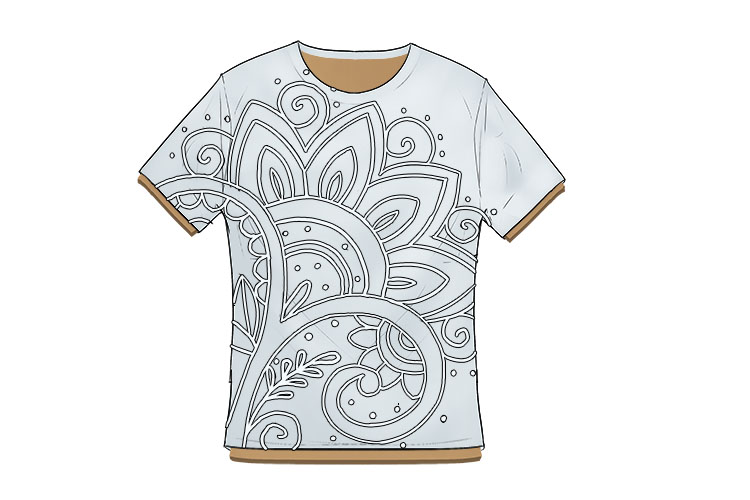
You'll now need to draw out your design in pencil on paper. This can be as abstract as you like, just make sure it's not too complicated for you to go over with glue afterwards. For our t-shirt we've created a floral design as traditional batik work often featured floral imagery.
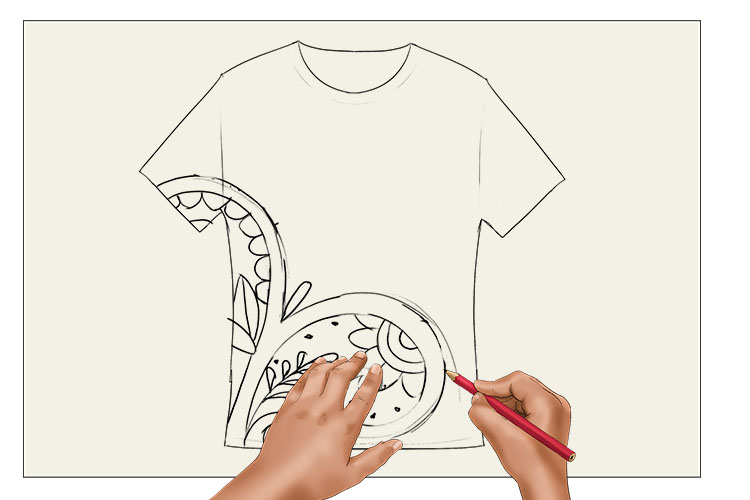
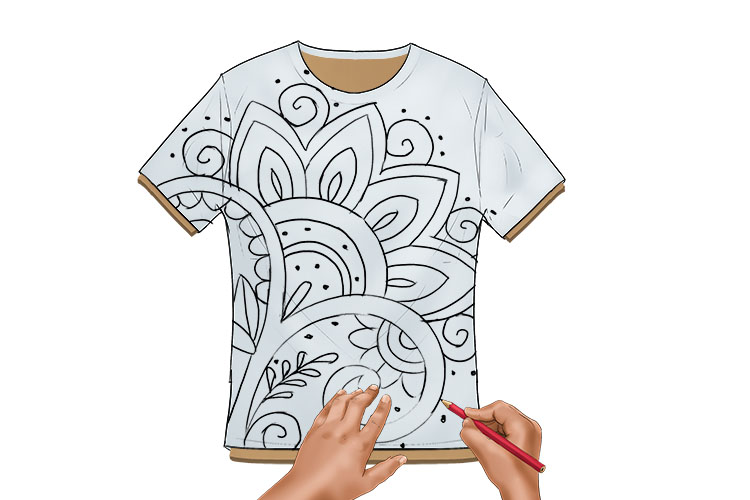
Once you're happy with your design, copy it onto your t-shirt using a pencil.
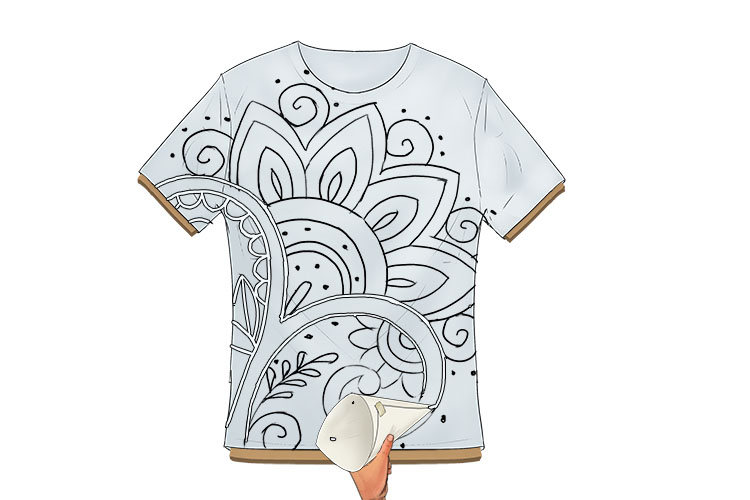
Now using your canting, follow the pencil lines with the PVA glue. Once you've traced all the lines in glue, leave it to dry.
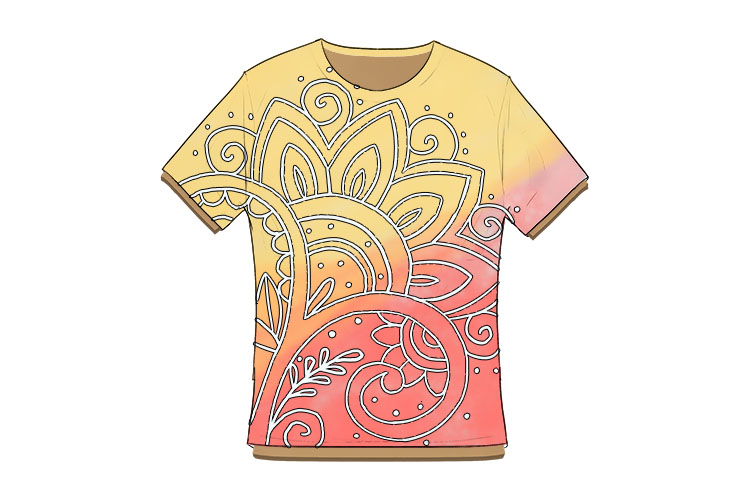
Once the glue has dried, you can either paint the t-shirt with your coloured dyes, or submerge the t-shirt if you only intend to use one colour.
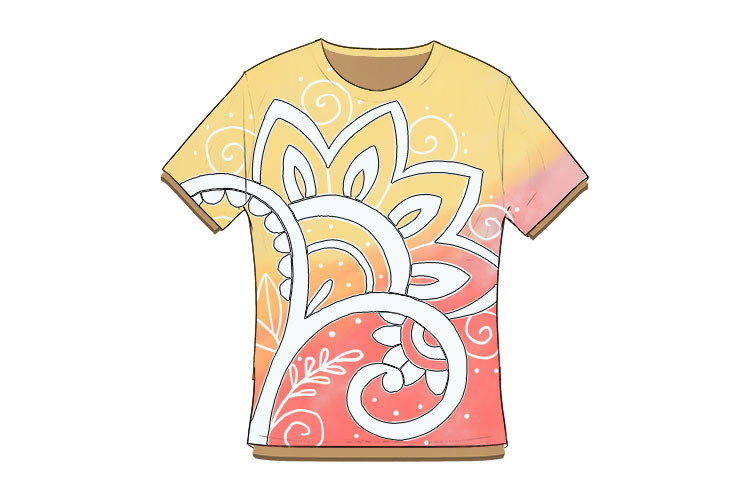
When the dye has dried you can wash the glue off in a sink using hot soapy water.

To add more colours and detail to your design you can add more glue to areas of the pattern.
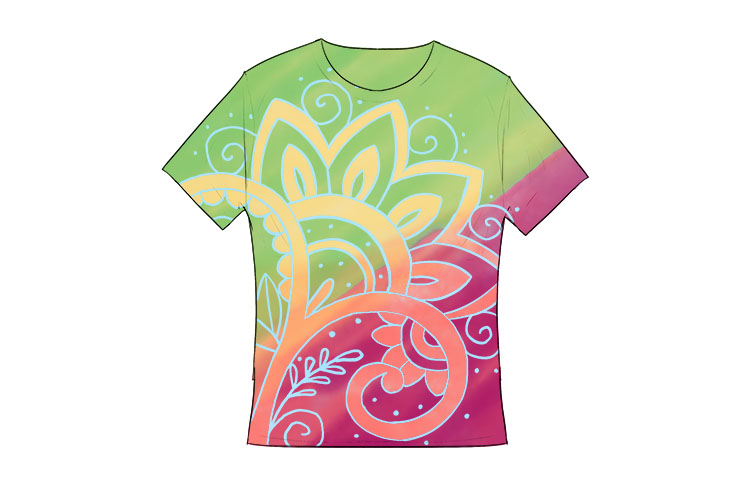
Next you can add your second layer of dye using the same process as before. The main difference here is that the end result will be a mixture of the two dye colours. Below we have painted blue dye onto the t-shirt which has turned our red and yellow into green and purple.
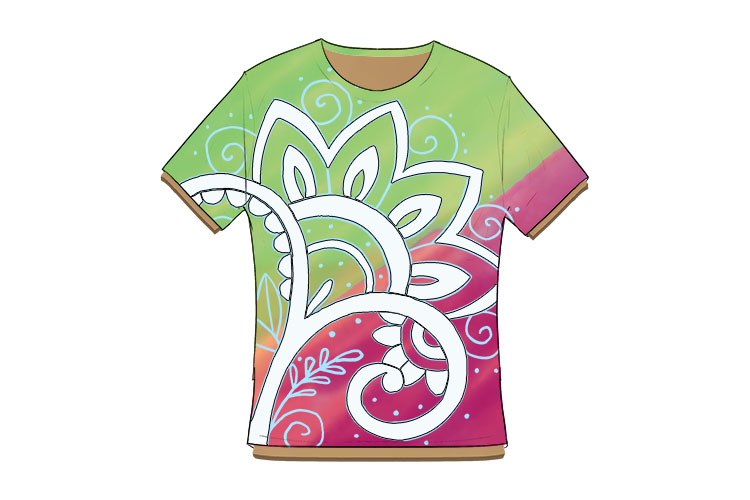
Wash off the glue again using hot soapy water to reveal your final design.
Batik.


