
Crazy Patchwork – Randomly shaped patches of fabric stitched together and often embellished with embroidery stitches
To remember what crazy patchwork is, recall the following mnemonic:
These crazy patches need a lot of work (crazy patchwork) to put together.
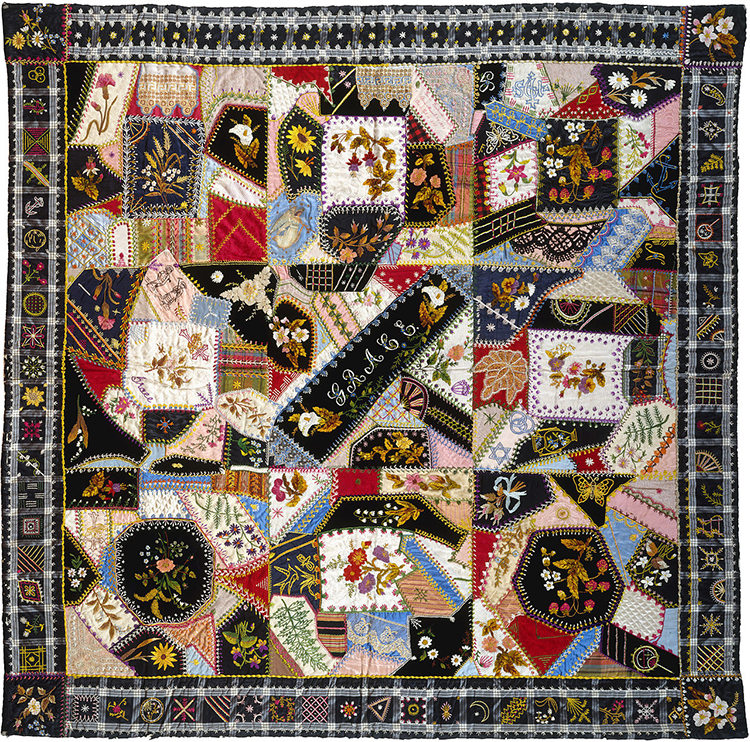
This decorative crazy patchwork quilt was made in 1877. Crazy quilts gained popularity in the late 1800s, most likely as a result of the English needlework and Japanese art presented at the Philadelphia Centennial Exposition. Wealthy women would often create crazy patchwork pieces to show how much free time they had by being able to afford to hire people to do chores for them. These would often be made of scraps of fabric from dress or quilt making.
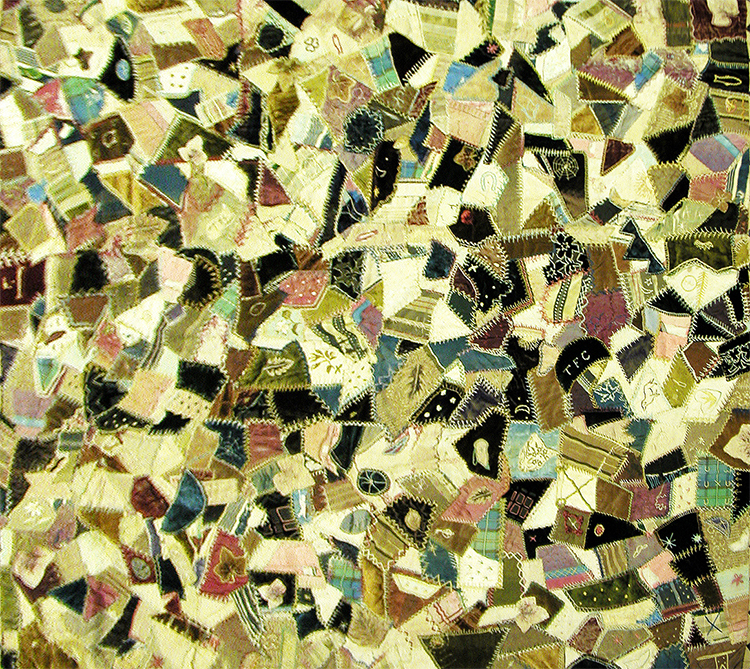
Victorian-Contemporary Age-European and British-art and design period; 1953. This quilt is huge at 204cm by 200cm and would have taken hours to create. The whole quilt isn't pictured here, but it is bordered by heavy blue velvet. The use of different embroidery stitches in both example pictures adds another layer of fine detail to each piece.
Crazy Patchwork Project
For our project we won't be creating anything as huge as the quilts above as pieces like that take years to master and hours to create.
You will need: lots of scraps of fabric (any size and shape, but larger than 5cm is best), some pins, scissors, a ruler, needle and thread, embroidery thread and a piece of fabric for the backing (30cm by 30cm). You can also find some beads or buttons for embellishments.
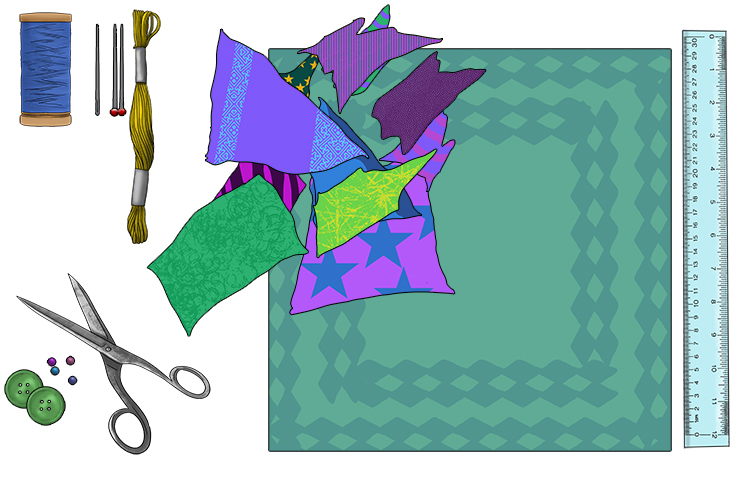
Start by figuring out which piece of fabric should go where. See if there are any pieces which fit together without cutting, but don't worry if you have to cut everything before it'll fit. You can also overlap the pieces if you'd like. You want this rough square to be just larger than 30cm by 30cm so it is large enough to fit on the backing piece. Once you sew the two together, any extra fabric will be on the inside and not on view.

You can use any type of stitch to attach the piece together. We have chosen a whip stitch but you don't need to try to have a uniform style, or worry about having to hide stitches like you do with other styles of quilting or patchwork. The only thing you really have to keep in mind is keeping the pieces flat, so make sure they don't get wrinkled or bunched up as you stitch. It's a good idea to check as you go that everything is still flat.

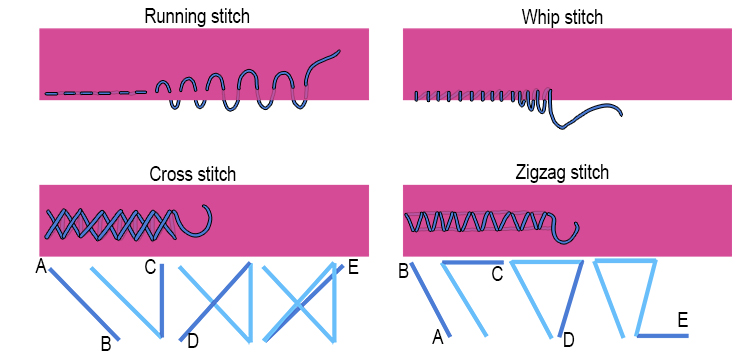
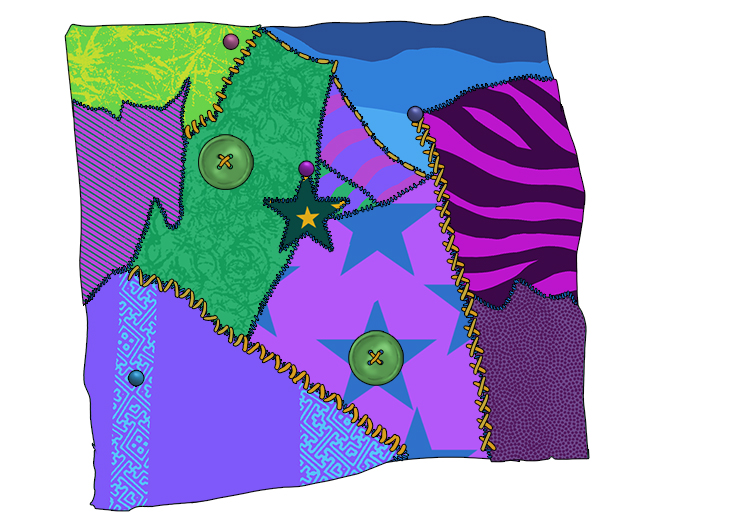
Once all your pieces have been stitched together, try adding some embroidery style stitching along the seams with a thread colour that will stand out from your fabric. Below are some examples you could use.

Add any embellishments you have.
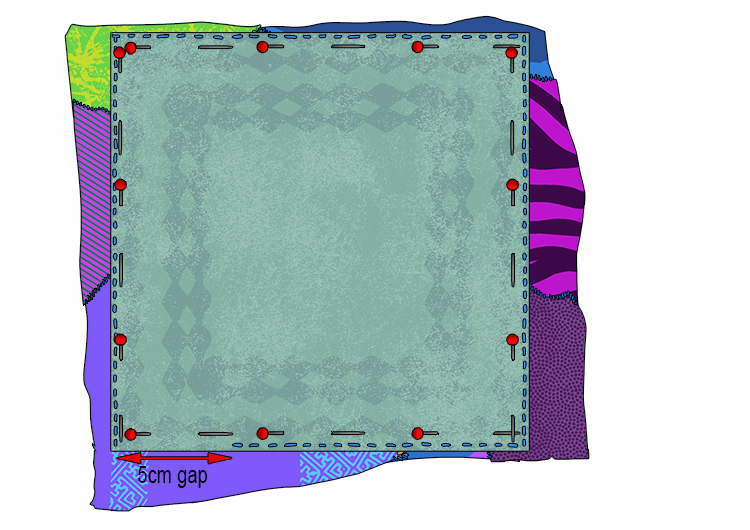
Place the patchwork square and the backing fabric facing each other and pin them together to make sure they don't move when you are sewing the pieces.

Sew the pieces together using running stitch, but make sure you leave a 5cm gap in the stitching along one edge so you can turn the pieces back round the right way.
Make sure you secure the thread so it doesn't come apart when you turn it around the right way. You can now remove the pins. Feed the fabric through the hole so your design is on the outside again.
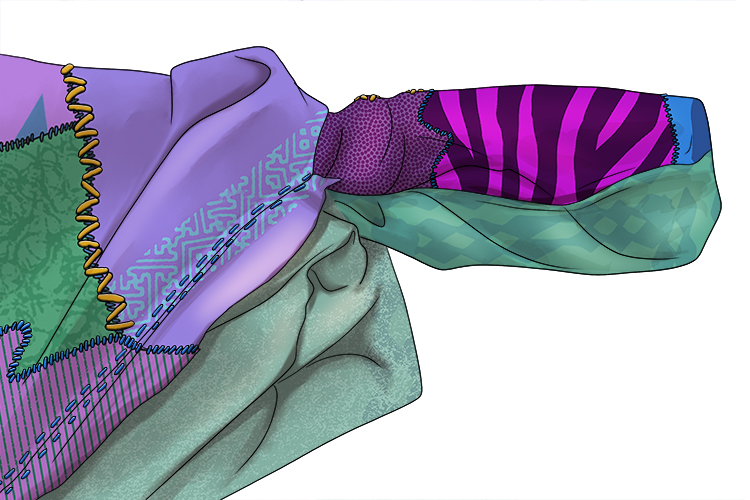
Sew up the 5cm gap and your crazy patchwork square is all finished!
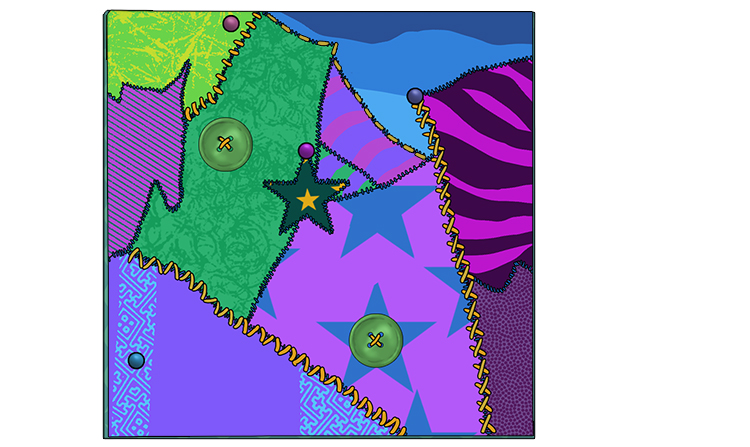
Crazy patchwork.


