
Tonal Drawing – A technique of drawing that dispenses with outlines, creating instead areas of light and dark which represent reality better than outlined edges
(Pronounced tohn-l)
To remember what tonal drawing is, recall the following mnemonic:
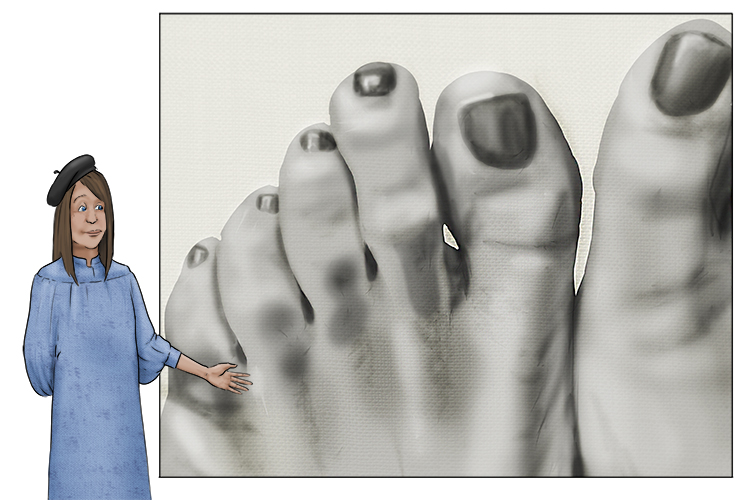
The toes are phenomenal (tonal) – she drew them in various tones and not giving them an outline makes them so much more realistic.
Tonal drawings use variations of tone to show form rather than outlines. Whether gradual or harsh, the changes in tone allow the shapes being depicted in the drawings to appear. The method focuses heavily on light and shade, with brighter light and darker shadows resulting in striking contrast in a finished drawing, but subtle light allowing for a softer, more accomplished piece. As there are no outlines in the world around us, tonal drawings allow forms to be shown in a realist style.
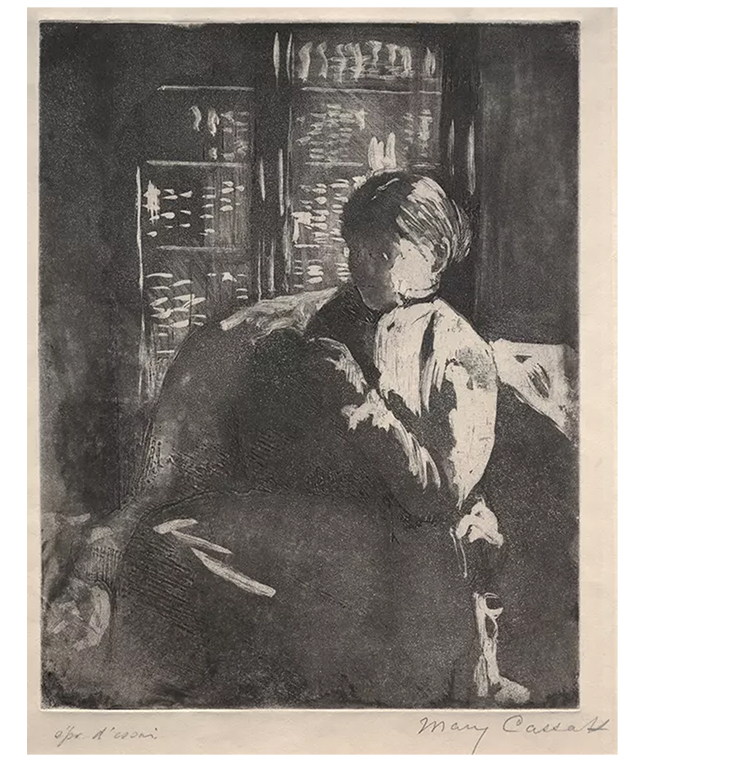
Mary Cassatt, Knitting in the Library, 1988
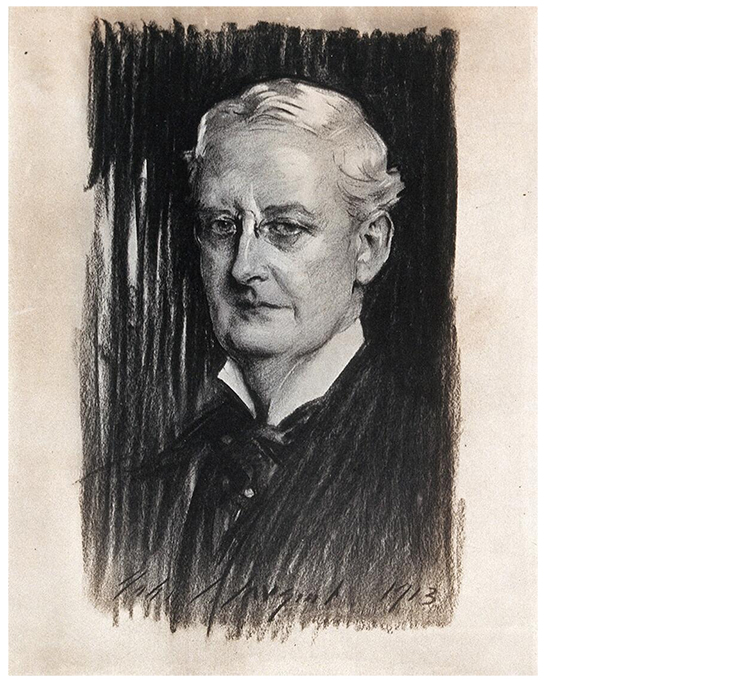
John Singer Sargent, Sir St. Clair Thomson, 1913
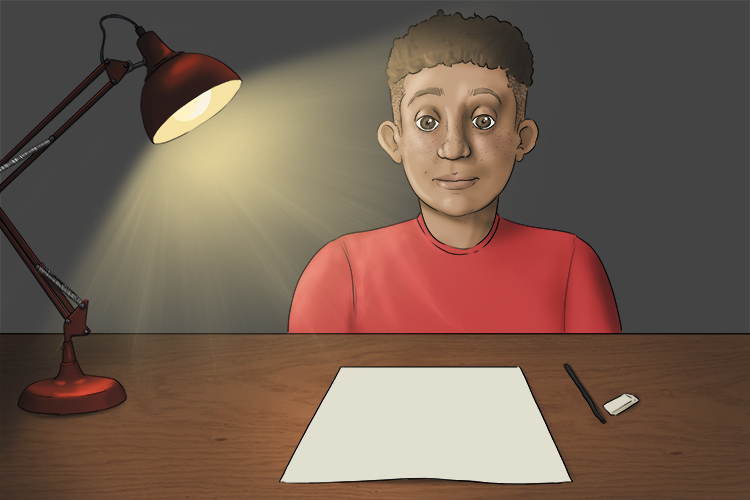
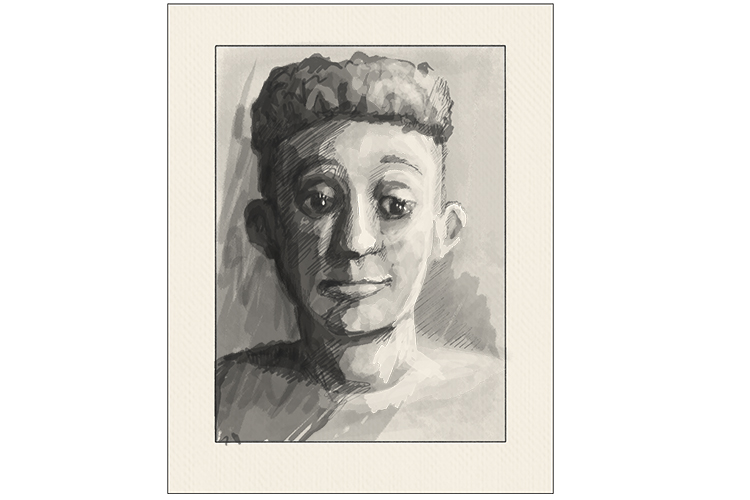
Tonal Drawing Project
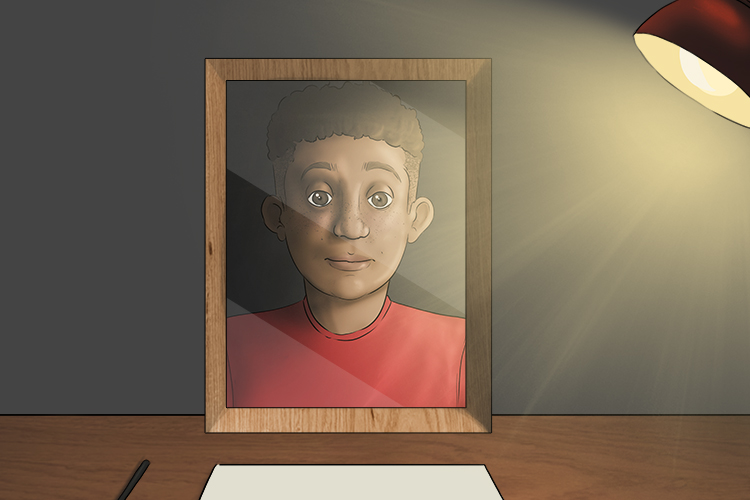
In order to create a tonal drawing, you first need to prepare an area in which to do so. You will need a lamp, a mirror and your pencil (or charcoal), an eraser and paper. Turn out the lights and position a lamp to one side of you. This will offer enough light to draw, but also cast a strong shadow on one side of your face.
Place the mirror in front of you, so you have a clear view of your reflection.
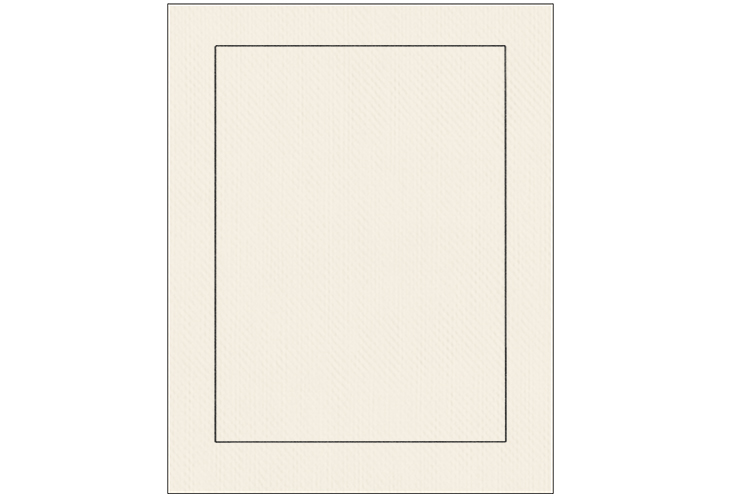
Start by drawing a square, rectangle, circle, or whatever shape your mirror is onto your paper. This will give you the bounds in which to complete your drawing, and it will help you later on when positioning marks.
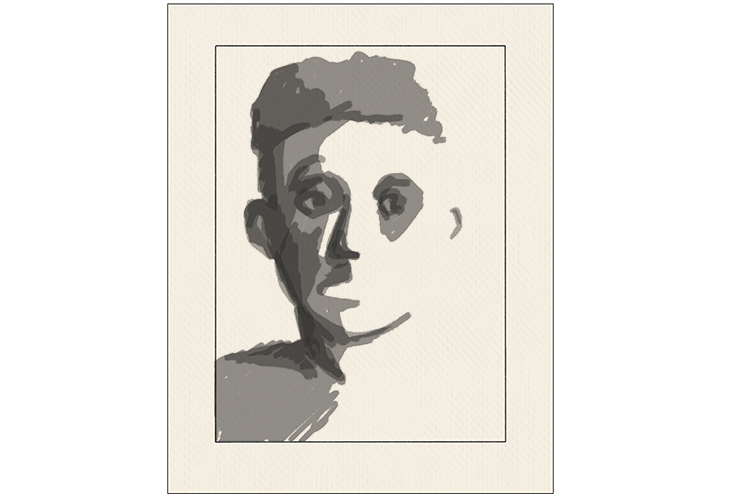
When you see yourself in the mirror, the light should be hitting one side of your face, casting a shadow on the other. If you squint and blur your vision, you may find it easier to see the rough blocks of tone.

Rather than focusing on detail, the rough areas of light and shade are the best starting point for this tonal drawing. Refraining from using outlines, shade the larger areas of shadow that you see in your reflection. Don't press down too hard as this will be a guide for more detail to be added.

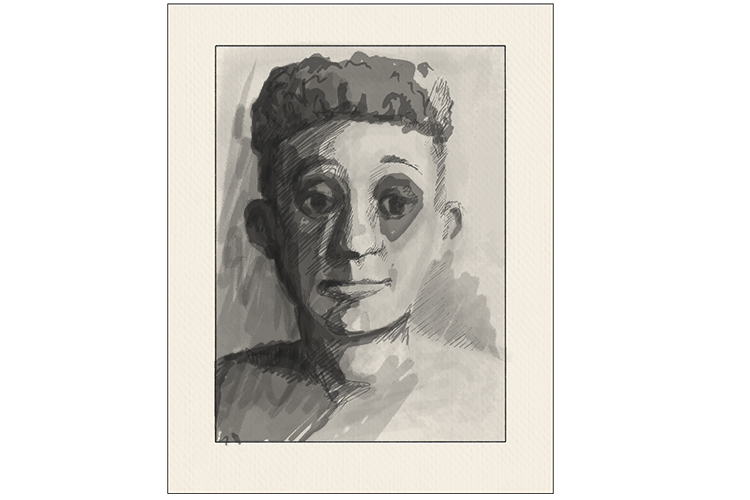
You can now work into the drawing with a little more precision. Again, without the use of outlines, try to pick out slightly smaller variations in tone, these will pick out areas like the eye sockets, cheek bones, lips etc.
By this point, you will now be in a more comfortable position to add finer details to your image with your pencil or charcoal. You can begin to make the darkest areas darker. Tonal drawing is a study of light, so take time to observe the way light is creating the more precise, subtle shadows on your face.
To add a finishing touch to the work, any areas within the dark that catch the bright light can be picked out with an eraser. This is often areas like the reflections in your eyes, light falling onto your eyelashes, the cheekbone and the nose. The eraser can also be used lightly, to make any areas that appear too dark, lighter. We have used an eraser on the cheeks and eyelids on our drawing.
Tonal Drawing.


