
Fresco – Painting done rapidly in watercolour on wet plaster so that the colours penetrate and become fixed as the plaster dries
(Pronounced fres-koh)
To remember what fresco means, recall the following:
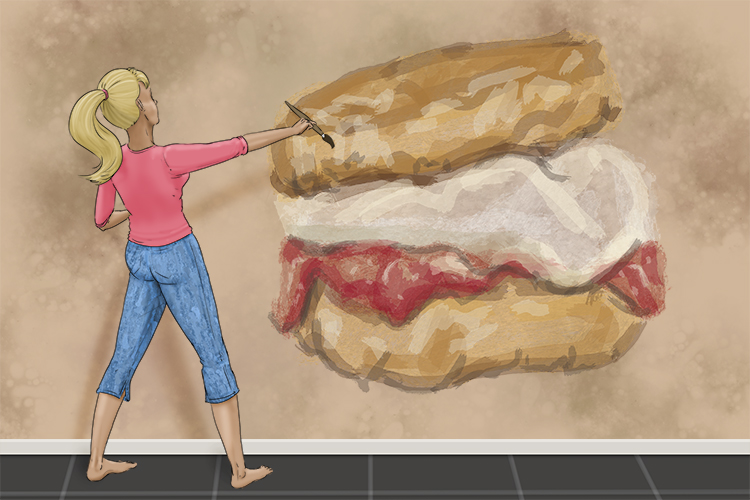
She painted a giant fresh cream scone (fresco) on her kitchen wall straight onto the plaster. The plaster wasn't even dry yet.
Note: You have to pronounce scone the 'posh' way (rhymes with bone) to make this work.
Many famous works of art are in fact frescos, painted directly onto wet plaster – The Creation of Adam in the Sistine Chapel, and Da Vinci's The Last Supper to name just two:
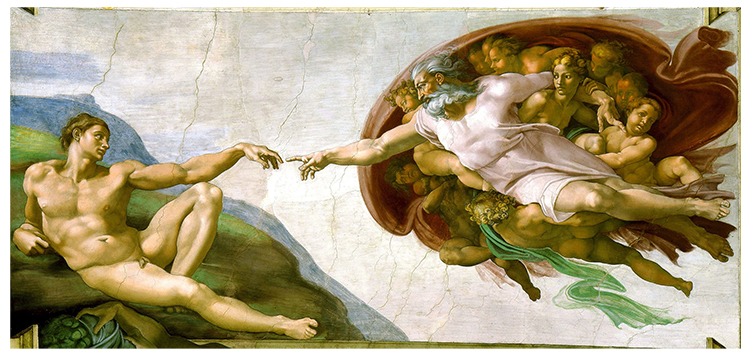
Michelangelo, The Creation of Adam, 1512
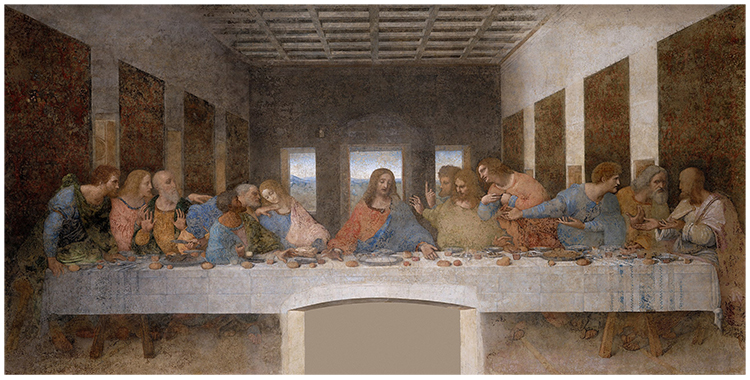
Leonardo Da Vinci, The Last Supper, 1490s
Fresco Art Project 1
It's easy to produce a fresco-style artwork yourself.
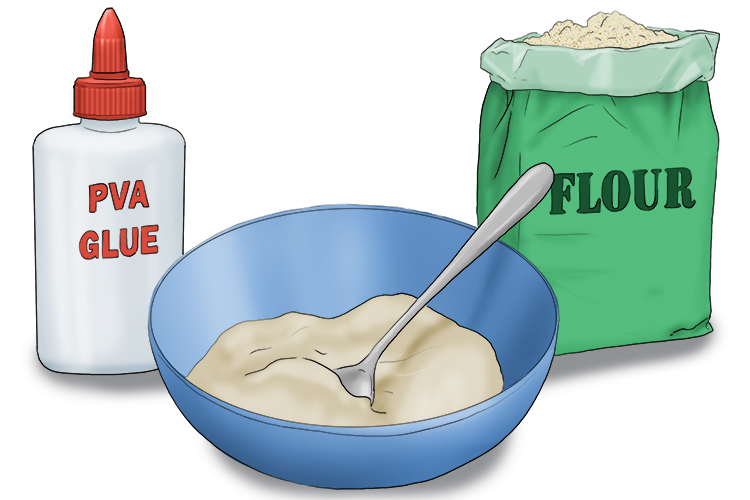
To start, you need to create a plaster substitute. This is easily done using flour, water and glue.
Mix together 2 cups of flour, 1 cup of water and ½ a cup of white (PVA) glue in a bowl.
Line a shallow tray or bowl with baking parchment and pour the mixture into it.
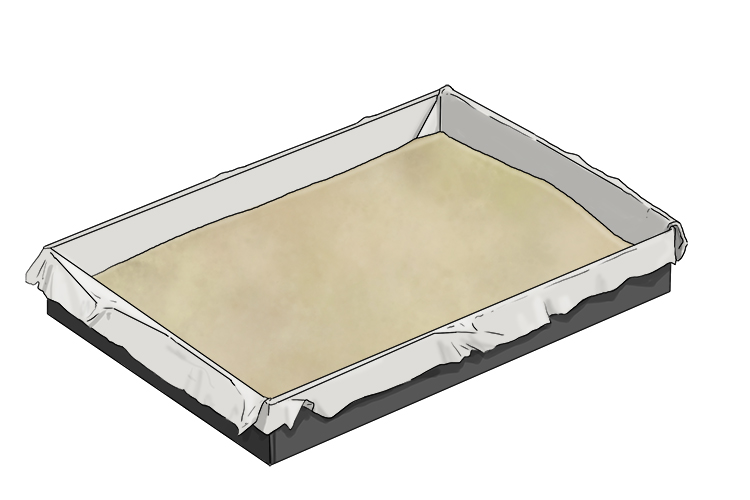
Allow the mixture to dry for around 6-8 hours, but not completely.
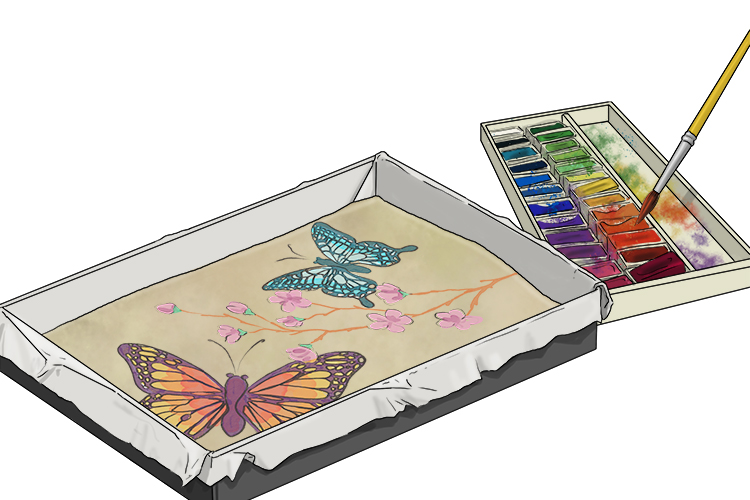
The semi-firm consistency can now be painted on using watercolour paints.
Paint an image of your choice, carefully to avoid stabbing the brush into the plaster. You want the paint to soak into it.
We have opted for a painting of colourful butterflies:
Leave to harden for four more hours and your painting will have dried as part of the plaster.
Take the plaster panel out of the tray and peel the parchment off the back.
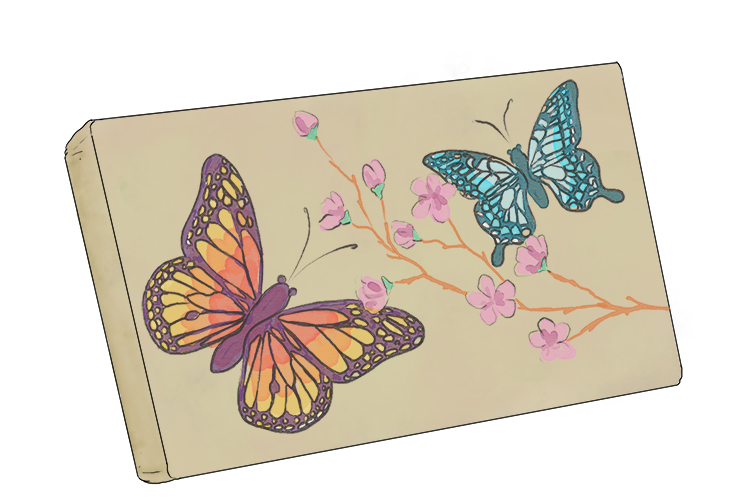
You now have your very own fresco tile painting.
Fresco Art Project 2
Another method of producing a fresco painting was widely used by the classical painters such as Michelangelo. The process involves using a pin to prick an outline into the wet canvas to mark an outline of the image you are producing.
To begin, start in the same way as the previous project by mixing the flour, glue and water.
Line a shallow tray or bowl with baking parchment and pour the mixture into it.
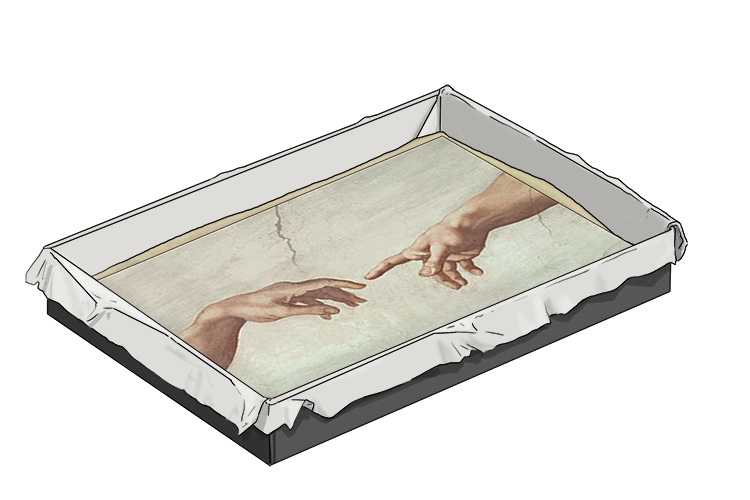
This is the stage at which you deviate from the previous process. You need to find an image you want to transfer onto your fresco. As Michelangelo was known for using this technique, we have opted to use the hands from his painting The Creation of Adam.
Print out your image so it fits onto your plaster and lay it on top as shown below.
While your image is laid on top of the semi-dry plaster, take a pin and pierce holes around the outline of the picture.
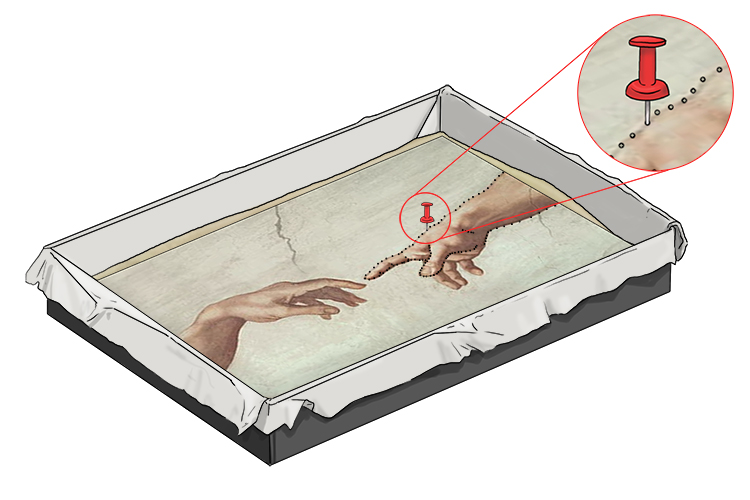
Continue pricking the pin through the paper and into the plaster until your whole outline is complete. Your dots can be closer together in more detailed areas and further apart along straighter lines.
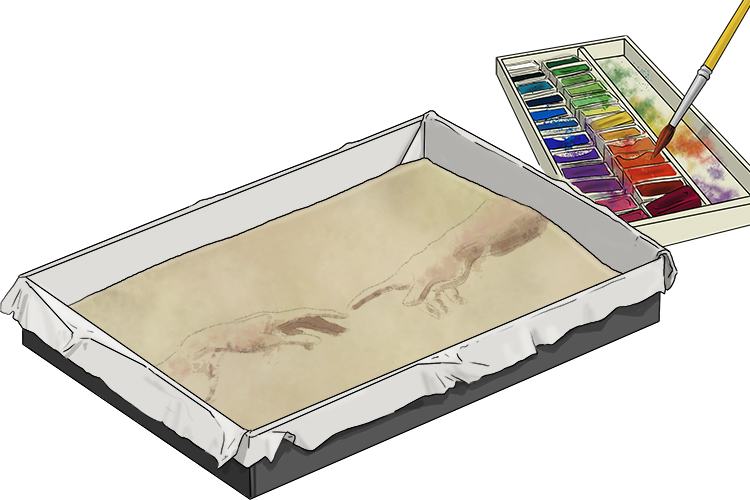
Once you have finished, remove the sheet of paper with the image on to reveal your pierced outline in the plaster.

You can now use your pinpricks as an outline to paint your tile. You may wish to join them up with a brush and paint to create a physical outline to paint up to.
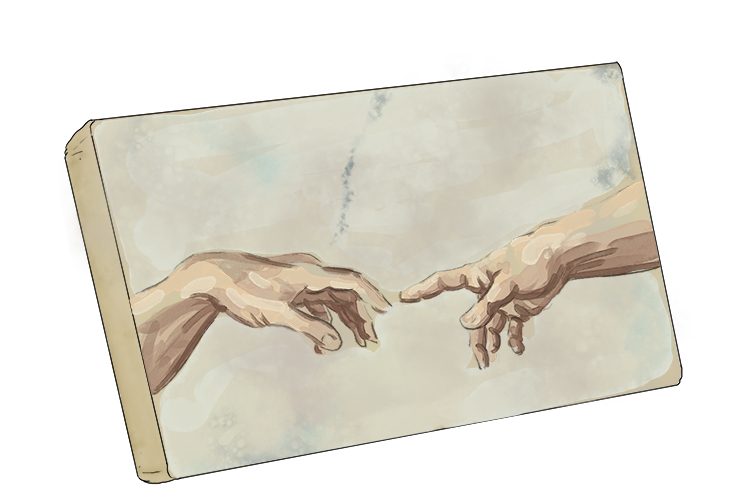
Finish your painting and allow it to dry completely with the plaster for around 4 hours.
Once dry, turn it out of the tray and remove the paper, revealing your completed Fresco plaster tile:
Fresco.


