
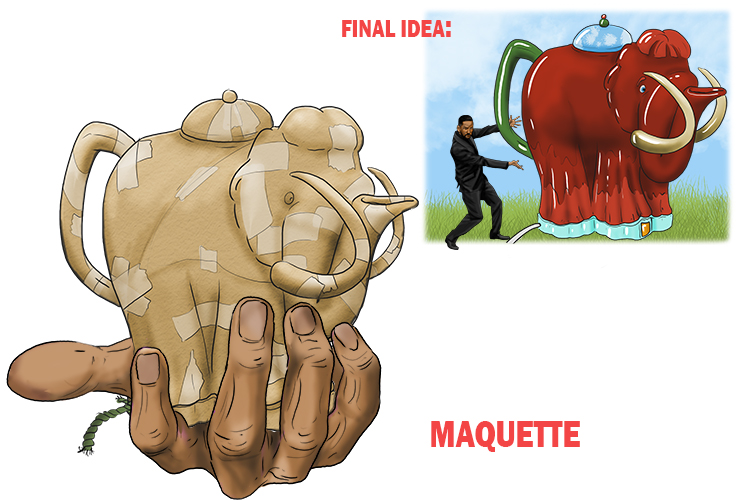
Maquette – A small-scale model or rough draft of an unfinished sculpture
(Pronounced mah-ket)
To remember the meaning of maquette, recall the following:
Before the sculptor started his mammoth kettle (maquette), he made a smaller model as a prototype.
Maquette Project
Any famous sculpture you are familiar with will almost certainly have had a maquette before it was made. In order to try out building a maquette yourself, we have created a step-by-step method to building one for Antony Gormley's Angel of the North.

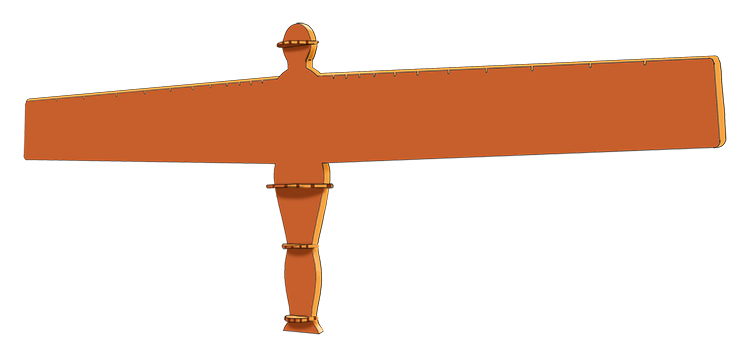
Antony Gormley, The Angel of the North, 1998
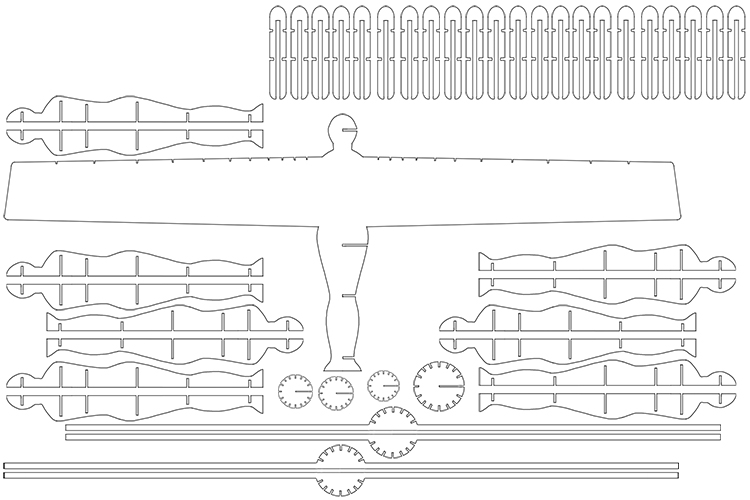
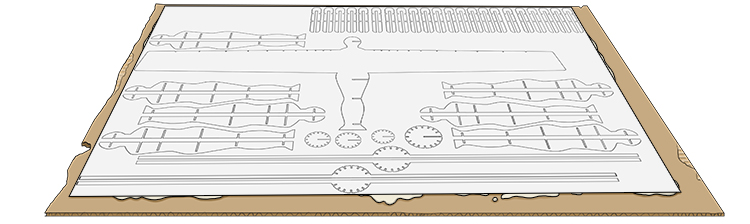
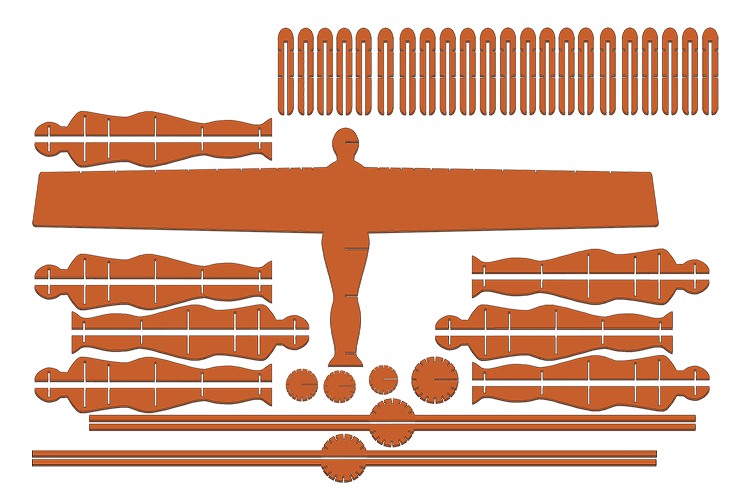
To begin you need to find some cardboard around 1mm to 2mm in thickness and print out the template we have created. You can find the printout for out template here and print it out in A3 size (don't worry if it prints onto two A4 pages as you will be sticking it onto the card).
Once you have your template printed out in A3, spread PVA glue evenly over your cardboard and lay the template on top. Ensure the template is fully stuck to the card and leave it to dry firmly.
When dry, you can carefully cut each of the pieces. Take your time with this and cut it safely, either with scissors, or extremely carefully with a craft knife on a cutting board.
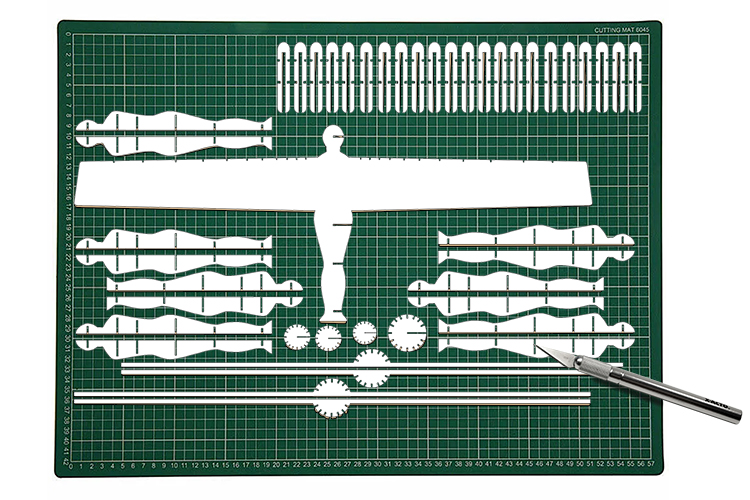
Paint each section a simple colour to avoid having a white side and a card side.
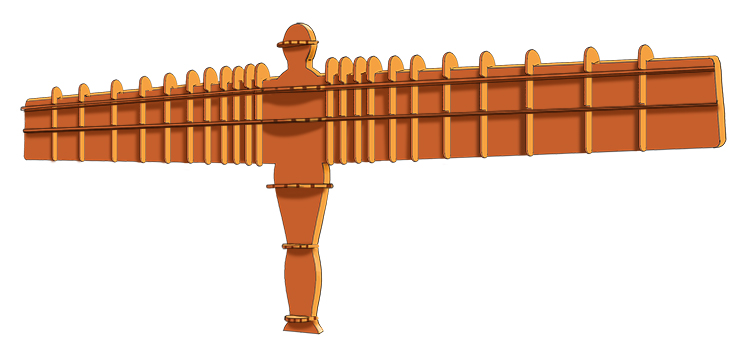
It is now time to start assembling the maquette.
First slide the four round discs onto the large, winged piece. The smallest disc fits the ankle slot, the middle sized two for the knee and head slots and the largest disc fits the hip slot.
Now slide all 22 of the vertical struts over the wings of the angel.

Use the slots in the vertical struts to hold the four horizontal struts with half-discs in place, the longer horizontals at the bottom and the shorter at the top (front and back).
The half discs complete the six slots that each of the 14 half-silhouettes fit into as shown below.
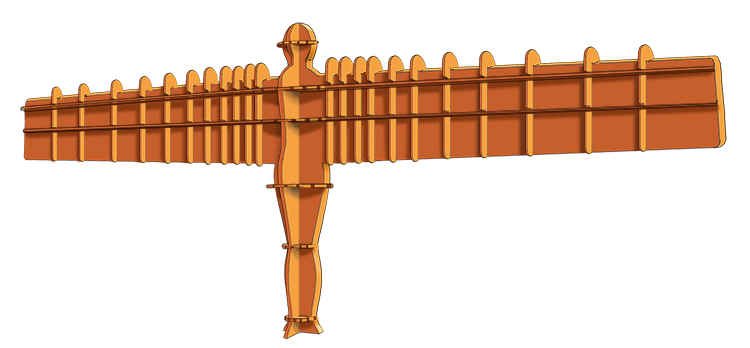
Continue slotting the half-silhouettes into place around the whole structure until your Angel of the North maquette is complete.

Maquette.


