
Portfolio – the body or collection of work done by an artist
The people at the port focused on the man in the leotard (portfolio). He had a large body and he was trying to work (body of work).
A typical portfolio of work for a years school work may include drawings, paintings, photography, digital media, design, three-dimensional work, web design, animation, video and almost any other type of artwork. To keep this together some artists at least keep the photography, sketches and drawings in a portfolio holder.
Here below are typical art pieces that are created by art students in their last academic year before the exam.
Drawings
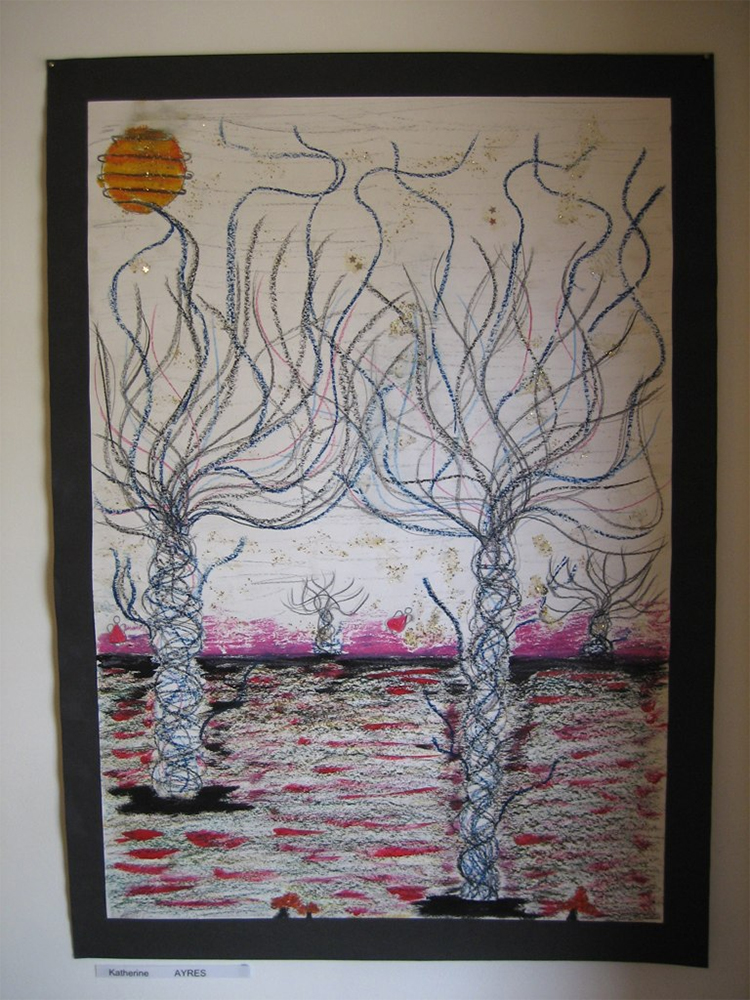
"GCSE Art" by cornerhouse is licensed under CC BY 2.0.
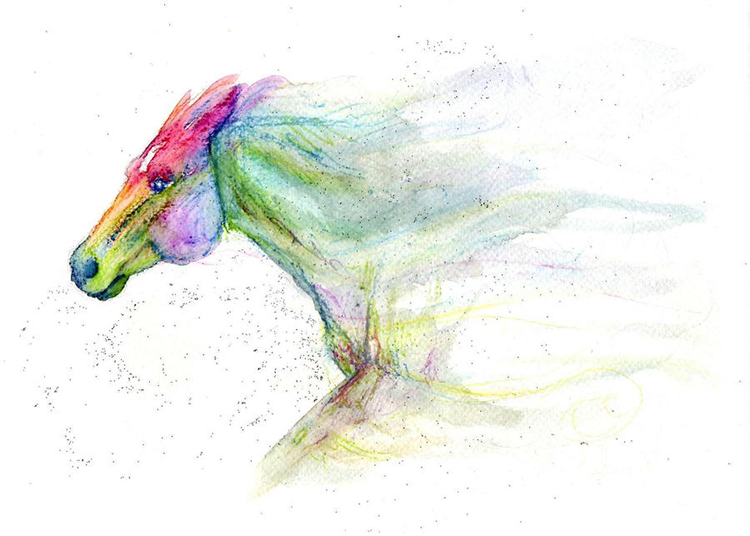
Paintings
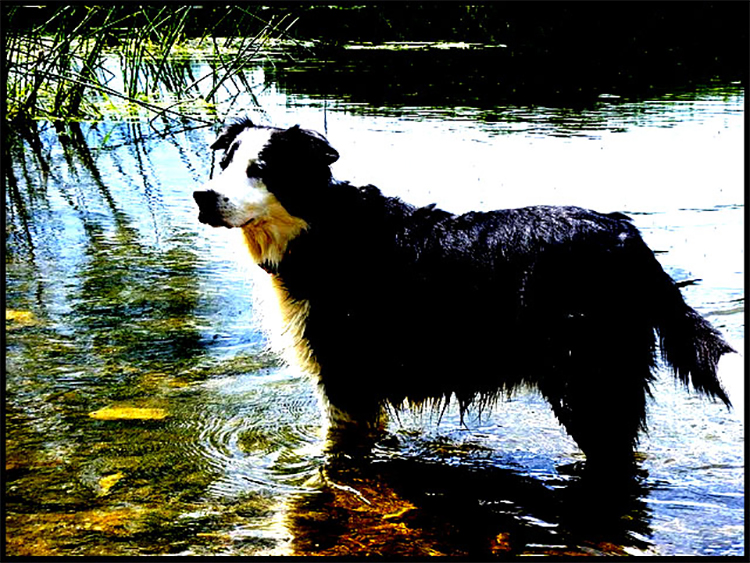
Photographs
Digital Media

Sculptures
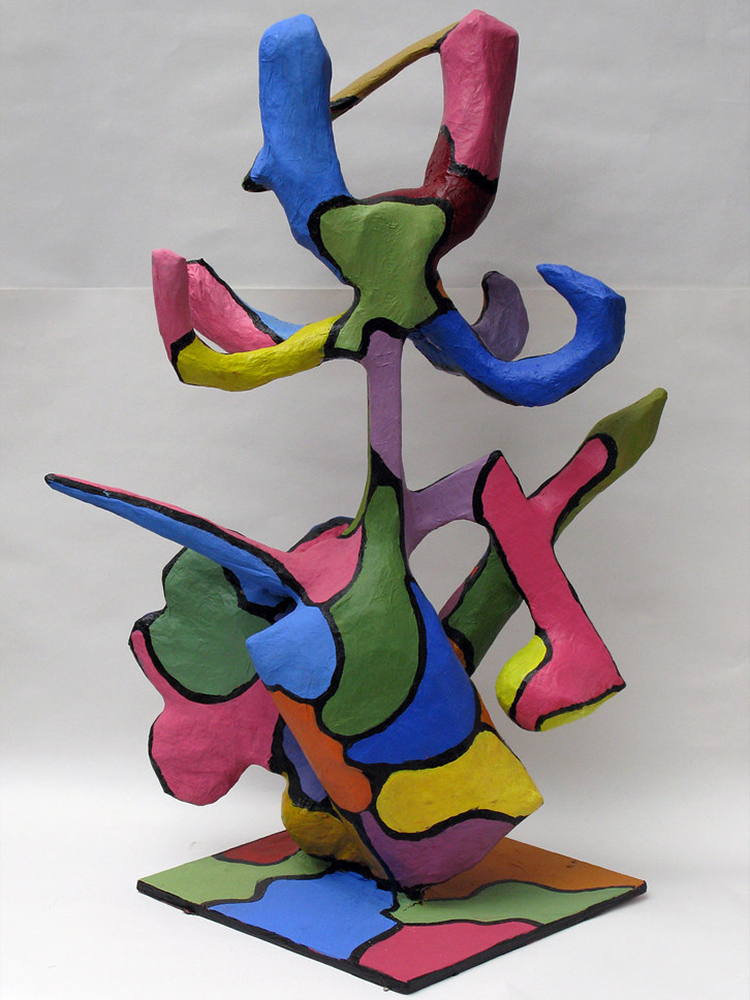
"Y11_GCSE_2008-016" by Fortismere Art Department is licensed under CC BY 2.0.
Design
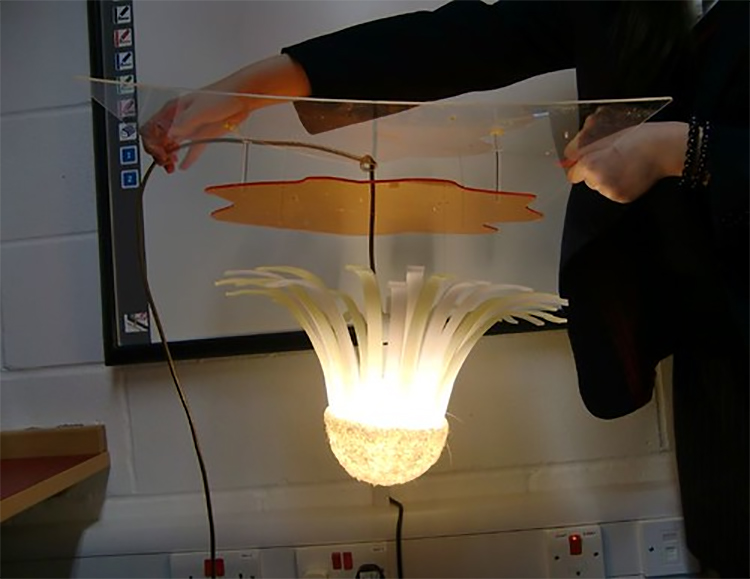
"GCSE DT WORK (side view)" by chanyeetingchristy is licensed under CC BY 2.0.
Portfolio Project
For this project we are going to create a photography and drawings portfolio holder.
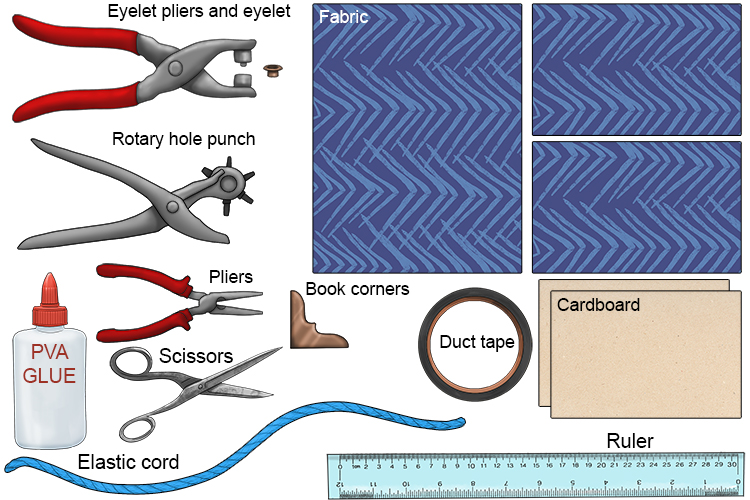
You will need: 2 pieces of thick cardboard, fabric (cotton would be best - any colour you like), duct tape, scissors, rotary hole punch, eyelets, eyelet pliers, regular pliers, elastic cord, 4 book corner protectors (can be found at most craft stores) and glue.
Each of the 2 pieces of card will need to be about 2cm bigger around each edge than the biggest piece you're going to carry in your holder. Our example will be for A4 paper (which is 30cm by 21cm), so our card would need to be 34cm by 25cm. The largest piece of fabric will need to be around 4cm larger all around than the two pieces of card laid long end to long end, so around 58cm by 42cm.
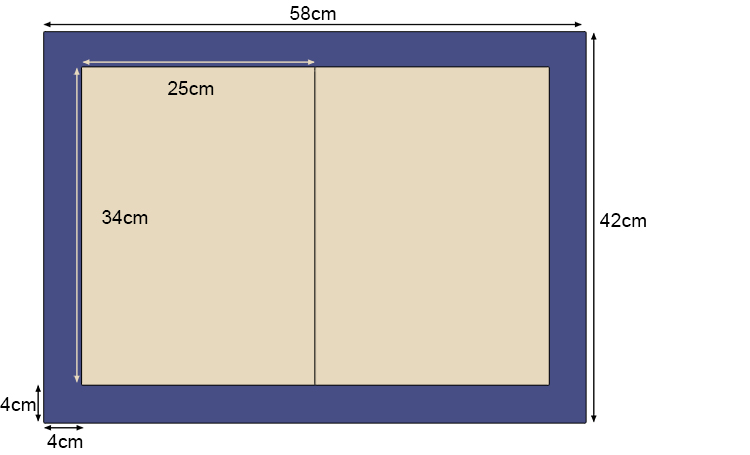
You will also need two rectangles of the fabric for the inside, these will need to be a little smaller than your card, so 33cm by 24cm each.
Start by sticking your duct tape around all the edges of your cardboard so that the duct tape is folded over and sticks to both sides. This will help protect the edges from damage. Cut off any excess.
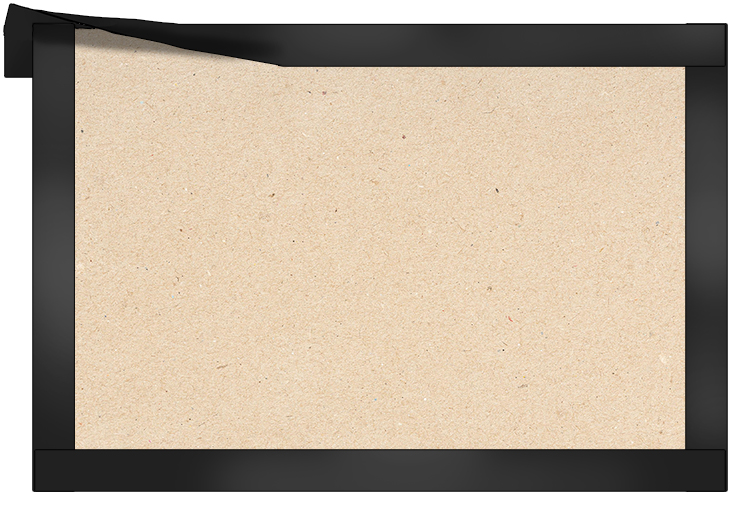
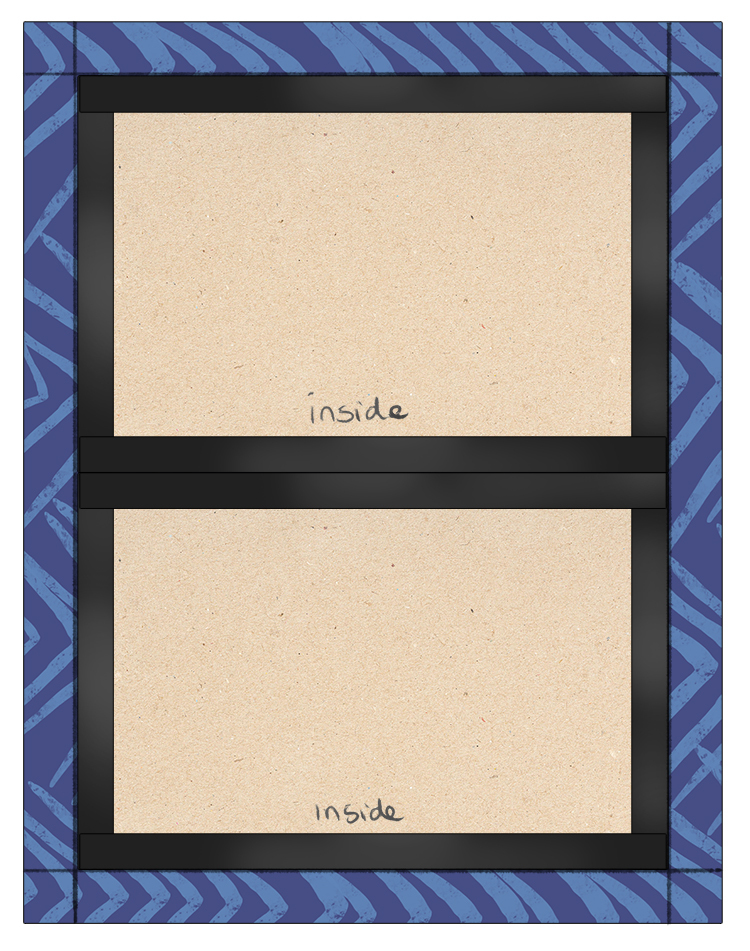
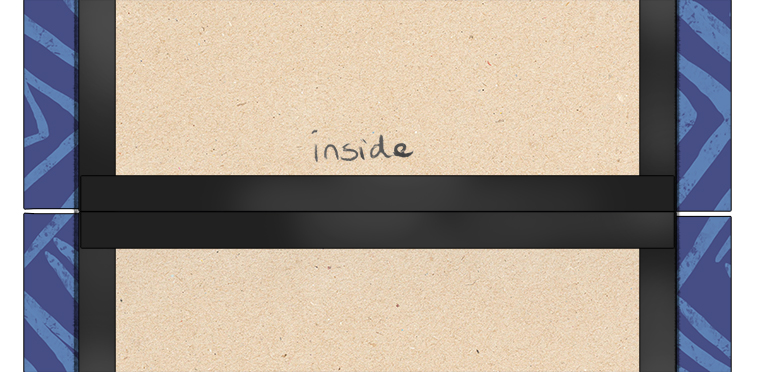
Place the two pieces of cardboard next to each other with the longest edges touching. Write 'inside' on the face of each piece of cardboard, these will become the inside of your portfolio holder.
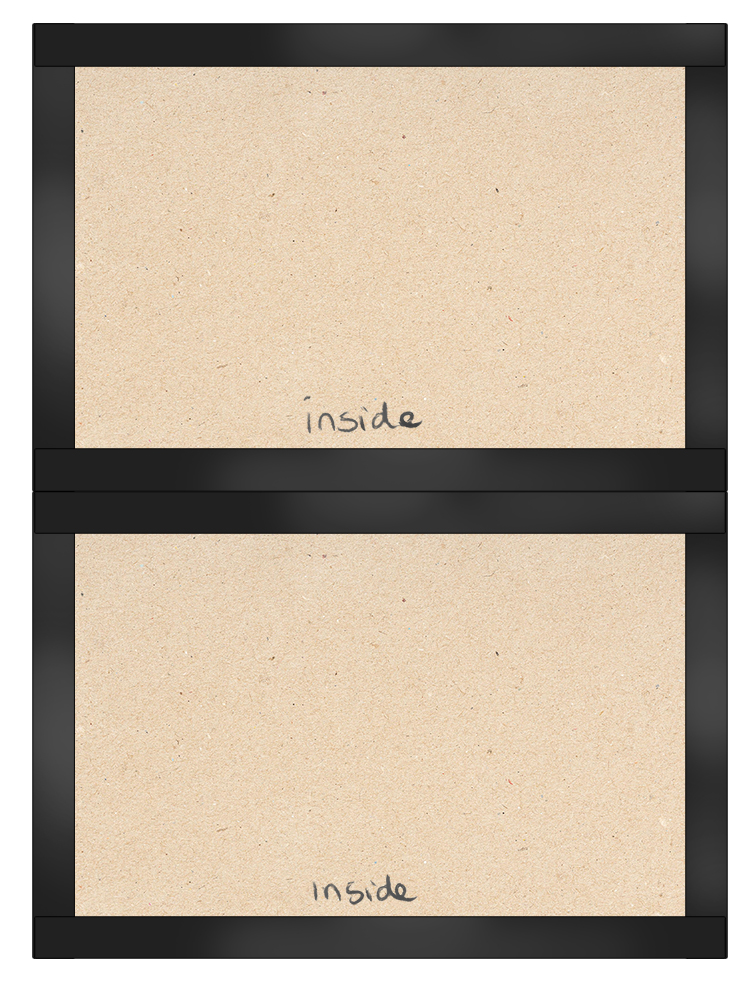
Join the two pieces of cardboard along the edge that is touching using your duct tape. Make sure to only tape along the inside of the portfolio.
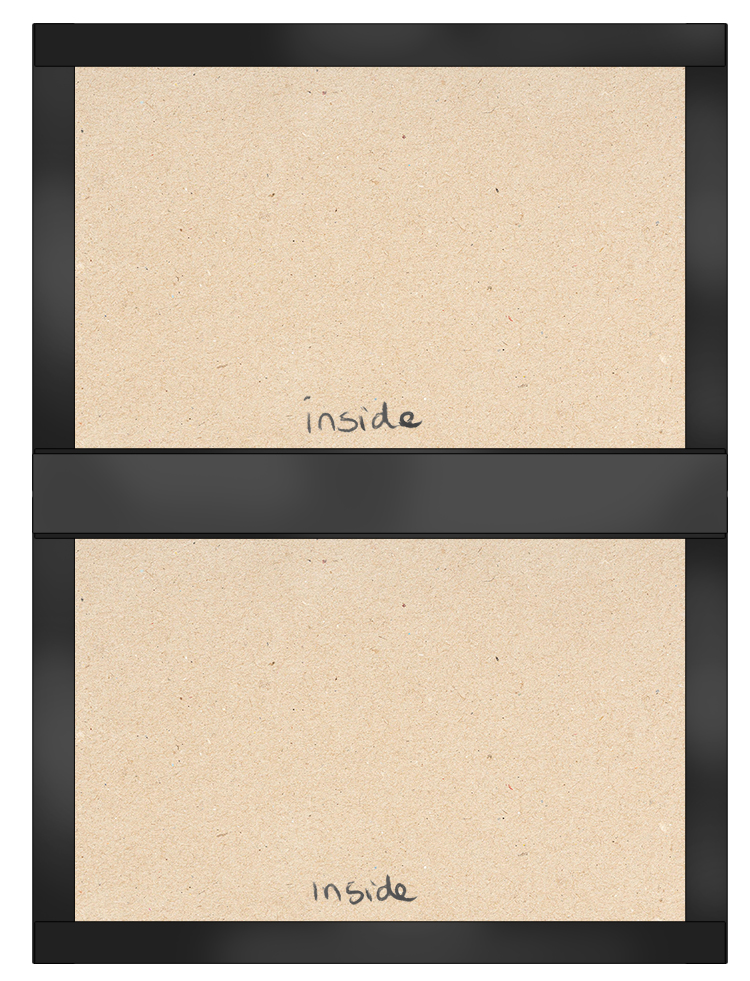
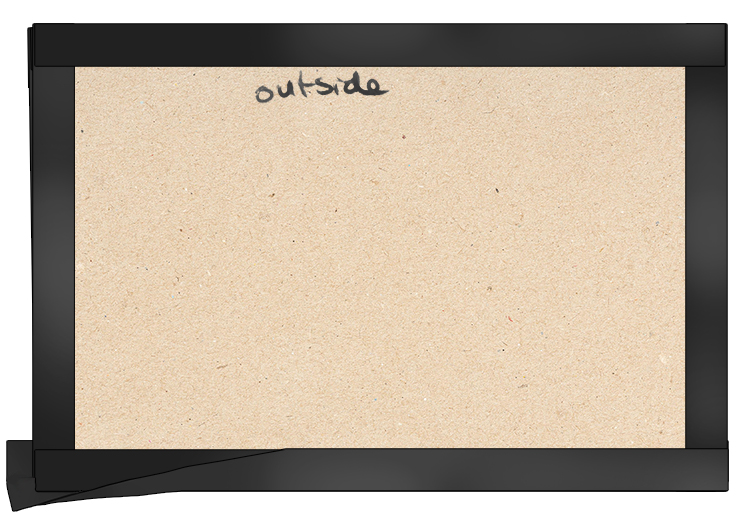
Fold the pieces of card together so the two inside faces meet. Write "outside" on the front face of each piece of cardboard.
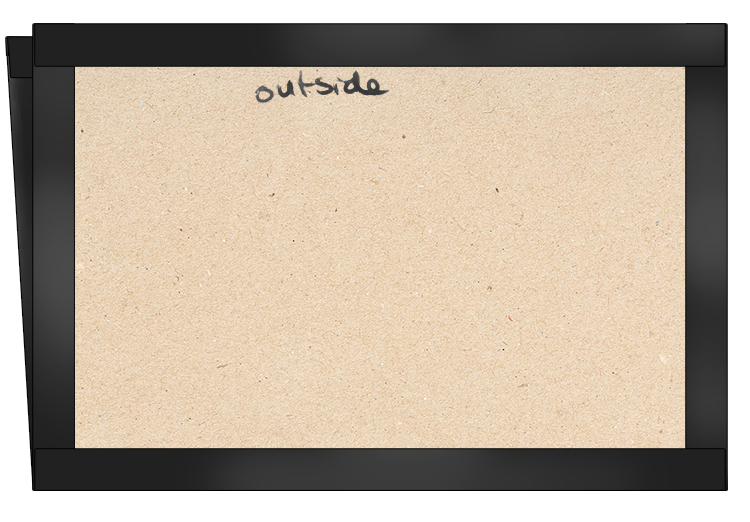
You can now tape along the outside of the edge you taped previously.
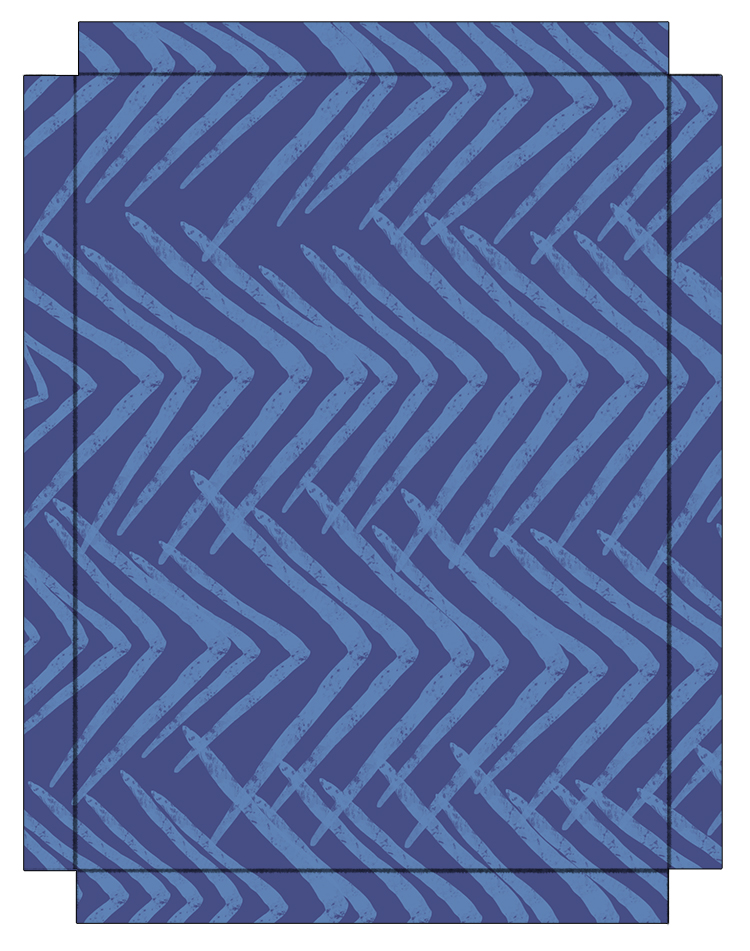
Lay the card flat in the centre of your largest piece of fabric, then draw around it, extending the lines to the edge of the fabric. Make sure this is done on the back of the fabric. This will mark out a 4x4cm square in each corner of the fabric.
Cut these squares out.
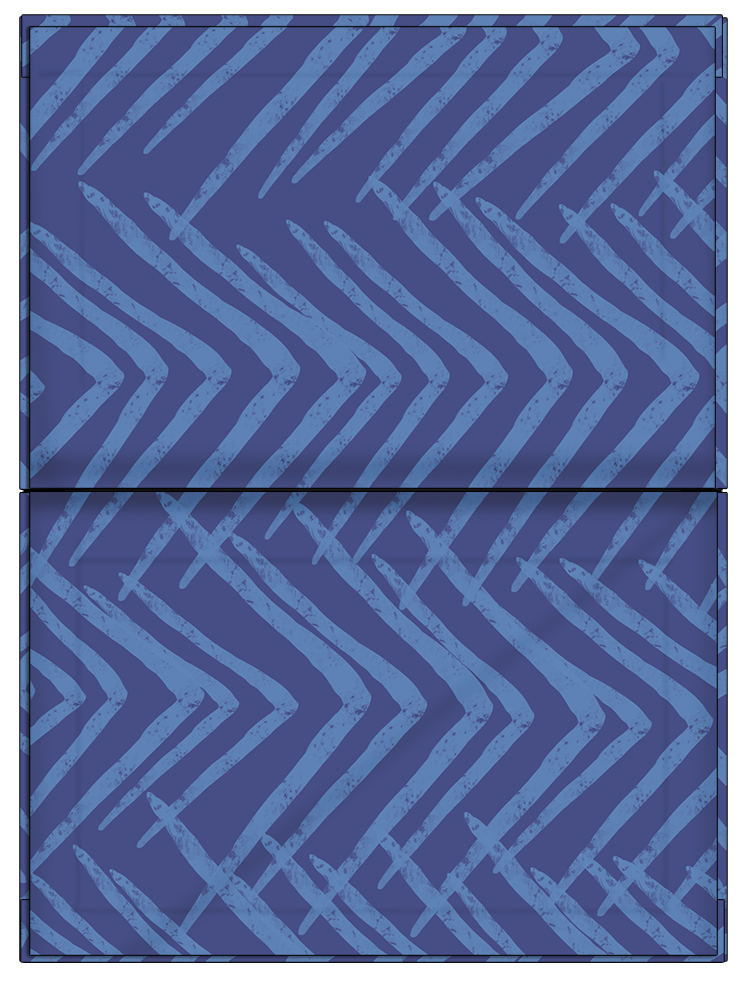
Glue the outside faces of the cardboard down onto the fabric, make sure to smooth out the fabric so there are no bumps or creases.
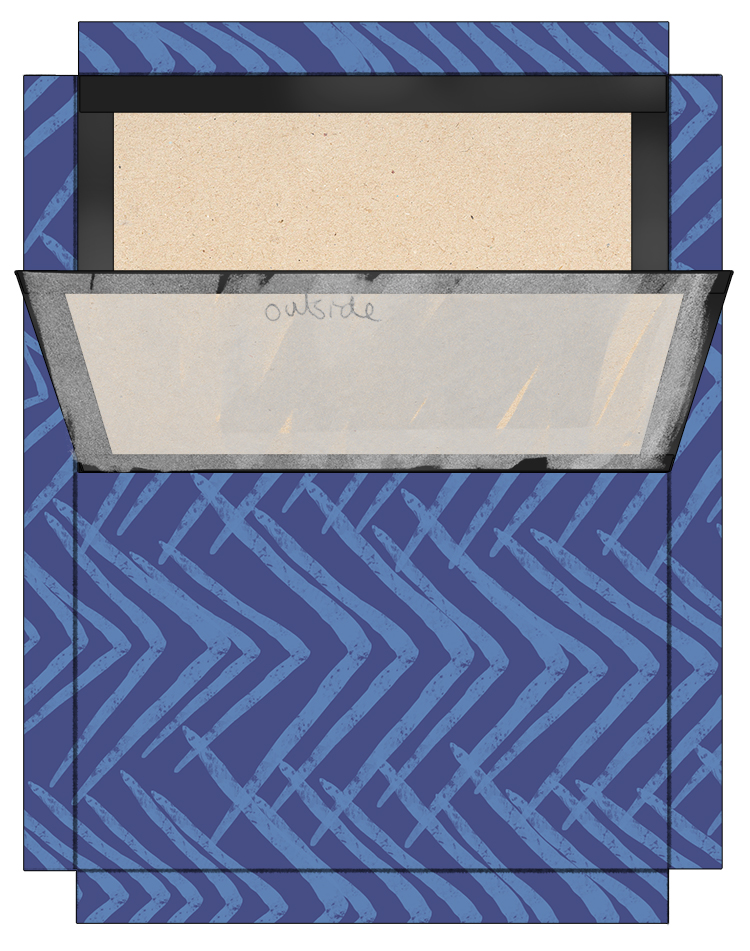
Make a small cut either side of the fabric where the card bends, this will help it bend more easily.
Now fold the excess fabric over and glue it to the inside of the portfolio holder.
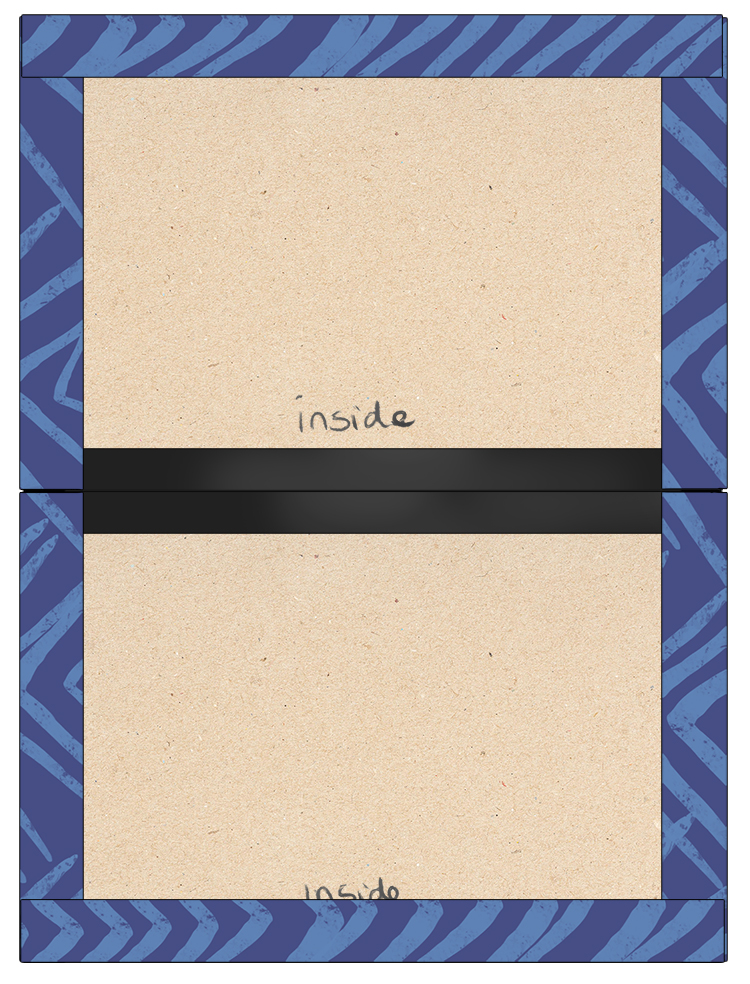
Next, take your two smaller rectangular pieces of fabric and glue them to the inside of the portfolio holder.
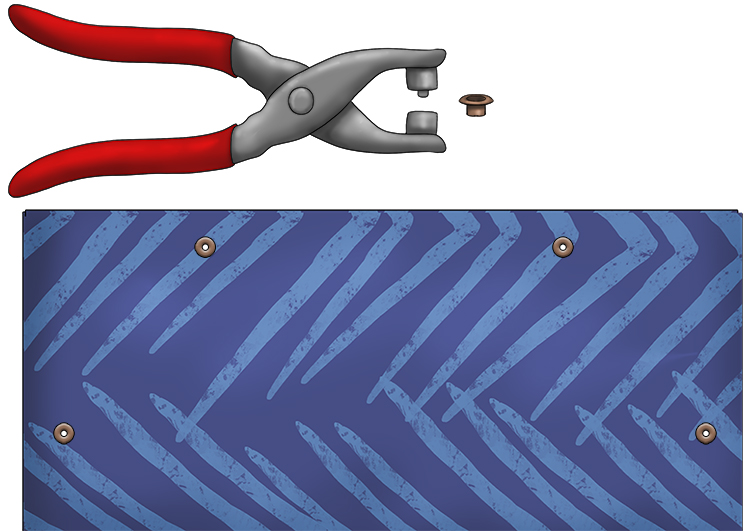
There needs to be two holes in the top of one edge of the portfolio holder and one each on the sides. All four holes 2cm in from the outside edge. Marked out as follows:
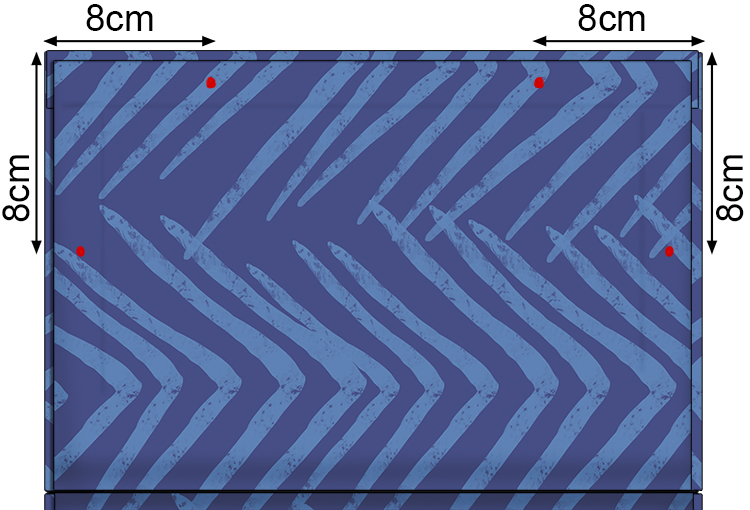
Use your rotary hole punch to make holes on the marks you made. Make sure to use the correct size punch or your eyelets might fall through or not fit. Check the end of the punch and the eyelet holes are about the same size.
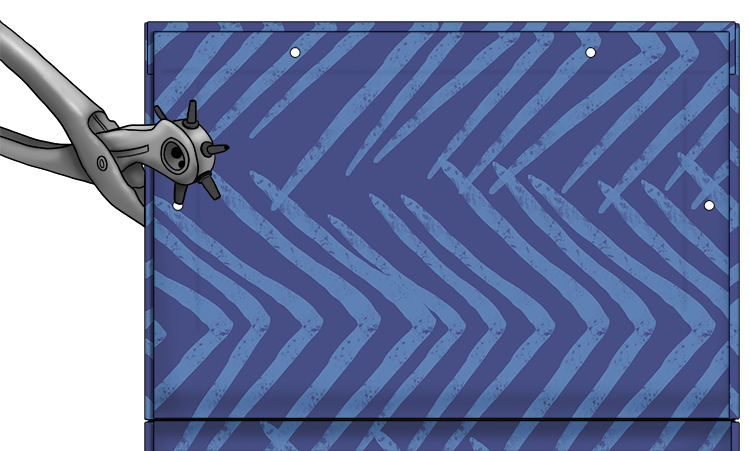
One by one, place the eyelets in the holes and use your eyelet pliers to squeeze them so they stay in place. You will notice that one side of the pliers has a spike and the other is flat. Make sure the spiked side goes on top of the eyelet and the flat side goes on the bottom. You want the top of the eyelet to be on the outside of your holder.
Thread your elastic cord through the holes as shown below.
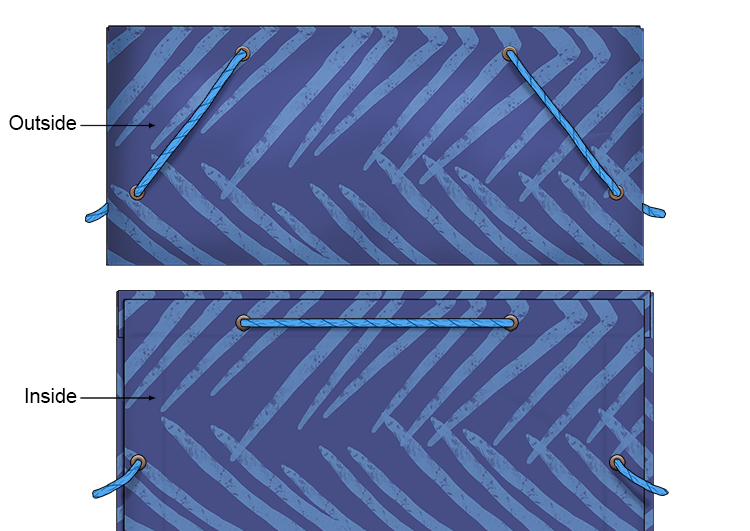
Tie off both ends so they won't slip through the holes. You want the cord to be fairly tight, but not so tight the elastic is at full stretch. The cord will hold the portfolio holder closed and help keep your work in place.

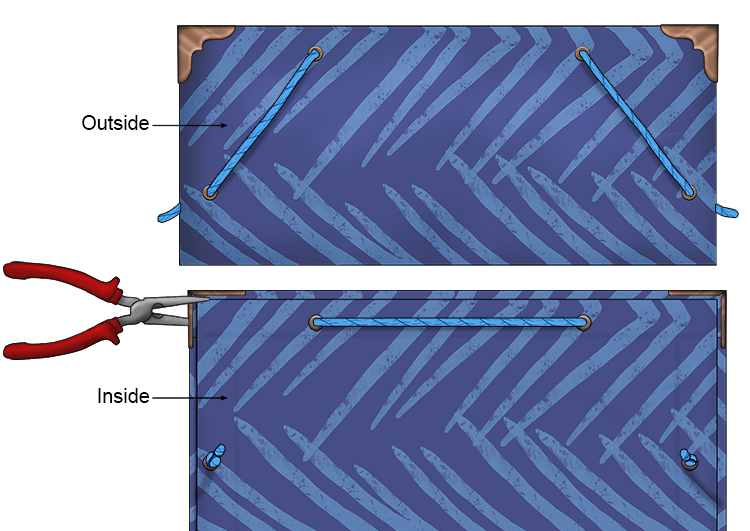
Put a small amount of glue inside one of the book corners and place it on one of the corners of your portfolio holder. You want the smaller, clasp side to be on the inside. Use the regular pliers to squeeze the book corner closed. Attach the other book corners in the same way.
Once all the glue is dry, you can start using your portfolio holder to hold your portfolio (drawings etc).
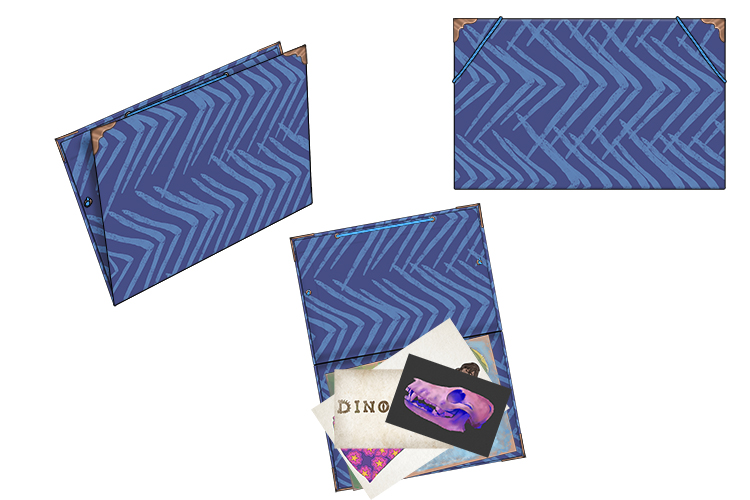
Portfolio (holder).


