
Couching – yarn or other material is laid across a fabric and fastened in place with small stitches
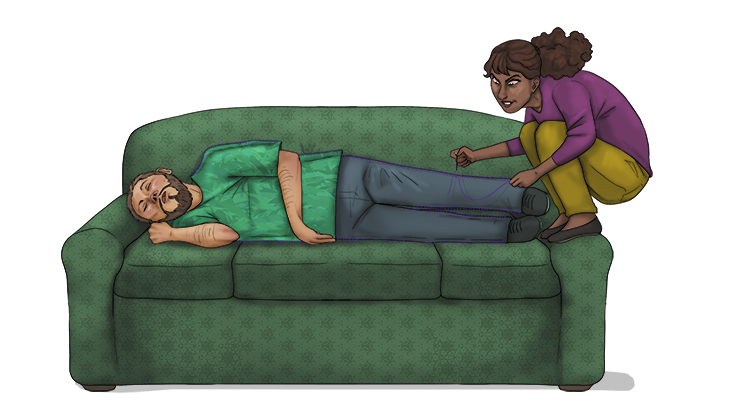
Crouching (couching) on the sofa, she secured her husband, who lay across the surface of the couch, with small stitches.
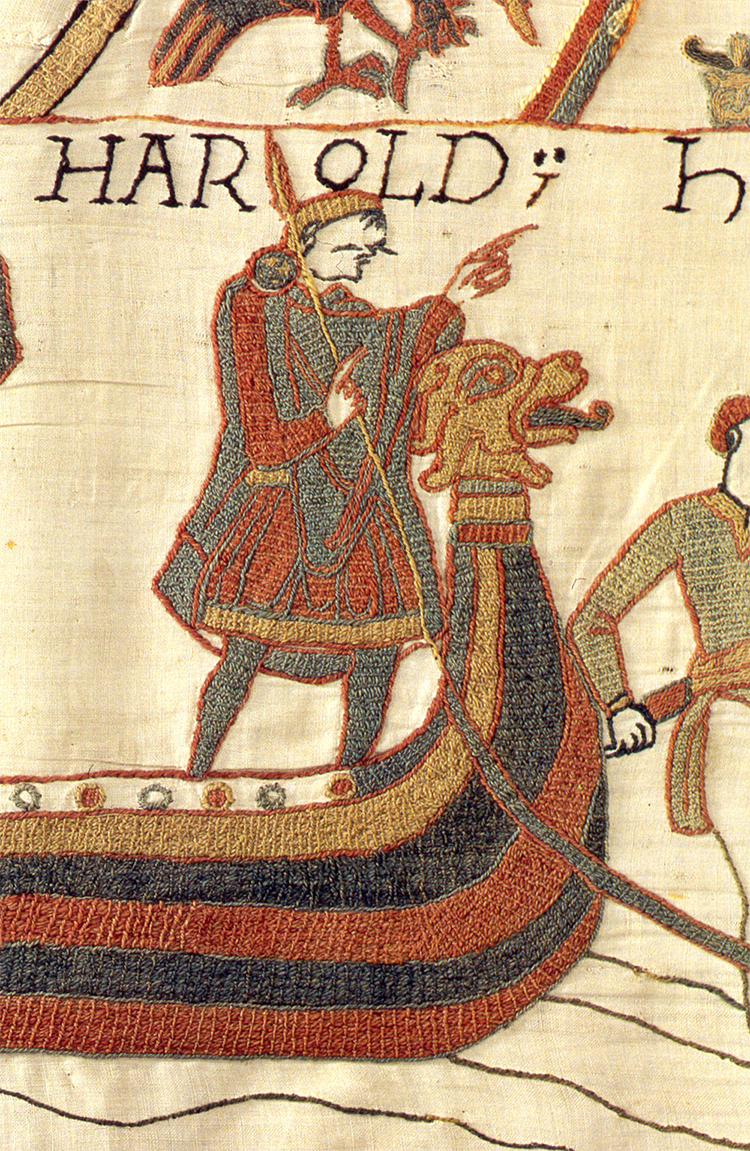
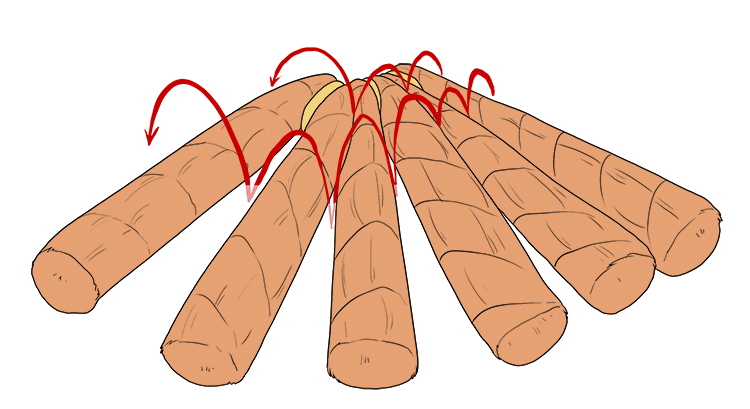
Couching is a type of embroidery and has been practiced for centuries in several different countries. A famous example is the Bayeux tapestry. Some historians, however, have even taken to calling it the Bayeux embroidery because the main techniques used to create it is couching embroidery (the other technique is called stem stitching), not tapestry weaving. You can see the couching technique quite obviously along the red parts of the boat, but as the thread is mostly the same colour, it's not as obvious in other parts. The technique was probably used for speed and to properly secure the thread, rather than for decoration, like the example below.
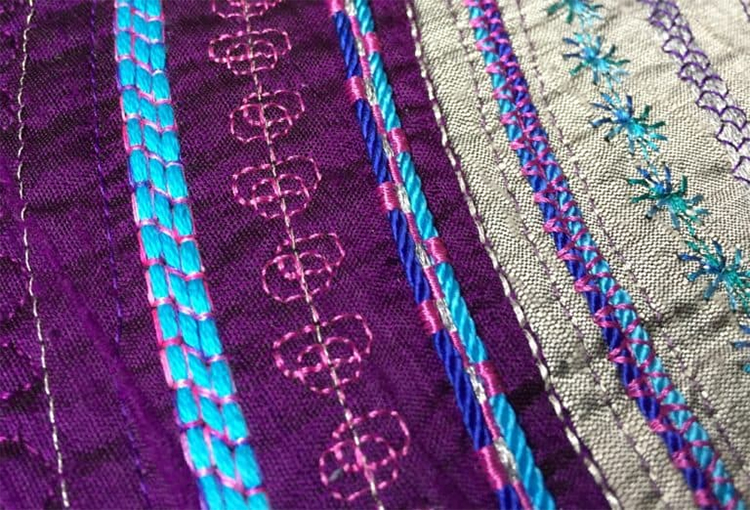
This example of couching is used mostly for decoration. Although it still serves the practical purpose of holding the yarn in place, the colour of the thread used stands out and adds to the design.
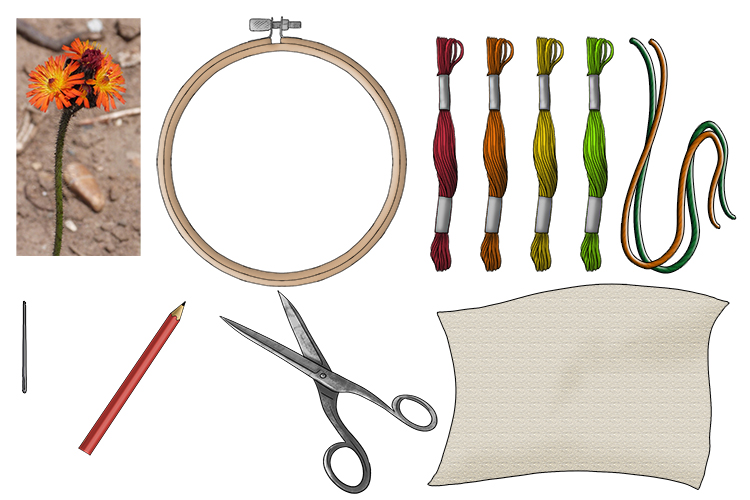
Couching Project
For this project, we will be creating an embroidered flower with couching. You will need:
A picture of a flower for reference, cotton fabric, embroidery ring, embroidery thread in various colours (we will be using yellow, orange, red and green), cord (green and orange), embroidery needle, pencil and scissors.
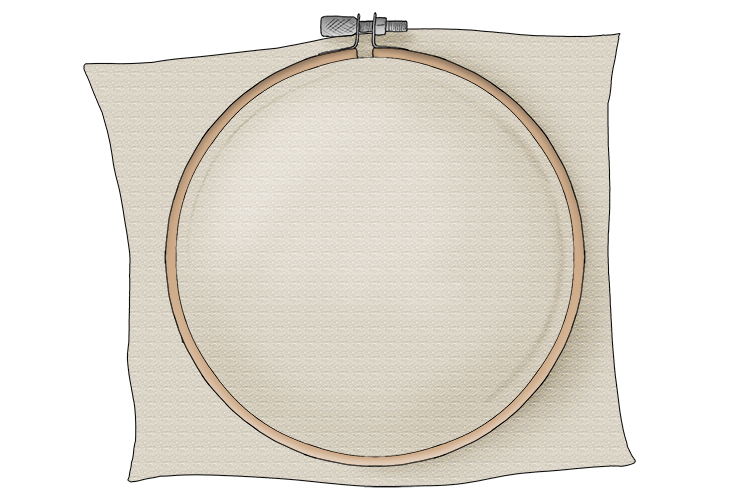
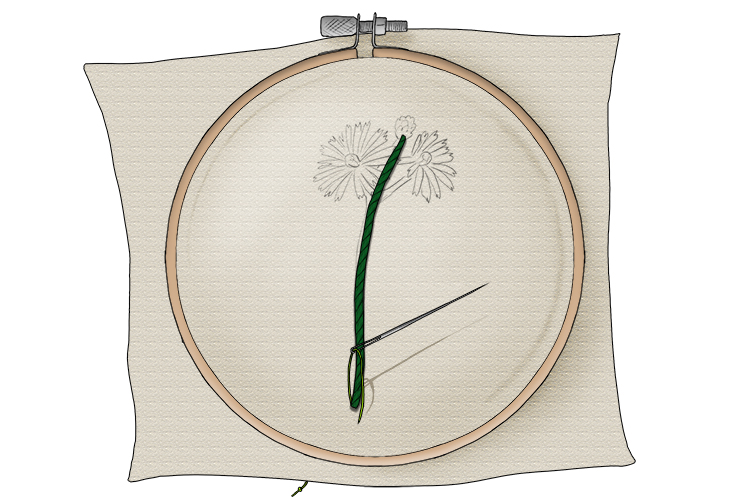
To start, secure your cotton fabric to your embroidery ring. Make sure it's tight and doesn't sag.
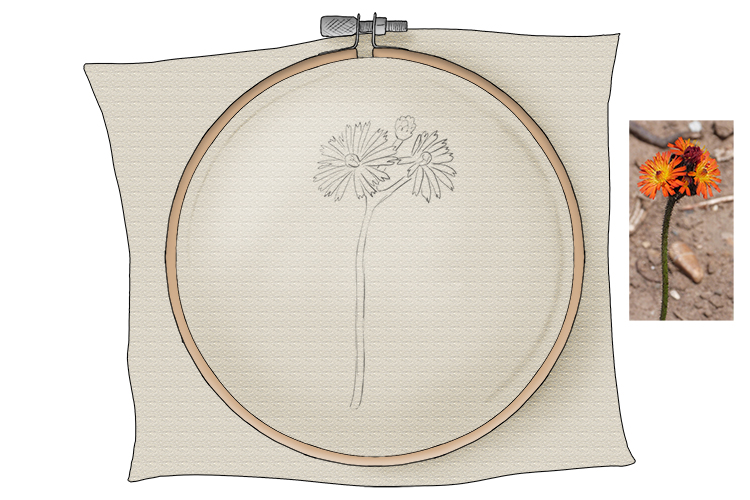
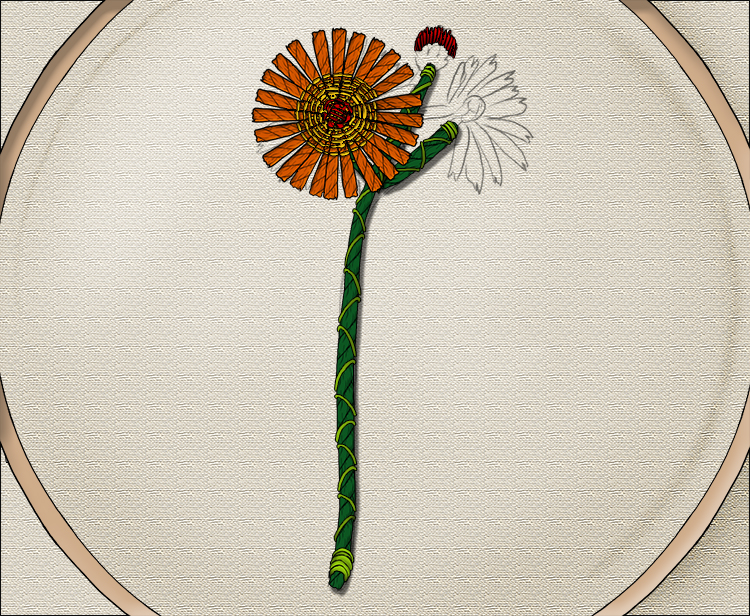
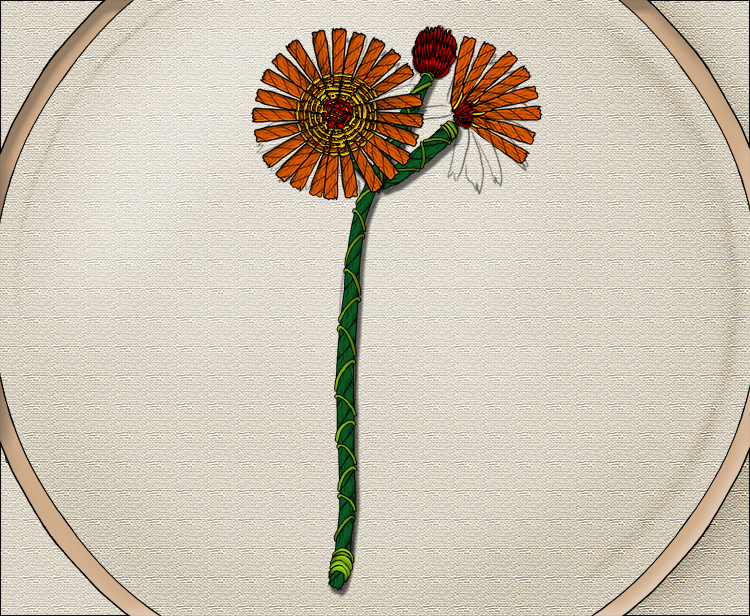
In pencil, sketch your flower onto the cotton. Don't make it too complicated, the more simple the design, the better. Once you're confident with the technique you will be able to make more complex designs. We're using the Fox and Cubs flower. The name comes from the bright orange petals which looks like foxes fur and the little buds which have a darker colour, just like a fox cub.
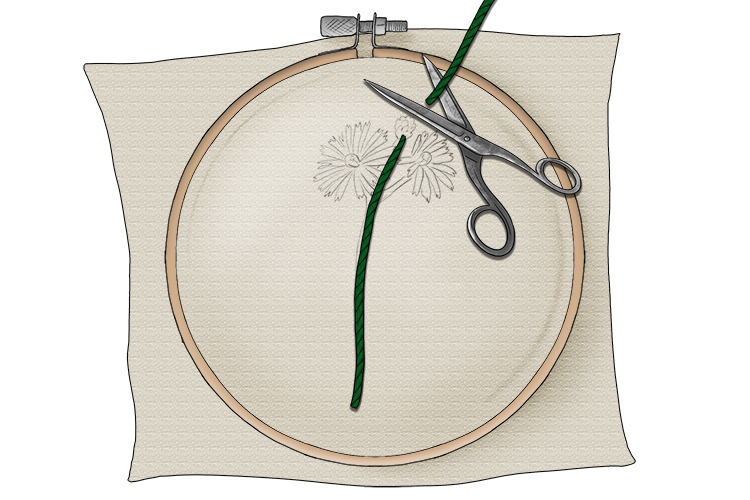
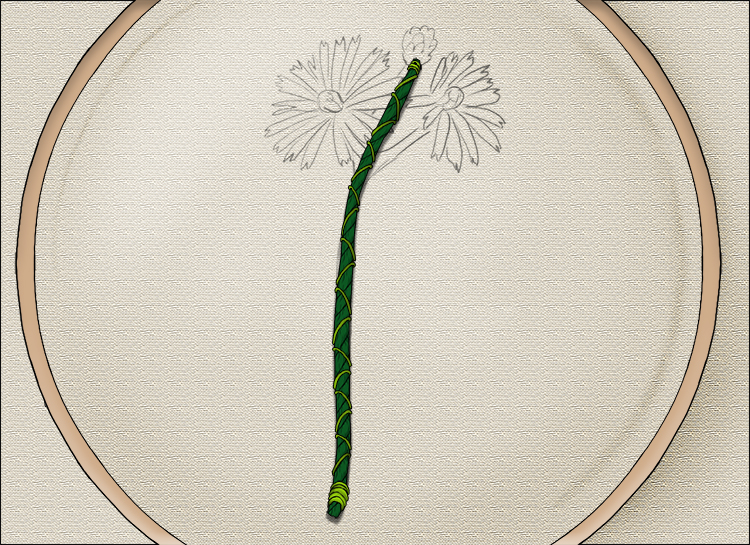
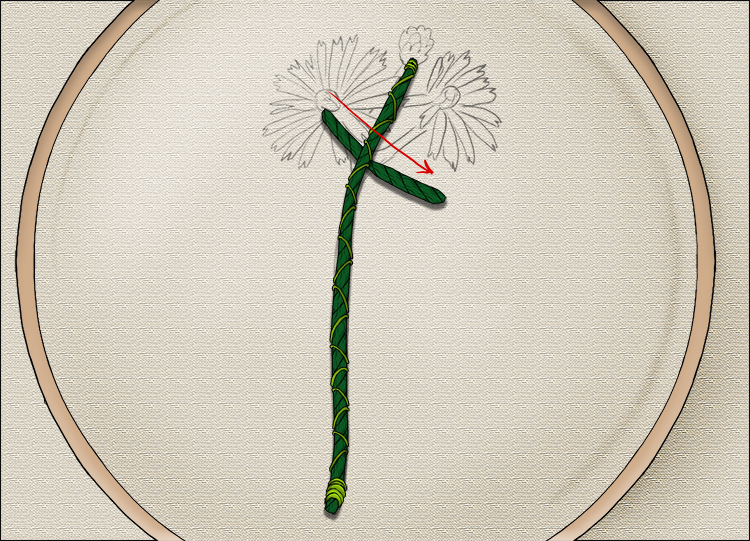
Measure your green cord against the stem of the flower you have sketched and cut it to match. You will need some of the excess later on, so keep it to one side.
Tie a knot in the end of your green thread and thread the needle onto it.
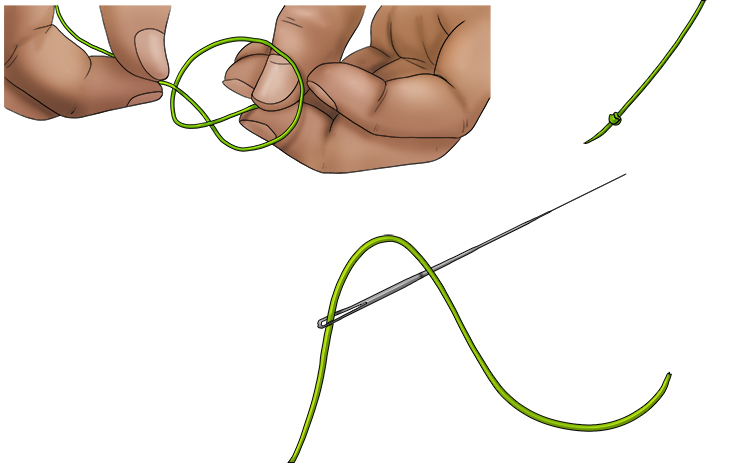
Push the needle through from the underneath of the cotton at the base of the stem. Pull it through until the knot stops it.
Hold the end of the cord in place and push the needle back through the cotton directly next to the cord and pull it through tight so that it holds the cord in place.
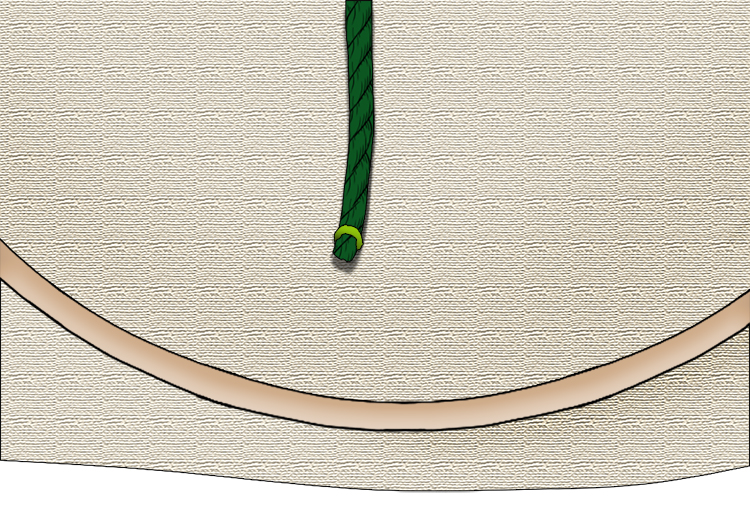
Repeat this a few more times, pushing the thread through the cotton and wrapping it over the cord and back through the cotton. This will secure it so it won't slip out.
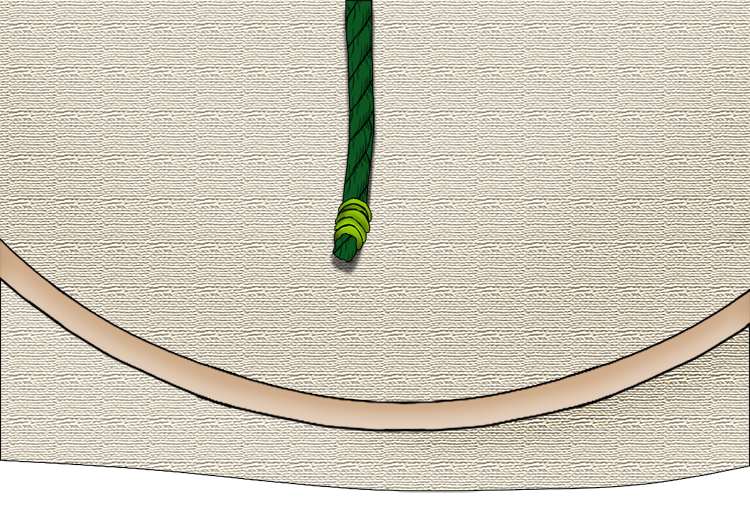
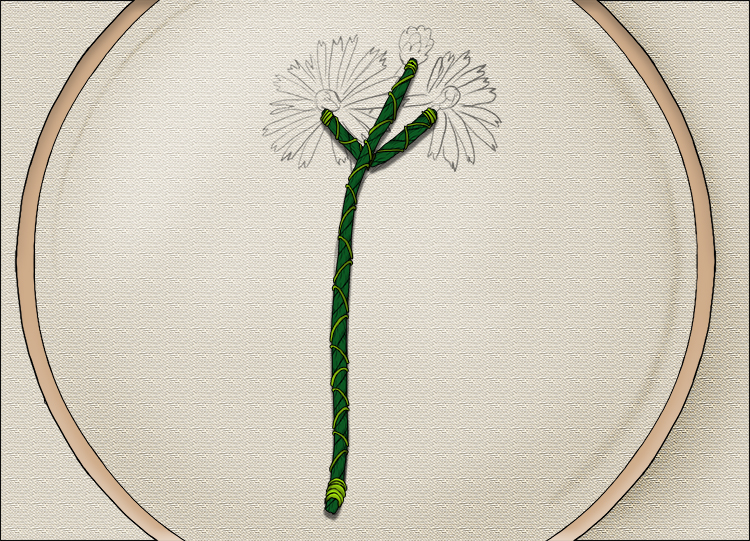
A little further up, push the needle back through, over the cord again and back through the cotton this time on a diagonal angle, as shown below.

On the same side of the cord that you just pushed the needle through, push the needle back through a little further up over the cord on a diagonal angle again.
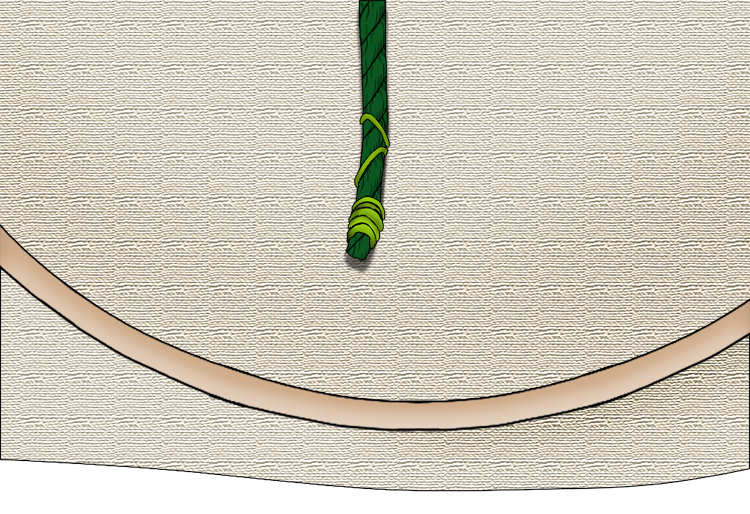
Repeat the process until you reach the top of the cord. Secure it with several loops over and under the cord as you did at the bottom.
To secure the thread at the top of the stem so it won't come undone, make sure your needle is on the underside of the fabric. Push the needle back into the fabric and out again a couple of millimetres away under the cord so it won't be visible on the top side of the fabric. Pull the thread partially through so a loop is formed.
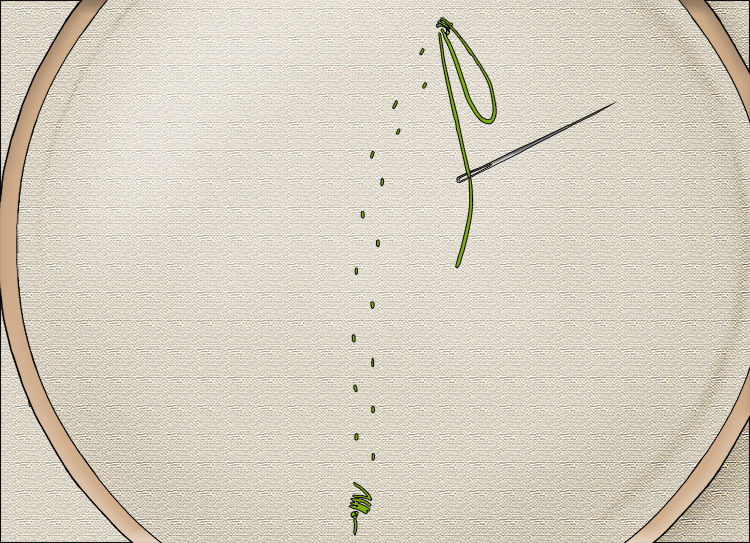
Pass the needle through the loop.
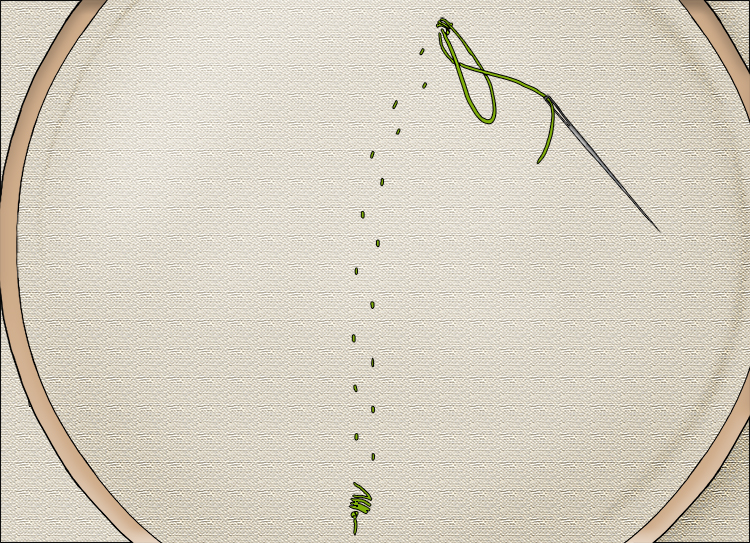
Pull the thread tight so the knot is next to the fabric and cut the excess off.
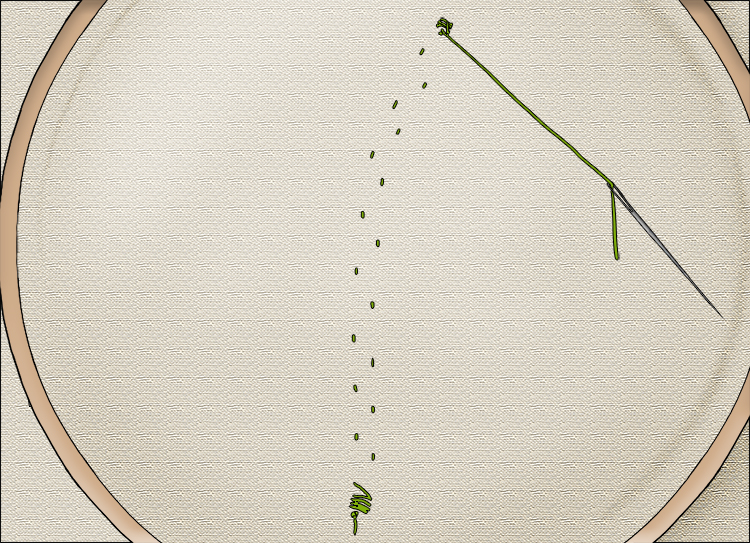
The cord should be held tightly by the thread, however there should be enough give to push another piece of cord underneath to finish the stem.
Using the same techniques as before, secure the cord.
Next, cut the orange cord into 17 small sections, about 3-4cm long. Fold one of the sections in half and secure it with one stitch onto the fabric with the yellow thread. Don't cut the thread yet, as you can use that to secure the rest of the pieces.
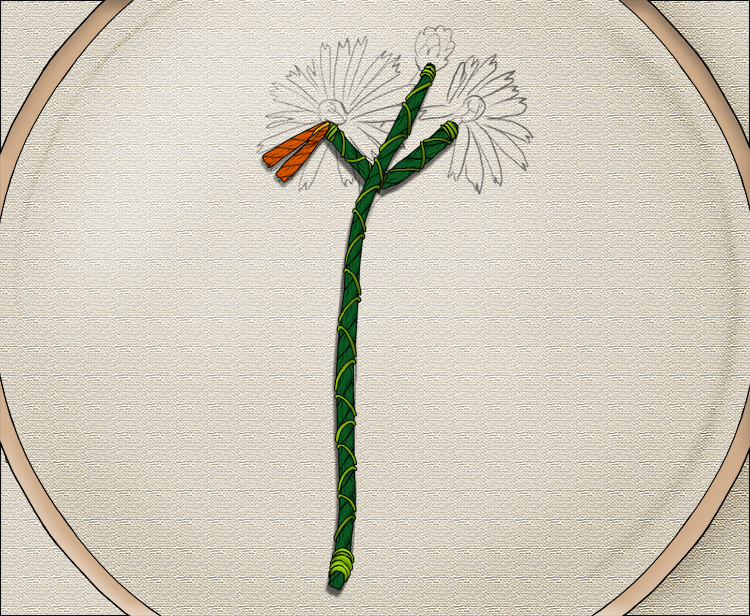
Secure the rest of the orange cord pieces until you have a complete circle.
Keeping with the yellow thread, use the needle to bring the thread over the orange cord and under the fabric, back through the fabric and over the cord again. Near the base of the petals, weave the thread over the whole piece of cord, but as you get further up, starting weaving the thread over each part. Only go about half way up the petal with the thread.
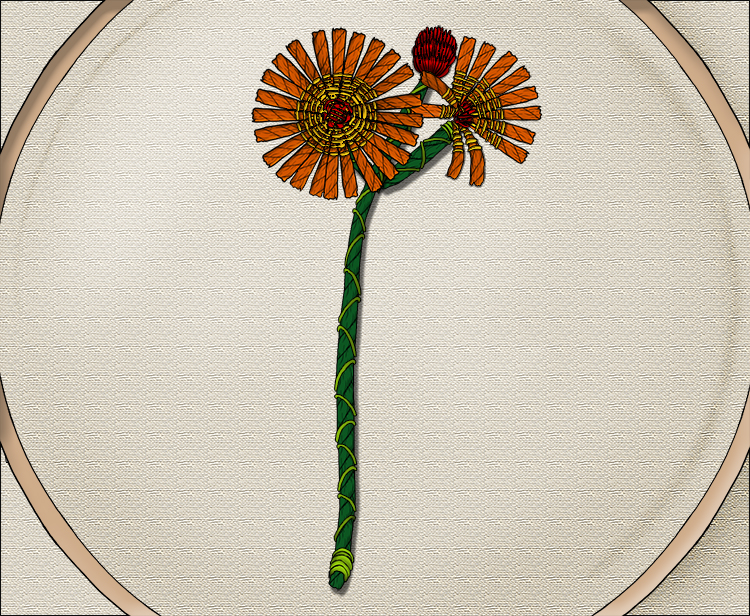
Your flower should now look something like this.

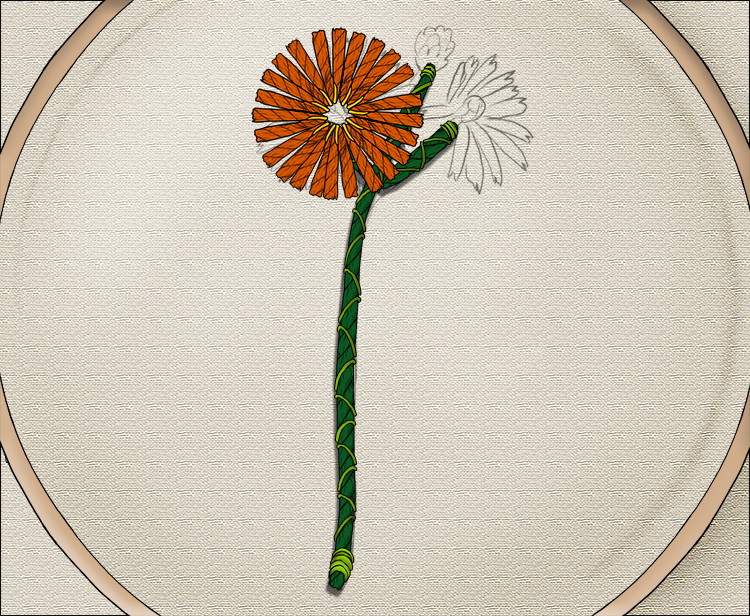
We're now going to fill in the centre of the flower. Sew the thread back and forth in the centre of the flower, don't worry too much about being neat. Once you've built up the thread so it looks somewhat three dimensional, secure the thread underneath.

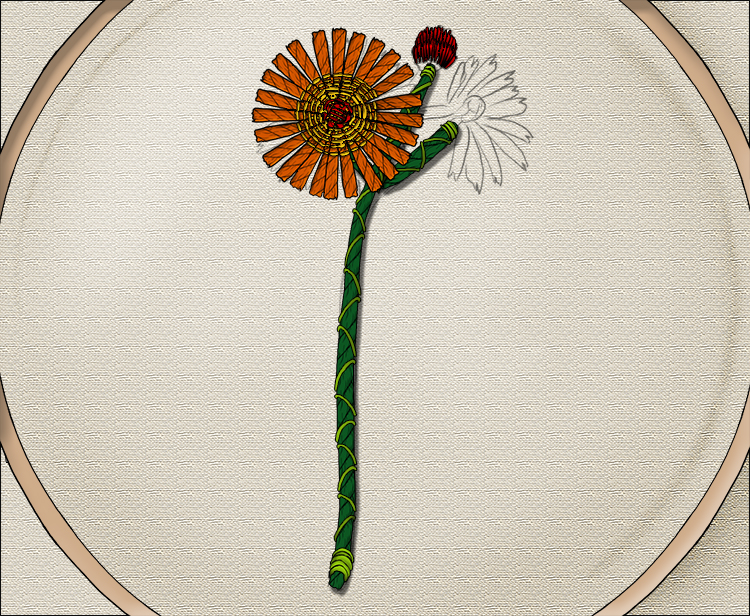
Then, use the red thread to build it up a little further.

Next, we're going to create the little bud in the middle. To do this we're going to use our red thread and build up the bud until it looks 3D. Start at the top (the thinnest part) sew across the width of the bud. Go back on yourself and sew another layer on top of this.
The next layer down needs to be thicker, so sew back and forth 4 times.
The final layer will be even thicker, so sew back and forth 6 times.

This next stage will also need to be done in different layers. Start with 4 pieces of cord to make the 8 petals furthest away and stitch them on as you did with the first flower by folding them in half and securing them with a stitch in the middle.
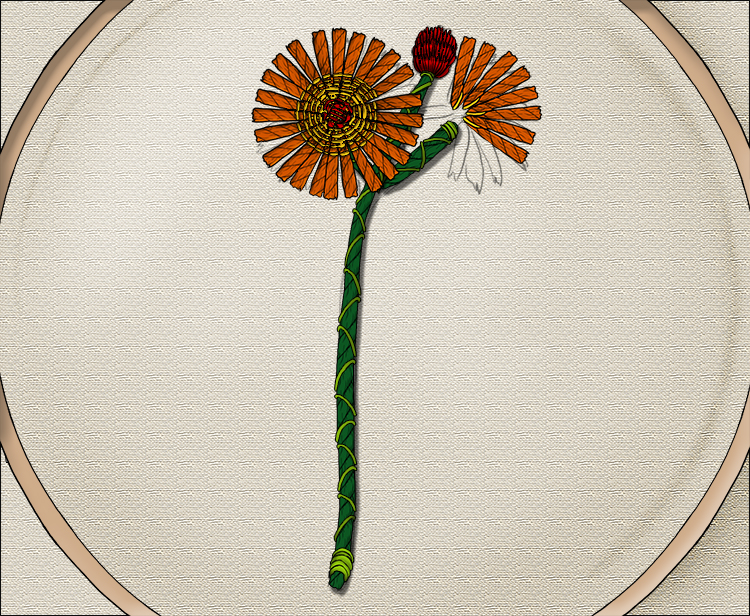
Use the red thread to create the middle of the flower.
Now stitch a further two pieces of cord onto the fabric, giving four further petals. Don't stitch them directly onto the red thread in the middle, but one below and one to the left hand side so you don't cover the red thread.

Add the yellow thread as you did with the first flower. You can bend the petals to make them match your original sketch. You should be able to erase your sketch.
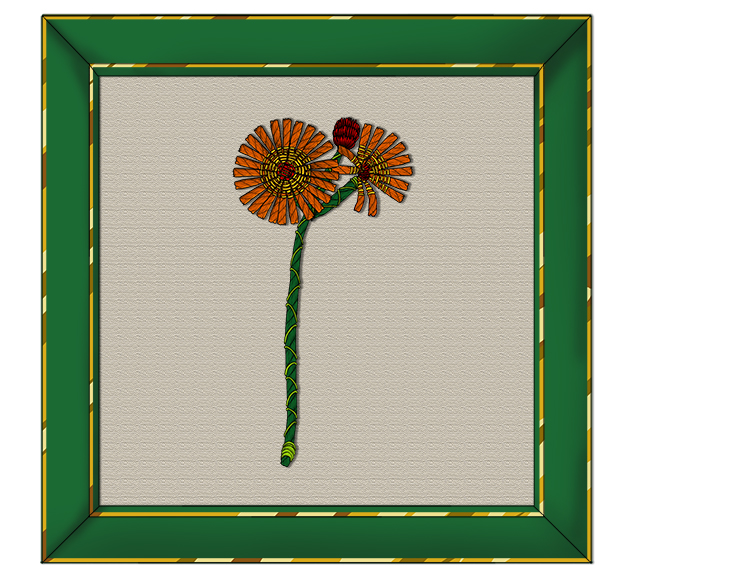
Finally, you can frame your couching project and display it!
Couching.


