
Inlay – Putting materials such as wood, gold or silver into the surface of an object
To remember what inlay is, recall the following mnemonic
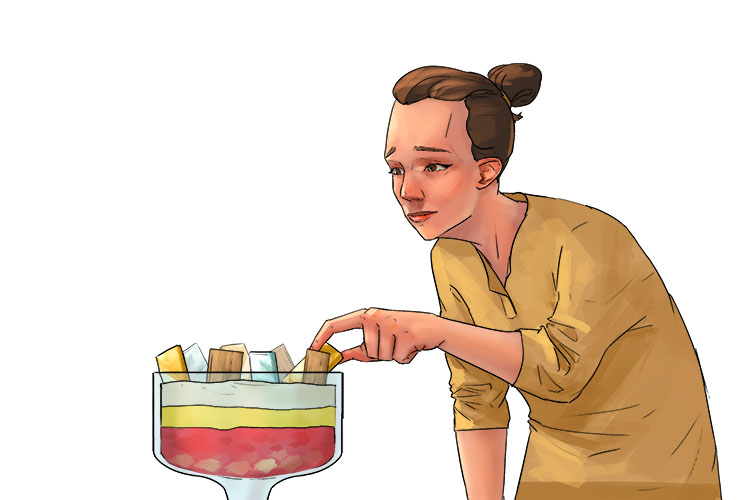
Into the surface layer (inlay) she put wood, gold and sliver.
Inlay covers any technique that involves setting contrasting materials into depressions in an objects surface to create decorative images or patterns. Examples of inlay work can be seen in numerous places throughout history, and can be found on ornaments, instruments, furniture, buildings, weapons, etc.

"File:Box, Korea, Joseon dynasty, 1550-1650 AD, lacquered wood with mother-of-pearl inlays - Asian Art Museum of San Francisco - DSC01438.JPG" by Daderot is marked with CC0 1.0.
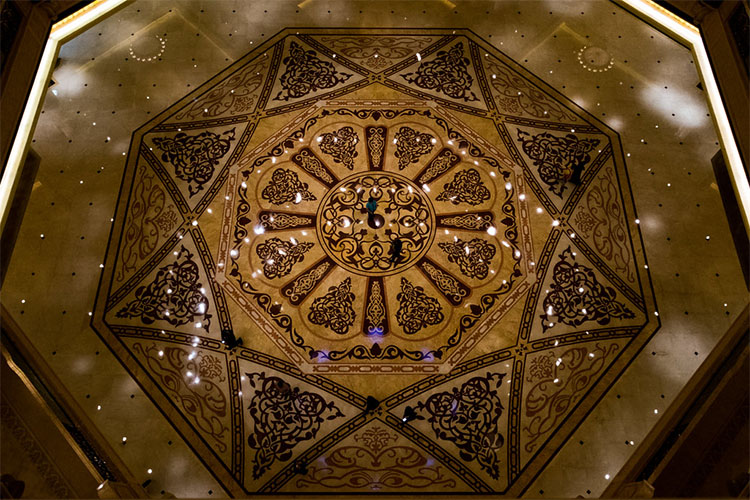
"Marble inlay" by zimujova is licensed under CC BY 2.0.
The image above is a marble inlay floor that can be found in the Emirates Palace in Abu Dhabi. The marble floor, along with the rest of the palace, features traditional Islamic designs with modern elements and construction. Marble Inlay work is usually created by transferring the design to the marble which is then carefully chiselled out to create a depression for the inlay material. The inlay material (usually precious and semi-precious coloured stone) is then carved into shape before being glued into the depression. This can be a painstaking process due to how hard the marble is to work and the time it takes to ensure the inlay material and depression are matched perfectly to ensure no gaps are left in the final product. Once the inlay is in place the marble is polished, this helps the marble and inlay appear as one smooth surface.
Inlay Project
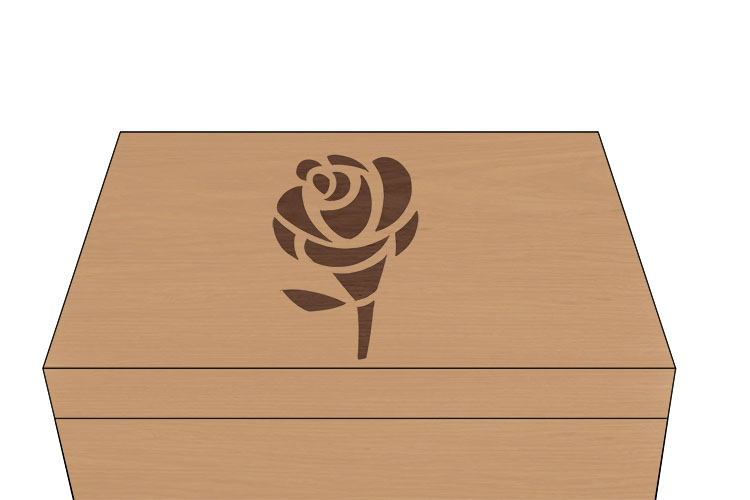
For this project we're going to add a simple decorative inlay to the lid of a wooden box.
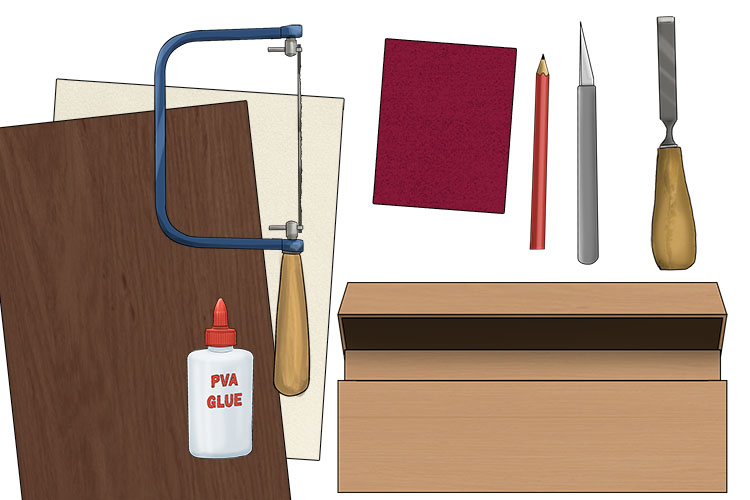
You will need a chisel, craft knife, pencil, paper, coping saw, sand paper, wood glue, 5mm thick sheet of wood (make sure the colour contrasts with the colour of your box), simple wooden box (can usually be found in arts and craft shops). Make sure the lid for your box is thicker than 5mm so you don't cut all the way through when carving your inlay.
To start, plan out your inlay design on paper first. Your design can be of anything you like, just make sure it is made up of fairly simple geometric shapes that aren't too close together as you will need to carve these shapes into wood later.

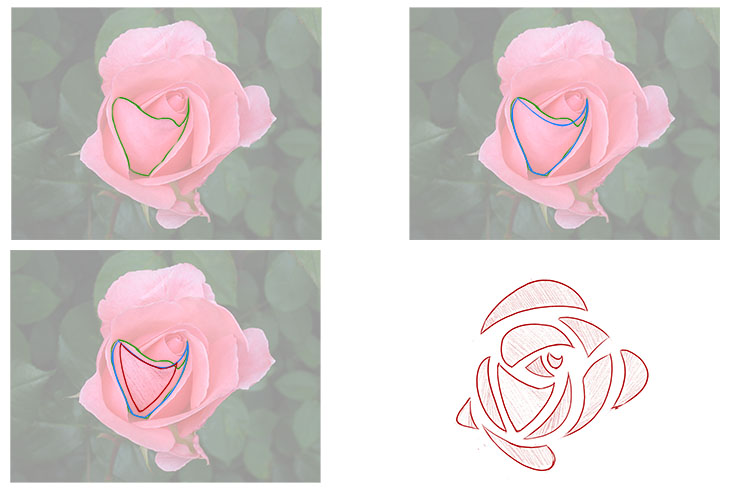
Below is an example of how you can turn a rose into a design. To start, define the shape of one of the petals by outlining it in green. Simplify this shape so each edge is a smooth line, this is our blue shape. To ensure none of the shapes in the final design are touching shrink down the blue version which you can see in red. Repeat this process for different sections of the image. It may take some trial and error to decide what sections of the image to include and how best to simplify these areas. Don't be afraid of trying several designs before deciding on your final choice.
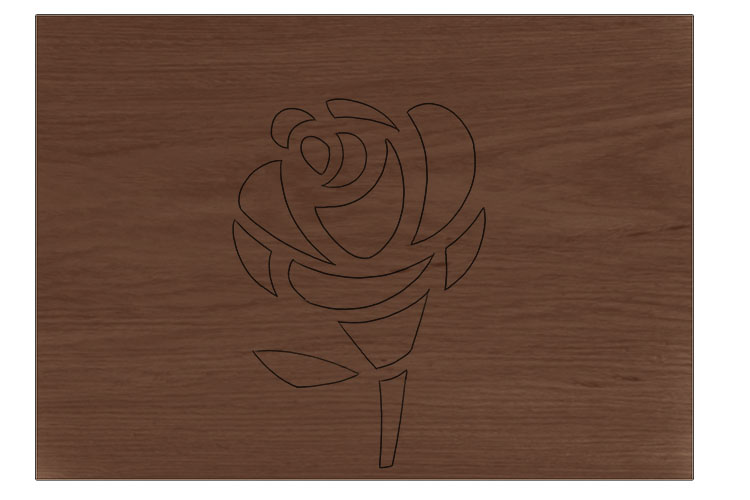
Now draw your inlay design onto your sheet of wood.
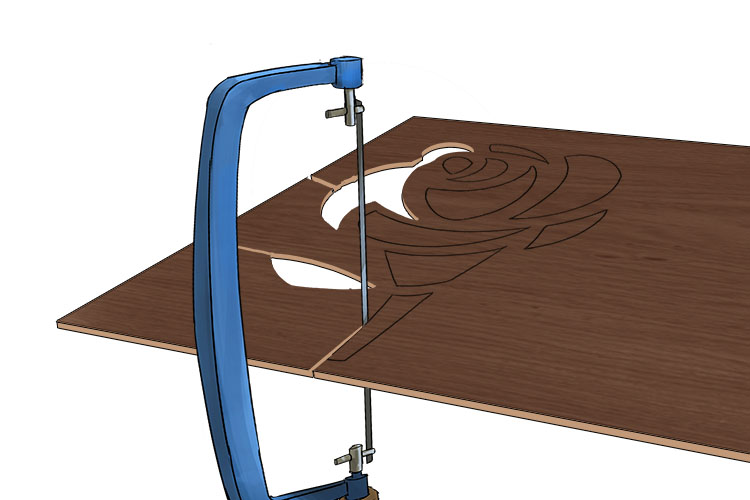
Cut your design out using a coping saw.
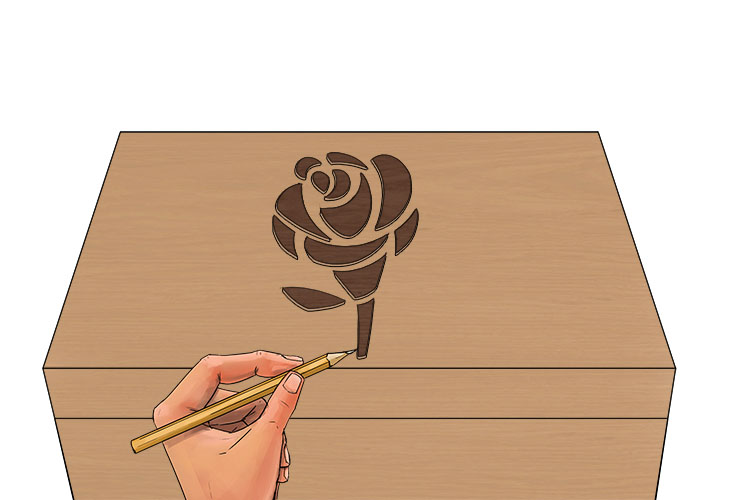
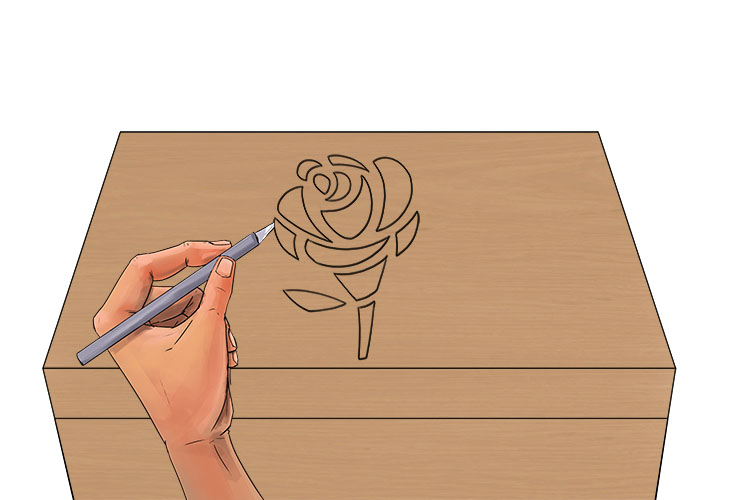
Place the design onto your box lid and draw around it.
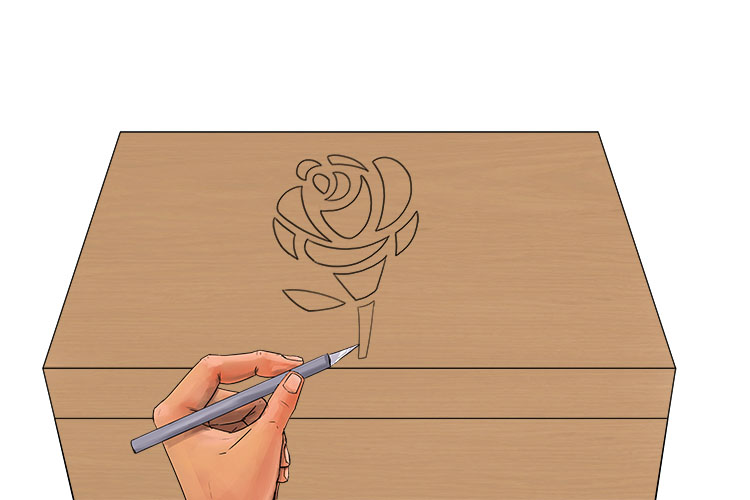
Now using your craft knife, lightly score along these lines.
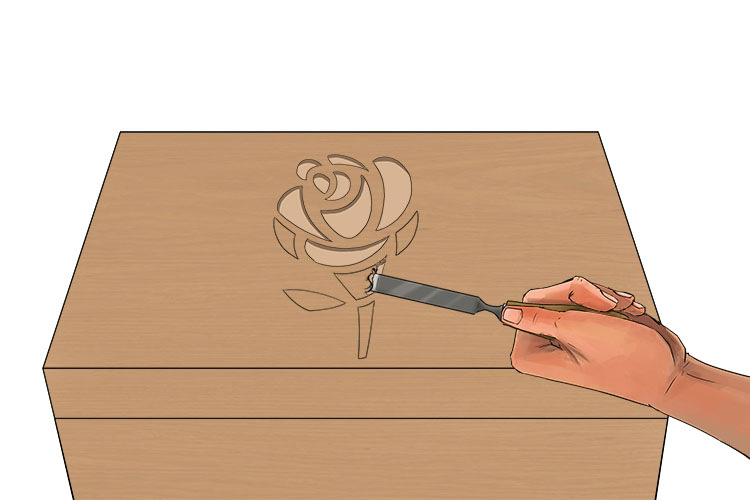
Go over the scored lines making the deeper. Make sure not to go any deeper than 5mm, and make sure the box is thicker than 5mm too.
Next, chisel out the area of the inlay, making sure not to go any deeper than 5mm again.
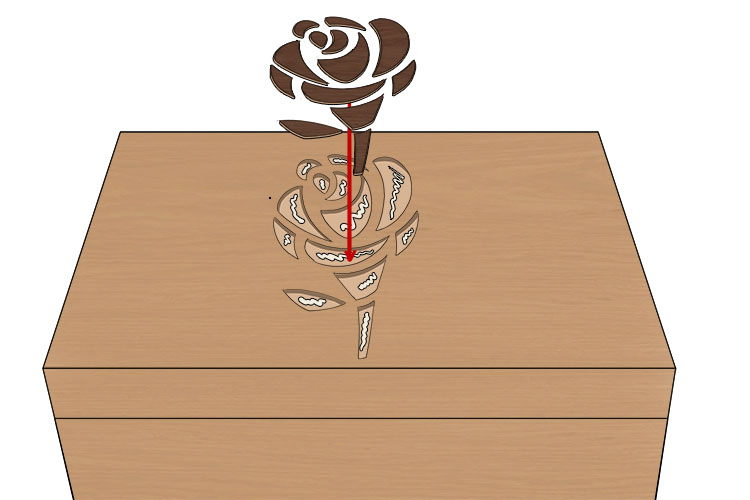
Glue the inlay pieces into the cut outs on the lid.
To finish off your inlay project, sand down the inlay pieces so they are flush with the rest of the lid.
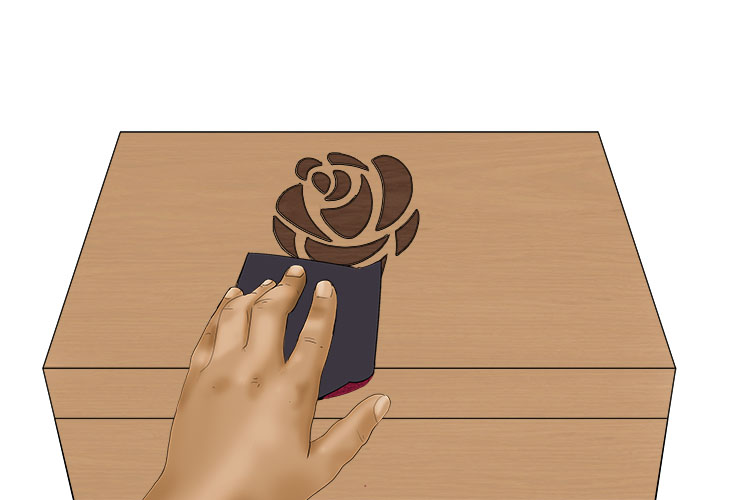
Now you have a beautiful inlayed box.
Inlay.


