
Mosaic – A picture made up of small parts, traditionally tiny tiles made out of terracotta, piece of glass, ceramics or marble
(Pronounced moh-zey-ik)
Note: usually mosaics are inlaid into floors and walls.
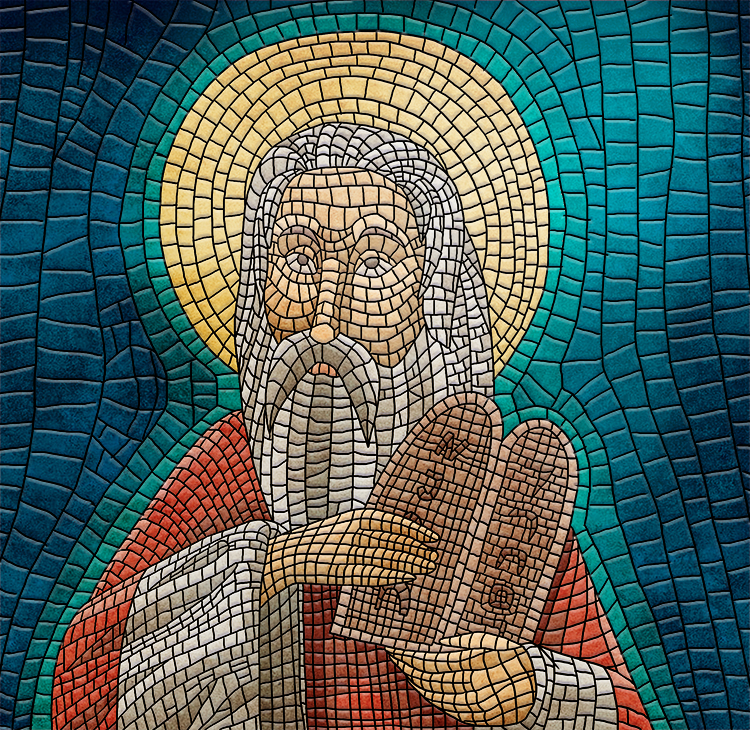
Moses in archaic (mosaic) times is depicted in tiny tiles in this inlayed work of art.
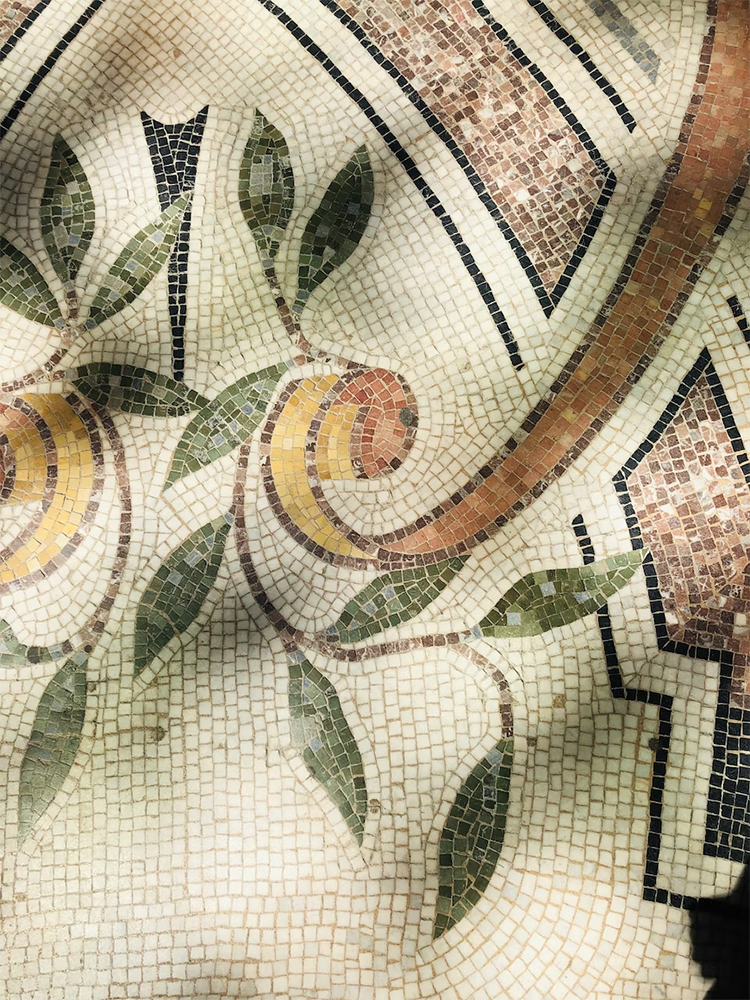
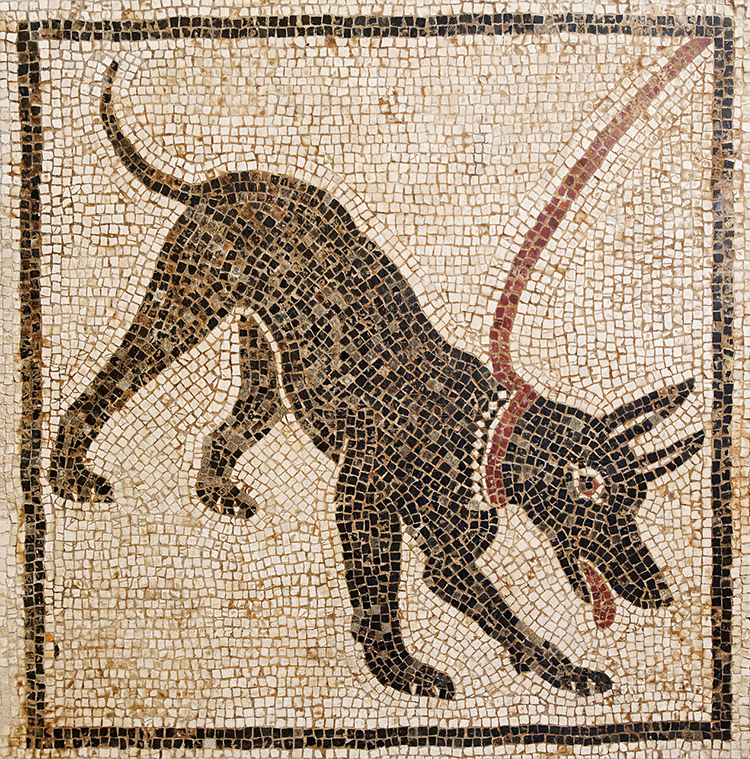
Mosaics were most famously made by the Romans, however they have been around a lot longer and were used by many different cultures. These were usually created using coloured stones, glass or ceramics. Mosaics have been used to depict patterns, animals, people and even tell stories, such as scenes from the bible. In modern times, mosaics are more popularly used for decorative crafts, where traditional materials can be used, but often people branch out into other items such as broken CDs or DVDs, mirrors, plastics, wood or even pieces of old toys.
Mosaic Project
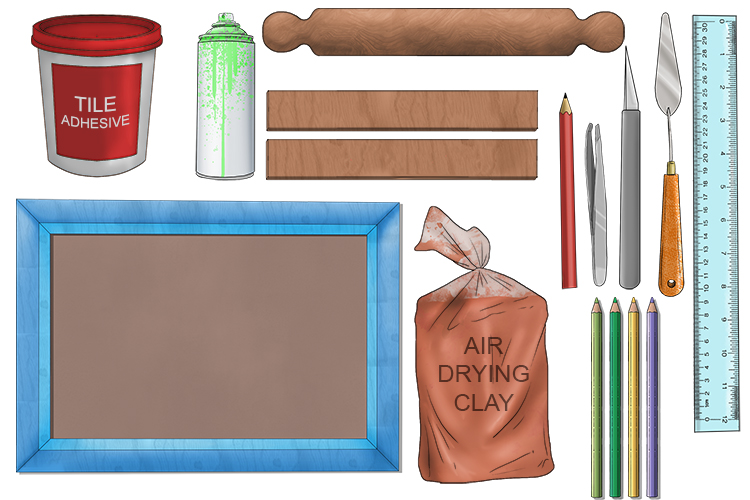
For this project you will need airdrying clay, a rolling pin, two 5mm thick pieces of wood (about 300mm long and 30mm wide), a picture frame, a ruler, a scalpel, tweezers, a palette knife, a pencil, coloured pencils, tile adhesive and spray paints of different colours.
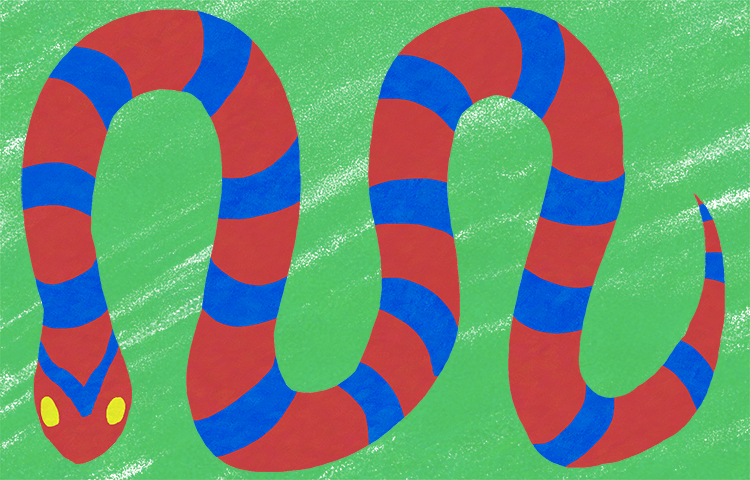
Firstly, on paper, draw out a design for your mosaic. Keep the pattern or picture simple for your first mosaic. The paper should be the same dimensions as the inner frame of your picture frame.
Using your ruler, draw a 10mm by 10mm grid over your design.
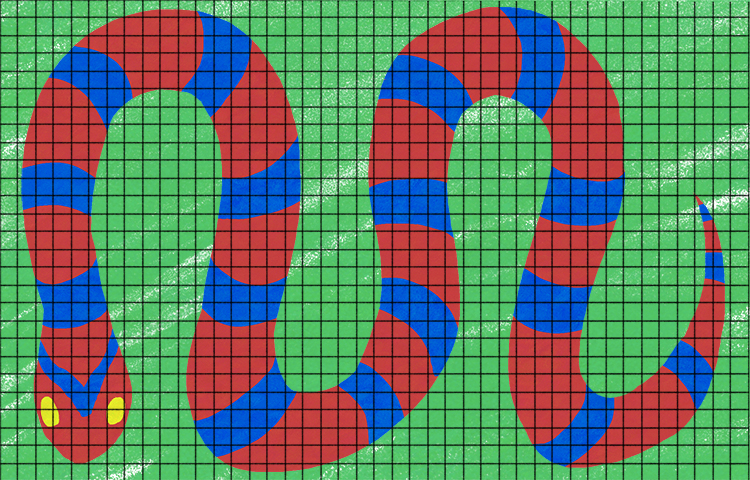
Then, draw the 10mm by 10mm grid again on another piece of paper. Make sure this grid is the same size as your picture. Ours works out at 41 tiles across and 27 tiles down.
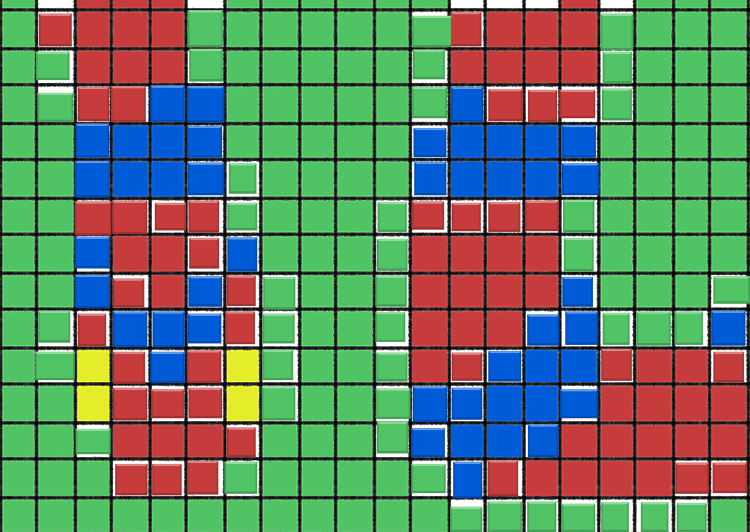
As your mosaic will be made up of tiles of block colours, any squares on your image that cross over two colours will need to be changed to one of the colours. But how do you decide which it should be? We suggest first colour in your 10mmx10mm grid in the appropriate colour where your designs square is completely full.
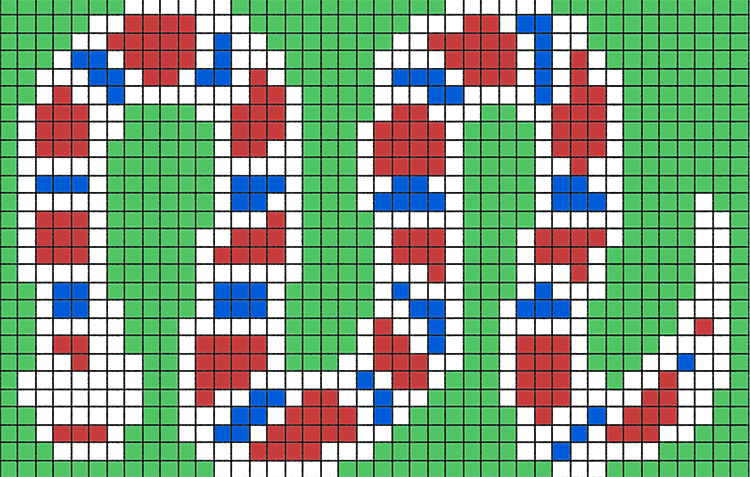
Cut out several 10mm by 10mm squares of card or paper in red, blue and green. Experiment with what colour looks best where. Most squares that are more than half filled with a colour will be changed to the dominant colour. However, you may find you want to change the colour of a square completely. Once you're happy with the design, stick the pieces of card down.
On the one below, we have filled in all of the squares that are more than half (or more) filled with one colour.
Although the one above is technically more accurate to the original design, the head does not look right. We then tried a more symmetrical layout and we think it works much better.
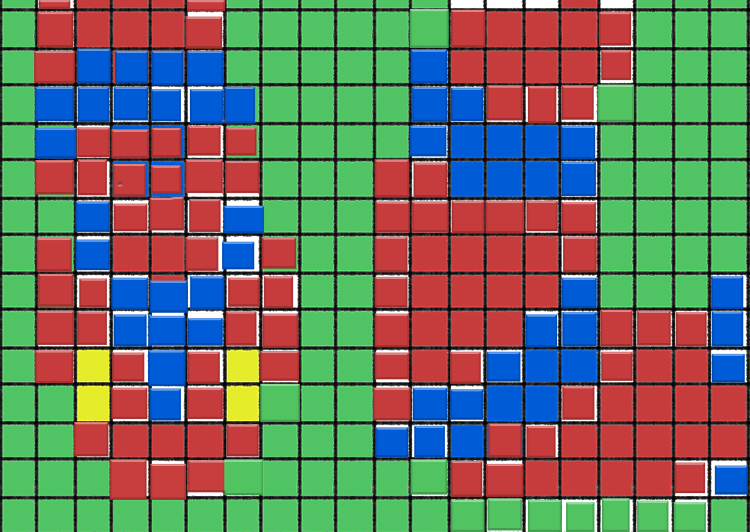
Go over the entire picture until you're happy with the design, then stick all the pieces down.
Use the rolling pin to roll out your clay. You may need to use your hands to flatten the clay a little to start. Roll the clay until it's about 5mm thick. Use your two piece of wood to make sure it's of equal thickness all over. Make sure you have enough to completely cover the back-board of the frame.

Next, draw out your 10mm by 10mm grid again on a piece of card, but making sure it covers a larger area than the design. Count out the number of squares you're using (in our case, 41 by 27) and mark this area out.
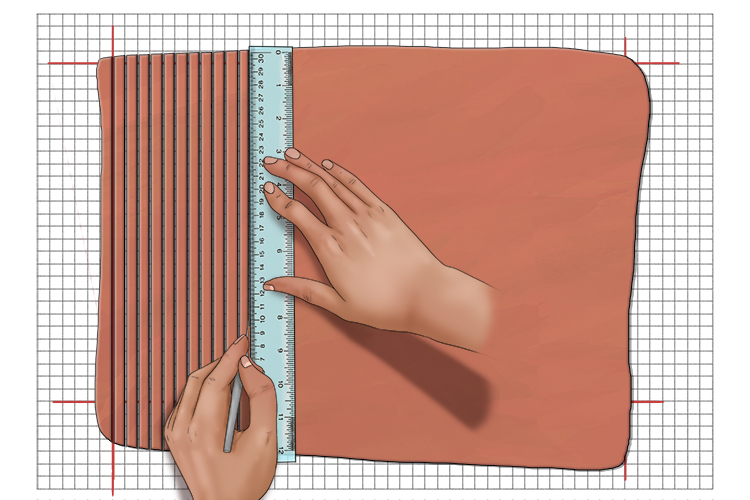
Lay your clay on to the grid so that it completely covers the area you have marked out and carefully cut the clay before it dries into squares of 10mm by 10mm using your scalpel and ruler, discarding any excess.
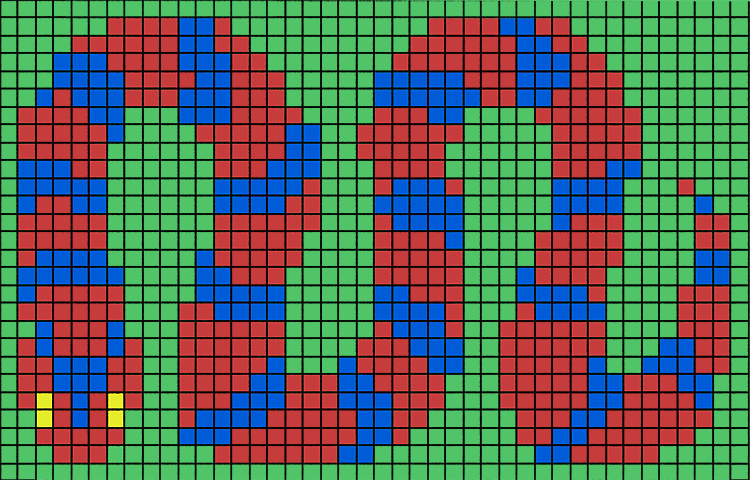
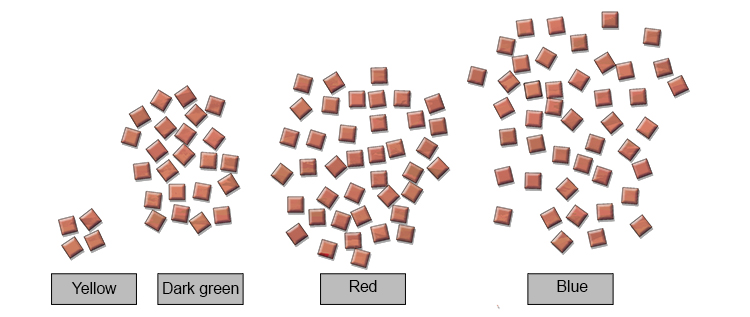
Once the tiles are dry, place the correct number of clay tiles together for each colour, ready for painting. We have 1107 tiles in total, with 4 yellow for the eyes, 491 dark green for the background, 401 red and 212 blue for the snake.
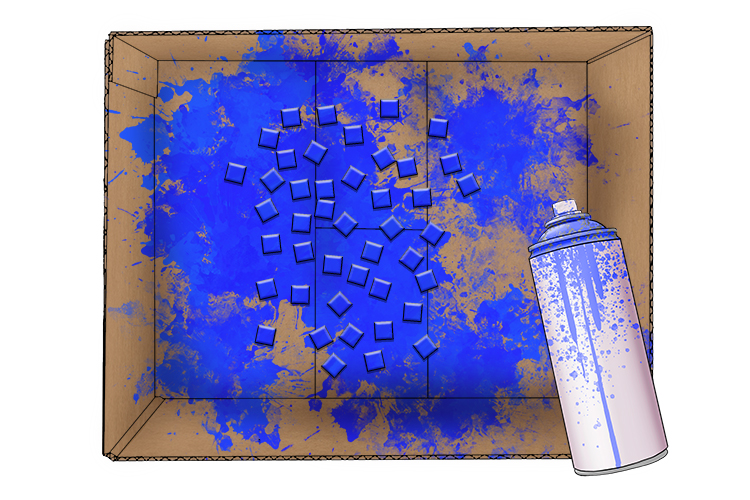
As you may have a lot of tiles to paint in the same colour, use spray paint to cover the front of the tiles. Complete the spraying inside a cardboard box to minimise the mess that can be created by spraying. Use a different colour spray for each set. Make sure you leave them to dry.
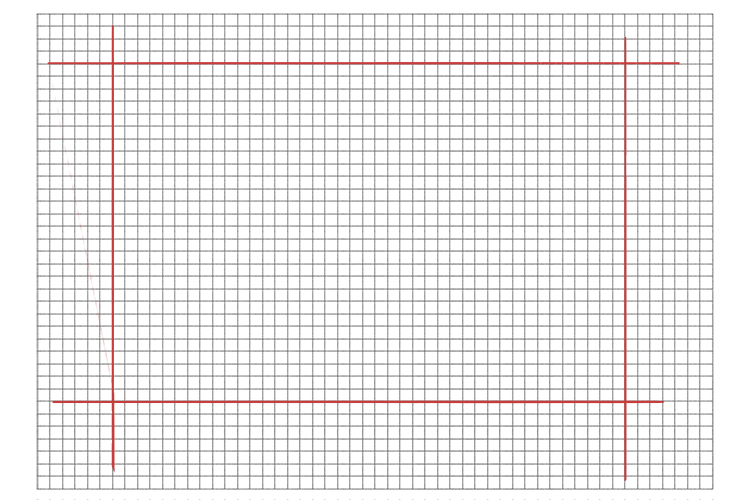
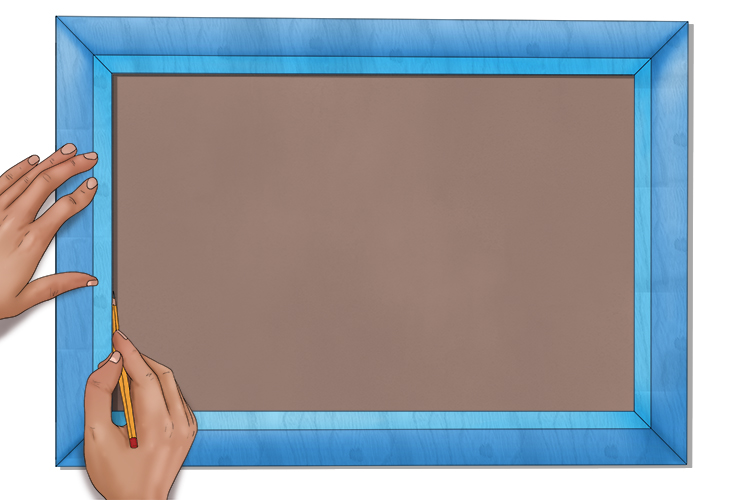
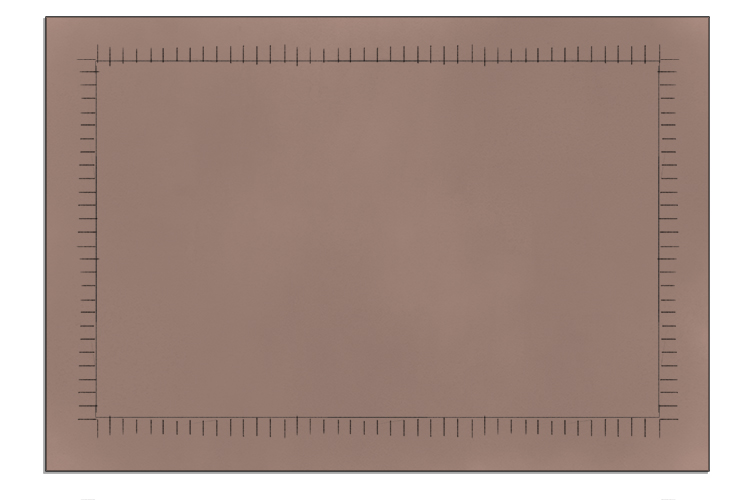
Remove the glass from the picture frame and dispose of it safely. You won't need the glass. Then, draw around the inside of your frame onto the back-board, make sure, in future, you don't go over these lines with adhesive or tiles as it will be difficult to assemble your frame afterwards. Remove the framework from the back-board of the picture frame.
Once the frame has been removed, draw dashes around the entire outside edge of the perimeter line, at 10mm intervals to mark the lines in which you tiles will be placed.
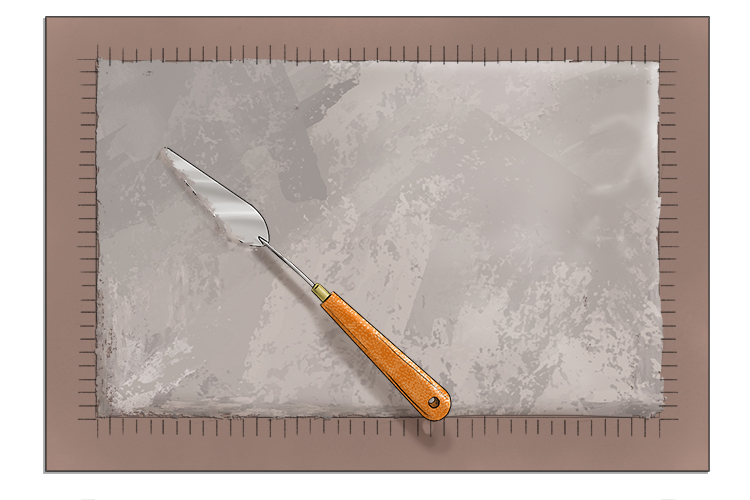
Spread the tile adhesive onto the back-board using your palette knife, being careful not to go over the outside perimeter line.
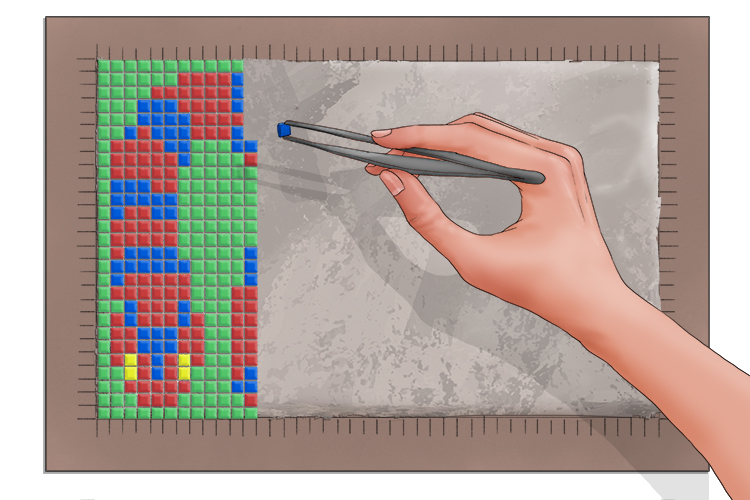
Using your reference image as a guide, push the tiles in the correct order into the tile adhesive. These small tiles will be fiddly, so you can use your tweezers to help you place them more precisely. Tile adhesive can take 24-72 hours to dry, so you might need to leave it a few days to dry.
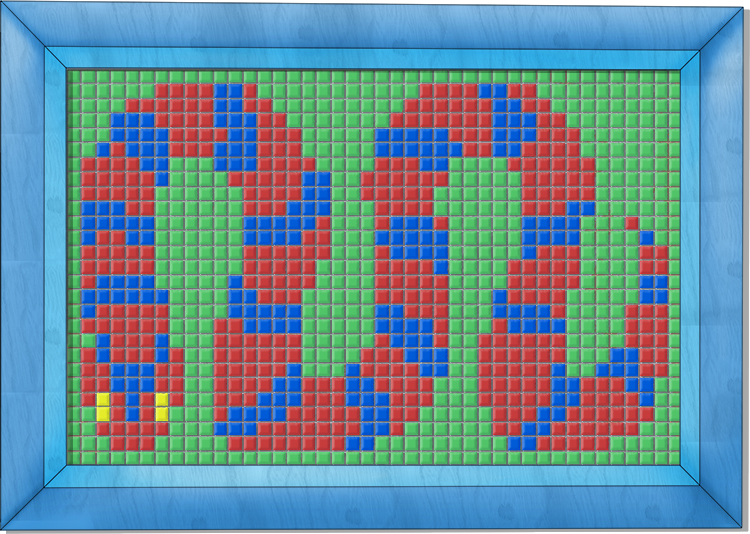
Once your tile adhesive is dry, reassemble the picture framework back onto the back-board.
Mosaic.


