Negative Space – The space around an object rather than the object itself
To remember what negative space is, recall the following mnemonic:
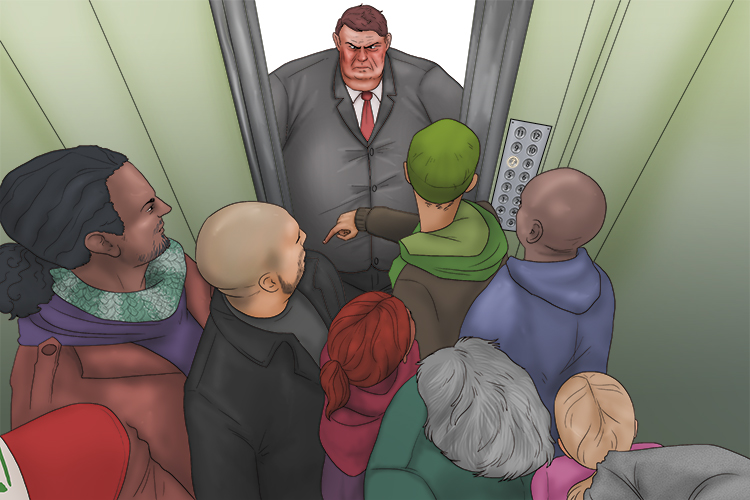
I don't want to be negative about this, but there's hardly any space (negative space). You won't get in this space.
Negative space artwork is often used to create optical illusions. Negative space refers to the space around the main focus or object (often referred to as the positive space) in the picture. If you see a vase, then you see the white area as the negative space. The black areas become the positive space. If you see faces, then you see the black areas as the negative space, and the white area as the positive space.

An example of the Rubin's Vase effect. Do you see two faces, a vase or both?

If you look at the negative space between the E and the x of this logo for a delivery company, you'll notice an arrow.
Negative Space Project
For this project, we will create a drawing emphasising the presence of negative space.
You first need to find a reference image. Try to find a photograph with interesting shapes. We are going to use this picture of a horse. The background and the bridle are going to be our negative space, and the horse itself our positive space.
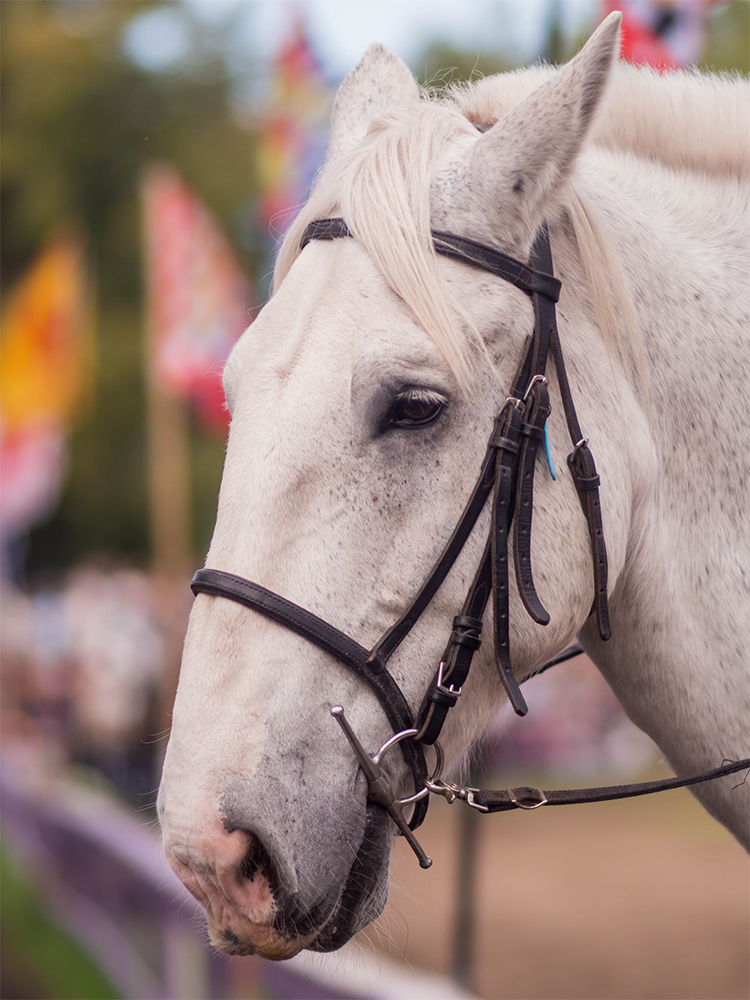
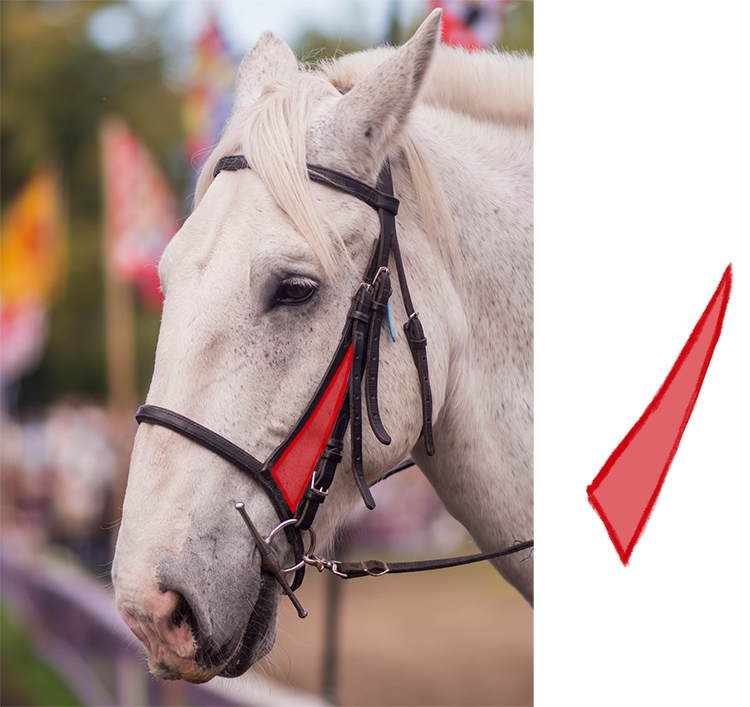
Rather than thinking about the horse, bridle and background as three dimensional objects, try to break them down into flat shapes. For instance, the shape highlighted below is a tall and sharp triangle.
Map out all of the shapes you can see in pencil. You can use the Mammoth Memory Grid Method to help you.
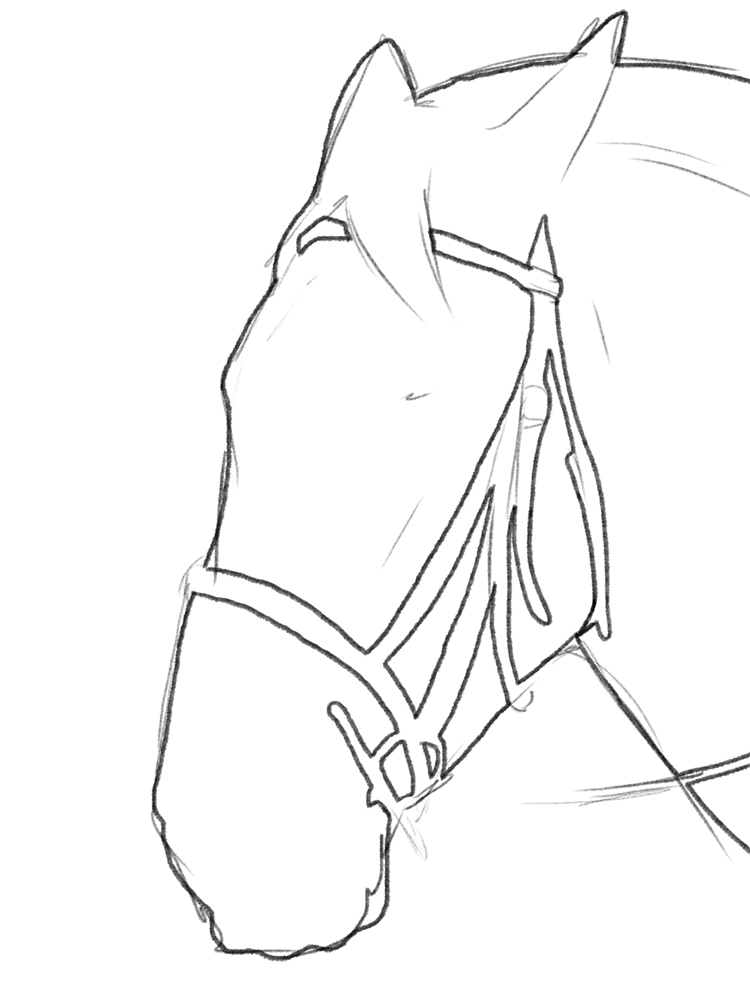
Once you're happy with all of the shapes, go around the outlines in pen. Notice how there are no intersecting lines. When the pen is dry, erase the pencil lines.
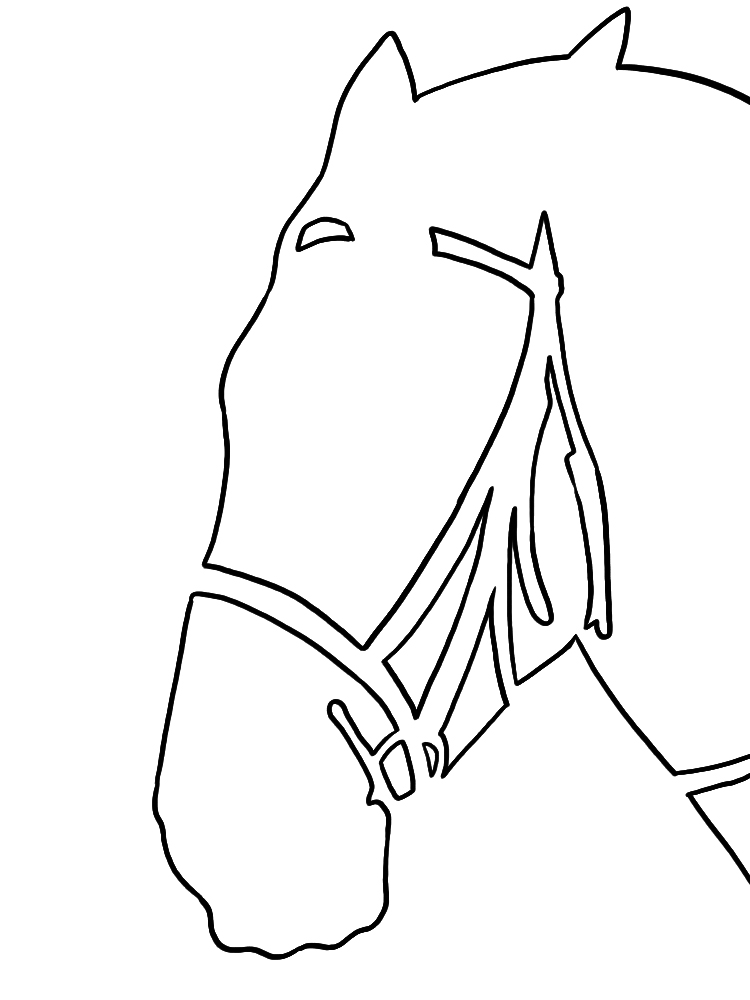
Next, paint all the areas of negative space. Even though the shapes are so simple, it is still obviously a horse, which is why negative space art is so appealing.
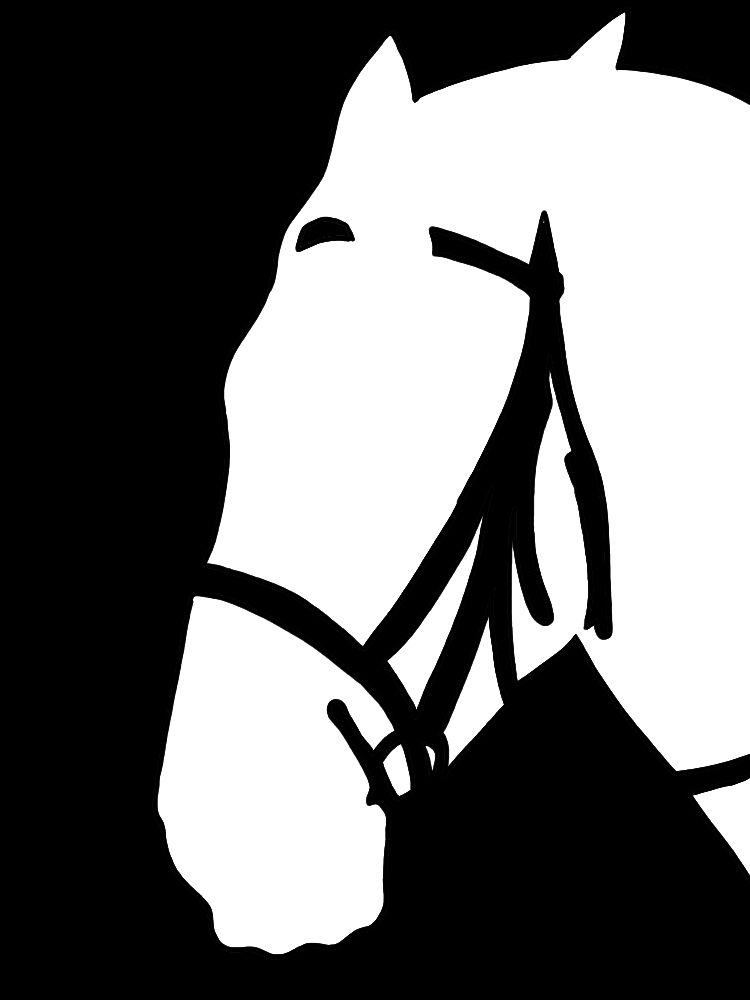
Negative space Project 2
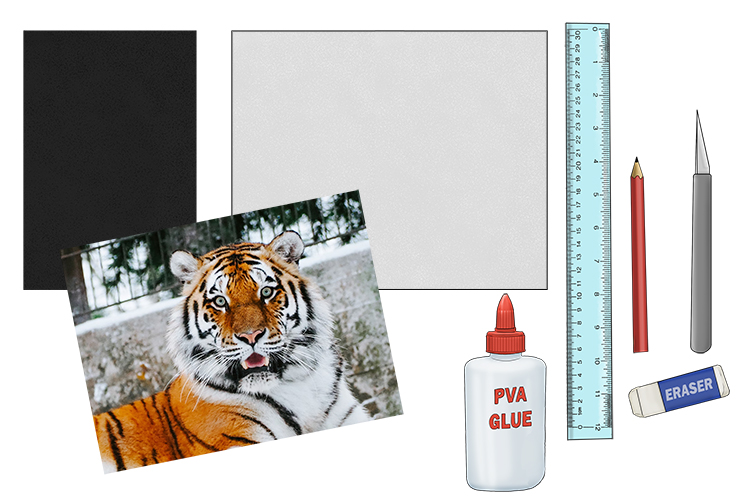
For this project, you'll need a ruler, an eraser, glue, a scalpel, a pencil, a sheet of A4 black card, a sheet of A3 white card and a fairly symmetrical reference photo.
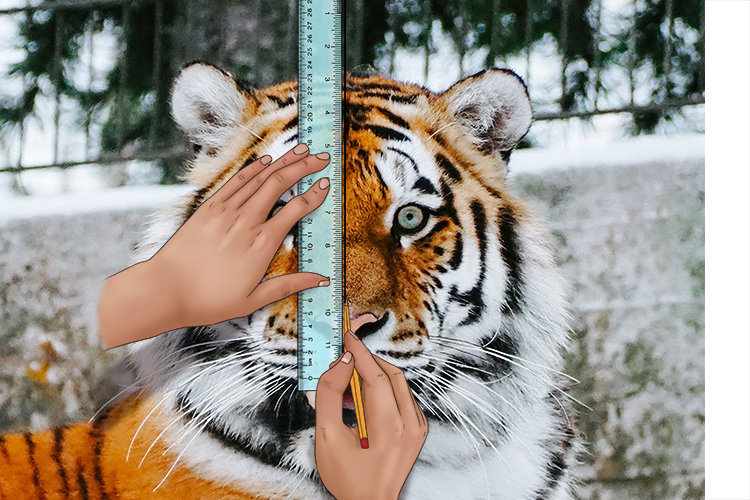
Draw a vertical line down the middle of the reference photo.
Lightly sketch all the black parts of the left half of the tiger onto the black card. You can use the Mammoth Memory Grid Method to help you.
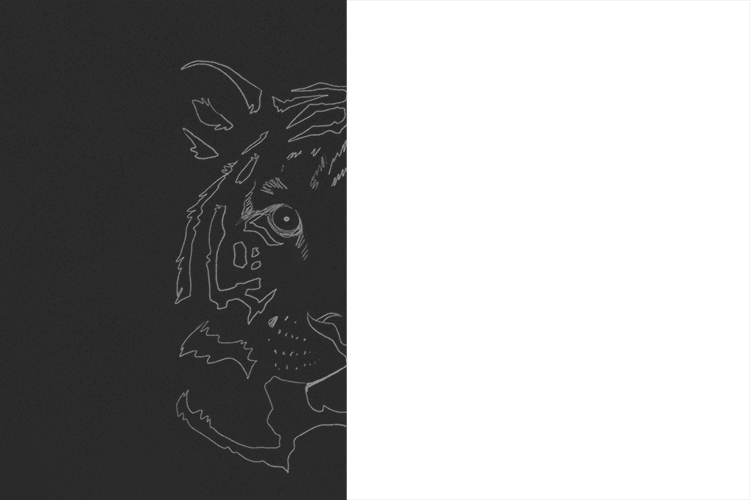
Cut out the areas you have sketched, being careful to save all the pieces you cut out.
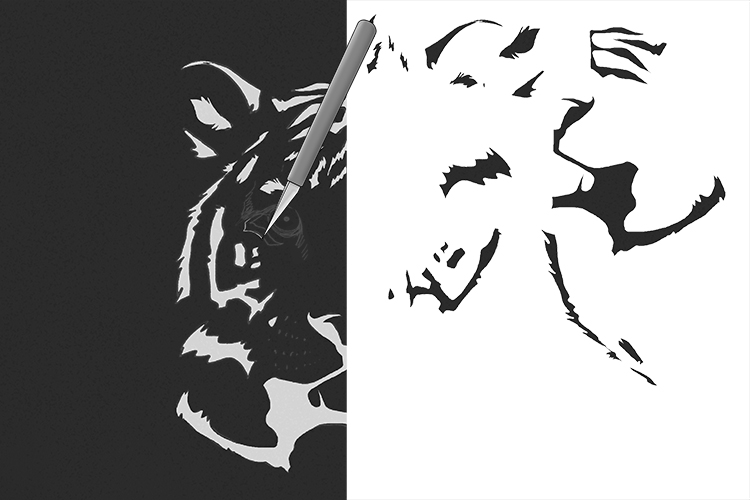
Then, stick the black piece of card to the white piece of card so it covers half of the white card.
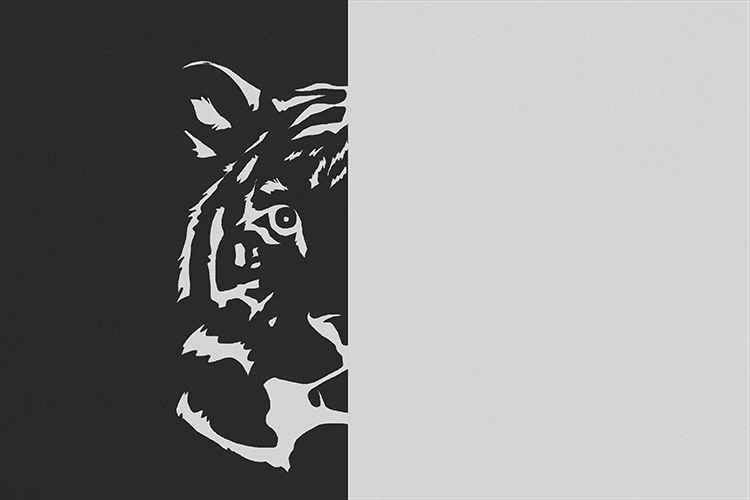
Flip all the pieces you have cut out over and arrange them to match the opposite side. Once you're happy with the layout, stick the pieces down. You should be left with a beautiful positive and negative space picture. On the left side, the black area is the negative space and on the right side the white area is the negative space.
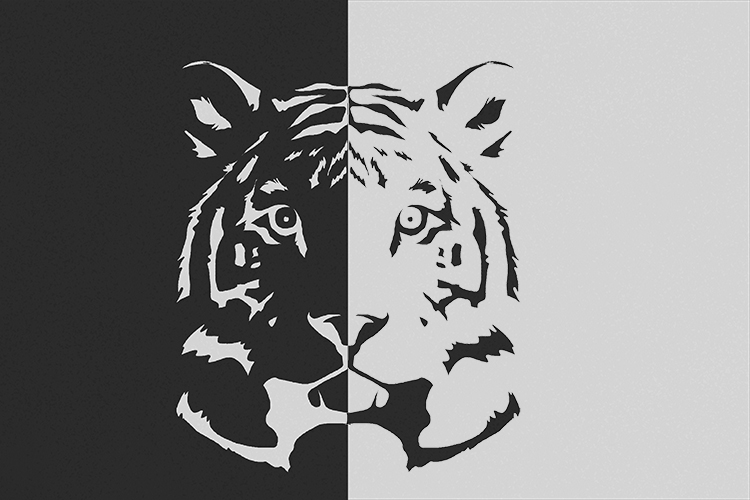
Negative Space.


