
Montage – An assembly of images that relate to each other in some way to create a single work or part of a work of art
(Pronounced mon-tahzh)
Note: A collage would be photographs, items or materials arranged on a background but a montage would be an arrangement of photographs, items or materials to create another image.
To remember the meaning of montage use the following mnemonic:
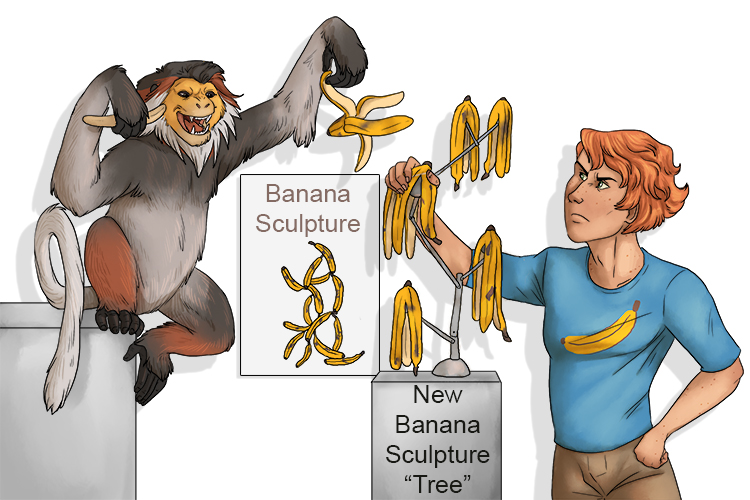
After the monkey has sabotaged (montage) my art display, I was able to assemble what was left into a new work of art.
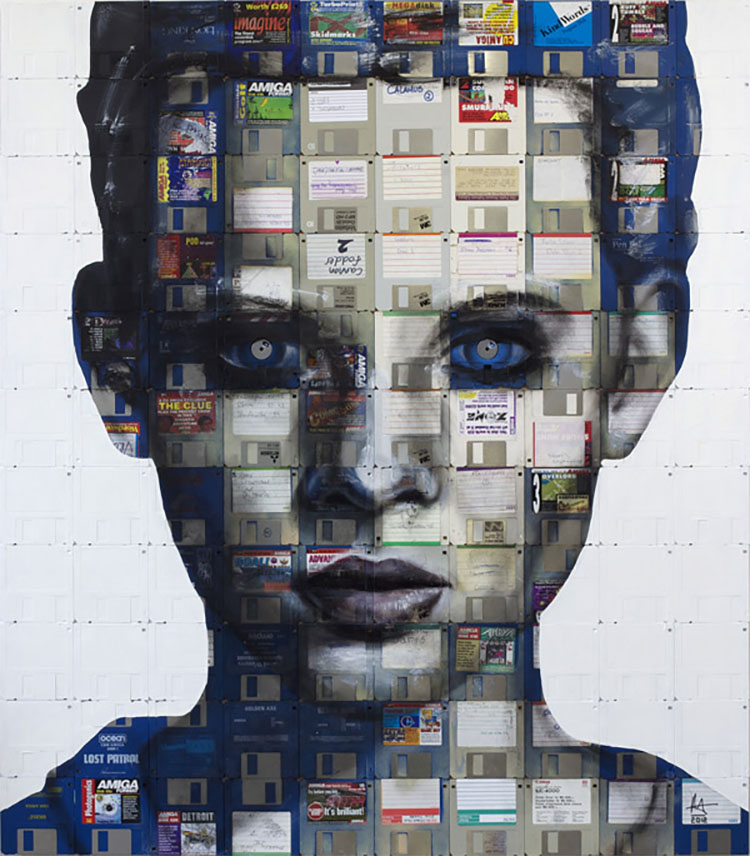
Nick Gentry Digital Montage Number 2.
The image above is made of repurposed floppy disks and paint. The circular metal "hub" of the floppy disks have been used to make the pupils, which give the woman a futuristic look of an android or robot. This piece was from a series of floppy disk portrait described as "social art".

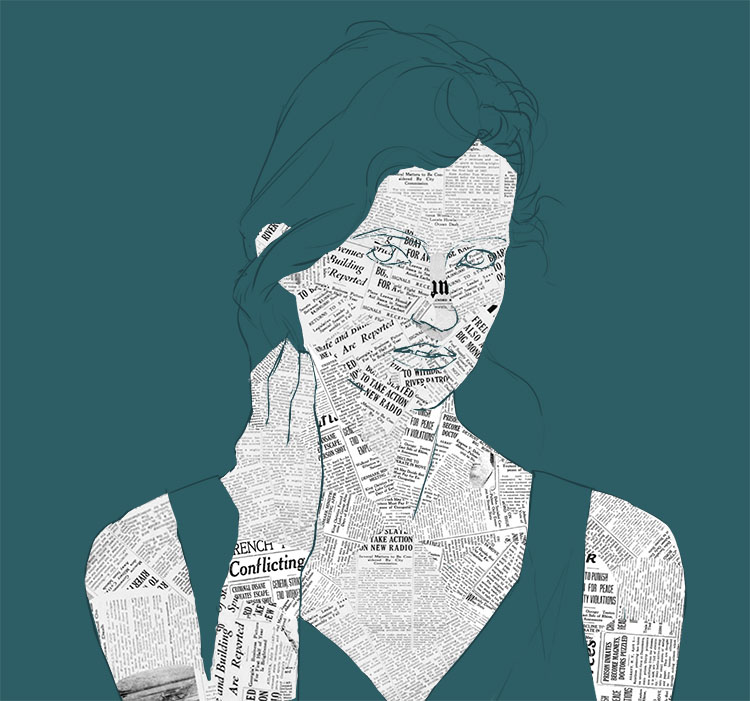
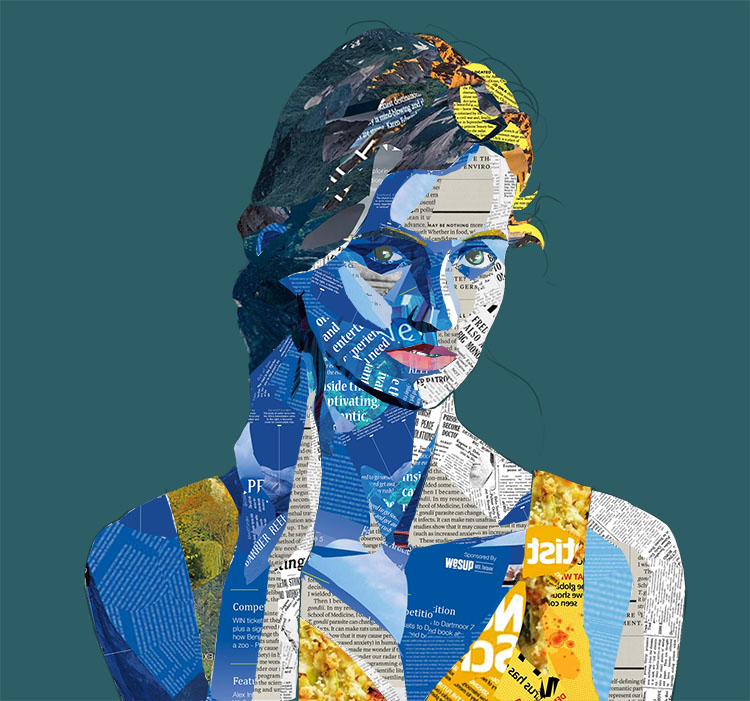
"self portrait" by bellecaramella is licensed under CC BY 2.0.
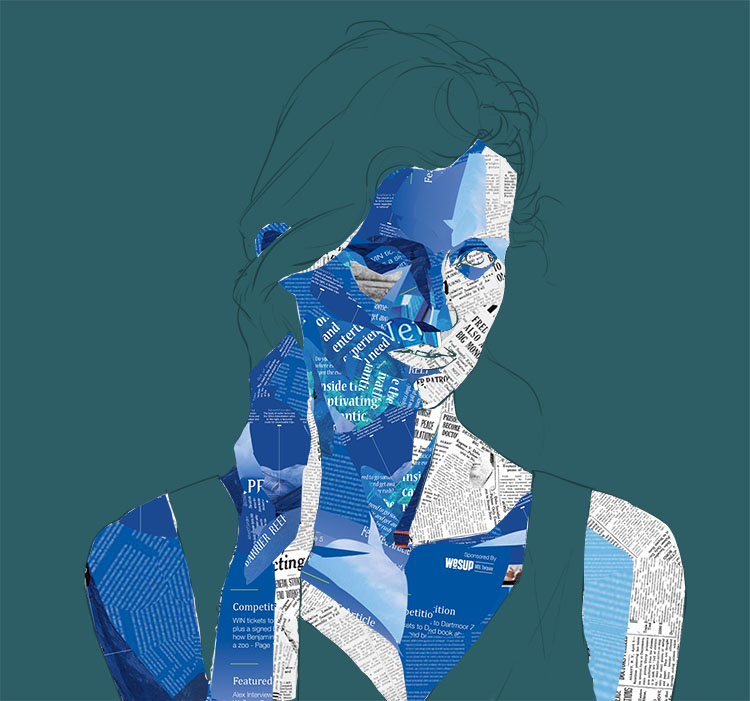
The artist above has created a self portrait montage using various magazine and newspaper pieces. They've created a monochromatic piece using various shades of blue to create their portrait. They've also utilised the white text on the black magazine pages they've used to help add texture and more depth to the hair. When creating montages using pages of text you can use the size, spacing, direction, etc of the words to help create different levels of shading and detail.
Montage Project
For this project we're going to create a portrait using magazine and newspaper articles. When choosing your magazines, try to relate in some way to the person being portrayed.
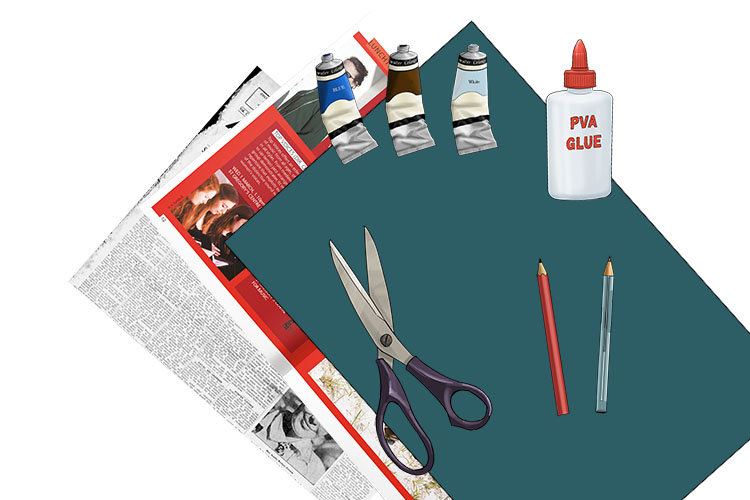
You will need a pencil, a pen, card, glue, paints, scissors and various magazines and newspapers.
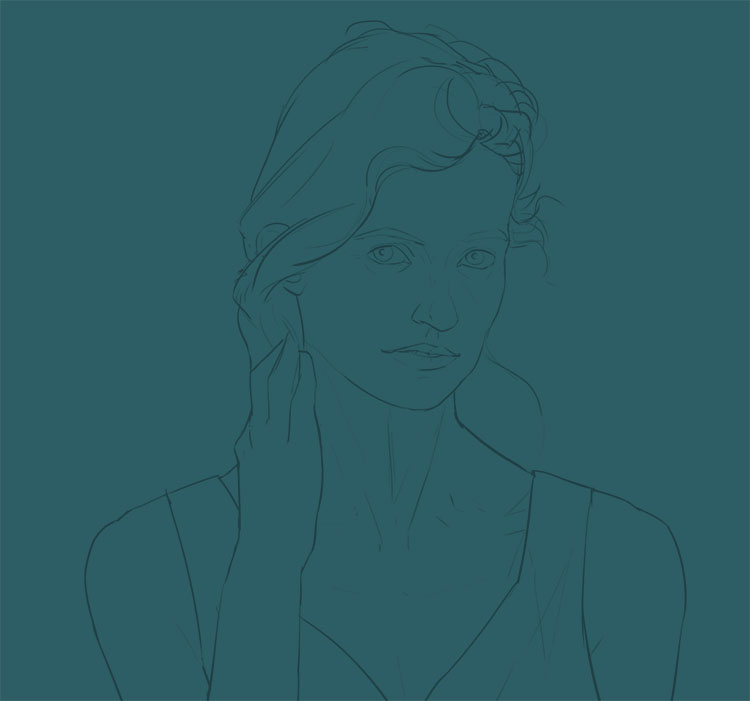
To start, lightly draw out your portrait in pencil on your card.
Cut and tear pieces of newspaper and stick them onto your drawing to create a base layer for the person's skin. When doing this try to leave some of your lines uncovered so you can still see the basic shape and location of facial features. If you do cover any of these lines you can always re-draw them on the newspaper.
Next start to block out some shadow areas using magazine cut outs that are similar in colour, we've chosen to use different shades of blue for our shadows. You can start to cover up your line work as you will be indicating the shapes and forms of the person with the shadows.
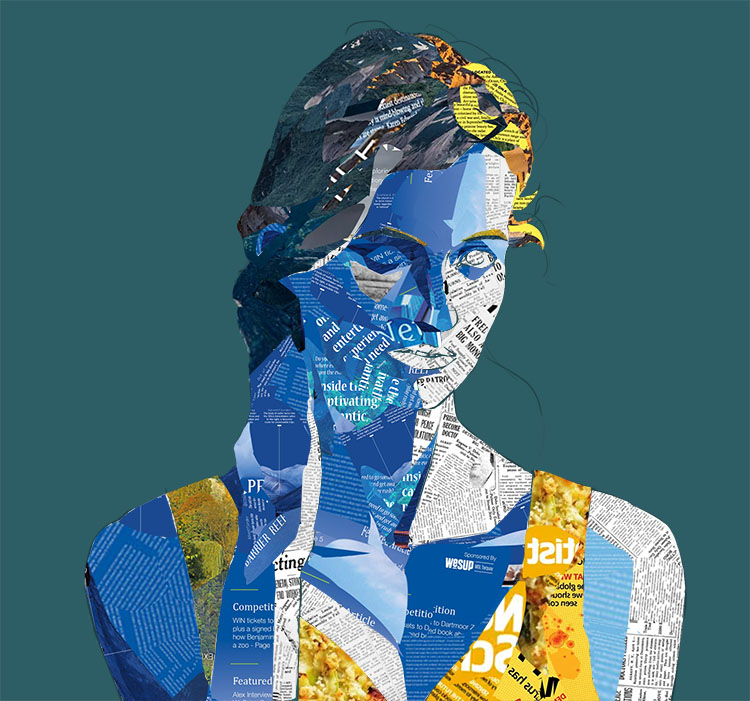
Using more torn/cut up magazine sections, fill in the hair and clothing with a variety of magazine cut outs that represent the colour of hair you require. Try to add shading to these areas by using a combination of darker and lighter colours.
More detail can be added to the face with newspaper pieces that have an off white background. This allows us to portray more subtle shading on the portrait.
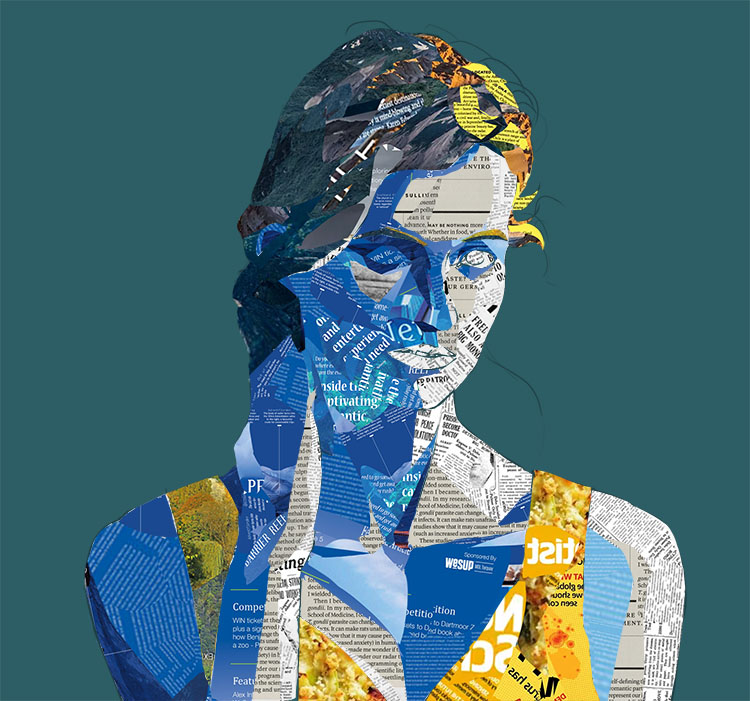
Working with smaller cut out pieces of magazine, you can start to add smaller details to certain areas like the eyes to produce a brilliant montage.
Montage Project 2
For our second project we're going to create a portrait montage using food.
You will need a pencil, paper and various items of food.
-10-in-art-vocabulary.3541495.jpg)
First you'll need to sketch out the face you will be creating out of food. You can draw an existing photo or just use your imagination.
-01-in-art-vocabulary.098bd10.jpg)
Next you'll need to photocopy your drawing so you have an extra copy to refer back to while layering food on top of the other portrait. You could also trace the drawing or take a photo on your phone if you don't have access to a photocopier.
-11-in-art-vocabulary.61494ea.jpg)
Add a layer of food to act as a base skin tone. For this step you'll want to use something that's fairly flat and neutral in colour, we've chosen to use a thin layer of rice.
-02-in-art-vocabulary.df19e8f.jpg)
Now using a darker but still neutral coloured food, add some shading to the shape of the face. For ours we used brown rice.
-03-in-art-vocabulary.fce7690.jpg)
You can now start adding in facial features. We've started with the nose which we created using a piece of salmon nigiri (type of sushi).
-04-in-art-vocabulary.efa4f5e.jpg)
We then moved onto to the ear, we decided to use a slice of mushroom as it had a similar shape to our portraits ear.
-05-in-art-vocabulary.9336455.jpg)
Next you'll need to find something fairly small and round to represent the eyes, we used sushi. The eyes should be the focal point of your piece, so try to use something that creates contrast and draw attention to this area (for our piece, the black seaweed around the sushi contrasts with the white rice we used as a base layer).
-06-in-art-vocabulary.9221af6.jpg)
For the hair you are looking for something that will contrast with the skin and adds a more distinct texture. We've used curly kale as the dark green stands out from the rest of the piece and the texture creates the impression of curly hair.
-07-in-art-vocabulary.ab3e0a7.jpg)
Next you'll want to add any clothing that's visible in the piece, what you use here will depend on what sort of clothing the person in your portrait is wearing. Our character is wearing a jumper with a hood so we've used cabbage leaves for the body of the jumper and tender stem broccoli for the hood.
-08-in-art-vocabulary.cfcb875.jpg)
To finish the piece off you can add some smaller details and finishing touches, for ours we added some small pieces of seaweed to add more contrast and shading.
-09-in-art-vocabulary.f9bb5b3.jpg)
Montage.


