
Bas-Relief – Sculpture in which figures project only slightly from a background, as on a coin
(Pronounced bass-ri-leef)
The basset hound relieved (bas-relief) itself on the sculpture where figures only slightly project.
Bas-relief sculptures are usually on a flat base or tile and are usually carved from stone or clay or cast from moulds in plaster. The details of the image are in relief, protruding from the surface like an embossed coin.
Bas-Relief Project 1
It is easy to create bas-relief art using clay. Here is a step-by-step project for creating a bas-relief tile.
For this project you will need air drying clay, a rolling pin, wooden rulers, clay tools and paint.
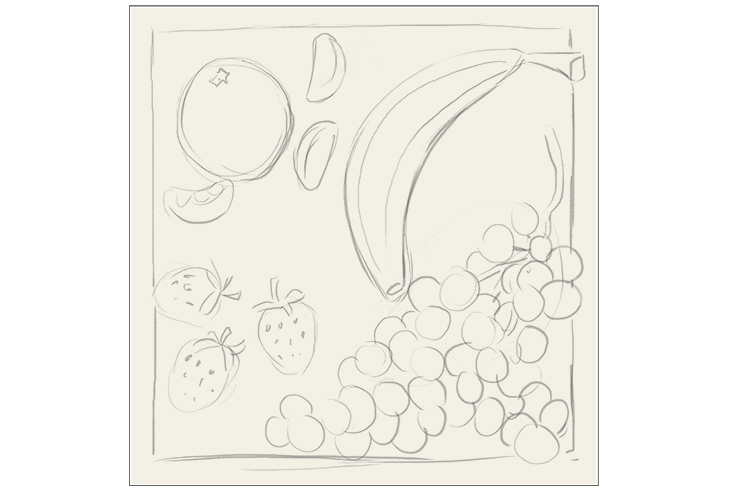
To begin, you need to decide on a design for your tile. Think about objects that would work well as a raised surface. We have chosen fruit for our tile. Make sure you keep a border so you can judge the thickness later on.
Draw a sketch of the design you are happy with:
Roll out your clay between two wooden rulers to get a level thickness of around 20mm and cut it into the shape you would like your tile to be.
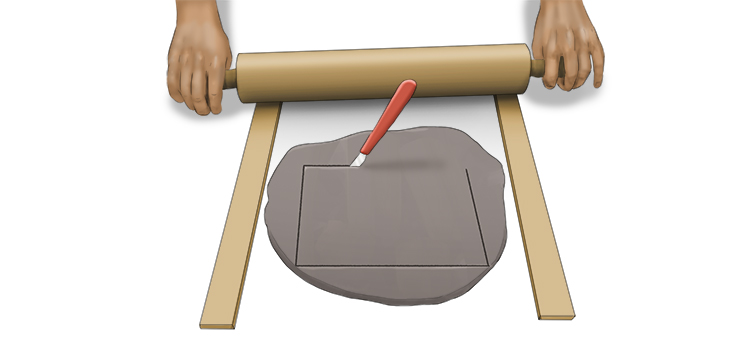
Remove the excess clay with a craft knife, cover your tile in paper and place it in a plastic bag, allowing it to go leather-hard. This should take around two days.
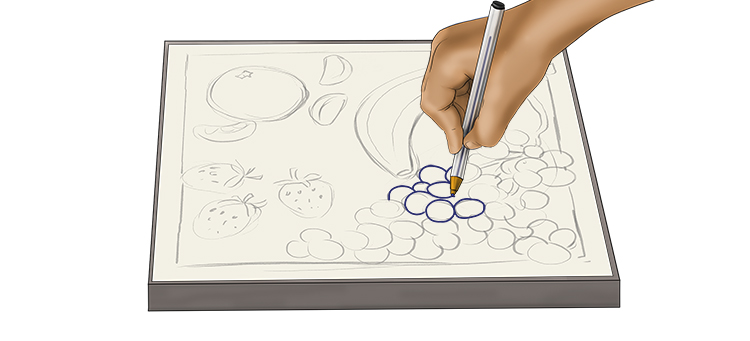
Once leather-hard, lay your design sheet on top of the tile (it shouldn't move around too much as the clay is quite tacky). Use a ball-point pen to draw over your design, allowing the lines to indent on the clay below.
There are multiple clay tools that all work differently, so you can use them for different jobs. Here are just a few:
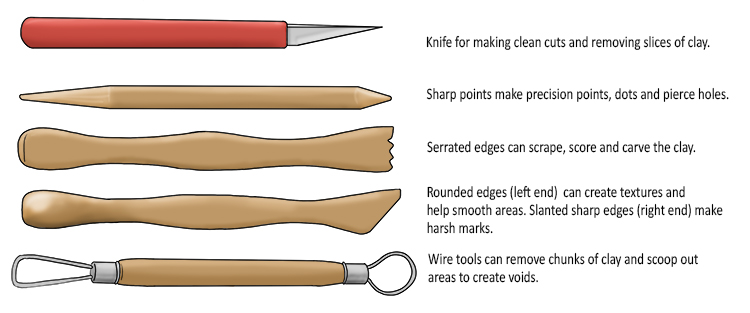
Use a wire loop clay tool to cut away the background areas of the tile, making sure not to go too deep as you don't want to go all the way through the clay.
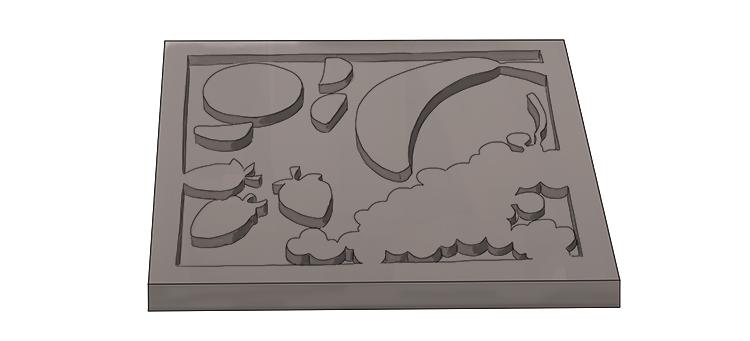
Cut details and texture into your fruit. Think about rounded edges and the surfaces of each fruit. You can also add detail to the background area by pressing dots all over it with a rounded tool.

Once allowed to dry completely, you now have a bas-relief tile.
Bas-Relief Project 2
The second method for creating a bas-relief tile is the opposite of the previous one.
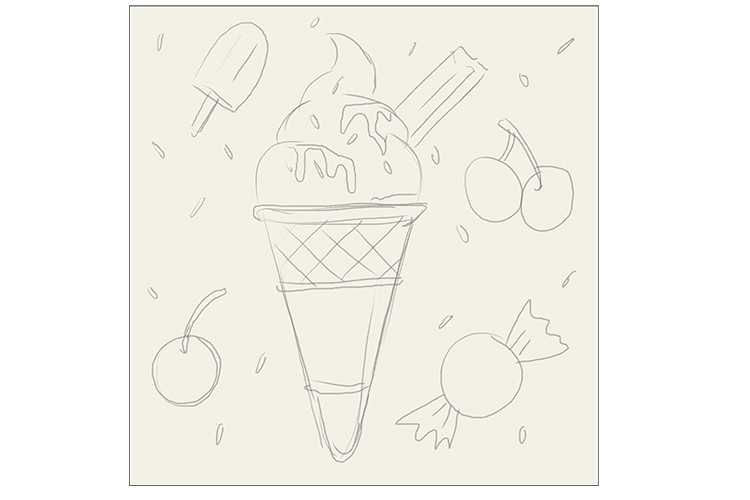
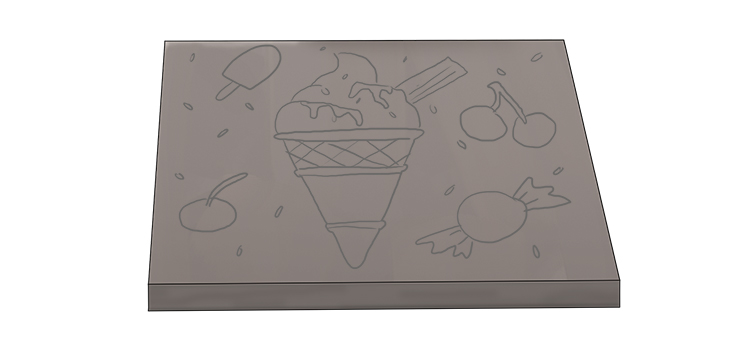
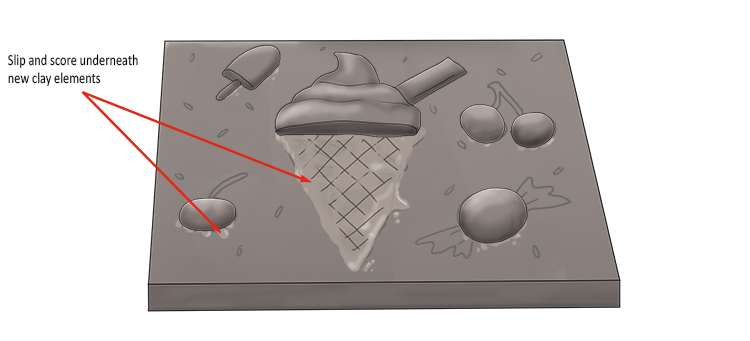
To begin, as with the first project, draw your design onto paper as a reference and a plan to work with. We have chosen an ice cream and sprinkles design.
You still have to start by rolling out your clay between two wooden rulers, this time to a level thickness of around 10mm, and cut it into the shape you would like your tile to be.
With this process (adding clay), you do not need to wait for your tile to go leather-hard before working on it as you want the new clay to bind well with it.
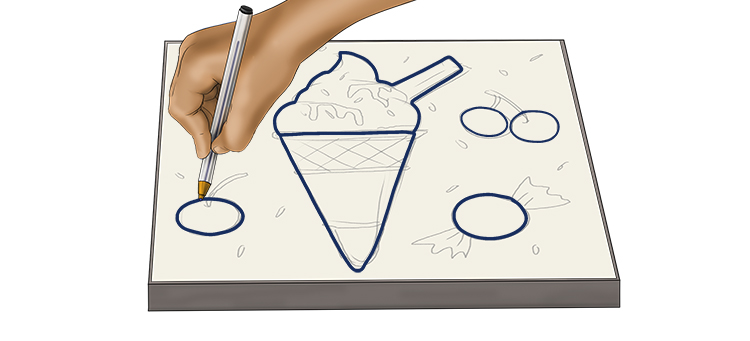
Lay your design sheet on top of the tile (it shouldn't move around too much as the clay is quite tacky). Use a ball-point pen to draw over your design, allowing the lines to indent on the clay below.
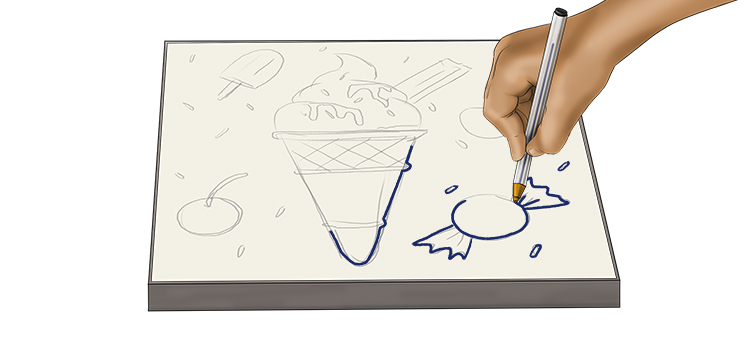
You should now have a clear plan of the areas you are going to add clay to marked onto your tile.
The larger areas of clay, such as the cone, the ice cream, the centre of the candy and the cherries can be cut from a new tile of clay to stick on. To do so, roll out another 10mm tile and place your image on top, drawing around only the sections you want to cut.
You can now use the marks you have made to cut out the sections using a clay knife.
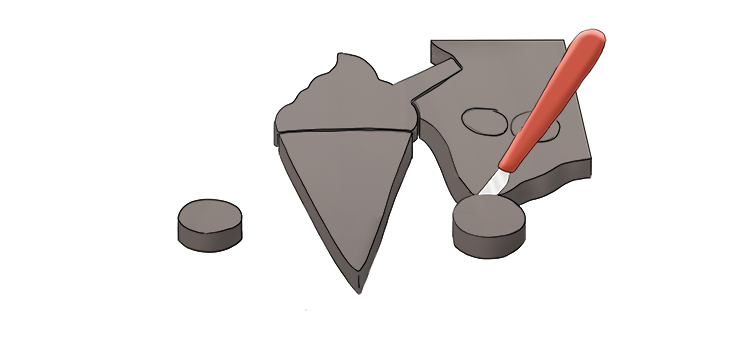
Once the sections are cut, round them off with your tools by scraping away the excess, leaving a rounded shape.
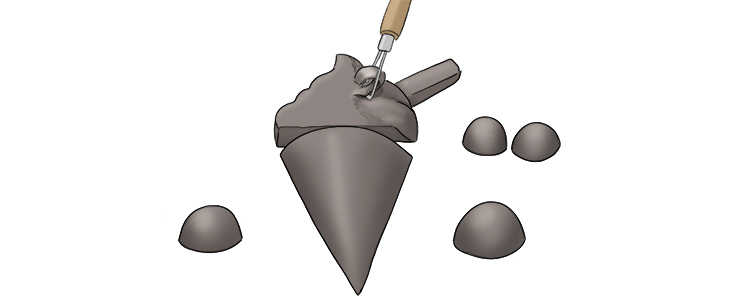
To add the larger areas of clay to your tile, score the areas with a knife and wet them with slip (a mixture of clay and water) before applying them to ensure a good joint.
Once you have your larger areas in place, you can add the finer details in clay to create your finished bas-relief tile.
You can make smaller pieces of clay with your fingers, rolling tubes of clay and sticking them on with slip to form areas such as the lattice and the stems.
You can also scratch, cut, press and scoop marks into and out of the clay with your clay tools to add textures.
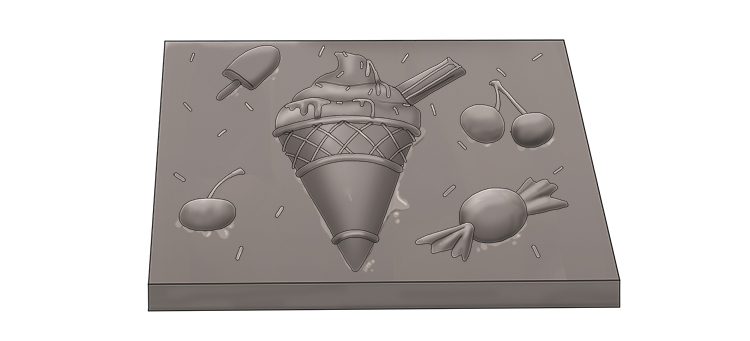
Once allowed to dry completely, you can even paint your final design.

Bas-Relief Project 3
The third method of creating a bas-relief tile is a little more advanced, it involves casting your tile from a hand-made mould.
Yet again, the first stage is rolling out your clay between two wooden rulers, this time to a level thickness of around 20mm, and cutting it into the shape you would like your tile to be.
You then need to gather objects you can press into clay to create a design – flowers work well.
Once you have gathered them, place your flowers onto the clay in a design you are happy with.
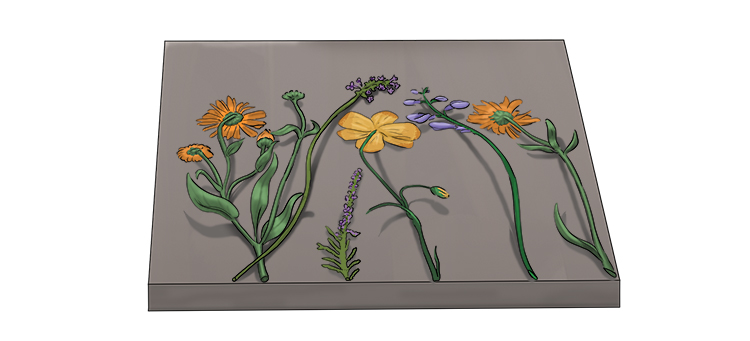
Put a sheet of baking parchment on top of the flowers and a thick magazine or stack of paper, and gently apply pressure with a rolling pin, pushing the flowers evenly into the clay. Be sure not to apply too much pressure as you don't want to start rolling the clay thinner.
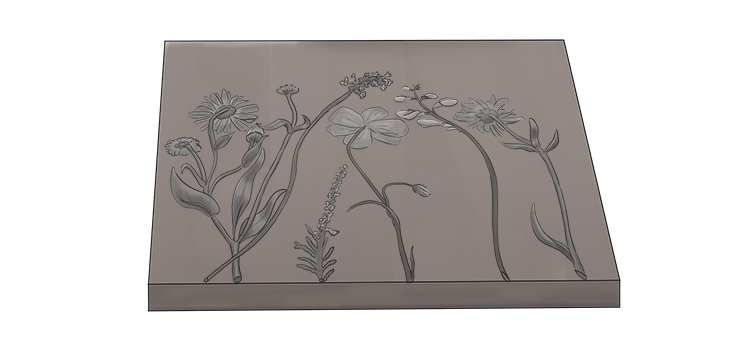
Remove the paper and you will see the flowers are now pressed into the clay.
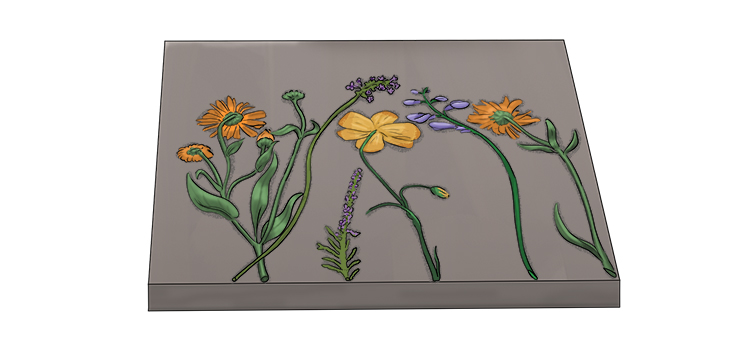
Carefully pull the flowers out of the clay, leaving behind their indentations.
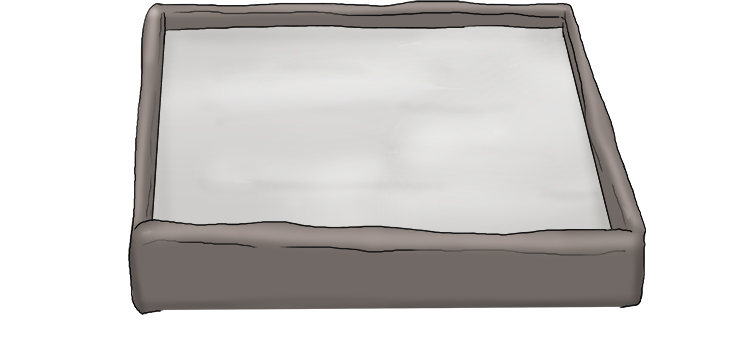
Use the extra clay you cut off the tile to build a lip about 40mm high around the edge of the tile, as you would if making a pie. Ensure the clay is sealed all the way round as this will create the mould for your bas-relief tile.

Pour plaster (a 50/50 mix of plaster of Paris and water) into the mould and allow it to set. This should take around 20 minutes at room temperature.
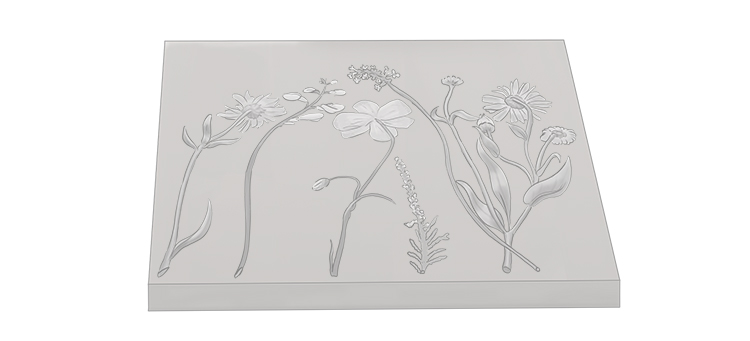
Once the plaster is set, gently pull away all of the clay, revealing your plaster tile. You can use a wet cloth to gently wash away any clay that has stuck in the finer details, being careful not to crush any of the plaster details.
When dry, your plaster bas-relief tile will now be complete.
Bas-relief.


