
Body Type – The typeface used in the main text of printed matter
To remember what body type is, recall the following mnemonic:
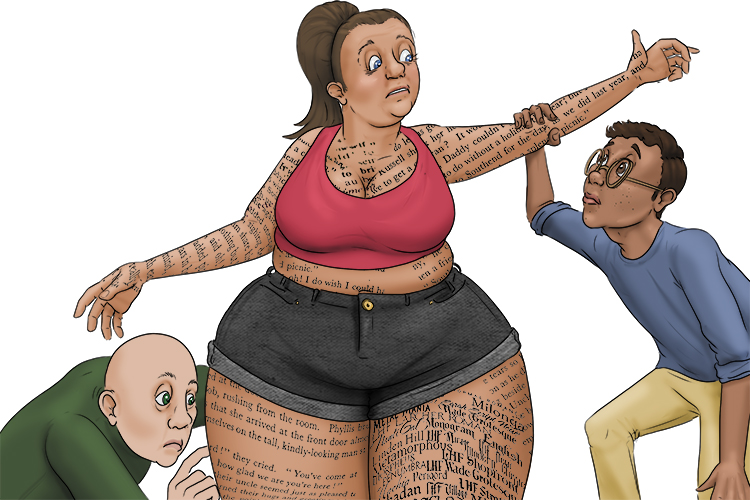
Her body type was pear-shaped, and there was plenty of interest in the main text of the tattoos that adorned her skin.
Rather than the title, headings, subheadings and other details, body type refers to the typeface used for the main 'body' of printed text.

Body Type Project
The body of text in any written work can appear in a large amount of different fonts, but is usually consistent throughout. A large hand written piece would technically still be a body type, as it is all written in that person's handwriting. For this project, a hand written body type will be utilised.
Your handwriting is a body type that is exclusive to yourself, like your fingerprint. You will rarely find two people with identical handwriting. To emphasise the individuality of handwriting even more, we will use it to create a self portrait.
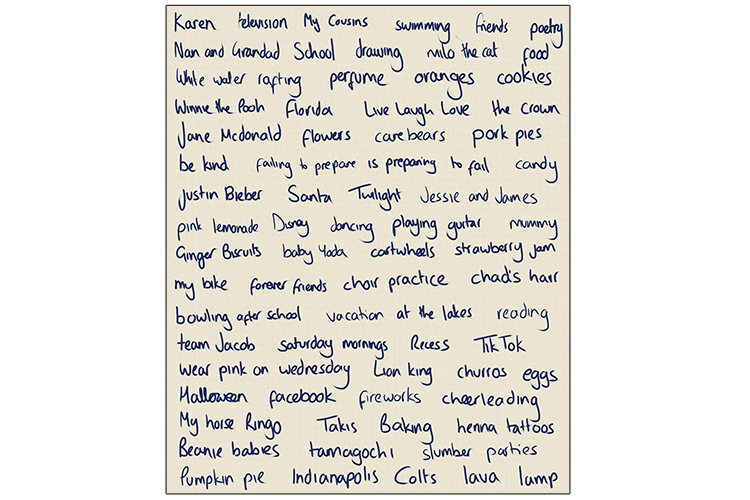
The first thing you need to do is to write a list of phrases, words, names, titles, any written reminders that mean something to you. Write as many down as you can think of, the more you have, the more variation your artwork will have.
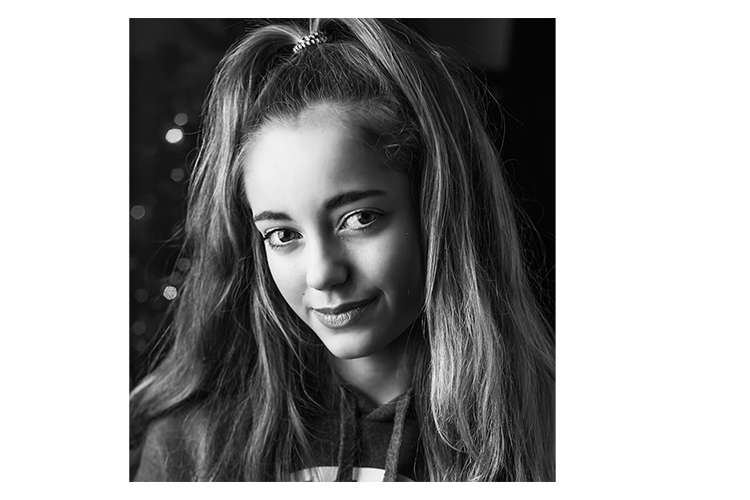
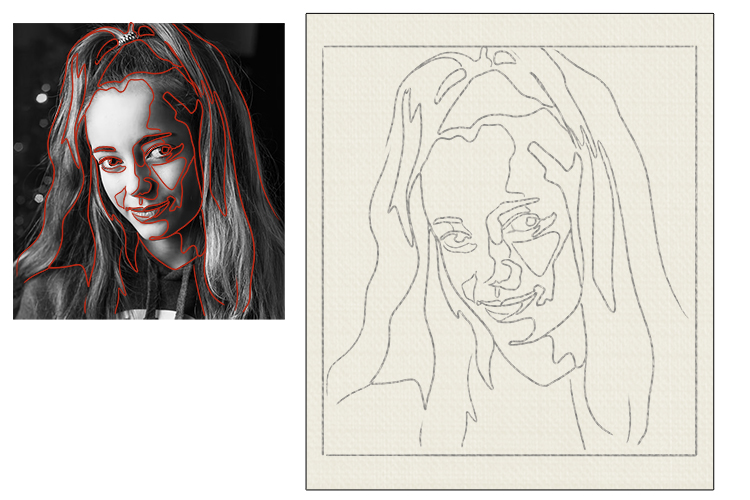
You can put your list of words to one side, as we focus more on the visual side of your artwork. Find a photo of yourself in black and white, ideally one with a strong contrast in light and shade, to make the next step easier.
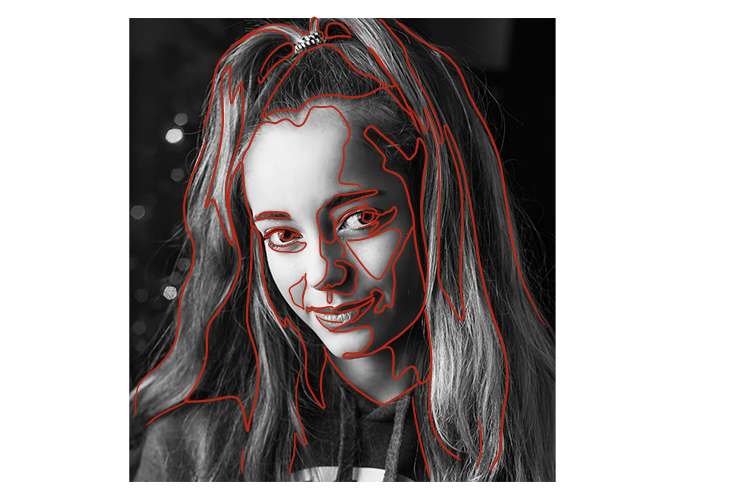
On top of your photo, draw around each area of tone to find the different areas of light and shade. Using a paint pen in a colour will make this show up more easily.
Now, using the Mammoth Memory Grid Method if you need to, lightly draw and reproduce the pen marks in pencil onto your paper.
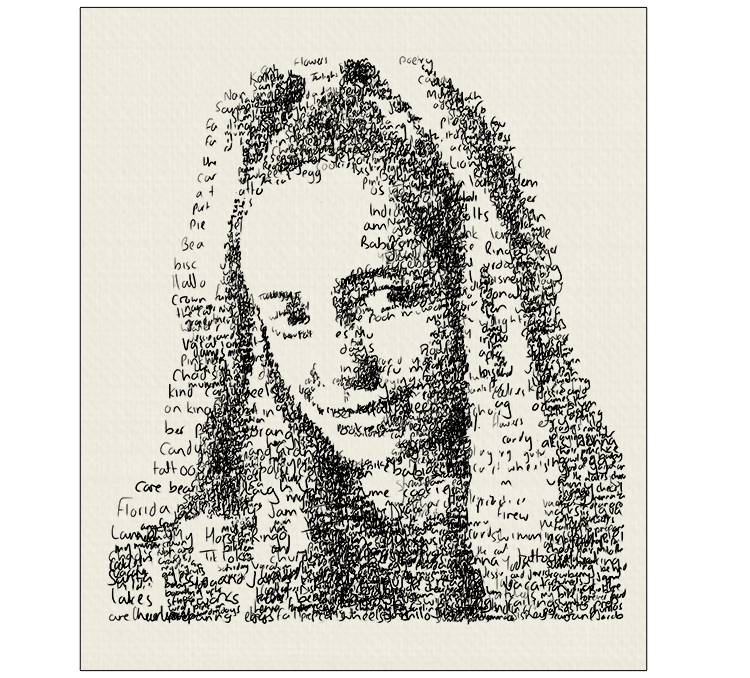
Leaving the lightest areas of your image untouched, start writing your words and phrases over all other sections, but quite widely spaced out.
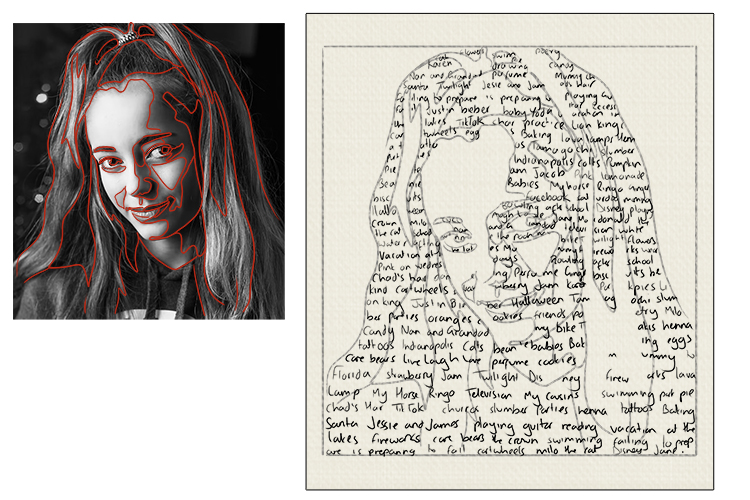
In the darker areas, write more of your words, overlapping the previously written ones and filling in some of the gaps.
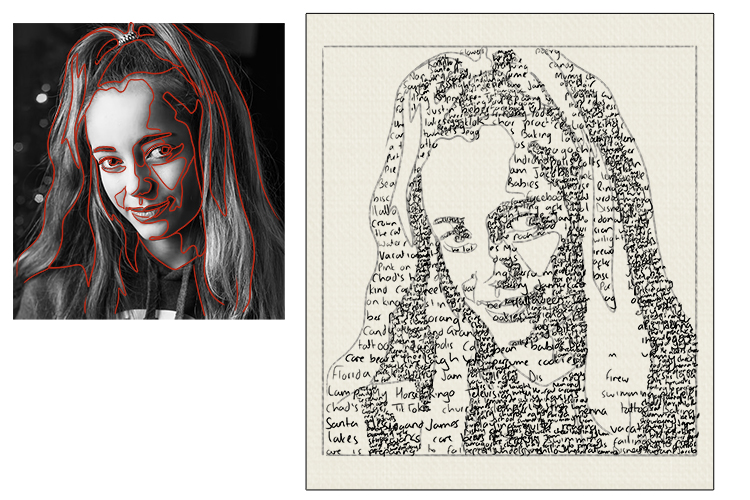
Now you can see three rough bodies of tone, made up with your handwriting. This can now act as a platform for detail to be added. In the same way as before, keep adding writing to the piece, in different sizes if necessary, to add dark details, until your portrait begins to emerge.
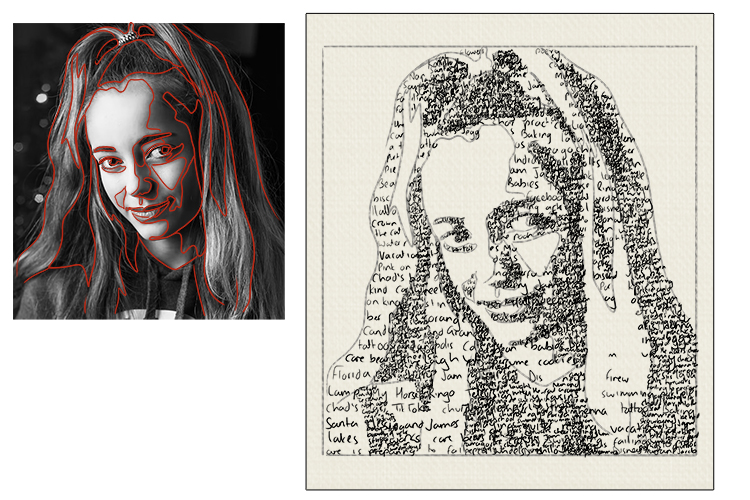
The very darkest areas should be created with words that are so compacted together they almost create blocks of black, with no paper visible below.

Once the pen has dried, you can use an eraser to remove your pencil lines and your body type portrait is complete.
Body type.


