
Divisionism – A painting technique in which primary colours are placed side by side to create a range of different colours and effects. It was later applied to pointillism by Seurat, Signac and others
(Pronounced dih-vizh-uhn-iz-um)
Note: Divisionism is the separation of colour and its optical effects. Pointillism refers specifically to applying dots. Divisionism combines the colours optically instead of physically mixing pigments.
To remember what Divisionism is, recall the following:
Division of light occurs with a prism (Divisionism) and so too if you divide your palette into primary colours you can create different optical effects.
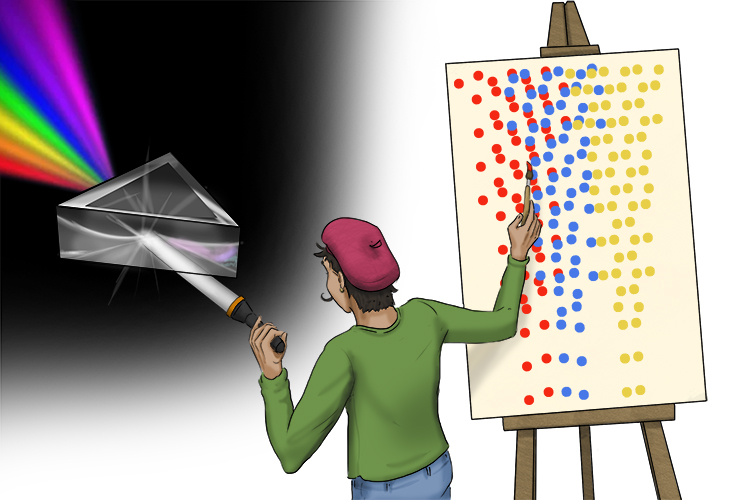
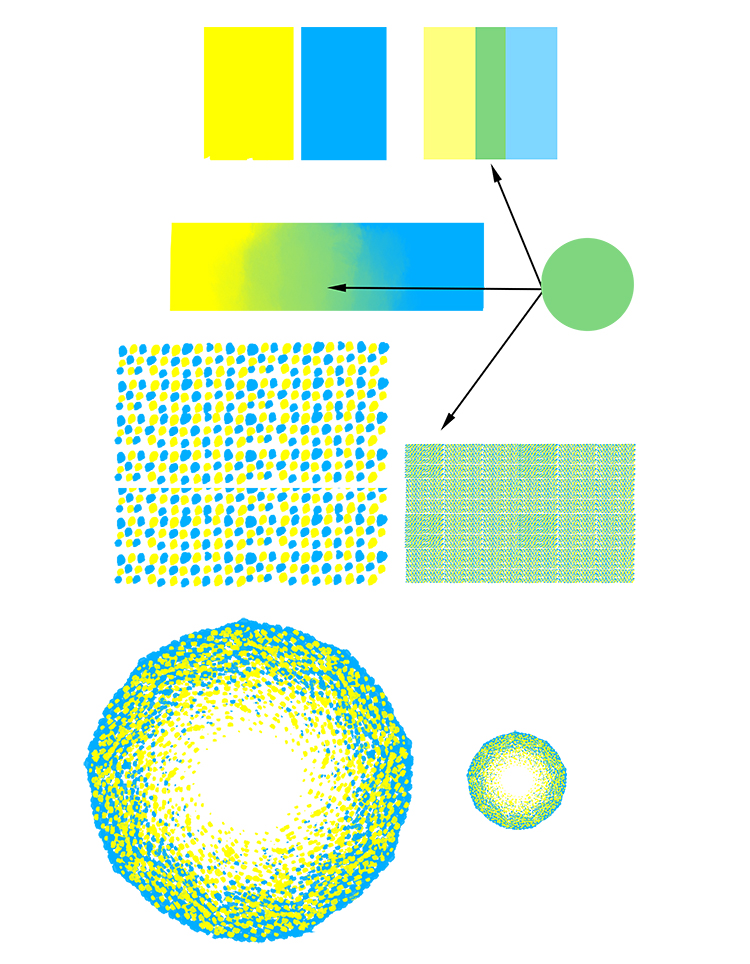
Divisionism uses the concept that placing small dots of primary and secondary colours close together allows the eye to 'mix' the colours. Rather than physically mixing paints together to create a wide spectrum of hues, tones and tints, this is achieved by placing different coloured dots together.
For example, greens can be achieved by placing light blues and yellows together.
The Divisionism artists applied the same theory to the detail in their paintings. As well as using the dots to create the colour of a specific object accurately, they used the technique to add depth. Blues, reds and purples were added to create shadows, yellows and oranges to show the fall of light on surfaces, and colours from objects in close proximity were reflected onto each other to add a sense of realism to the paintings – all mixed together with the eye!
Artists that famously used Divisionism in their paintings include George Seurat and Paul Signac.
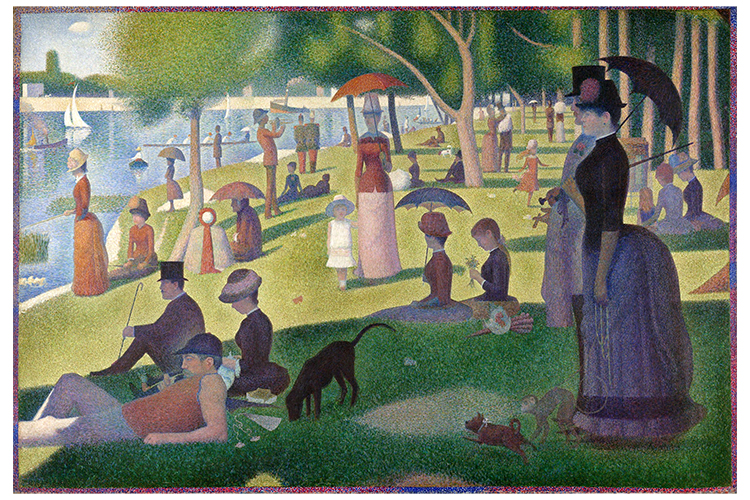
George Seurat, A Sunday Afternoon on the Island of La Grande Jatte, 1884-86
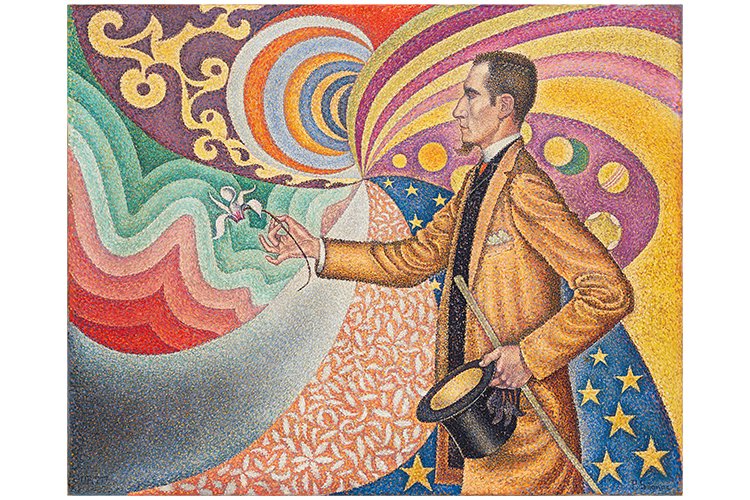
Paul Signac, Portrait of Félix Fénéon, 1890
Divisionism Project
It is easy to create a piece of art in the Divisionism style yourself. Just remember the key points: use only primary and secondary colours, use blotches and dots rather than long brushstrokes, use blues, purples and deep reds to add shadows, and use whites, yellows and oranges to add lighter areas.
The first step is to decide on a simple image you want to draw.
Use the Mammoth Memory grid method to draw a simple outline of your chosen image.
Fill in the main areas of colour with patches of colour (in dots rather than long brushstrokes).
Add dark areas with dots of blue, purple or deep red.
Add lights with whites, yellows or oranges and your Divisionism-inspired artwork should be complete.
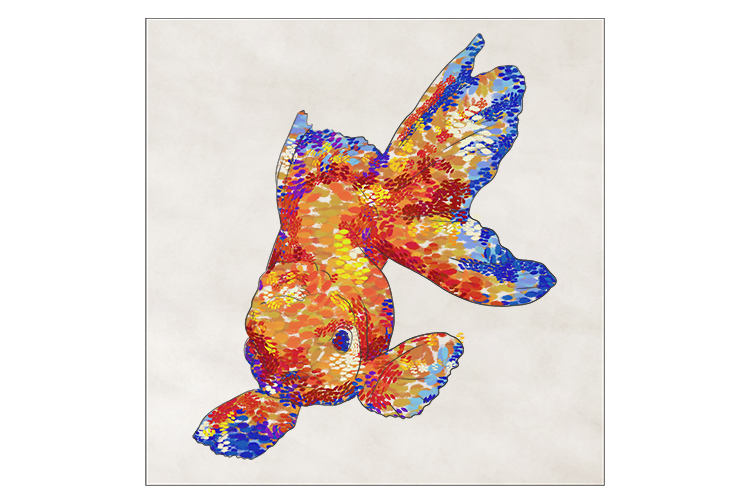
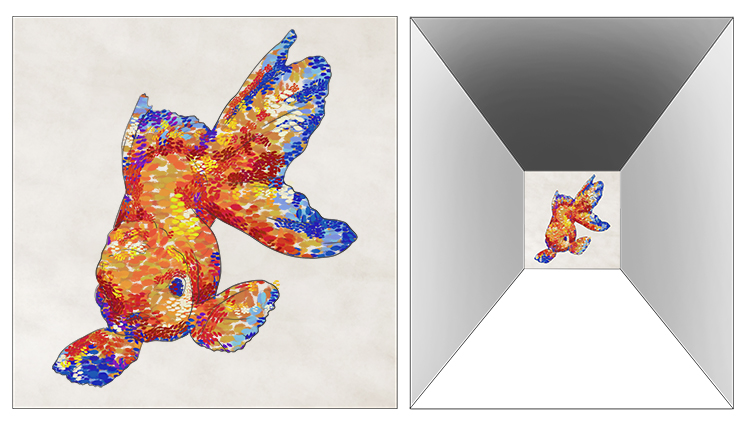
You will notice that, up close, your image may appear somewhat broken up and hard to see, but when viewed from a distance, it becomes much more recognisable. This is the divisionism "illusion" which occurs as your eyes blend the separate colours together.
Divisionism Project 2
A more intense version of the project aims to create a more realistic outcome, more similar to the detailed work of Seurat. A higher density of dots of colour creates subtle tones and hues that, from a distance, create a detailed painting that could almost be mistaken for paintings of pre-mixed colours.
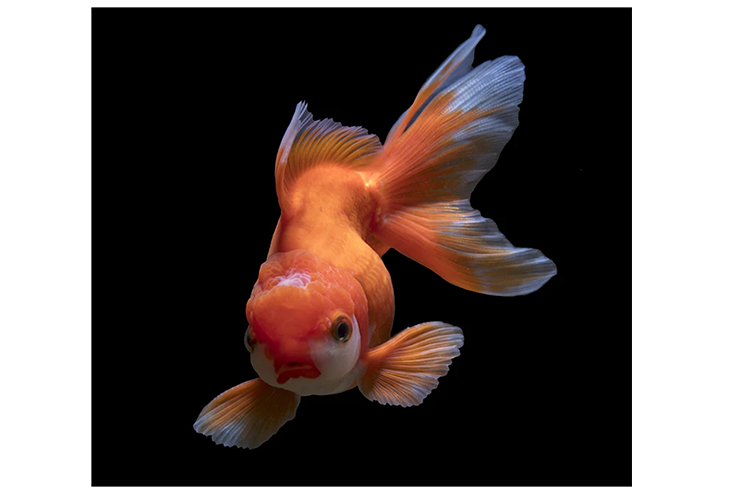
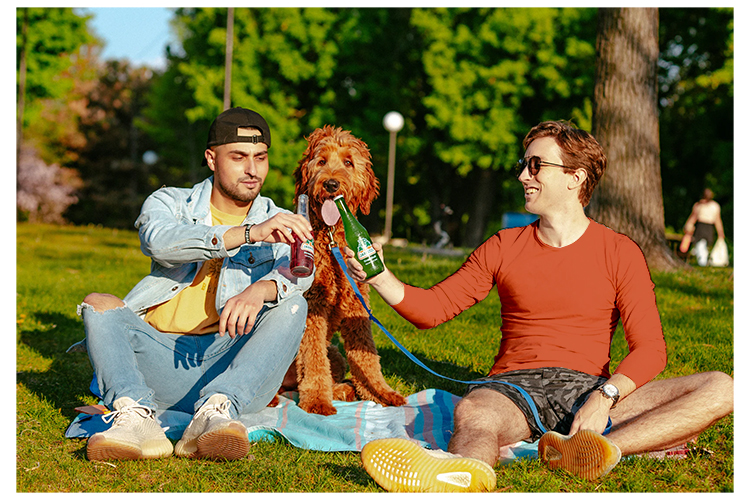
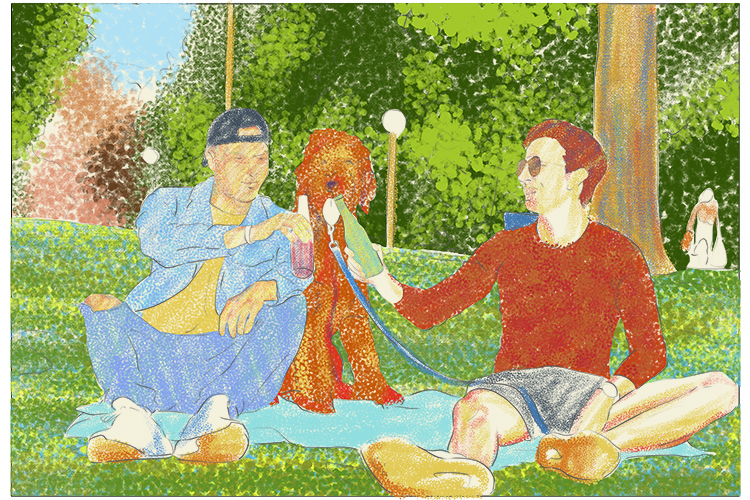
To create a piece of Divisionism-inspired artwork, you can try to re-colour your own version of a photograph.
To begin, find a photograph you wish to copy. Try to find an image that is bright and colourful, with interesting forms and clear boundaries between different colours.
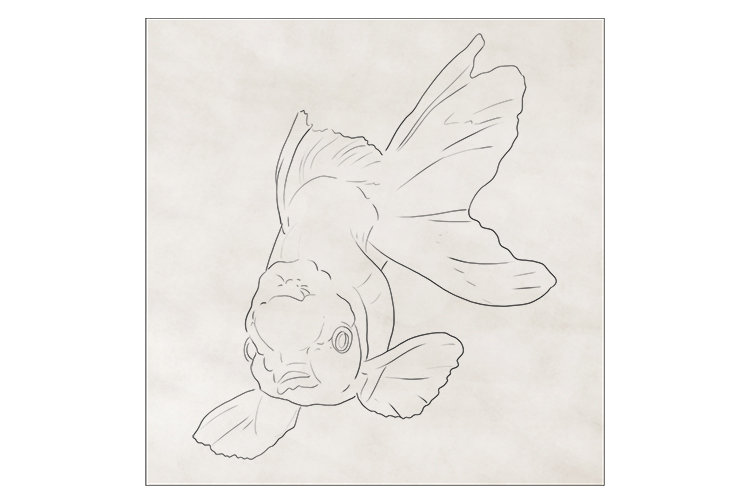
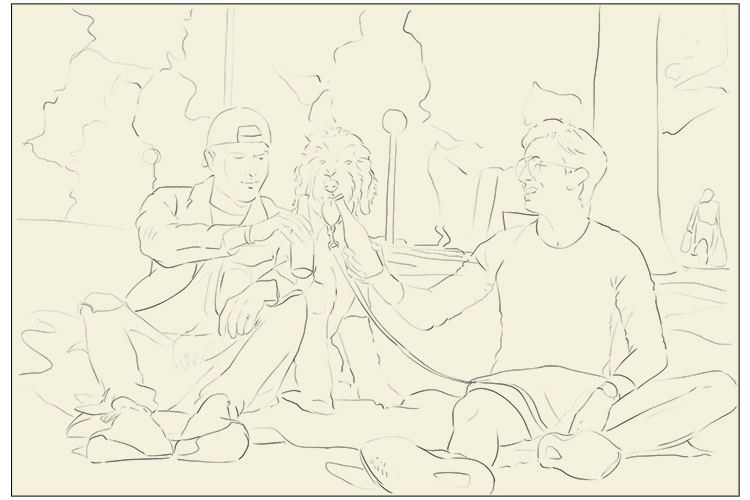
Use the Mammoth Memory grid method to draw an outline of your photo in pencil. The drawing doesn't have to be too detailed – this is a project on colour after all.
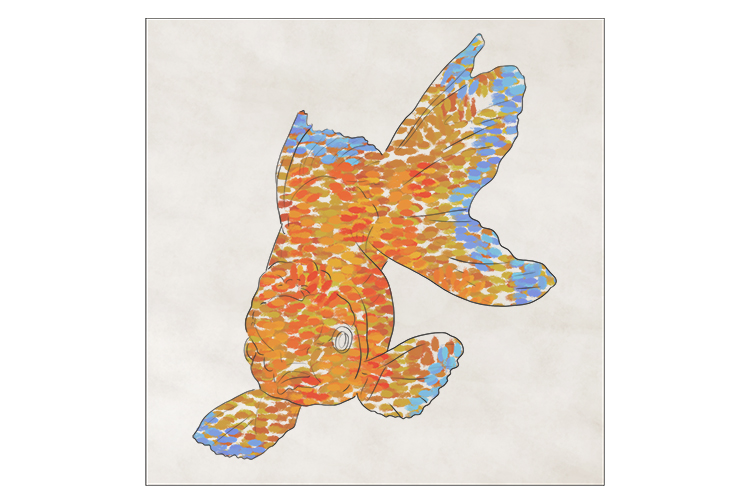
The first stage of colouring the image is to apply the base colours of each section. Think about how colours are mixed and use dots to create them, for example an orange area would use yellow and red dots. It is very time consuming but the smaller the dots are, the more effective the results will be. To make paler base colours, you need the addition of white. This can be achieved either by adding white dots, or making the other dots more scarcely populated, allowing the white ground to show through.
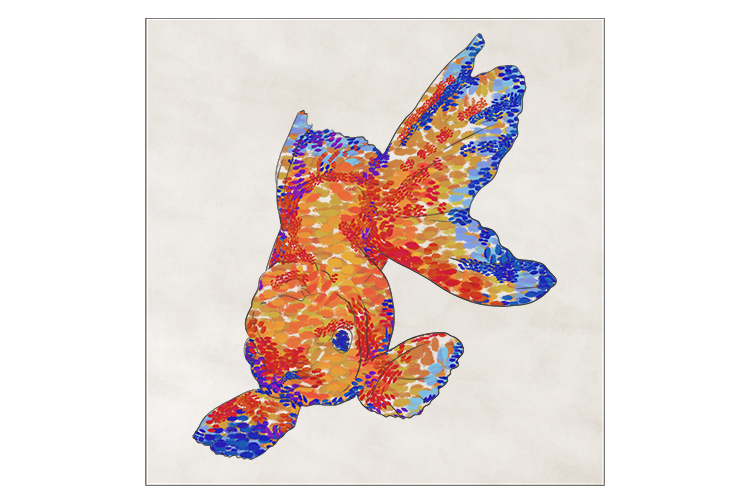
You can now think about the light, shade and reflected colours.
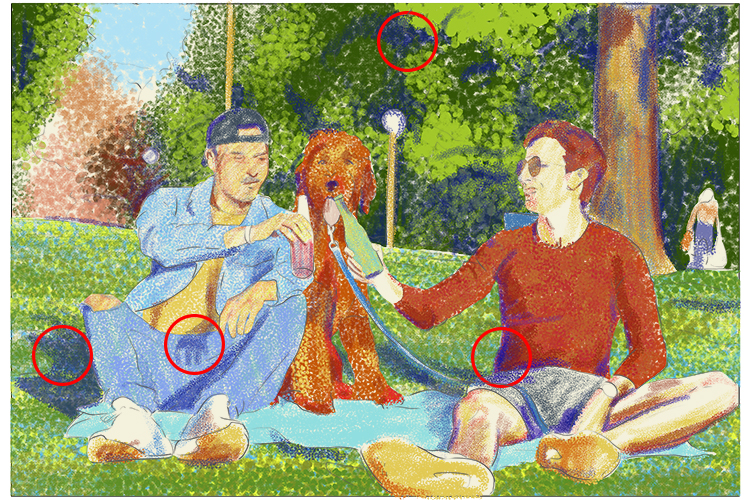
Some of these marks can be quite subtle as we are aiming to build up a realistic image so we have circled a few on each image to help you spot them.
First use blues, purples and dark reds to drop certain areas into shade.
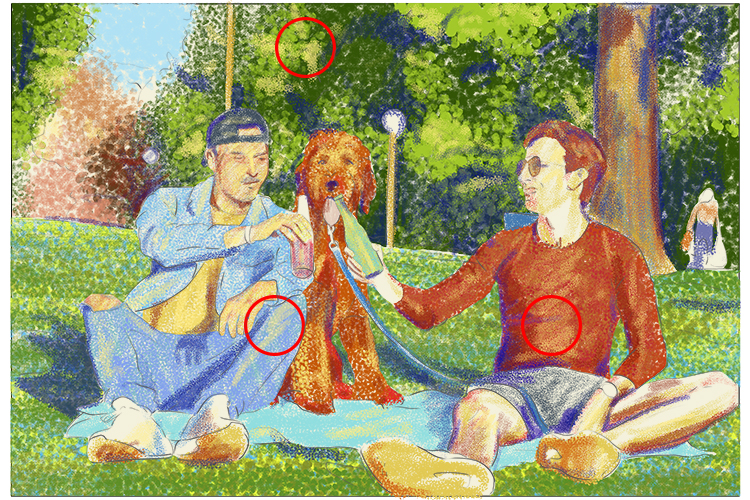
You can now add yellows and oranges on areas to show the fall of light.
Lastly, colours of objects in close proximity can be reflected onto one another so create a sense of space while tying the image together as a whole.
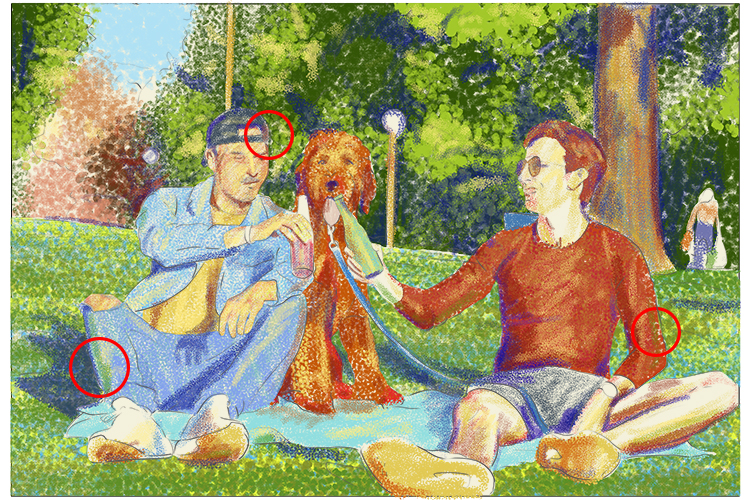
And then you have a finished picture:

Divisionism.


