
Border – The decorative design or edge of a surface, line, or area that forms it's outer boundary
To remember what border is, recall the following mnemonic.
We put a border guard here to stop people going over the edge of the world.
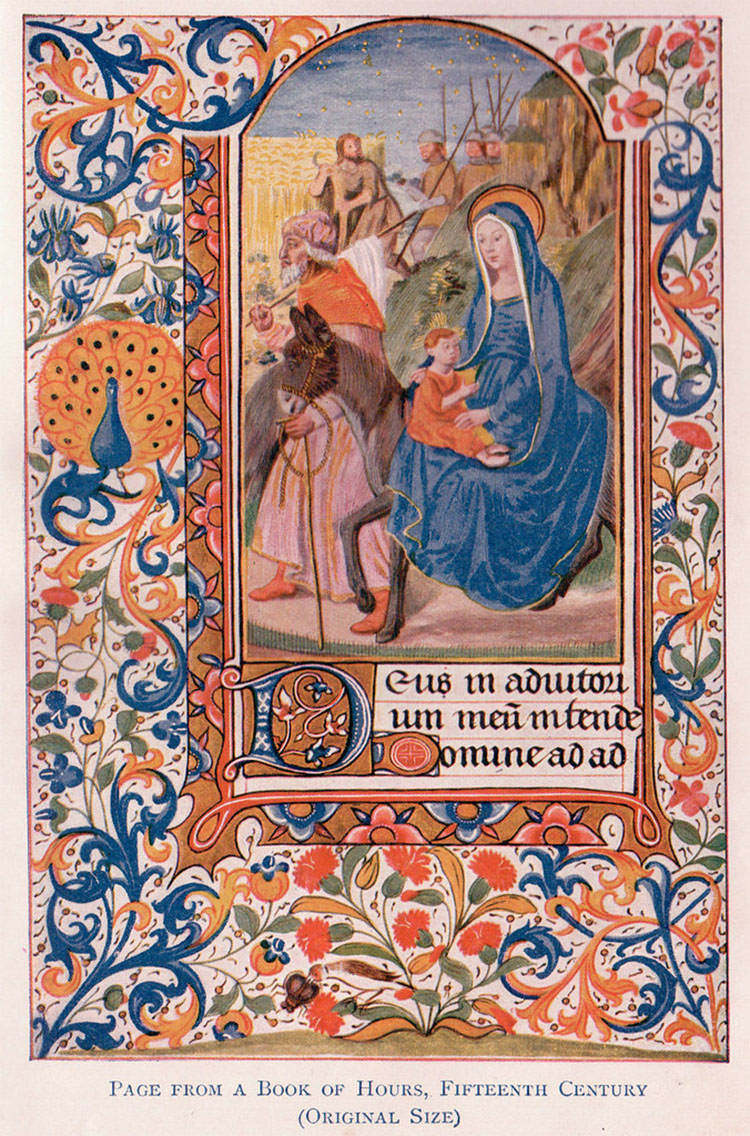
"Book of Hours" by perpetualplum is licensed under CC BY 2.0.
The image above is an example of an illuminated manuscript. These were books made in the middle ages and were known for there intricate and detailed borders. Illuminated manuscripts were primarily religious texts and were initially produced by monks in monasteries either for their own use or for commissions, usually from royalty or very wealthy families. Monks worked on these books as a display of their devotion as they were both mentally and physically taxing due to their intricate details. In the 14th century the demand for illuminated manuscripts had greatly increased and production shifted from monasteries to more commercial facilities.
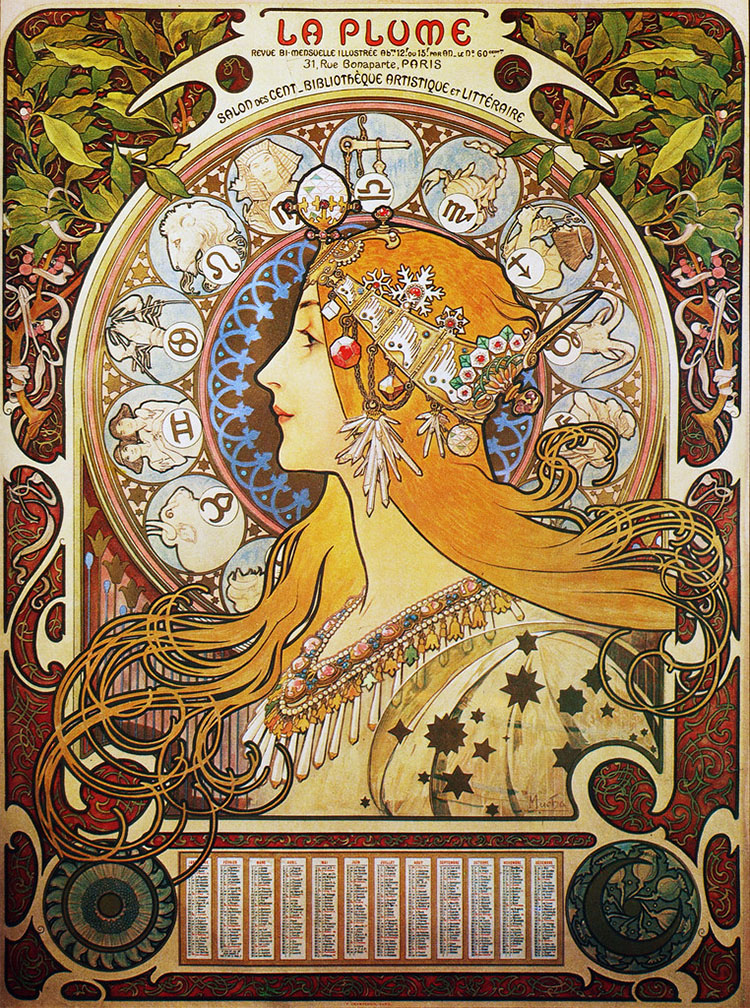
"Alphonse Mucha - C4a La Plume/Zodiac, 1896." by K.G.23 is marked with CC0 1.0.
The image above is one of the most well known examples of the art nouveau movement. The piece was created by Alphonse Mucha while he was working for the printer F. Champenios and was one of many pieces he produced with them for various products and commercial uses. The rights for the Zodiac image were later sold to Léon Deschamps, Editor of La Plume magazine who began distributing the work as a calendar with their magazine name at the top of the image. The piece features a very elaborate and detailed border that features many of the key aspects of the art nouveau style, such as the natural forms, organic lines and asymmetric curves.
Border Project
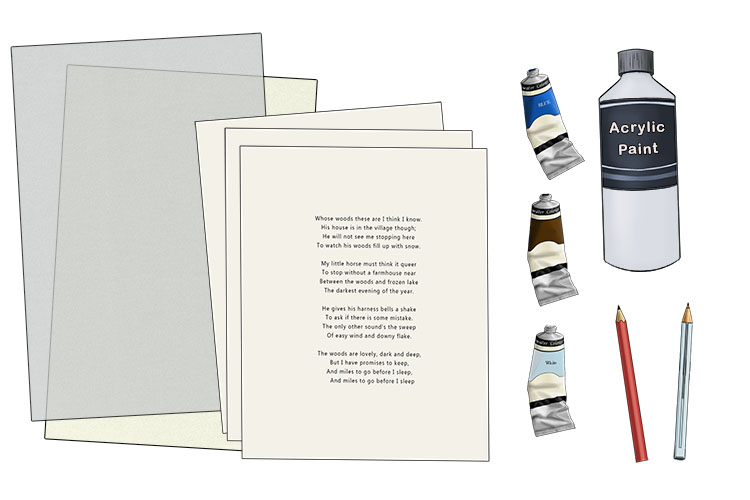
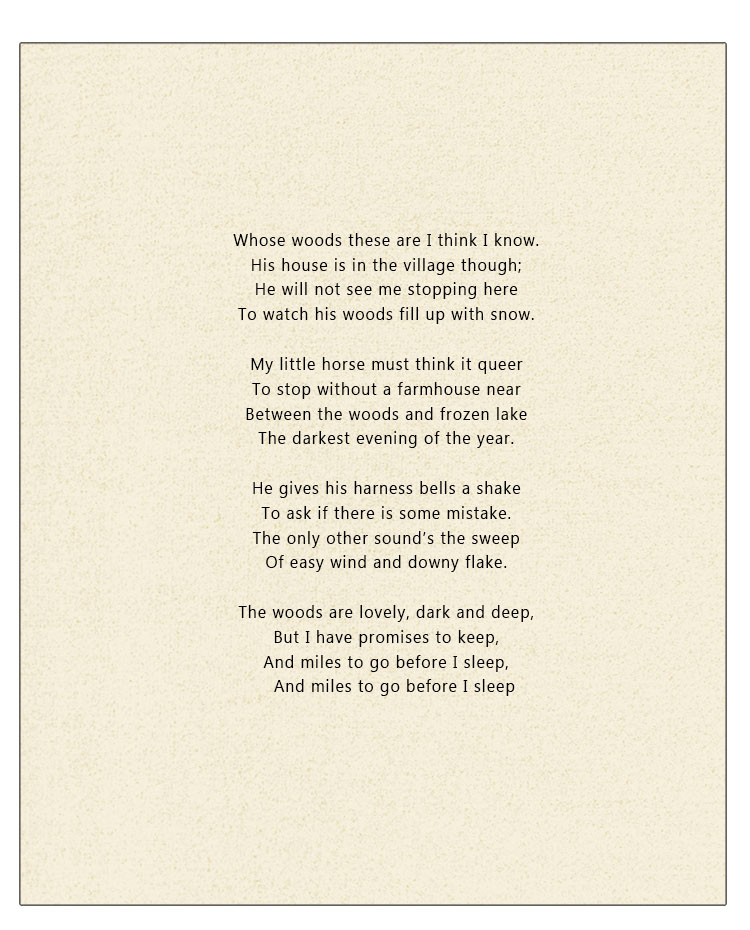
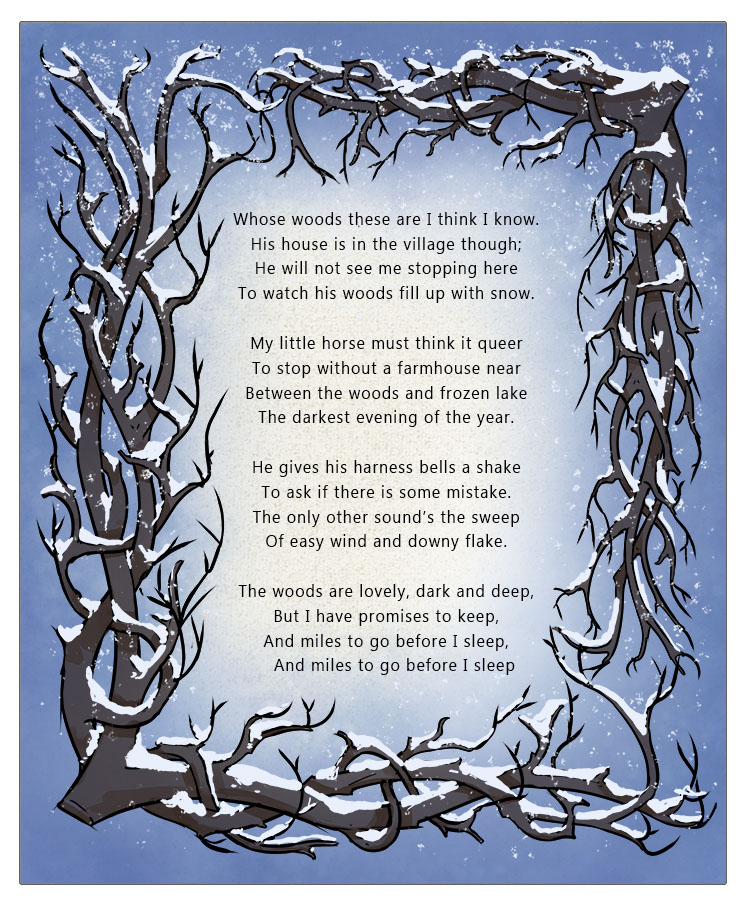
For this project we are going to be creating a decorative frame for a poem of your choice.
You will need a pencil, a black pen, watercolour paints, watercolour paper (thicker paper suitable for using watercolours on), acrylic paint and several printouts of your chosen poem. When printing out the poem make sure you have plenty of space around your poem for your border design.
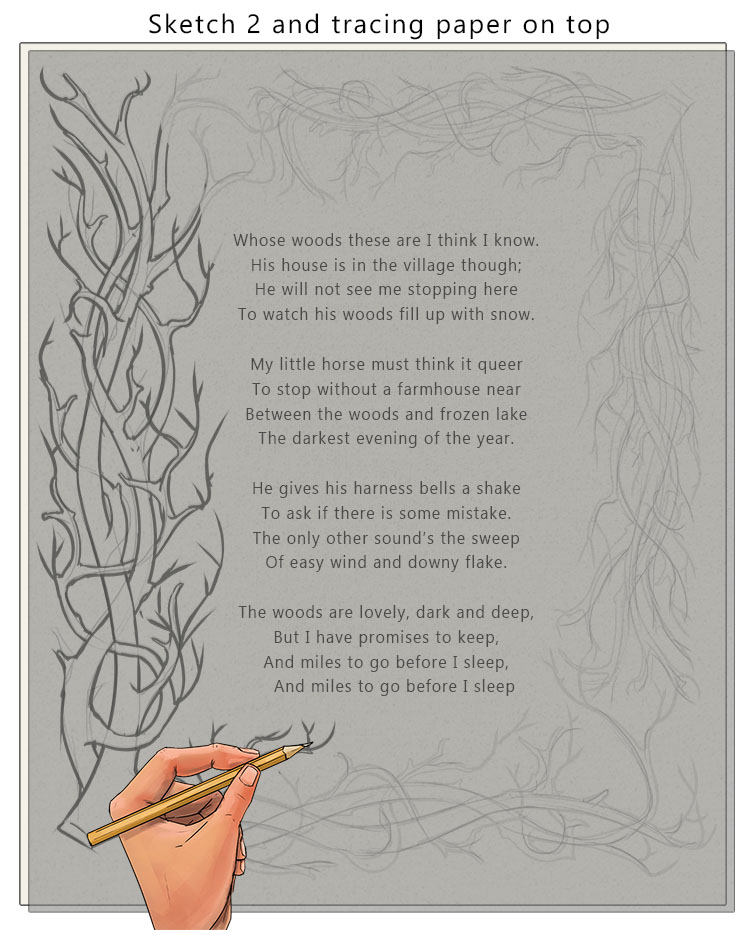
Start by lightly sketching some ideas for your border on the printouts of your poem. When sketching your designs try to have them tie into the themes, mood or story of the poem you have chosen. The poem we have chosen is 'Stopping by woods on a snowy evening' by Robert Frost.
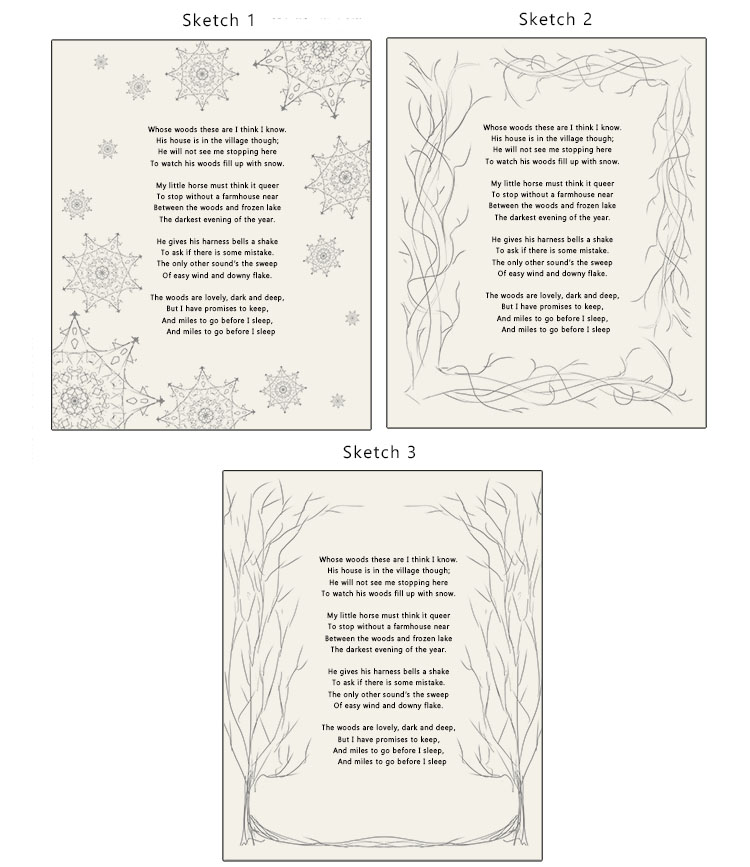
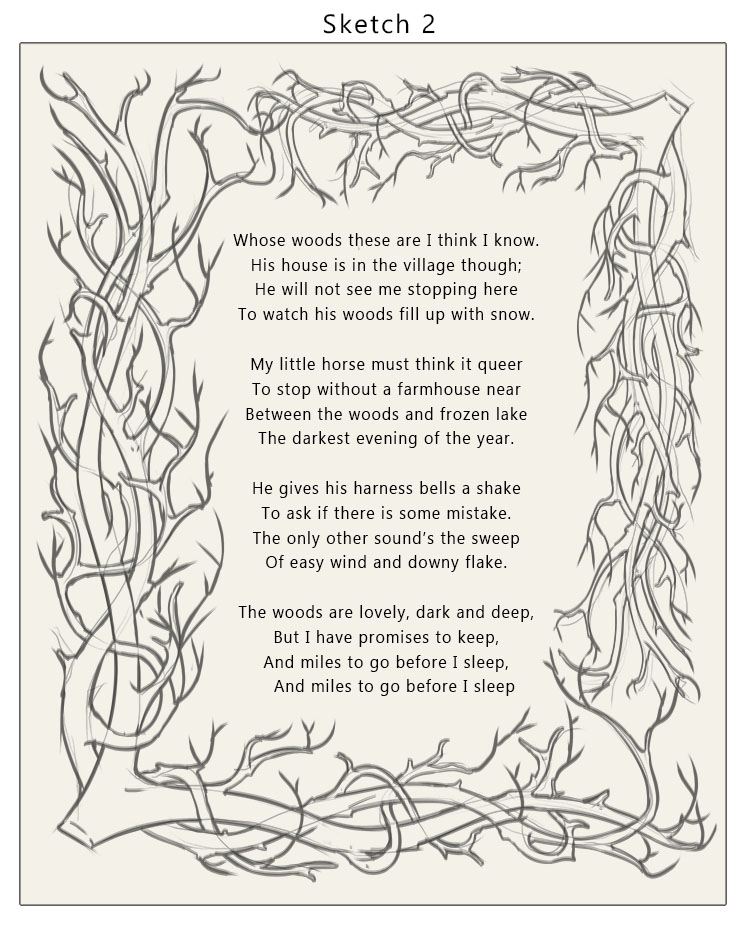
Once you've chosen a design, go over it with darker pencil lines, refining the smaller details of the border as you do this. We have chosen sketch 2.
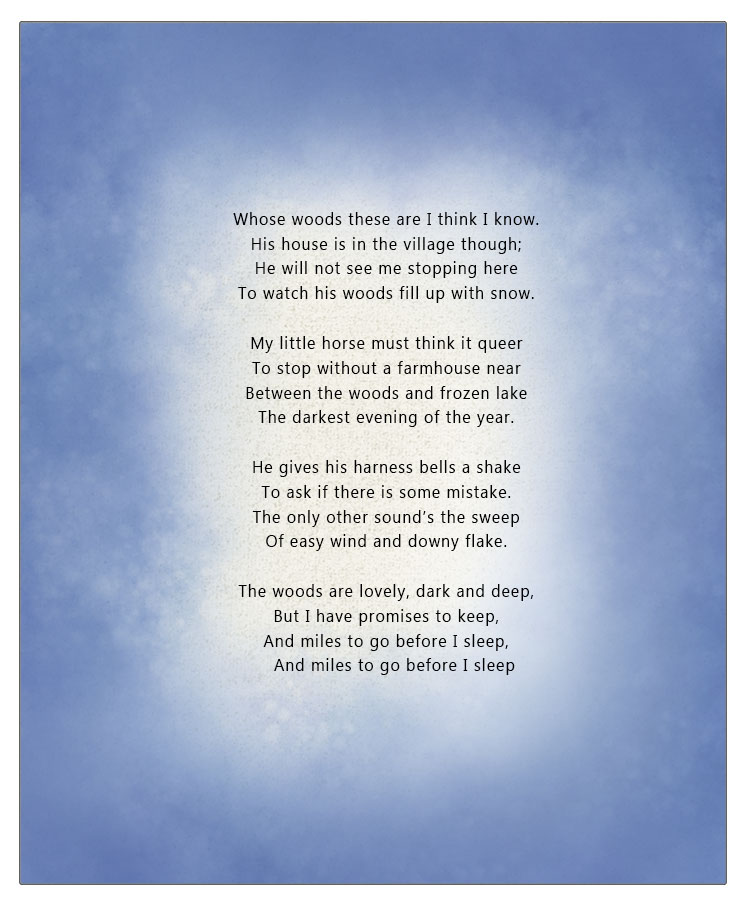
Now print off another copy of the poem but this time onto your watercolour paper. Watercolour paper can be printed on just as standard printing paper, just place it as the top sheet in your printer's paper tray.
Using your watercolour paints, add some colour to the background of your border.
Now trace over your design onto tracing paper.
Flip the tracing paper and go over the design on the back of the tracing paper in pencil.

Turn the tracing paper over again and trace onto the watercolour paper. If you draw over the tracing paper again you will leave a faint pencil mark.
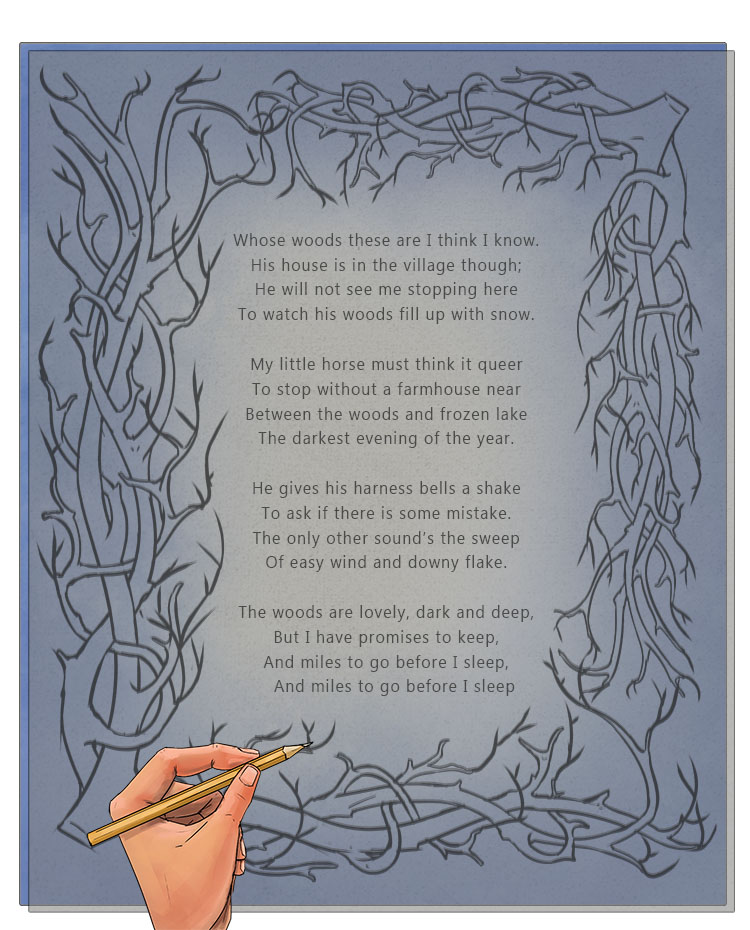
Here below is the faint pencil mark that the tracing has left behind.

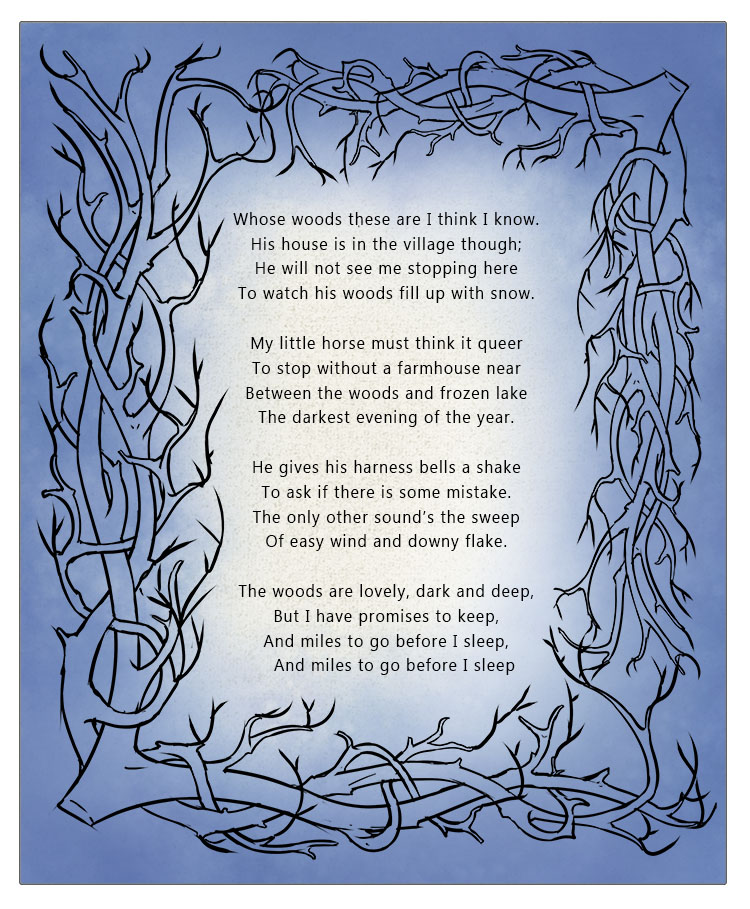
You can now go over the faint pencil lines in pen.
Fill in your design with watercolour paint. If you have areas on your design where two colours meet, make sure to let the first colour you paint dry completely or the colours will bleed together (you can use this to benefit your design if you want the two colours to blend together).
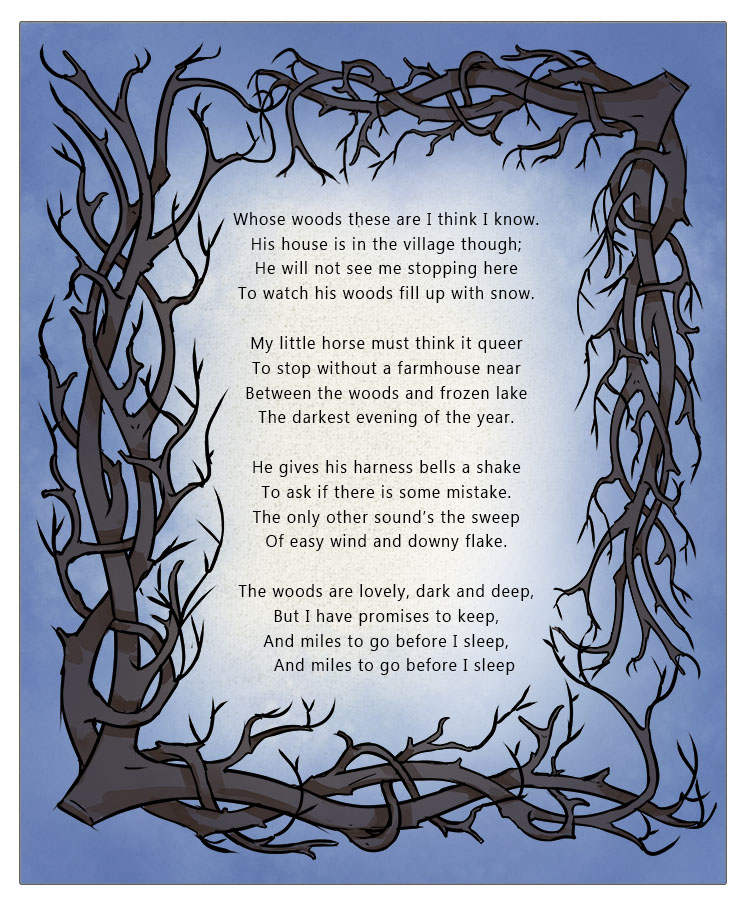
Once your watercolour paint has dried you can use acrylic paints to add some finishing touches. Acrylic paint is more opaque than watercolour so it's great for adding small areas of bold colour to a watercolour painting. For our design we've used it to add snow to our branches as it can completely cover the pen lines and dark watercolours we've already used.
Border.


