
Colour Wash – a thin coat of water based paint
Note: Colour wash is a mixture of paint and water used to produce a very thin, pale colour.
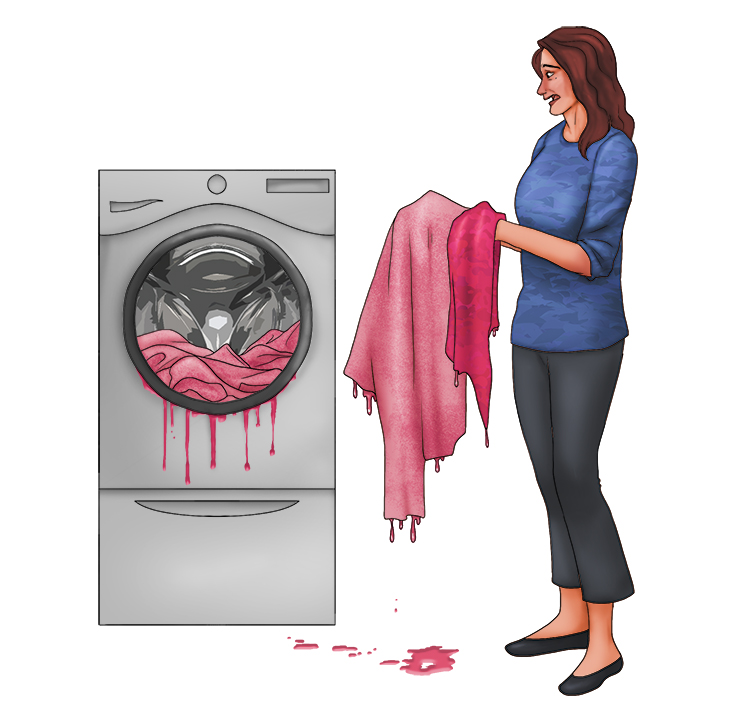
The colour came out in the wash (colour wash) - all the lighter clothes looked like they had a thin coat of paint over them.
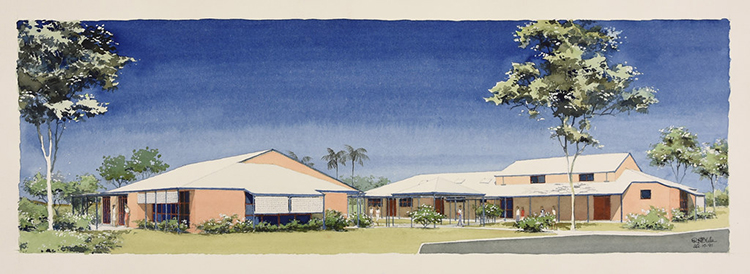
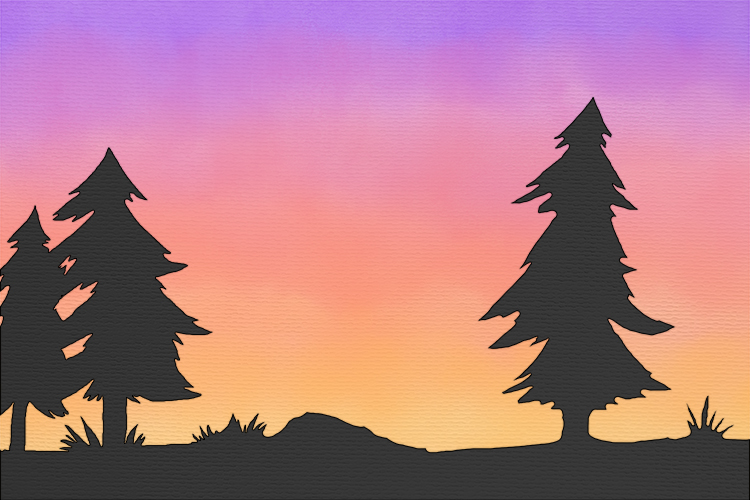
Colour washing is a very versatile technique. It can be used to create simple yet effective skies, add colour to a black and white drawing, and many other things. For example, the sky and grass in the picture below are created with a colour wash.
In the following image, rather than a complete wash over the entire image, smaller areas have been picked out to focus the viewer's attention.

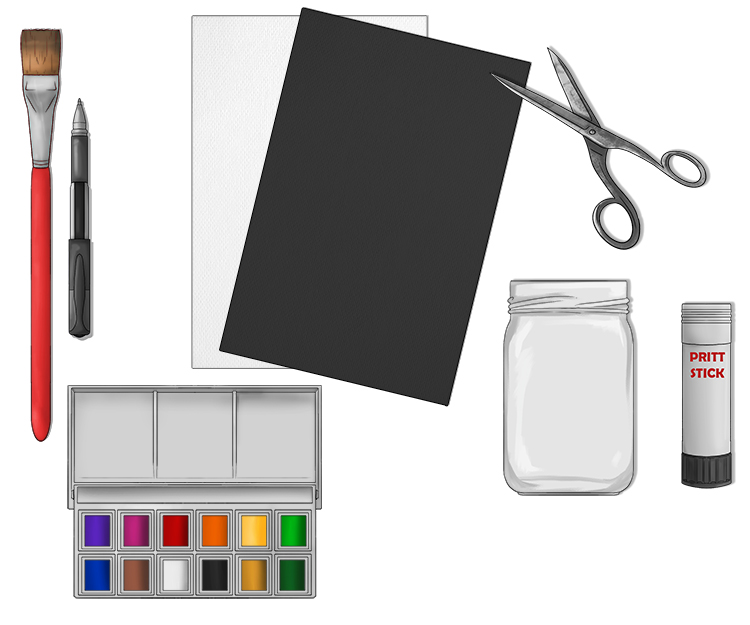
Colour Wash Project 1
For this project, you will need: watercolour paper (paper which is more absorbent than normal paper, and has cotton intertwined with its fibres), a cup or jar of water, watercolour paints (pigment mixed with a water soluble binder), a large flat paintbrush, black card, glue and scissors. We will be creating a landscape silhouette with a dramatic sky behind it.
First, you will need to prepare your paint. Mix your watercolour paint with water until you have a vibrant colour which is just a tiny bit thicker than the consistency of water. Depending on how you want your sky to look will decide which colours you choose. We're using purple, pink, orange and yellow. You need to keep these colours separate, or they will merge together.
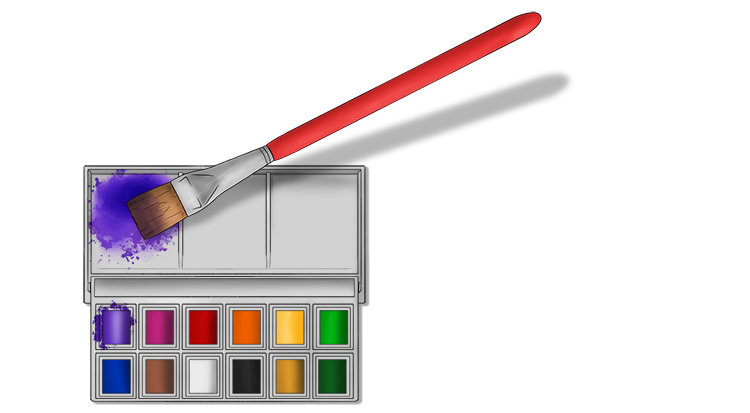
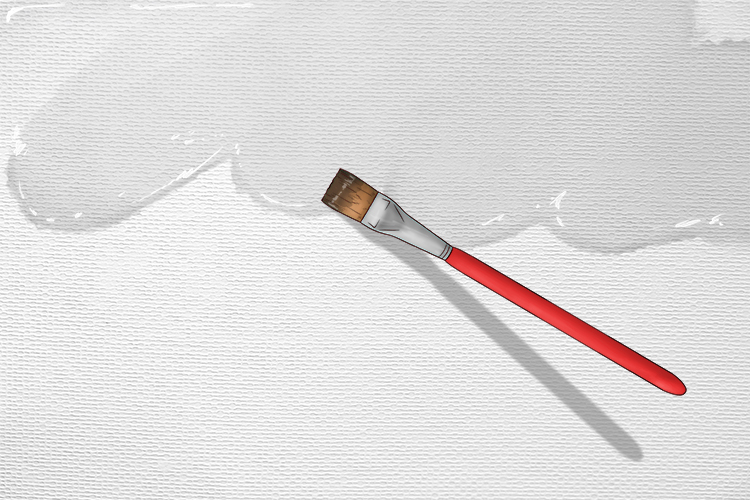
After thoroughly rinsing it, use your large, flat paintbrush to cover the entire piece of paper in water. You don't want it to be soggy, but make sure there are no dry patches.
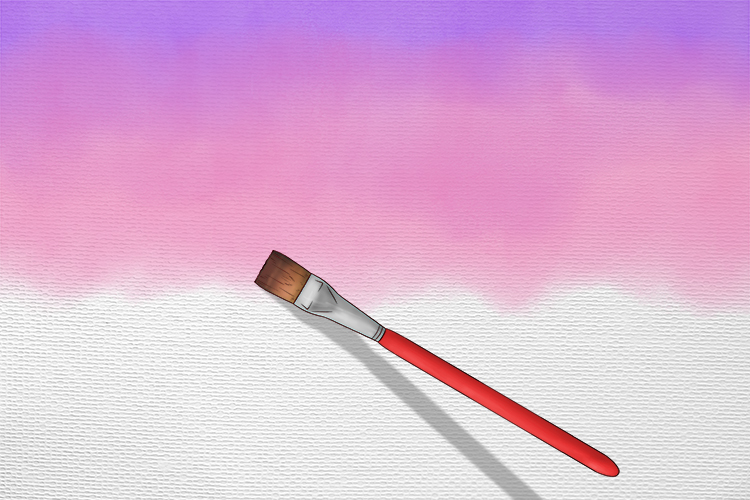
Working quickly, start with your topmost colour (purple) and paint it onto the paper, using long sweeping brush strokes, from the top to about a quarter of the way down. You'll notice the colour spread out as it mixes with the water.

Rinse the brush and then use the next colour (pink), slightly overlapping the purple. Paint from a quarter of the way down to about half way down.
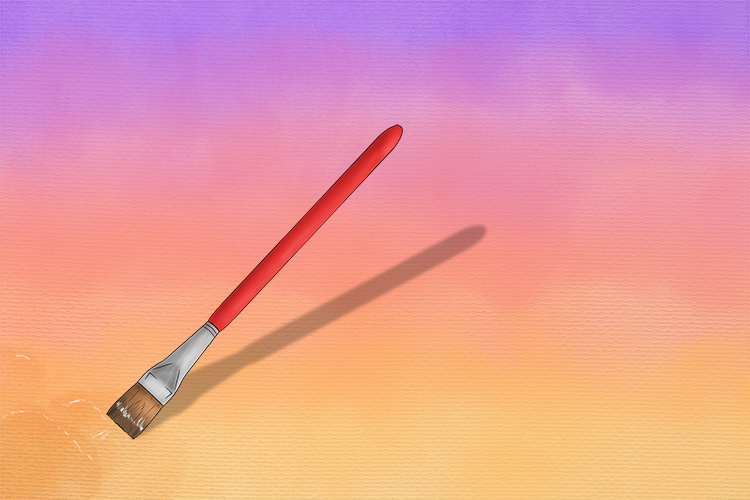
Do this for the orange (from halfway down to three-quarters of the way down) and yellow (the rest of the way).

If you have any harsh edges (such as the edge between the orange and yellow), wet your brush with water and blend the paint.
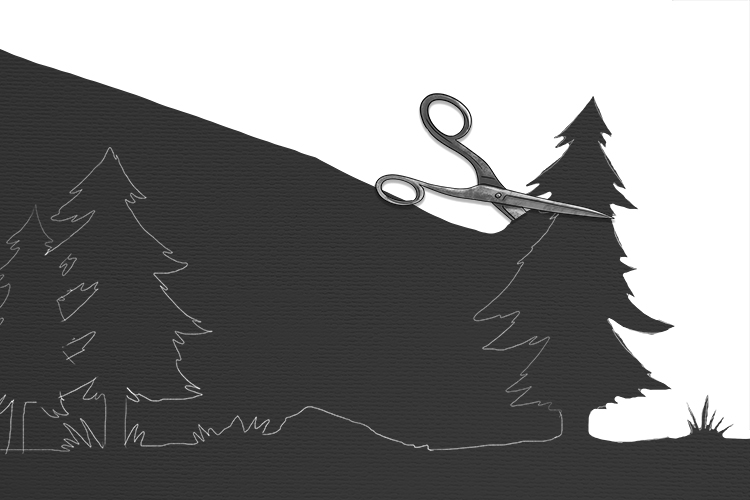
While the paint dries, take your black card and sketch out the silhouette of a landscape. It can be any sort of landscape, so feel free to add trees, buildings, hills, grass or anything else you like.
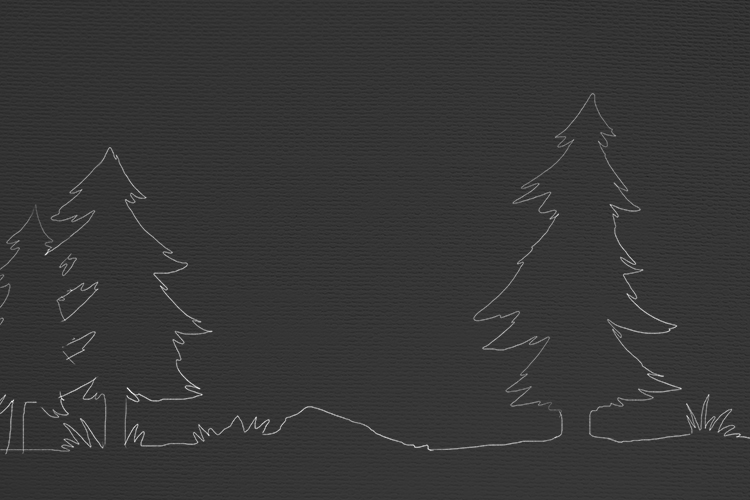
Once you're happy with your landscape, cut it out using your scissors.
Make sure the paint is completely dry before you stick the silhouette down.
Colour Wash Project 2
This project is quick and simple but effective. All you'll need is a cup or jar of water, watercolour paper, watercolour paint (any colour you like), a large paintbrush, and a pen (which won't run or smudge when painted over, such as a Sharpie fineliner or Uni Pin fineliner).
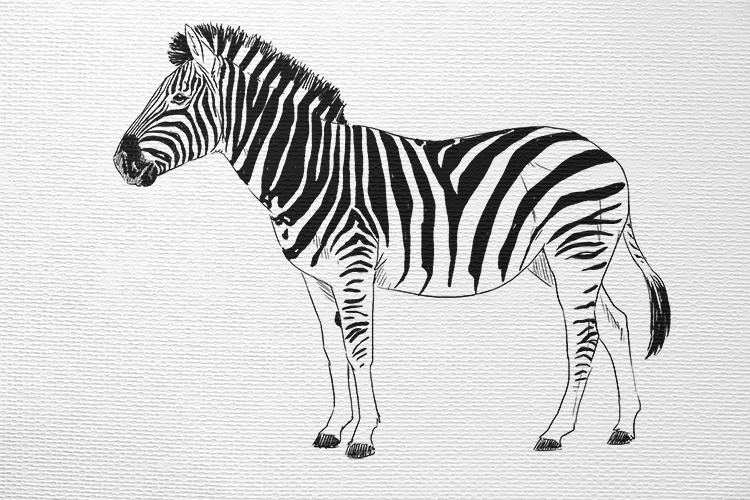
First of all, draw any line work picture with your pen onto the watercolour paper.
We have drawn a zebra, as below:
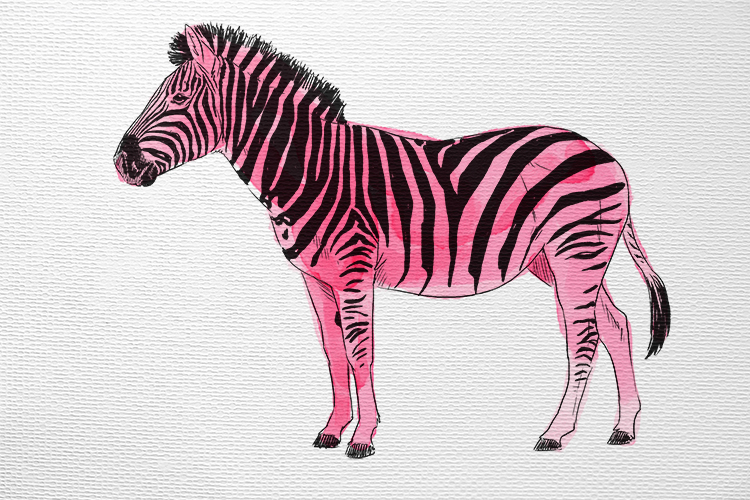
Mix some water with your watercolour paint, but this time, rather than wetting your paper, paint onto dry paper. This technique allows the paint to flow randomly, in a defined area. Don't worry about being neat or going over the lines, you want it to be spontaneous and fun!
What you should get is a beautiful wash over colour over the zebra, as below.
Colour wash.


