
Chintz – Indian cotton fabric which has been decorated using block printing or hand painting techniques
(Pronounced chints)
To remember the meaning of chintz recall the following mnemonic.
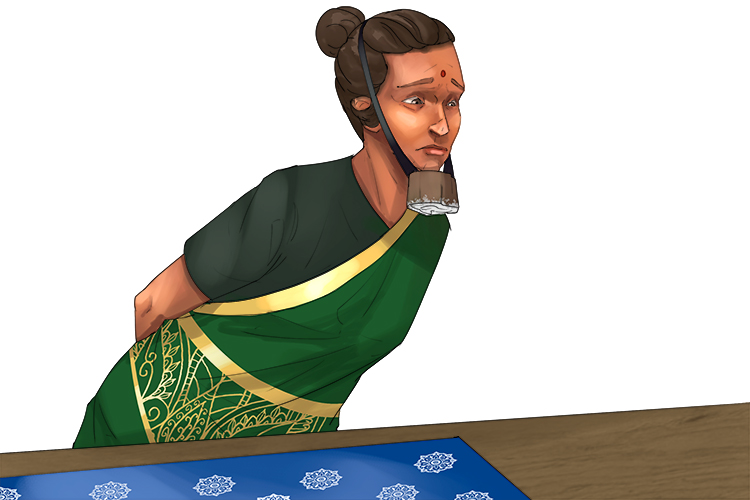
"Chin" hints (chintz) at the way to remember this: Imagine a wooden printing block strapped to an Indian woman's chin and she uses this to print on to cotton fabric.
Chintz fabric originated in India in the 1600s, it often features floral images or patterns, usually on a pale background.
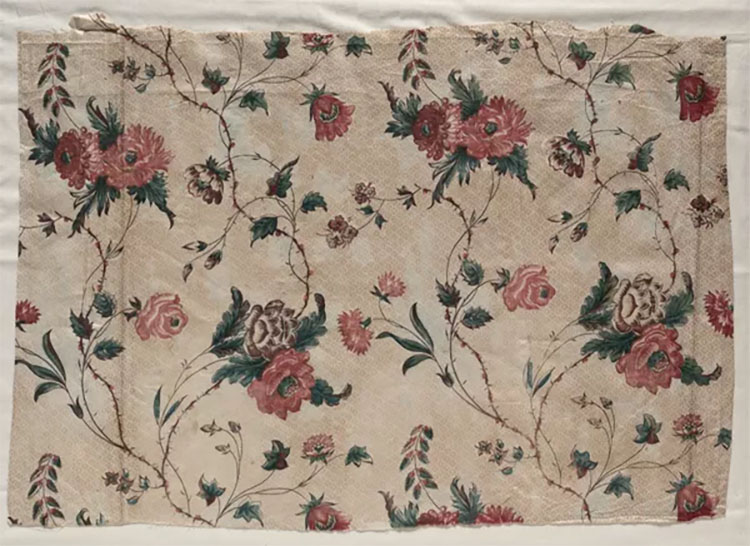
"File:England, 19th century - Glazed Chintz Fragment - 1928.210 - Cleveland Museum of Art.tif" is marked with CC0 1.0.
The image above is an sample of glazed chintz fabric. Chintz can be finished with glaze in one of two methods. The first technique is referred to as "non durable," and the textiles produced with it are referred to as friction glazed. In this instance, the cloth is starched before being pressed on heated calendar rolls to provide a high sheen or polish, this method was often used when the fabric was being mass produced. The durable method uses resin to produce a stronger finish.
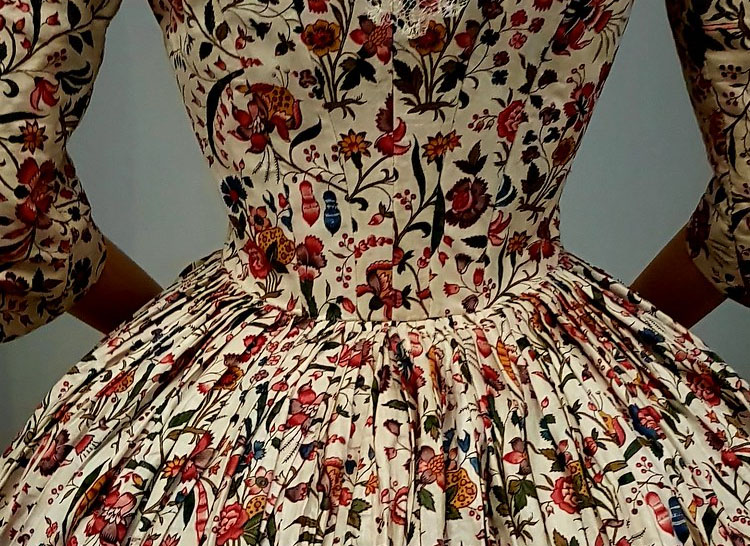
"chintz" by thompsoe is licensed under CC BY 2.0.
Early imports of chintz fabrics from India to Europe were most commonly used for curtains, furnishing fabrics and bed covers. When these were replaced, they were often given to the staff who then made them into clothing for themselves. By the 17th century, chintz had become so popular that a ban was placed on importing the fabric as European textile mill owners didn't know how to make chintz fabric and wanted to protect their own mills.
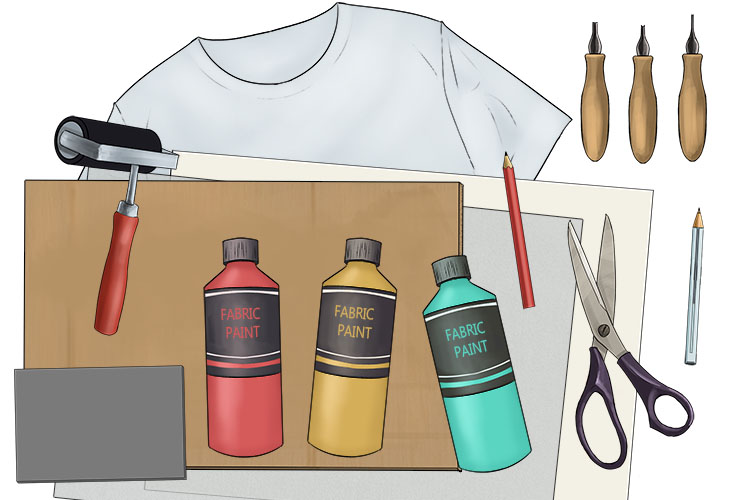
Chintz Project
For this project we’re going to decorate a plain t-shirt with a chintz style pattern using block printing and some hand painting to add finishing touches.
You will need some paper, a pencil, a pen, tracing paper, fabric paints (fabric paint will allow the t-shirt to be washed without damaging the paint), cardboard, a plain t-shirt, rubber brayer (a small roller used to apply a thin layer of paint to your block), several lino (linoleum) blocks (can be purchased at most arts and crafts shops), rubber stamp carving tools.
First you will need to sketch out your pattern design on paper. You only need to design a simple floral design that we can print repeatedly on our t-shirt.
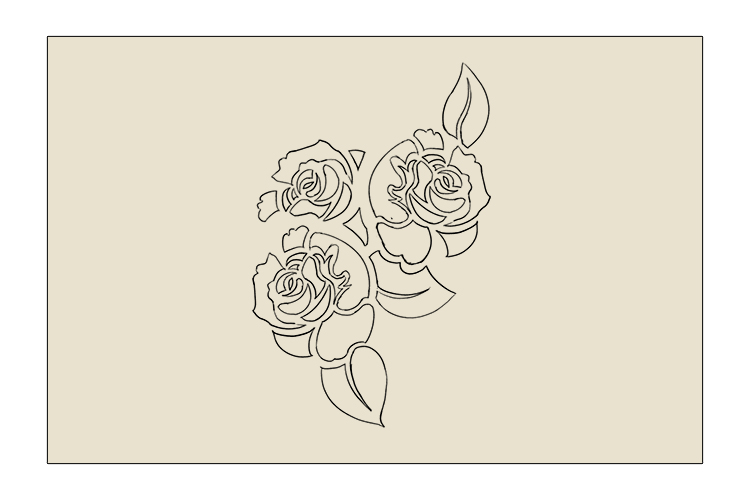
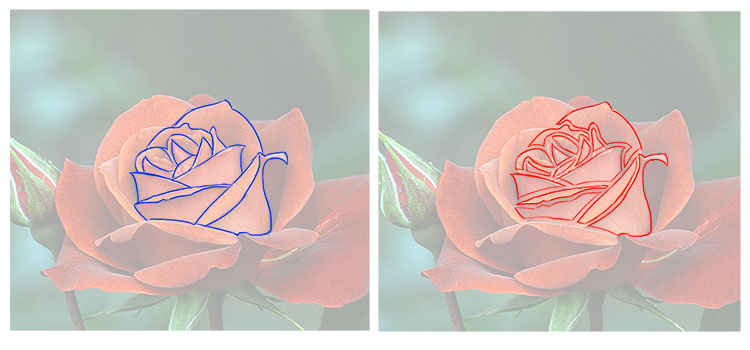
Below is an example of how to turn a flower into a design that's suitable for block printing. Start by outlining some of the different shapes that make up the flower, any areas with lots of small shapes and details can be grouped together or not included at all. Next shrink down all of the shapes so none of them are touching. This space between each shape will make the design easier to carve and ensure the shapes don't merge together and ruin the design when printed.
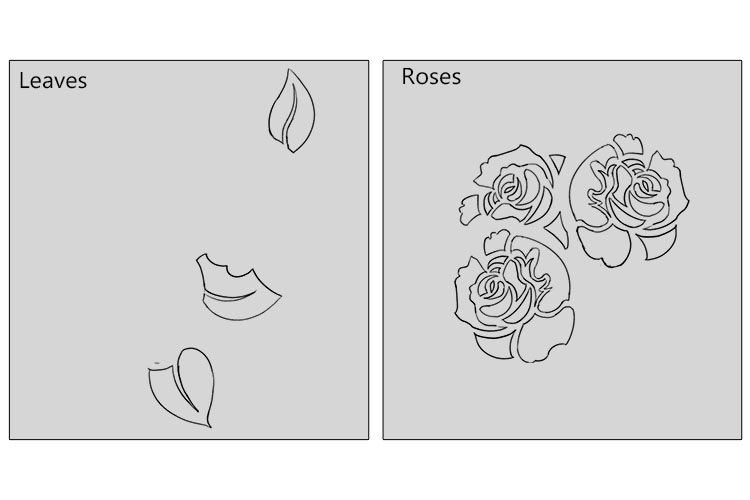
Next trace sections of the design onto separate pieces of tracing paper, splitting up the design by colour. This means our design will be split into two groups, the roses (red) and the leaves (green).
Flip each piece of tracing paper over and go over the design on the back of the tracing paper in pencil.
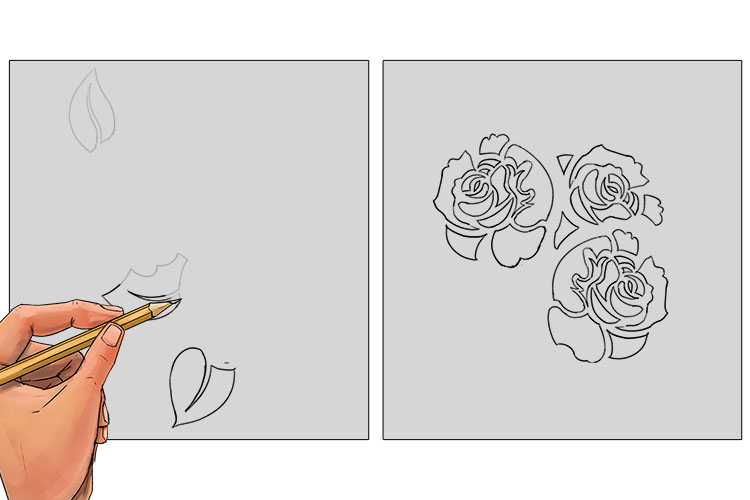
Flip the tracing paper back over and trace over the image again onto the lino block.
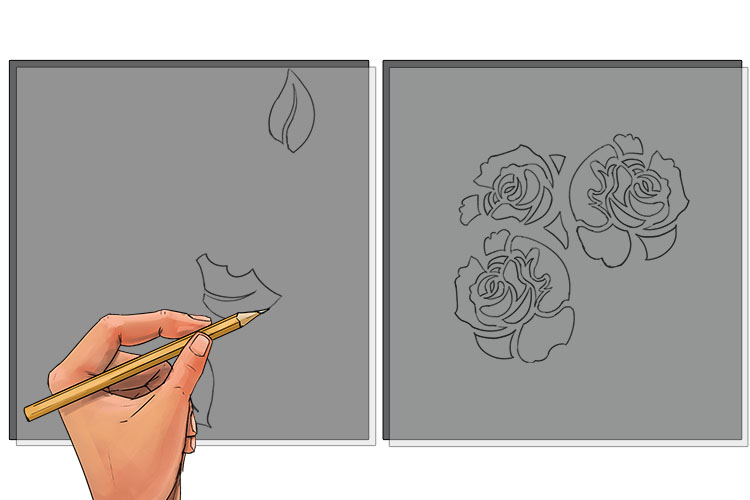
This will leave a faint pencil line on your lino.
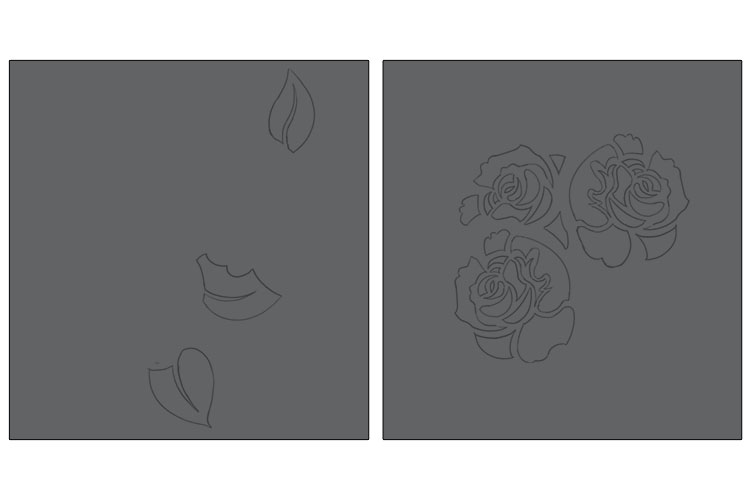
Go over the faint line with pen to make it easier to follow.
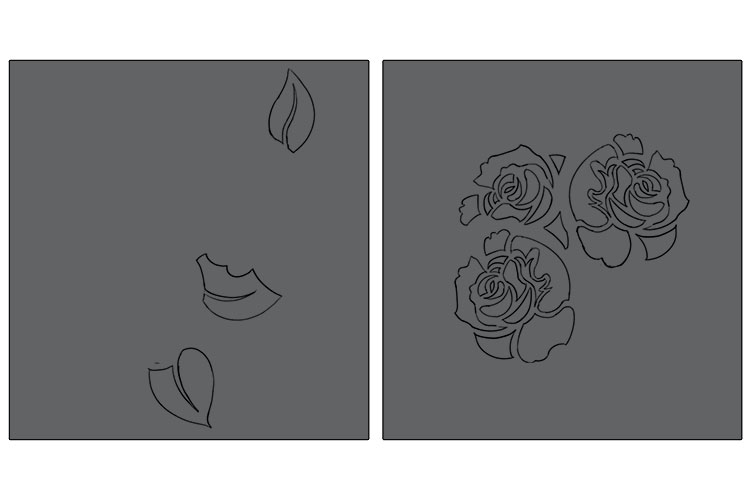
Using your carving tools, cut away the background of the lino block so only the image is left raised.
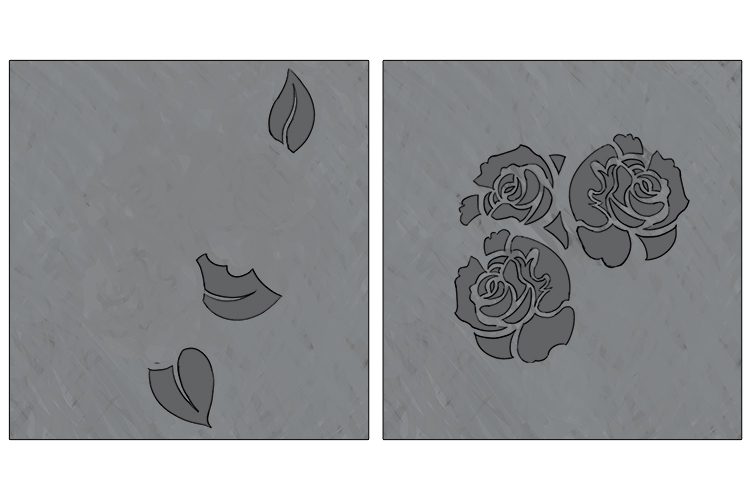
Below is side-view of the lino block to show roughly how deep the lino should be carved. If you don't remove enough material the print could have imperfections and if too much is removed the lino could break.

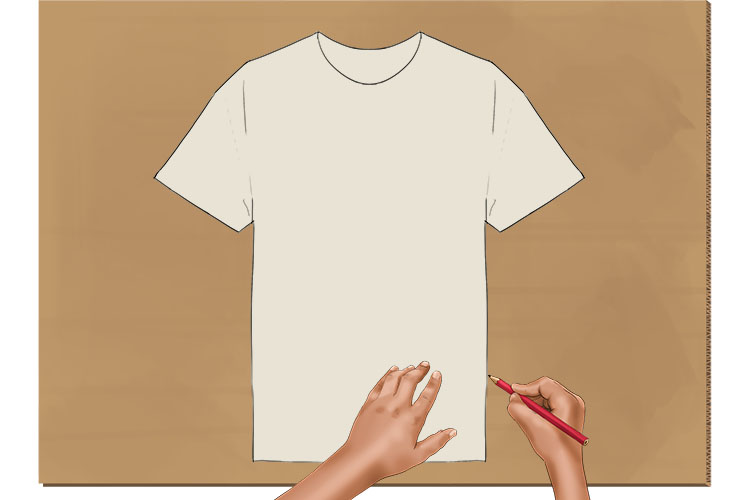
Before printing, we’re going to create a cardboard cut out to keep our t-shirt from moving and to stop the paint from bleeding through to the other side of the t-shirt. To do this, draw around your t-shirt onto some cardboard.
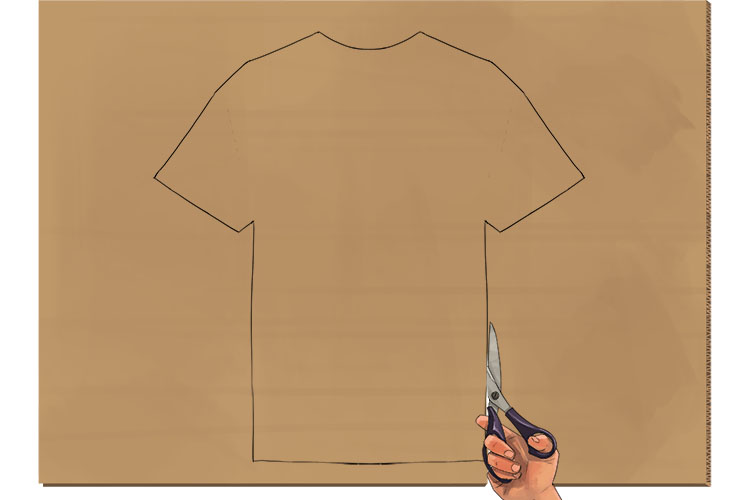
Cut out the cardboard shape.
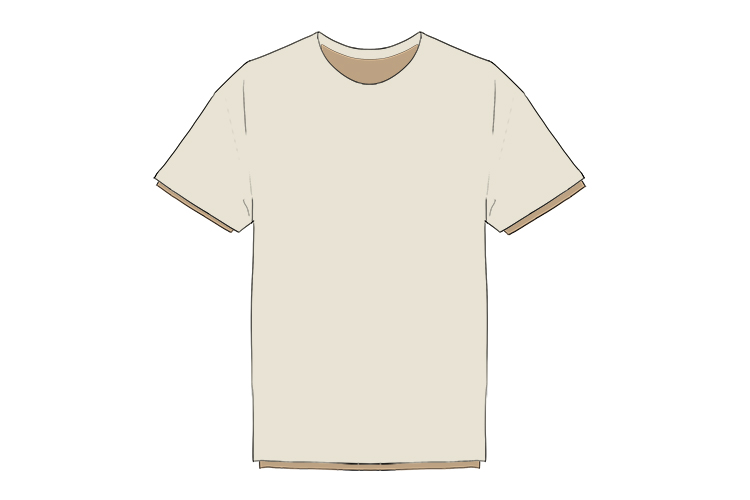
Now place the cardboard inside the t-shirt
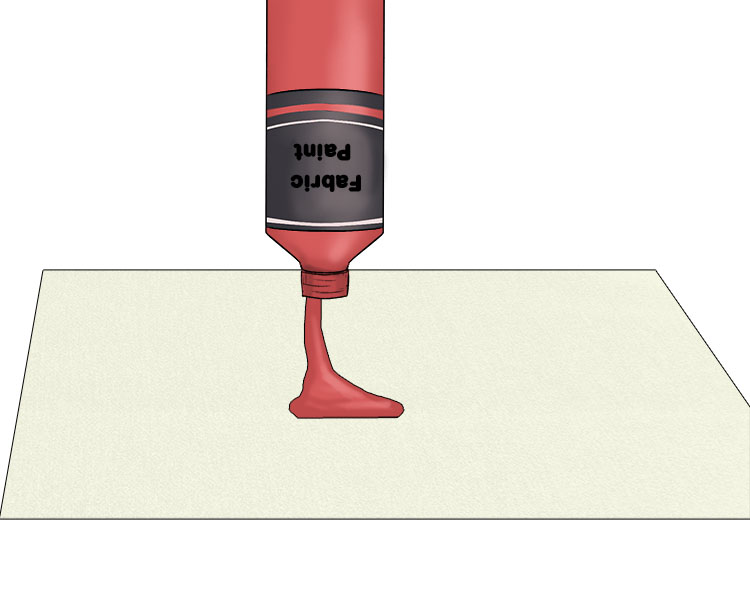
Squeeze some paint onto your palette (you can use some spare paper if you don't have a palette).
Roll the brayer through the paint so you have a smooth layer across the whole roller. If you don't have a brayer available you can always spread your paint into a thin layer on your palette and carefully dip you block, making sure to only get paint on the raised section.
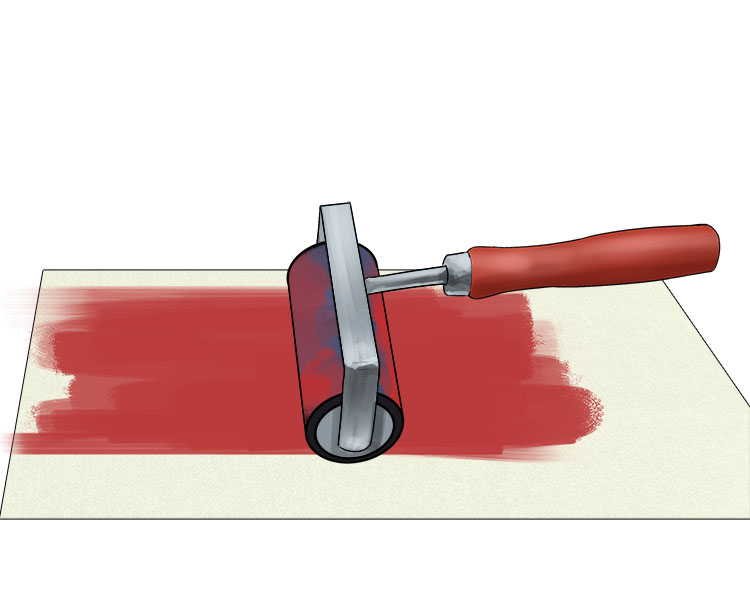
Now roll the brayer across your lino making sure to only get paint on the raised section.
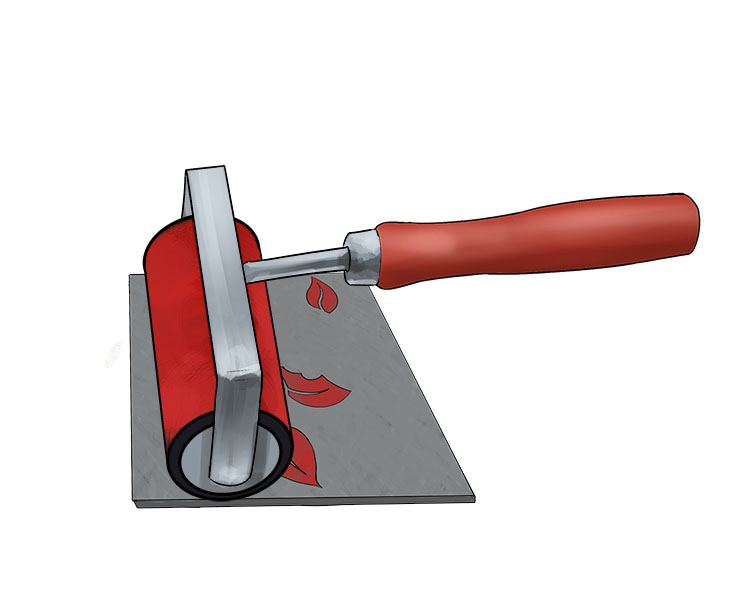
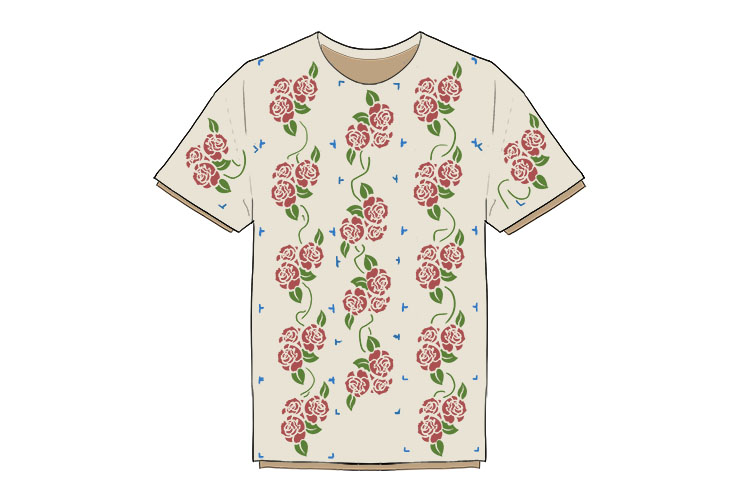
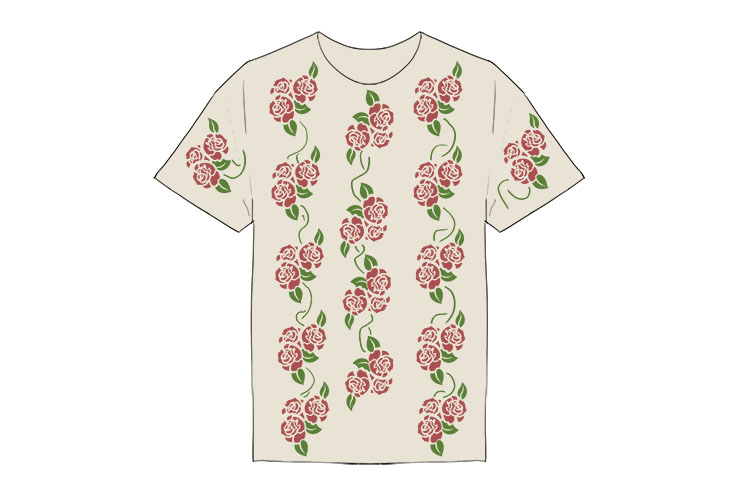
Now you can print your design repeatedly across your t-shirt. To create a more uniform pattern, you can mark out where each corner of the lino block is on the t-shirt, you can then use these marks to line up the next print. Make sure to make these marks using something like chalk that can be washed off, we've used a blue chalk pencil so it stands out from the fabric and print colours.
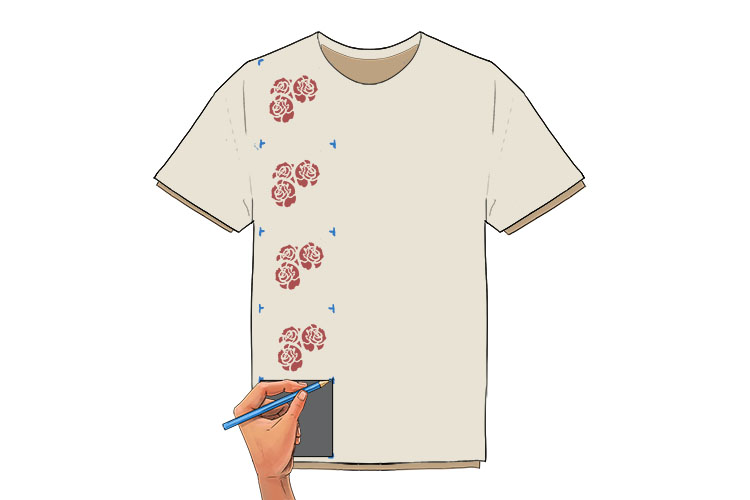
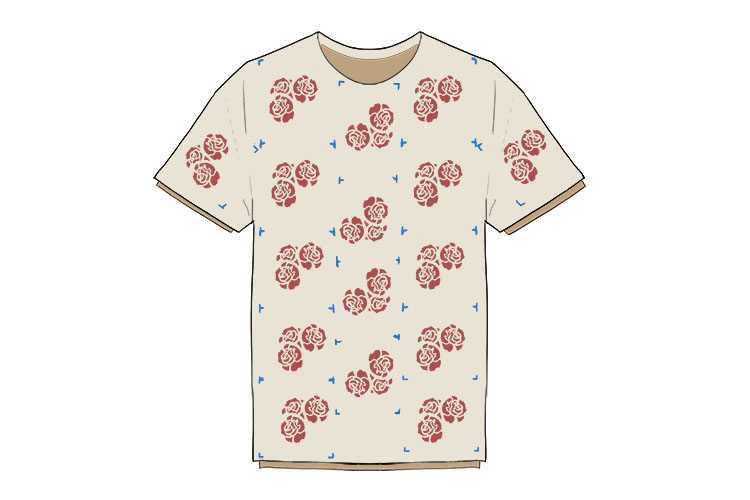
If your design has multiple blocks like ours, fully cover the t-shirt with the first block, wait for it to dry and then go over with your second block in another colour. You can line up your second block prints using the chalk marks.
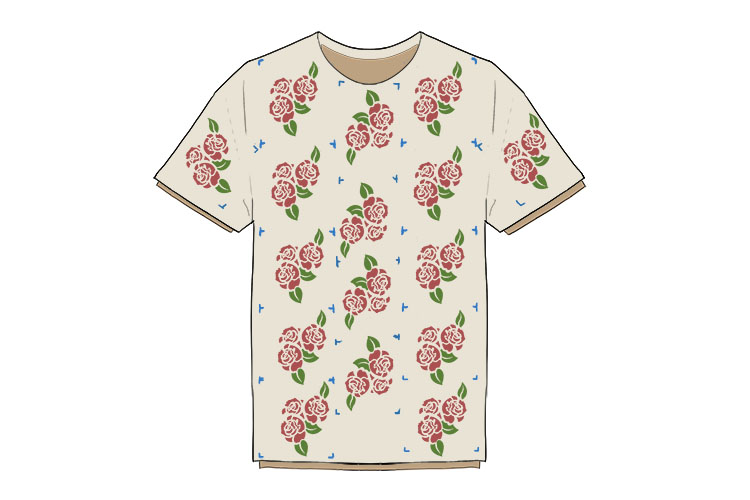
To finish your chintz pattern you can add any finishing touches using a brush.
Once this has dried you can remove the cardboard and wash off the chalk marks (a cloth and warm water should easily remove the chalk), leaving you with your finished chintz t-shirt.
Chintz.


