Patchwork – A textile constructed by sewing together small pieces of fabric. The design is often in geometric composition
To remember what patchwork is, recall the following mnemonic:
We only had patches of cloth but we worked (patchwork) with them to make a perfect geometric composition.
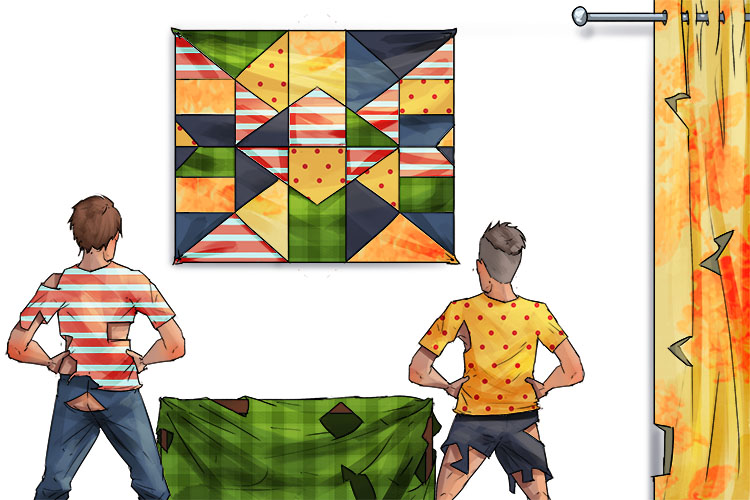
Patchwork can be traced back to numerous ancient cultures throughout history where it was used to create clothing, quilts, furniture and wall art. Patchwork was also commonly used during the Great Depression as it allowed people to recycle old clothing into quilts for warmth. Since then patchwork has become popular in fashion and is used to create elaborate designs for clothing and quilts rather than just a way of saving money and recycling old fabric.
Below are a fashionable patchwork cushion and blanket.
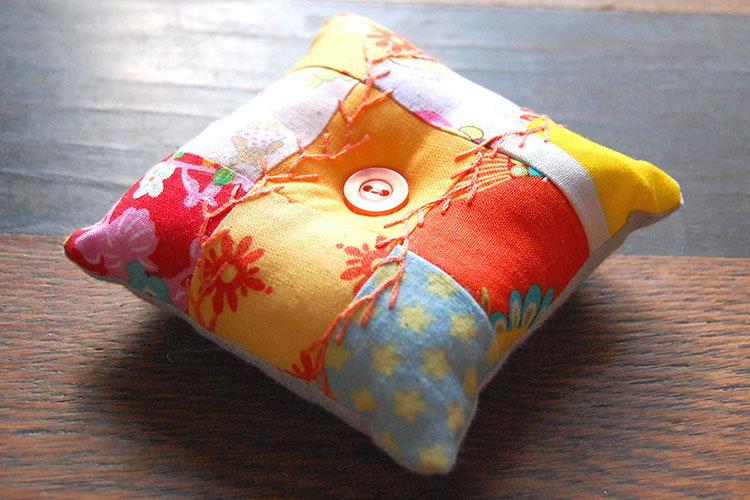
"patchwork pincushion #4" by Studio Paars is licensed under CC BY 2.0.
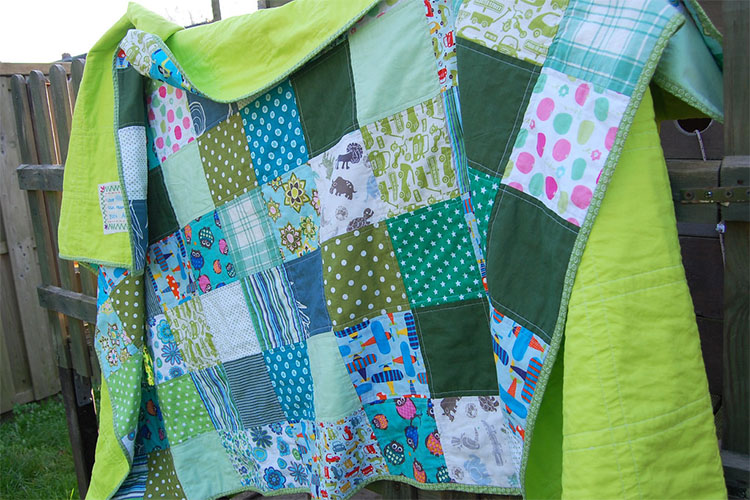
"LB patchwork blanket - finished" by Studio Paars is licensed under CC BY 2.0.
Patchwork Project
In this project we will make a cushion cover that uses small pieces of fabric cut into geometric shapes and sewn together to form a patchwork front. We will use a single plain but attractive fabric for the rear of the cover.
You will need a needle and thread, an uncovered cushion, scissors, pencil, paper, ruler, measuring tape, and a variety of fabrics. These fabrics can be new material bought specifically for the design, or old clothing, tablecloths, curtains, etc. As long as you have some variety in colour and pattern to make the design interesting.
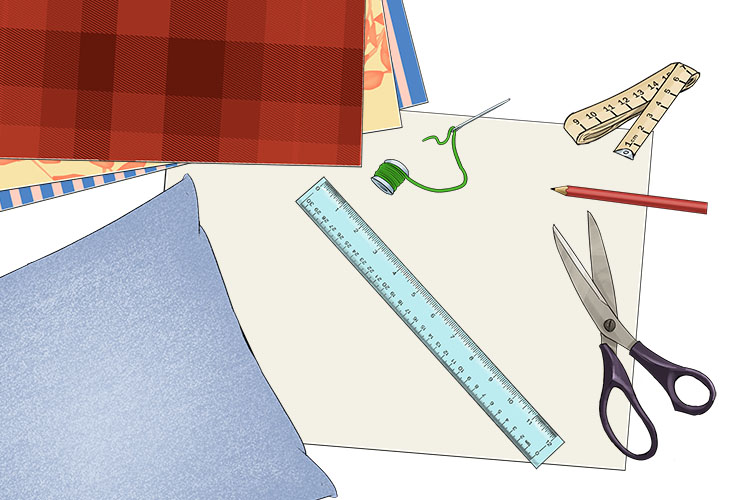
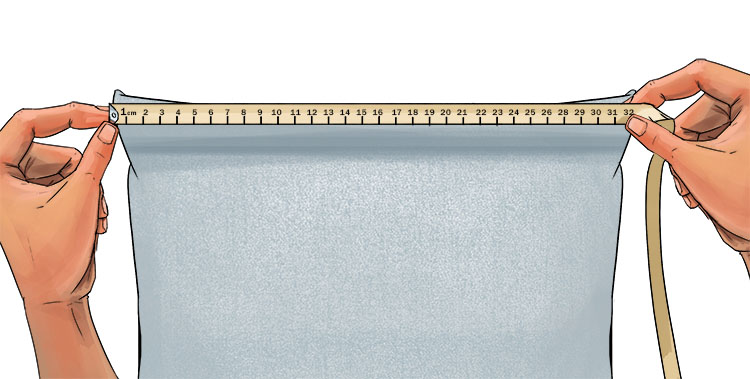
To begin, measure your cushion to ensure your finished cover will fit.
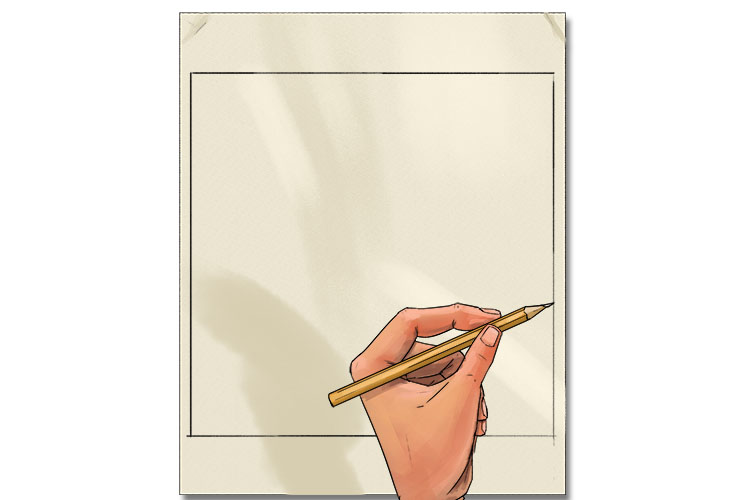
For the patchwork front cover, mark out the boundary lines of the cushion with a pencil onto paper.
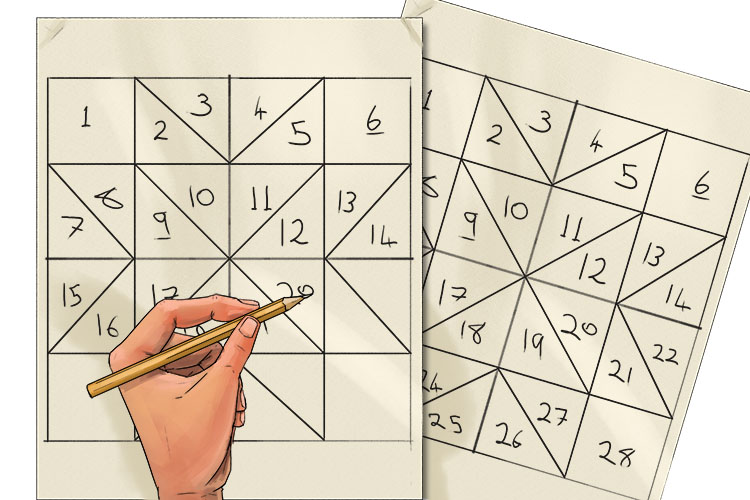
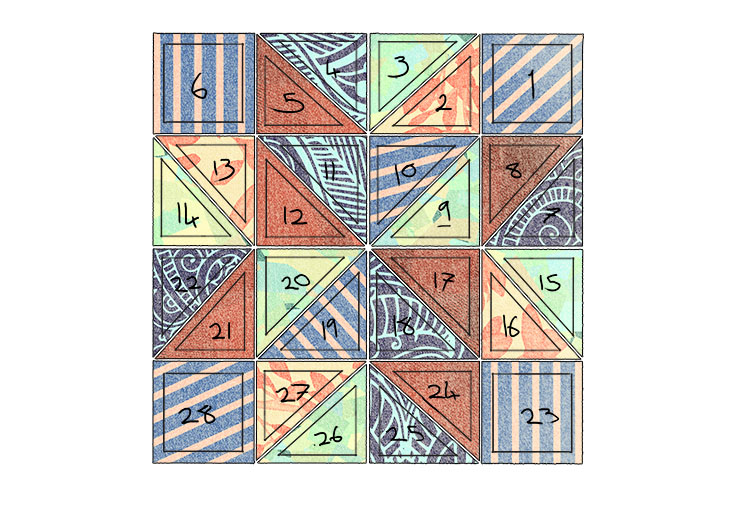
Decide the pattern you would like to use and mark this out using a pencil and ruler within the previously drawn up boundary lines. If your design is quite complex, consider copying the design and numbering each shape. This will make it easier to make sure the pattern is sewn together correctly.
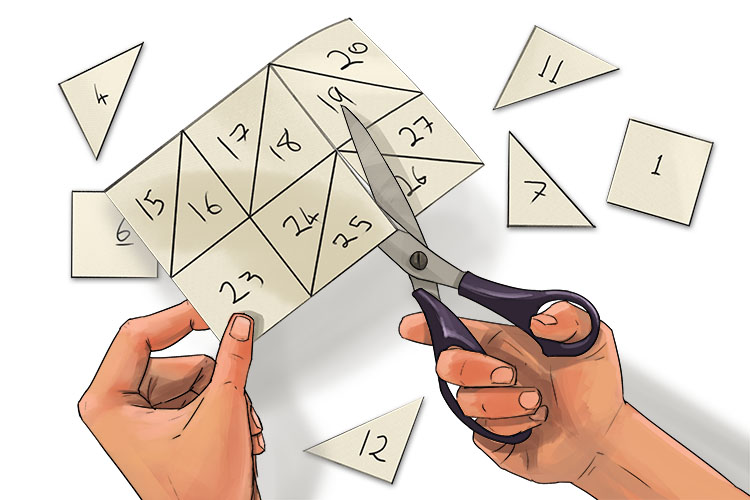
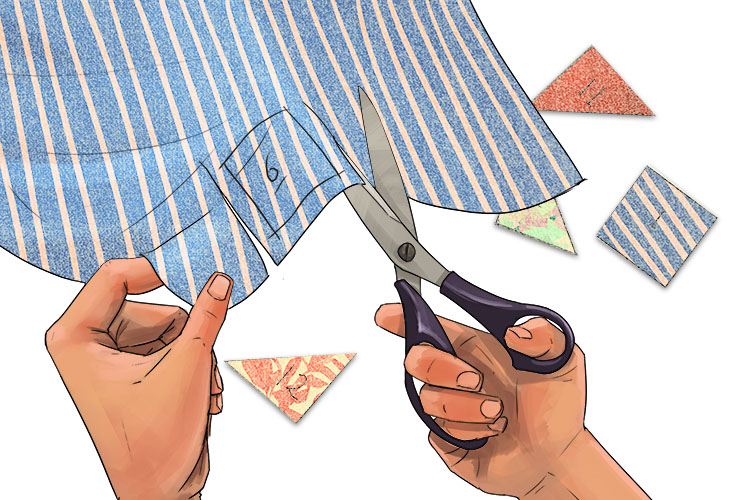
Cut one of the patterns into it's individual shapes, leaving the other as reference. These shapes will be your stencils for cutting out your fabric pieces.
Take a piece of fabric and turn it upside down, place a stencil on top of the fabric number side down. Draw around the stencil with a pencil or preferably tailor's chalk, then remove the stencil and write the stencil number on the fabric. Repeat this for each piece of fabric and stencil. Now cut out the shapes, making sure to leave a small border around each outline (roughly 6mm or 1/4"). This is your seam allowance and will make sure your pieces of fabric are the correct size when sewn together.
Lay out your cut out fabric pieces to recreate your geometric pattern. Because you are looking at the inside of the cushion you have to place the fabrics in reverse order.
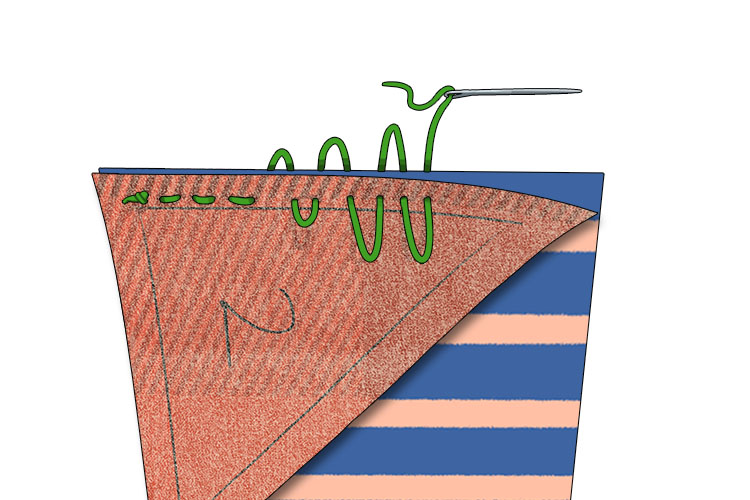
Using the running stitch technique from the Mammoth Memory kantha project, sew all your pieces of fabric together.
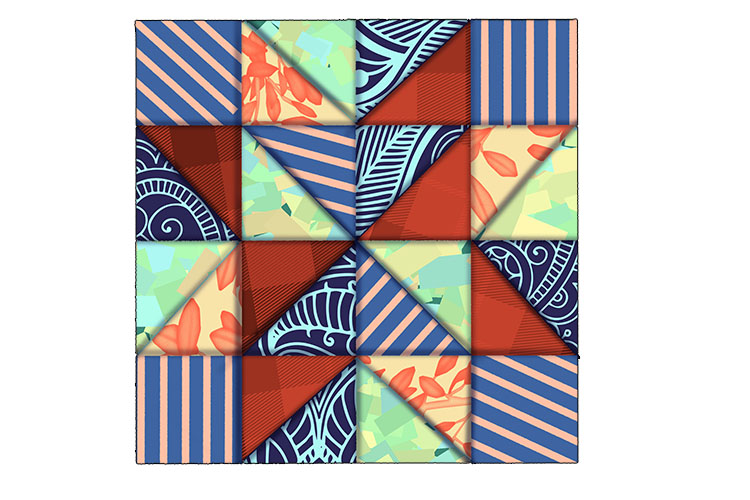
After you have sewn all your pieces together turn the whole piece over keeping all the stitches inside the cover and you should get something that looks like the following. This is the front of your cushion cover.
To make the back of the cushion cover, cut out a piece of fabric that is the same width as the front of the cushion but a couple of centimetres longer along one edge. This extra fabric will be used to create a pocket inside the cover to keep the cushion from falling out.
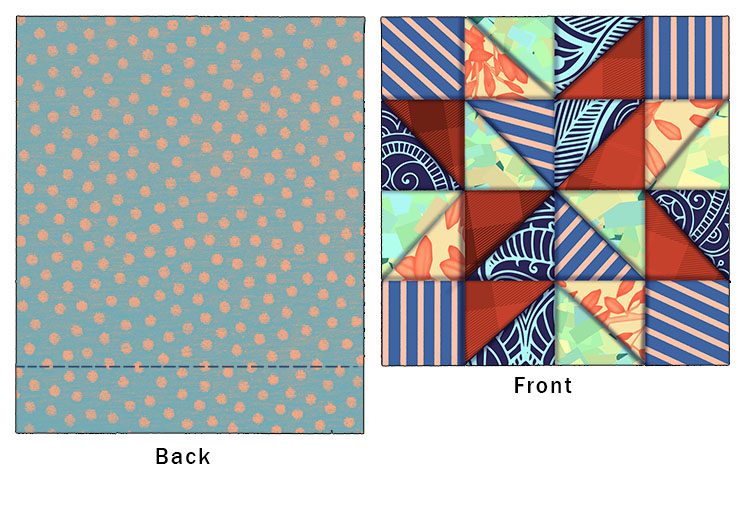
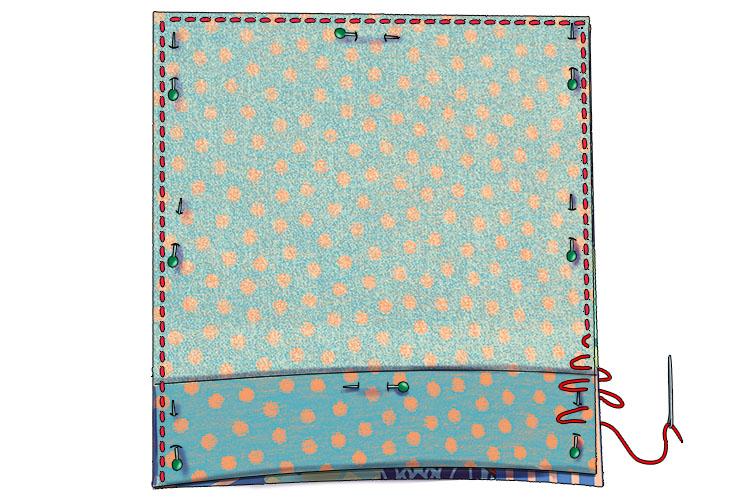
Fold the extra fabric over and pin it in place.
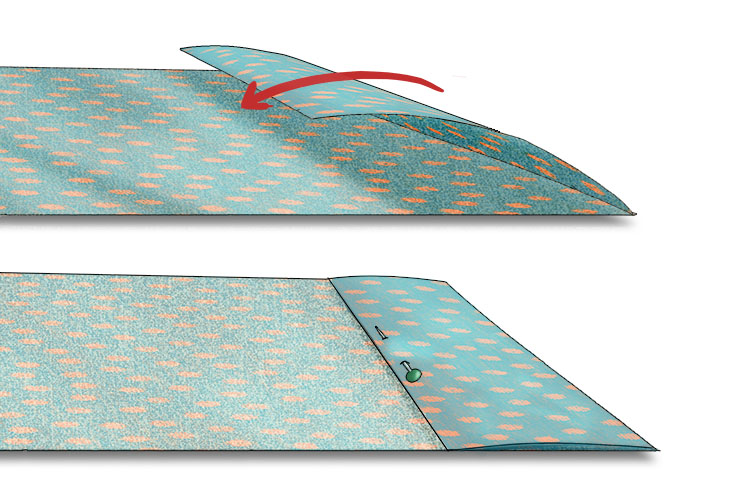
Now pin the two pieces together, making sure they are inside out so that the surfaces you see front and back are the inside of the cushion cover.
Here is the pinning together of the two pieces from one side.
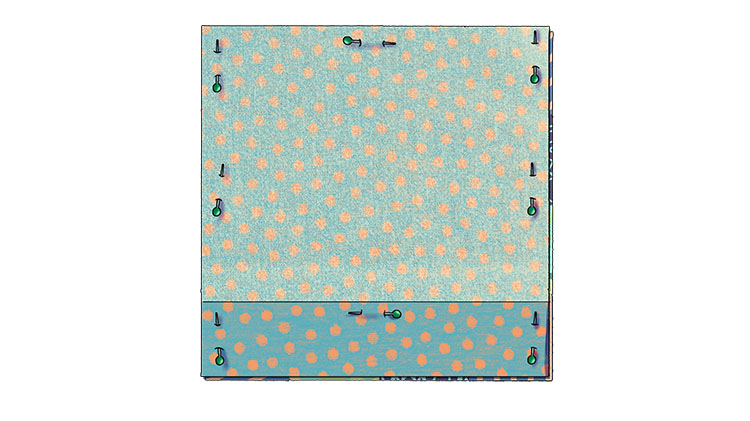
Here is the pinning together of the two pieces from the other side.
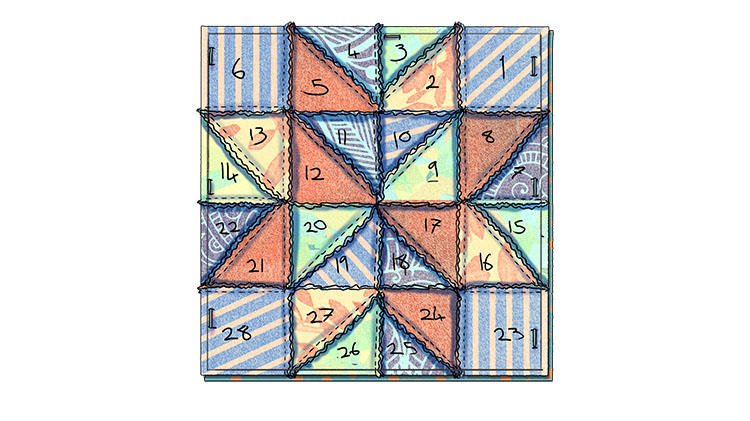
Sew along three of the edges using a running stitch, leaving the edge with the pocket open.
Now turn the cover the right way round.
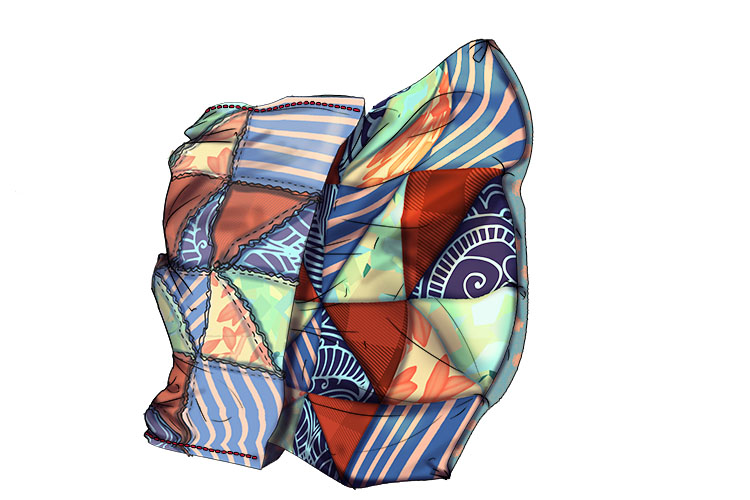
Finally, put your uncovered cushion inside the cover to reveal your completed design.
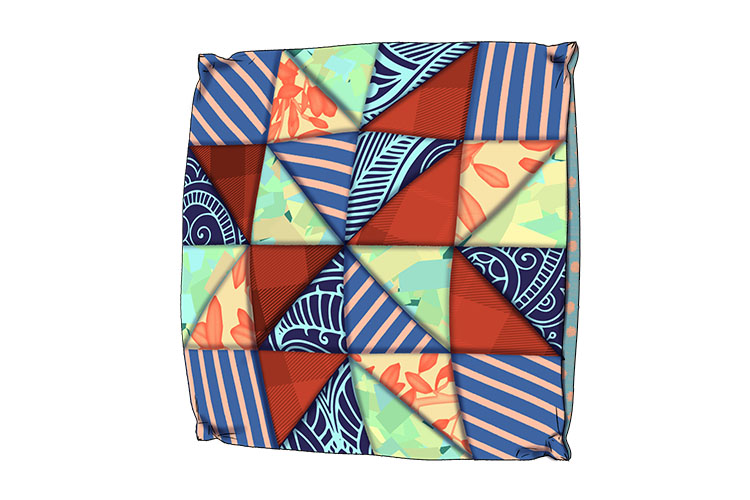
Patchwork.


